The world of orchids is fascinating. Having a collection and caring for them is very exciting. Each plant is like a living being, you have to know its habits, its character, its needs, to act if something happens unexpectedly. The epiphytic nature can be confusing, but in fact orchids, despite the large number of varieties, are very economic on resources. That’s why you have to know just when to repot an orchid and create a whole “colony” of exotic beauty. Follow us so you don’t miss the moment!
When to repot an orchid if you want to start a collection?
Gardeners of all skill levels may repeatedly ask themselves the question, “How and when to repot an orchid?” This should not be difficult if you respect the needs of the plant and the exact period. In two words, it is necessary to maintain your plants in a way that will make them flourish.
Other than occasional watering and fertilizing, you probably don’t watch your orchid closely that often when it’s not in bloom. Spring is the time to examine it scrupulously to assess the need for repotting. This is also the time when you will see the new growth that signals the emergence of the dormant cycle – the best time to repot. Whatever its variety, you notice that newly purchased or gifted, it is planted in sphagnum moss. The latter absorbs and retains water, creating ideal conditions for orchid root rot. So you can repot all the new orchids as soon as they have finished flowering. More accurately, every year or two or when crowded roots grow upwards and out of the pot.
When to cut the roots of orchids?
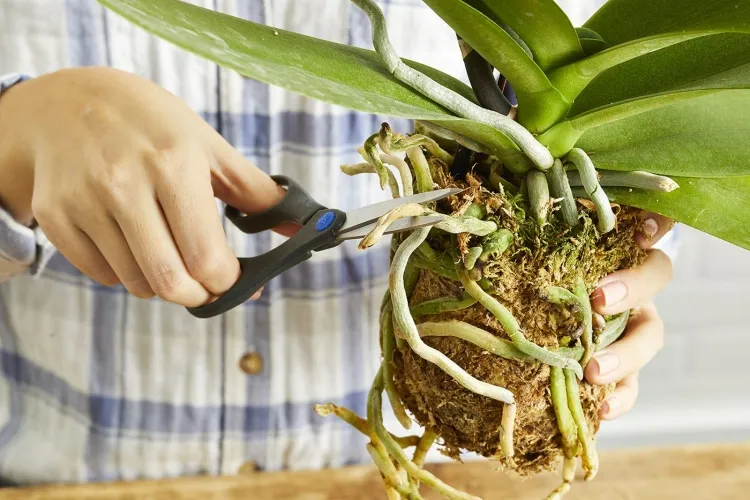
According to orchid experts, you definitely shouldn’t remove the roots. Chances are you’re harming the plant or introducing a dangerous virus. Prune an orchid root or stem only if it’s dry and you’re sure it’s dead, but work carefully to avoid cutting too deep and damaging the plant.
Pruning should not be frequent, but during the period when the plant loses its flowers, therefore, after flowering.
Also read: 4 Methods to Propagate an Orchid
Why are orchids in transparent pots?
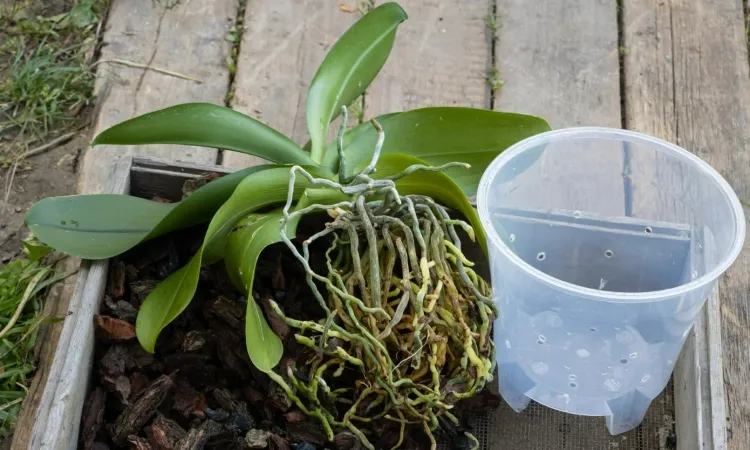
Since the orchid is an epiphytic species, its roots need to absorb sunlight, as they would in nature growing on the trunk of a tree. This means that in a transparent pot the roots can photosynthesize and at the same time add energy to the plant.
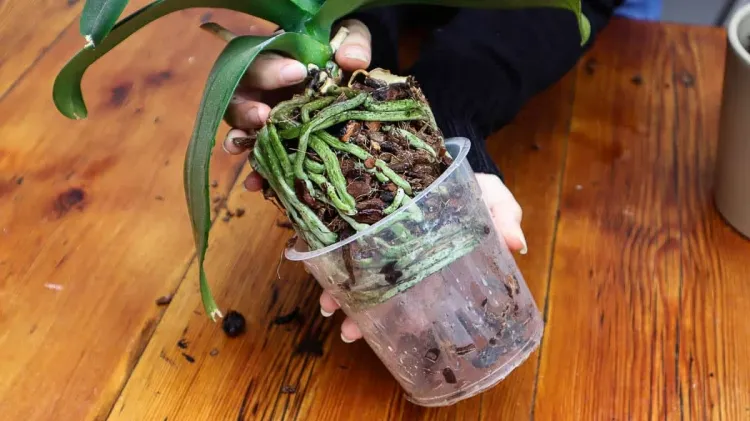
While orchids prefer a small pot, from time to time they will run out of space. Their roots expand in the compost as they grow. One day you will find them rising in the air, looking for space to breathe, a sure sign that it is time to repot.
Also read: Proper Orchid Care: How to Water Your Plants So That They Surprise You with Lush Blooms
How much soil do you need to repot an orchid?
As we have said over and over, orchids are aerial species that cling to trees. This means they don’t need real soil. Growing them in sphagnum moss or a bark mix is ideal for them. For them to get used to it quickly, you must prepare four parts of fir bark or coconut shells, one part of medium charcoal and one part of perlite.
If you don’t know exactly what type you have, orchid soil is a safe bet for most. It is available at many nurseries and DIY and garden centers.
If you have a terrestrial orchid, you will need loose soil that holds water well. It must have a high content of perlite and ligneous matter. Ask your local nursery for the particular mix that is right for your genus of orchids.
Also read: What to Do with the Aerial Roots of Orchids? Should They Be Cut?
How to repot your orchid properly?
You understand that the question when repotting an orchid is always followed by another: “How to repot your orchid properly?”
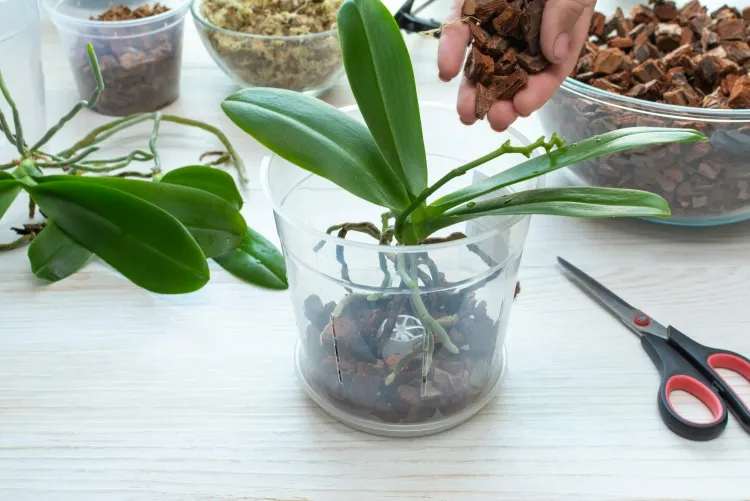
First, you need to decide what pot size to use. According to plant scientists, when repotting an orchid, you should ensure a pot that is only 1 to 2 inches or more than the pot the orchid originally came in. You want to provide a little more space, but not too much, otherwise the orchid will focus its energy on root growth and you won’t see flowering for several months. The choice may fall on a plastic, clay, glass or ceramic pot adapted to the size of your orchid, but do not forget that transparency is to be preferred. Also, the pot should have holes in the bottom and on the sides too.
When should the latest repotting date be?
Orchids need both the nutrients from the mixture of thick, loose bark they are planted in and the air between the pieces. As the mixture breaks down into particles, it compacts the air pockets inside the pot, practically smothering your orchid’s roots. Check the bark mix each spring and repot when you notice decomposition.
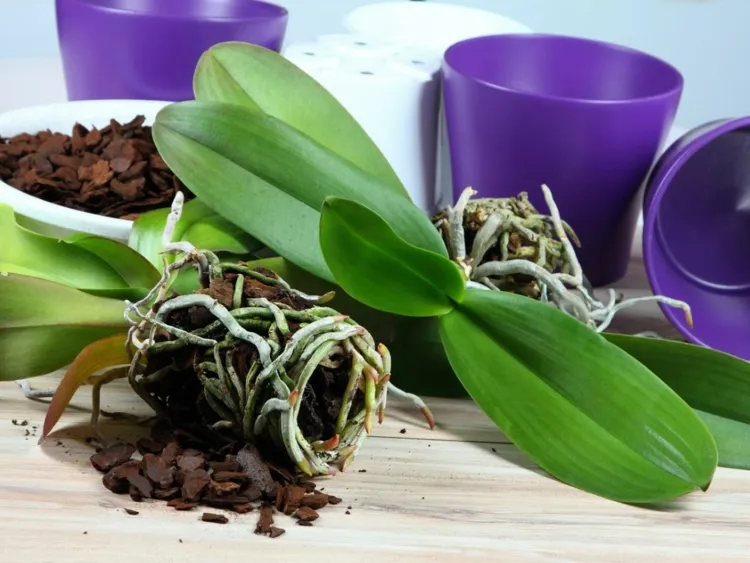
Remove the orchid from the pot. The roots can be pot-bound and sticky. First try to “massage” the pot to loosen the root ball. Work a dull knife down and around the inside of the pot, then turn it upside down and tap the pot on your work surface to remove the plant.
Examine the root ball and if it is stiff and dry, soak it for a few minutes in water to soften the roots and avoid breaking them!
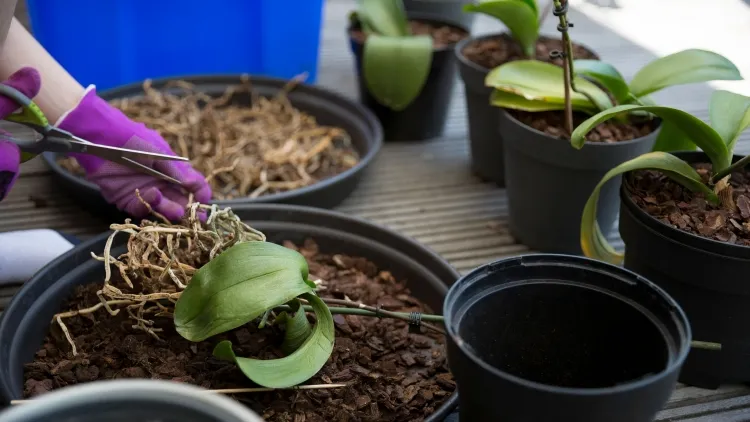
Gently peel off and detangle. As you go, cut the black, hollow, soggy roots and remove the old compost stuck between them. Refresh the untangled roots with a thorough rinse to remove any small bits of soil clogging the breathing spaces inside the pot.
Holding the plant with one hand, place it in the new pot. Pour the fresh bark mixture around, using a dowel or dull knife to work it all the way down and between the freshly separated roots.
Water abundantly! Finally, test your patience: wait a week or two before watering again, this break stimulates root growth in the new medium.
To view the repotting process, watch the video below.

