How do you make a bucket garden? Is it easier to maintain compared to a traditional garden? How to DIY bucket garden stand?
Container gardening has been gaining quite the attention over the last few years, and it’s not by mere chance. In an era when having an abundance of room in our homes is a premium advantage, yet we still want to enjoy some greenery, people have resolved to creative and practical means of solving their short-space problem. Lately, one method in particular has caught the eye of many beginner and expert gardeners alike, that being the DIY bucket garden idea. How to make one by yourself? Just follow our easy step-by-step guide.
How to Make an Easy DIY Bucket Garden? Step-by-Step Guide
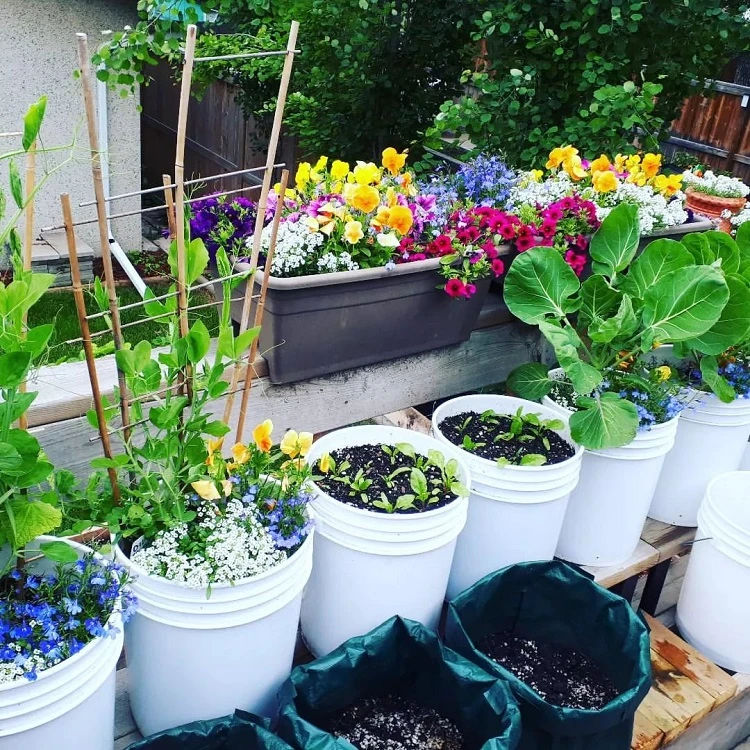
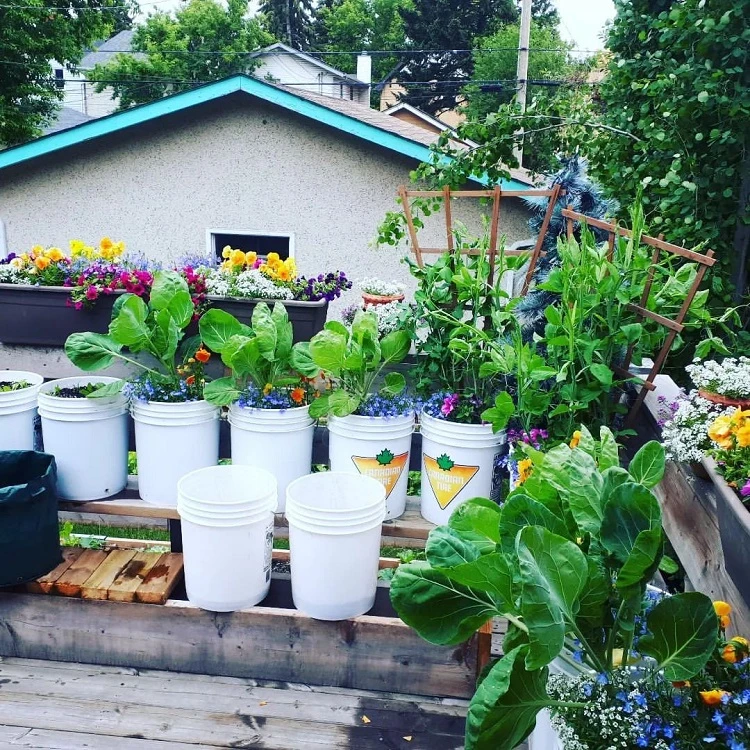
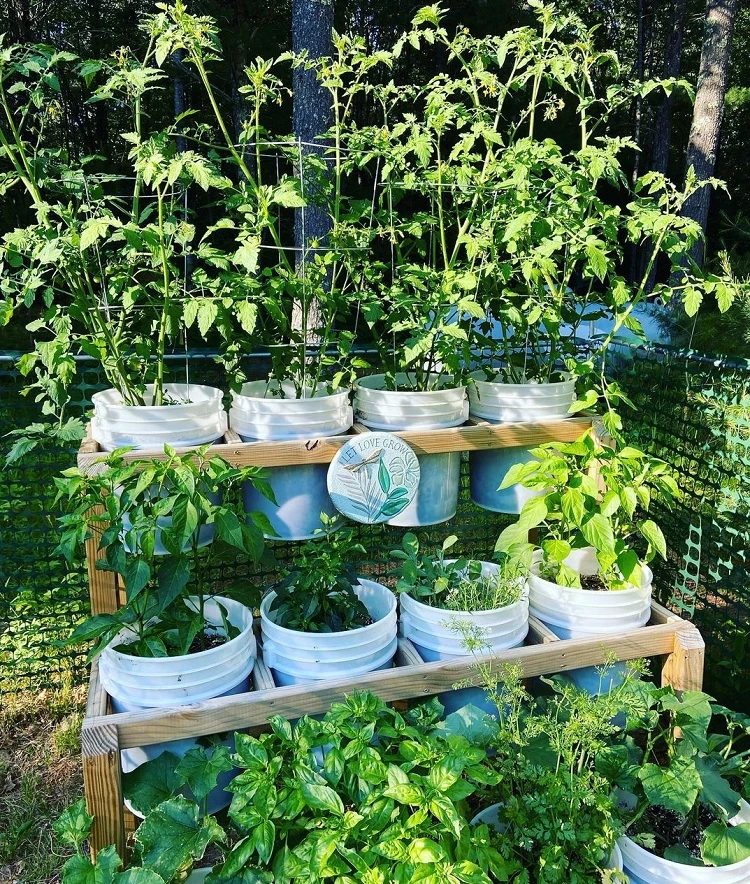
Wish you could grow your favorite vegetables, flowers, and herbs, but think you don’t have the adequate place to do so? You can easily fix this problem with a simple DIY bucket garden! It’s the perfect solution for anyone who lacks the time, space and energy for maintaining a conventional garden. Growing greenery in containers rids you of the many annoying tasks of standard gardening. You can make it an even more pleasant and easy activity if you raise up your bucket containers with a planter box or plant stand (tutorial linked below)! Now I will provide you with the list of items you will need to build your own bucket garden:
What you’ll need:
- 8 five gallon buckets
- Well-draining potting soil
- Plants/seeds of choice
- Drill with a 1/2 inch/1.27 cm drill bit
- Gravel/rocks
- Mulch
How to Create a DIY Bucket Garden:
- Start the task by selecting the buckets for your garden. Choose sturdy 5-gallon buckets.
- You will need to make drainage holes in them, as nothing kills a plant faster than water-logging their roots. Take a drill with a 1/2 inch/1.27 cm drill bit and make 4 drainage holes in the bottom of each bucket. Make four equally spaced holes around the bottom sides (about 1 inch/2.54 cm up from the bottom) as well. Drill slowly through the plastic to not split or crack the bucket.
- Time to fill the buckets! Start by placing gravel or mulch on the bottom of each bucket. Fill the bottoms with about 3 inch/7.62 cm of nutritious material for the best results. Then proceed with the potting soil. If your buckets are 14 inch/35.56 cm high, and 12 inch/30.48 cm in diameter, you will require about 75 cubic feet/2.1 liters of potting soil to fill each of them. You can also make your soil even more nutritional by adding some compost or perlite to the mix. Leave a few inches of space at the top to accommodate for watering.
- Planting time! Depending on what you want to grow in your DIY bucket garden, plant the seeds or transplant seedlings into the soil-filled buckets. Follow the guidelines specific to your desired plants’ needs and requirements.
- Now pick a suitable location for your bucket garden. It can be on your balcony or patio, but you have to make sure it gets adequate sunlight, depending on your plants’ requirements. If you wish to build a garden bed for your buckets, we will provide you with an easy video tutorial for this below.
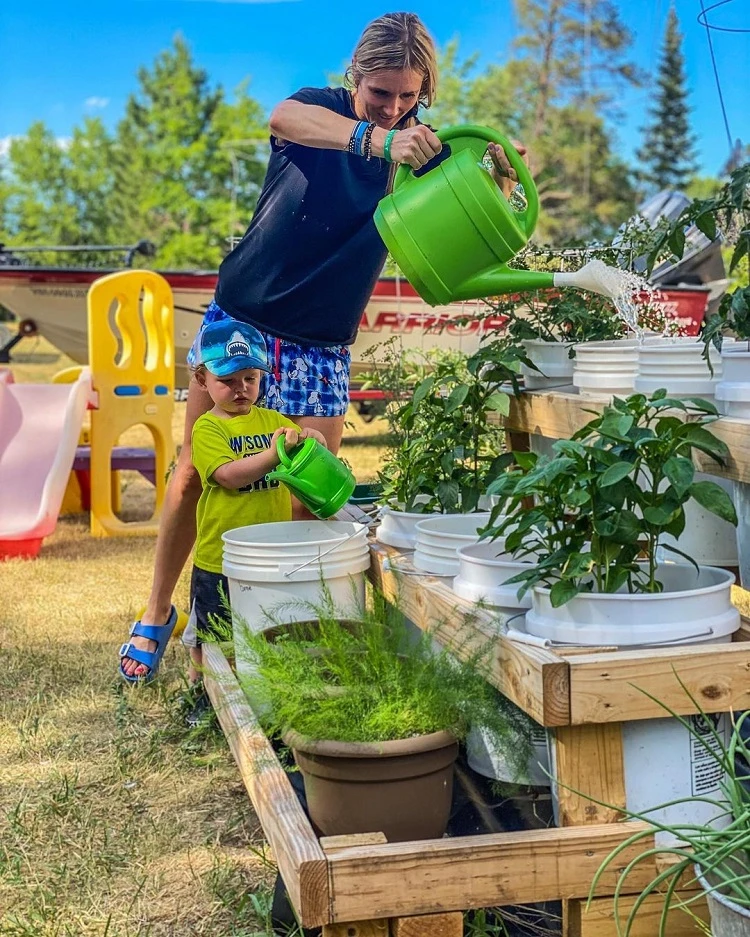
- When it comes to container gardening, you will need to water more frequently as opposed to a traditional garden. Best to opt for daily or every other day watering. Yet, don’t over-water, but water deeply. If the plants’ soil about 2 inch/5.08 cm down appears to be dry, it’s time to water.
- What about fertilizing? When it comes to any type of container gardening, fertilizing is a must. Follow a rule of fertilizing your DIY bucket garden every 2 to 3 weeks with homemade compost tea or an organic liquid fertilizer.
How to make compost tea? Learn how to prepare the nutritious elixir here.
How to Make a DIY Bucket Garden Stand? Video Tutorial
Also read: Ultimate Vertical Garden Guide: Tips, Tricks & Designs to Greenify Your Walls 🌿🏡


