A roasted turkey is the centerpiece of your Thanksgiving table and is as much a tradition as sharing what we are grateful for. Choosing the right turkey is an important part of presenting the bird to your guests and creating a mouth-watering dinner that’s also visually satisfying. However, it is not enough just to cook a bird, because you still need to know how to carve a turkey beautifully. You need to carve the turkey wisely so that not to spoil the impressions of the appetizing roasted bird.
How to carve a turkey properly?
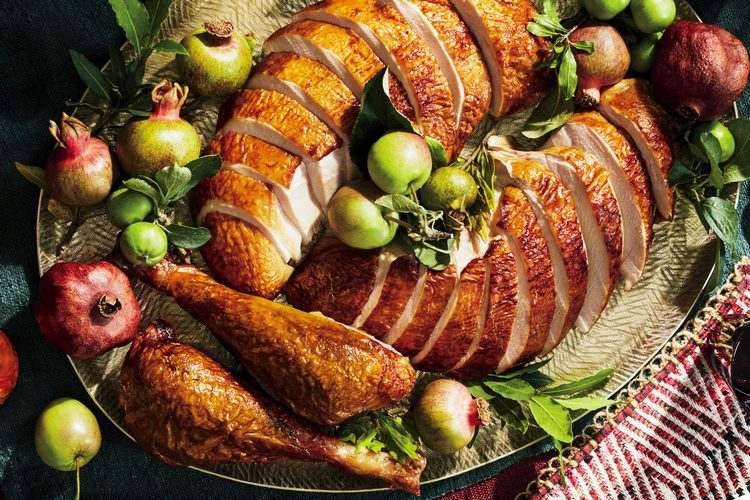
Carving a turkey properly not only looks like a masterpiece on the table, but makes everyone happy! One of the most important things is let the bird rest after it comes out of the oven. Do not hurry, as the meat needs the resting time so that the juices redistribute within the meat. How long should a turkey rest before carving and serving? Like with any other meat (steak, chicken, leg of lamb, etc.) the resting time will depend on the size of the bird.
When you take the turkey out of the oven, cover it loosely with foil and let it rest from 30 minutes to one hour, depending on the size. Larger birds need more cooking time, respectively, more resting time.
In the meantime, prepare a cutting board and the right knife. Make sure the cutting board is large enough to accommodate the bird. A sharp knife with a thin, flexible blade is recommended.
How to carve a turkey – step by step instructions
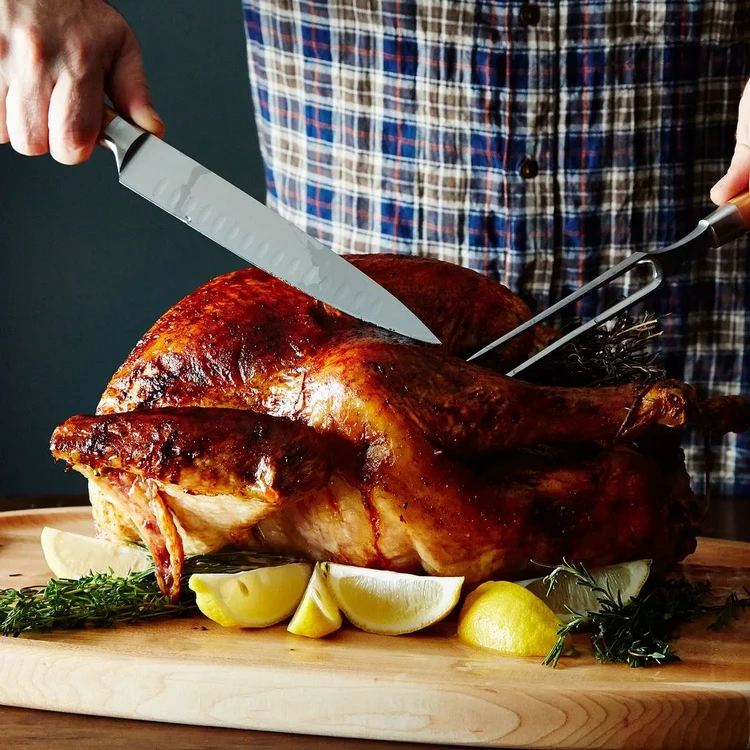
Once the turkey has rested, you are ready to carve it. If you tied together the legs of your bird before roasting, cut off and discard the string.
Step 1 – Remove the Legs and Thighs
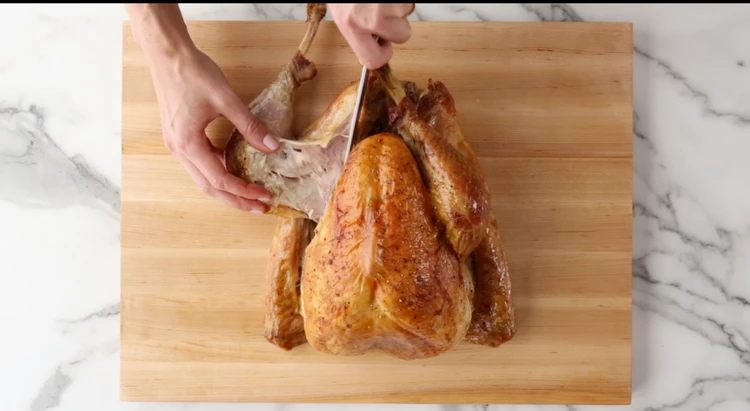
Cut through the skin that connects the breast and the drumstick. Slice down until you reach the joint. Grab the leg and push down, separating the leg and thigh from the bird. Use the knife to slice through the joint. Repeat steps with the other leg.
Step 2 – Separate the Drumstick and Thigh
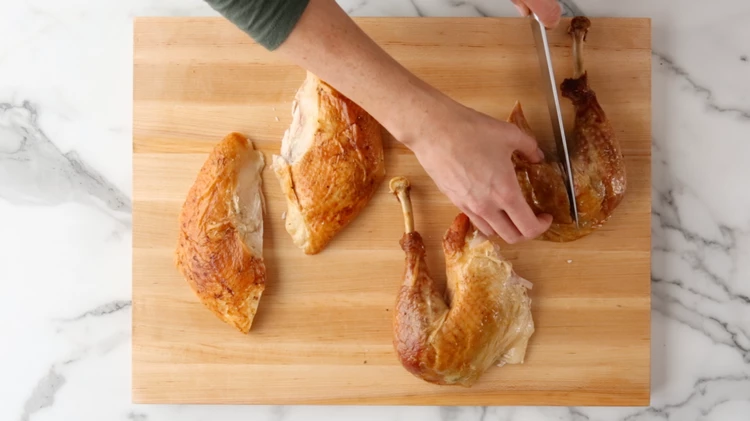
Separate the drumstick and the thigh by cutting through the joint that connects them. Transfer the drumstick to a platter. Repeat with the other leg. Slice the thigh meat. Hold the bone with tongs and remove the meat from the bone. Transfer meat to platter.
Step 3 – Remove the Wings
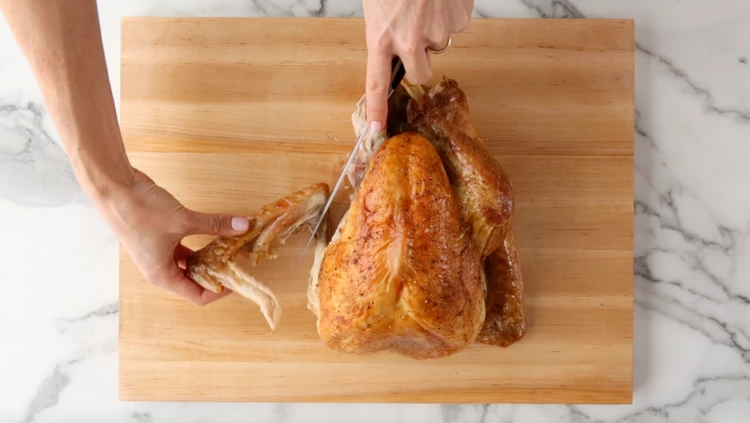
Using the knife, slice through the joint to remove the wing, and transfer to the platter. Repeat step on the other side.
Step 4 – Remove Turkey Breasts
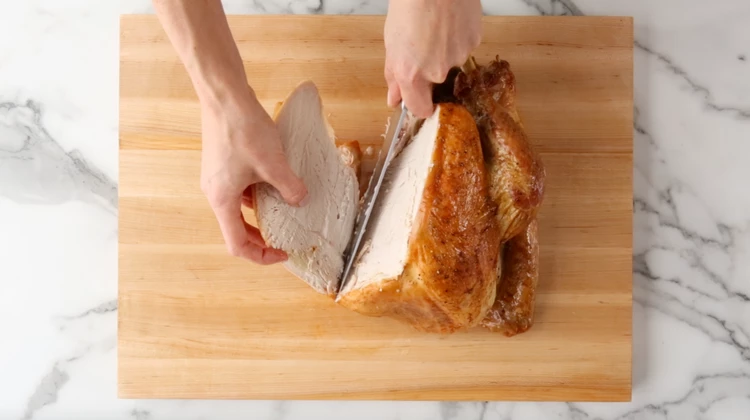
Find the breastbone. Position the knife on one side of it and slice downward, as close to the bone as possible. While slicing, pull the meat away from the breastbone. Transfer to the cutting board, and repeat on the other side.
Step 4 – Slice the Breast Meat
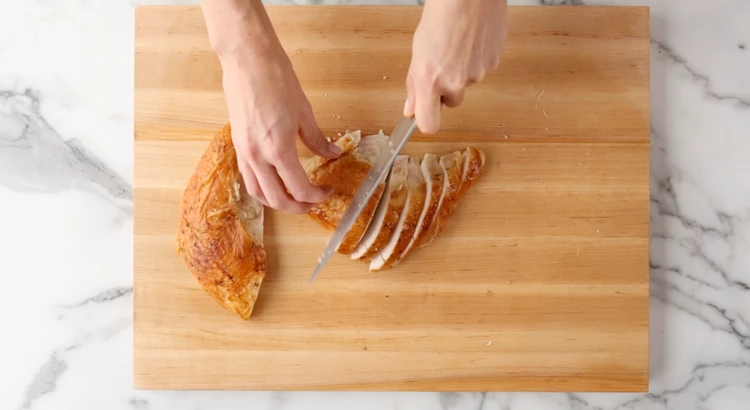
Using the tongs to steady the breast, slice the meat against the grain, taking care to keep the skin attached. Transfer pieces neatly to a platter.
Step 5 – Plate the carved turkey meat
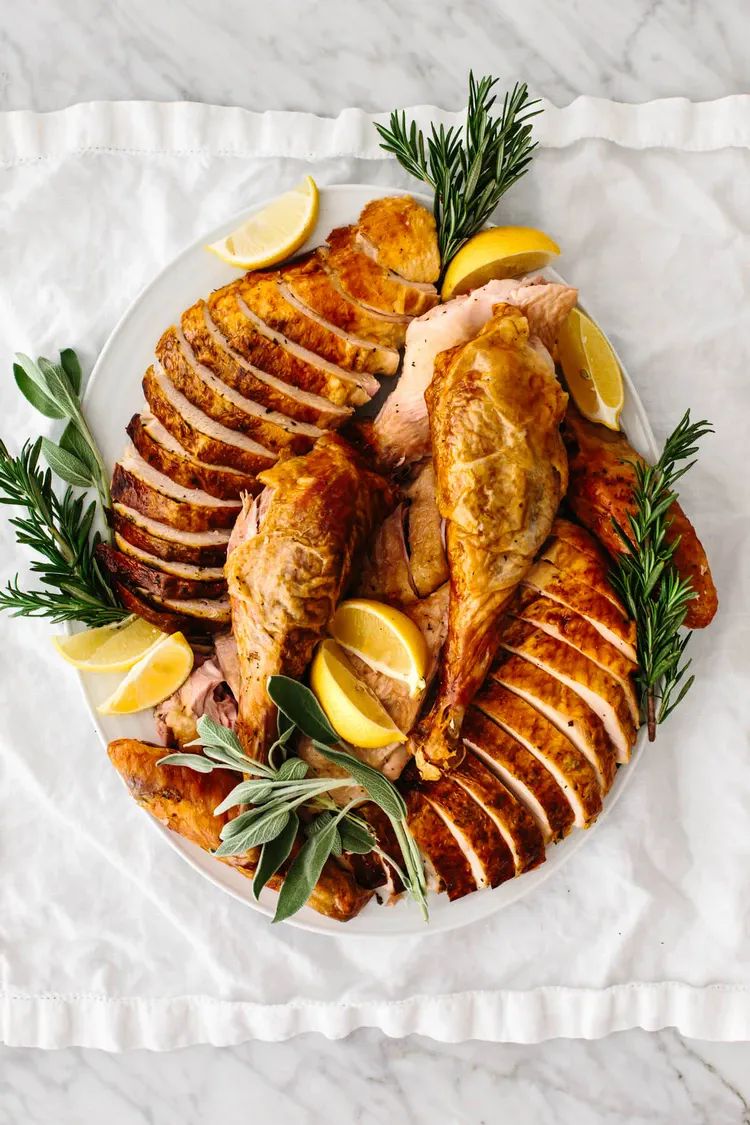
Presenting the turkey meat beautifully is the final step. Take a platter and arrange the meat in a presentable way. There is no rule how to arrange it. It all depends on the size of the bird, the size of the platter and the garnishes that you want to use – herbs, lemons, cranberries, apples, etc. Do not forget that once the meat is removed from the bones, it cools quickly, so do not fuss too much about decorating. It is best if you arrange the best looking pieces (breasts and drumsticks) in the center of the platter and then fill in the gaps with garnishes. Serve your beautifully carved turkey and enjoy your masterpiece with family and friends!
