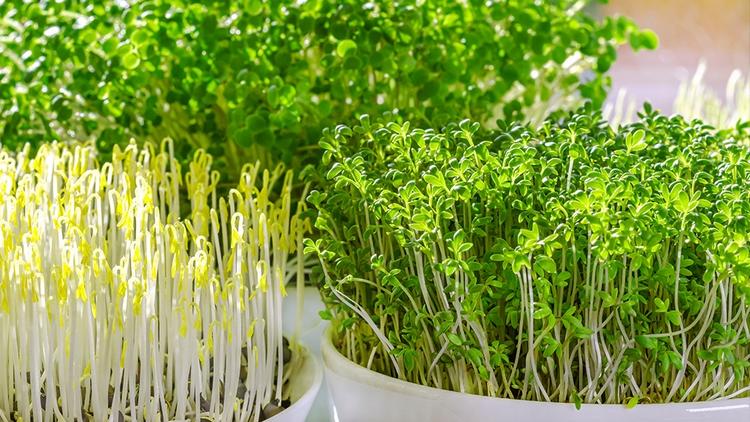
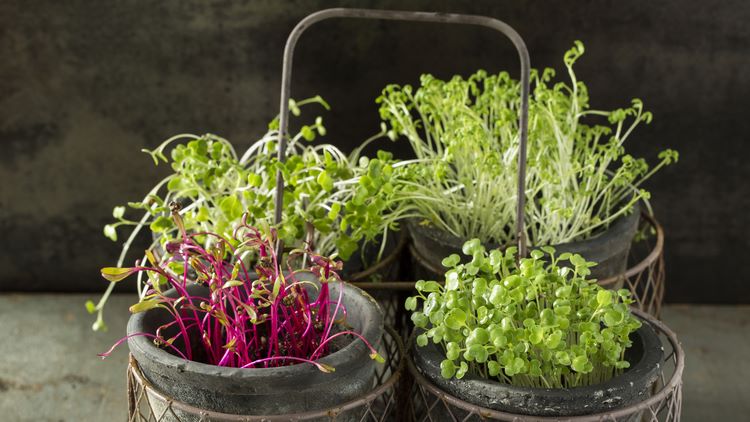
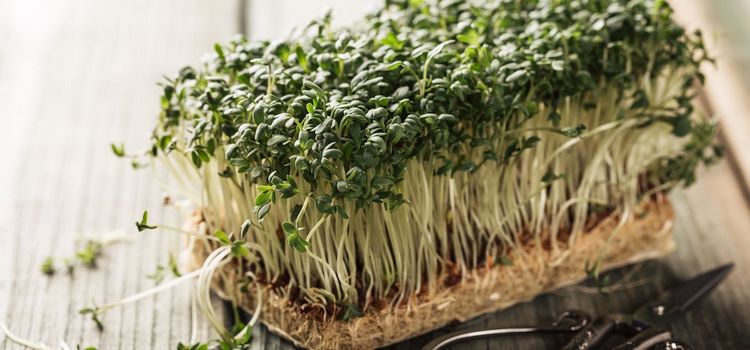
How about learning how to grow microgreens at home and decorate your kitchen with a cute indoor mini garden? As decorative as they are, these small green leaves are valued for their specific taste and their beneficial properties. And in addition to bringing a touch of originality to the interior decor, they will certainly add to the taste of your dishes. It’s also fast and economical! Here is how to invite urban agriculture to your home! There are many questions that we shall answer in this article – what are microgreens, what are their advantages and health benefits, which seeds are best to grow, how to grow them, how to take care of your mini garden, etc.
What are microgreens and their health benefits?
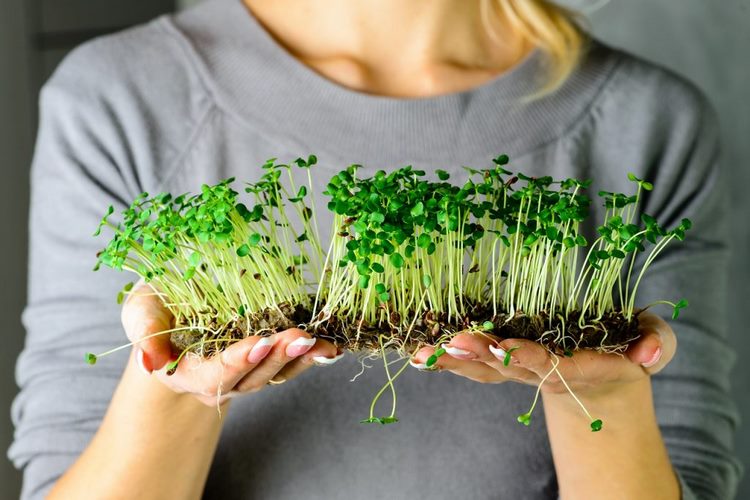
As the name suggests, microgreens are leafy vegetables, and herbs that are harvested at the first stage of their development or the stage just after germination when they are quite young and reach a size of approximately an inch or two. What are the advantages and health benefits of microgreens? Do you need to grow them and why? How long does it take to grow these tiny vegetables?
On the first place, microgreens are really easy and quick to grow. You can harvest them in 1 – 4 weeks depending on which species you planted.
Another advantage is that you can grow a large number of plants on relatively small area with minimal cost and effort.
Further to that, you do need any special equipment, which means there is no expense for materials and tools.
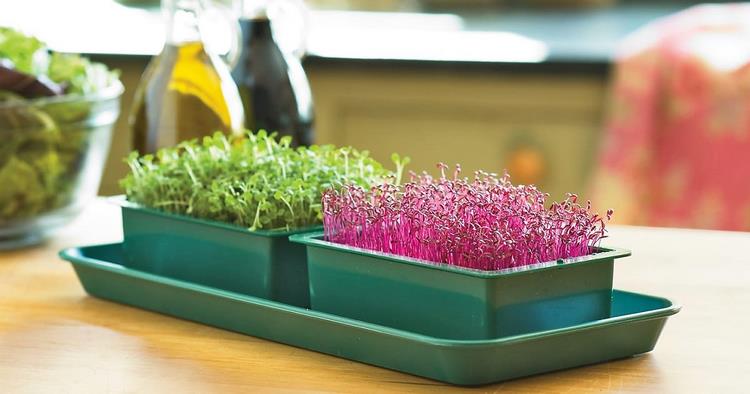
Growing microgreens is a great idea for people who have no garden or no time for gardening. You can grow them as an indoor mini garden, on a windowsill, on the balcony, covered porch, etc.
Last but not least, they can be grown in any climate and in any season which means that you will have fresh organic greens for your salads, sandwiches, soups and garnishes at all time of the year.
Microgreens are also very beneficial for the body. What’s more, according to some studies, they are richer in nutrients than mature plants and contain digestible vitamins, minerals, enzymes and phytonutrients
As far as health benefits of microgreens are concerned, we already mentioned that contain considerably higher concentrations – 4 to 40 times more nutrients, vitamins and carotenoids than mature plants.
They are rich not only in vitamins but in minerals, essential amino acids, enzymes and antioxidants that help strengthening the immune system, improve cardiovascular health and lower the risk of inflammation.
The fact that you usually harvest microgreens right before consuming them means that there is no loss of nutrient value. Just a few grams of them provide the daily dose of essential nutrients.
How can you use microgreens? They can be used in many ways to add flavor, texture and color to your meals. You can use them in smoothies, as soup ingredients combined with other vegetables, you can use them as a salad, you can also use them as dressings or garnish, in sandwiches, pizzas, burgers, tacos, etc.
Growing microgreens is an easy activity!
Growing microgreens at home is a huge trend and it is as easy as a child’s play. It is relatively more economical than going to buy your vegetables from the market. It is inexpensive, requires very little space and almost no attendance. In addition, many varieties regrow and produce several harvests and that is fantastic value, isn’t it? Why not take advantage of harvesting something of high nutritional value which is free from toxic chemicals and pesticides? What do you need to grow microgreens at home? Here is a short list of all materials and tools.
- Container or pot – you do not need a special container neither a big one. Any plastic seed tray which is about one inch deep is good enough.
- Seeds of your choice
- Soilless seed-starting mix
- Vermiculite
- Plastic wrap
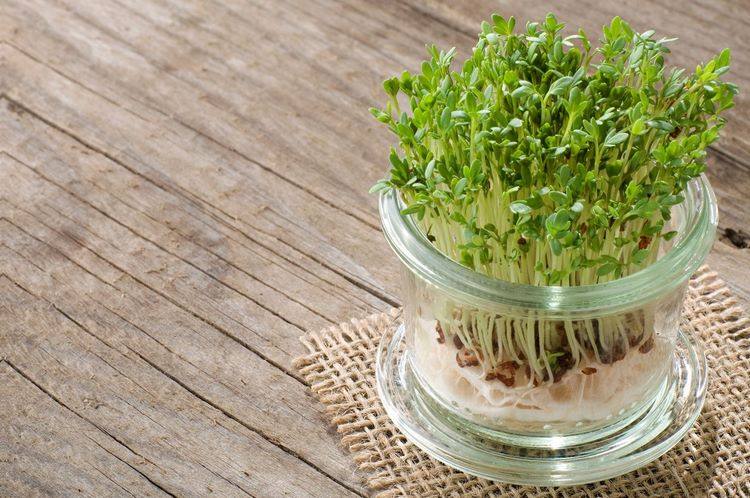
DIY fans can easily turn a glass jar into a container. Just make sure it is clean. After you get a clean container, you need a filter. For this purpose, opt for a mosquito net square which you must then place on the opening of the jar. To keep the square intact, use a rubber band. And here it is, your DIY hotbed is ready, so let’s have a look at the actual process!
How to grow microgreens at home – step-by-step process
As we already said, growing microgreens is not at all difficult. Here are the steps you need to follow:
Step 1 – Take a clean container. Optionally you can use a tray with holes on the bottom which will provide proper drainage.
Step 2 – Cover the bottom of the container with 1-2 inches of soil or potting mix. Even out the surface of the soil but make sure not to press it too hard.
Step 3 – Sprinkle your seeds. Spread the seeds evenly over the soil and press them gently with your fingers. Cover the seeds with a thin layer of soil. Optionally, you can cover the seeds with vermiculite which is a mineral-base material that is used to cover seeds. This material is able to absorb water and release slowly, which will keep the seeds damp but not too wet.
Step 4 – Water the seeds. Dampen the soil. Simply sprinkle a bit of lukewarm water and mix so that the soil is damp. Be careful not to put too much water or your seeds may fail to root.
Step 5 – Wait for the seeds to germinate. Cover the container with a lid or plastic wrap and keep it in the shade. After a couple of days, when the seeds will have germinated, take the lid off and expose the container to sunlight.
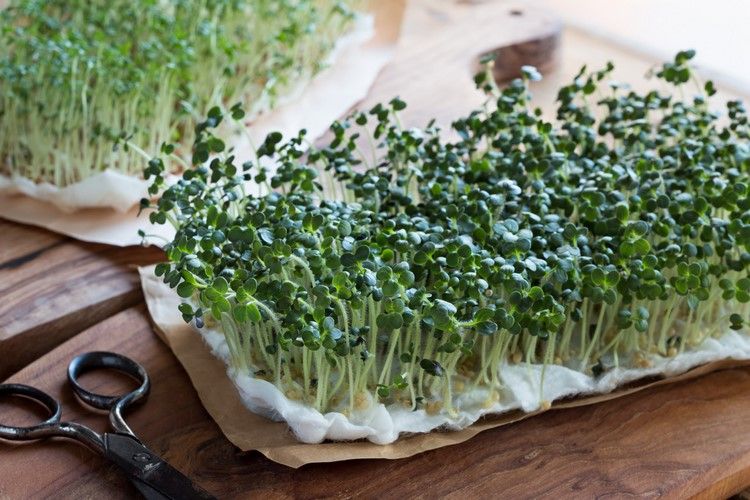
Step 6 – Harvest your microgreens. It takes about 1-2 weeks after you uncover your containers for the seeds to grow and be harvested. Temperature is important. If you grow them outside, it may take 2-4 weeks before harvesting. Use a pair of kitchen scissors to cut the microgreens. Some species like pea shoots, for example, will regrow if you cut them just above the lowest leaf.
Which microgreens can you grow at home?
In general, the choice of seeds to grow at home is almost unlimited. However, potato and rhubarb are to be avoided, due to their toxic leaves. Otherwise, the most preferred micro-shoots are corn and fennel. Other possibilities are:
- cereals (oats, chia, flax, buckwheat, sesame and rice)
- vegetables (beet, carrot, celery, lettuce, mustard, leek, broccoli, onion, spinach)
- legumes (mung beans, lentils, quinoa, soy and chickpeas)
- aromatic herbs (coriander/cilantro, fennel, basil, parsley and dill)
- Edible Flowers (Nasturtium, Pansy, Wheatgrass, Buckwheat, Clover)
You can also grow amaranth, cabbage, Cauliflower, Turnip, kale, Cress, Fenugreek, Wasabi, chard, chervil, kohlrabi, peas, radishes, rocket/arugula, sorrel, Cucumber, Fava Bean, sunflower, etc.
You can experiment and harvest your microgreens at a different stage of growth – either when the first pair of leaves appear, or later, when a few leaves have grown. One exception is sunflower shoots. These need to be eaten before their second pair of leaves appear, as these are bitter.
Where to find seeds for your mini garden? Fortunately, many stores are already offering an assortment of seeds. It is however essential to opt for certified and well-packaged seeds! Make sure that you read the labels carefully. It is important that your seeds are not treated with fungicides.

