Over many millennia, people have been looking for ways to cultivate plants. We are the only species that grows plants and is engaged in agriculture. Nowadays, it’s a natural thing for a person to want to farm, because we already have such instincts. For thousands of years, the knowledge of how to grow a plant from seed to the moment of harvesting, has been passed down from generation to generation. Now we have vast knowledge of agriculture that has come not only from our ancestors, but now we can also rely on numerous scientific and research works. In this article, we will systematize some of this knowledge so that you can prepare garden soil for new plants.
How to prepare garden soil for new plants?
We grow a lot of plants during the year and a large amount of biomass accumulates. Throughout the summer, many plants vegetate, but along with this many insects, diseases and pathogens may have multiplied. In this case, not only do we need to know how to prepare garden soil for new plants, but there are also many other fall gardening tasks before the snow falls. Follow our step-by-step instructions below and make sure you’re doing everything right!
Step 1: Clear the garden and check for pests in the soil.
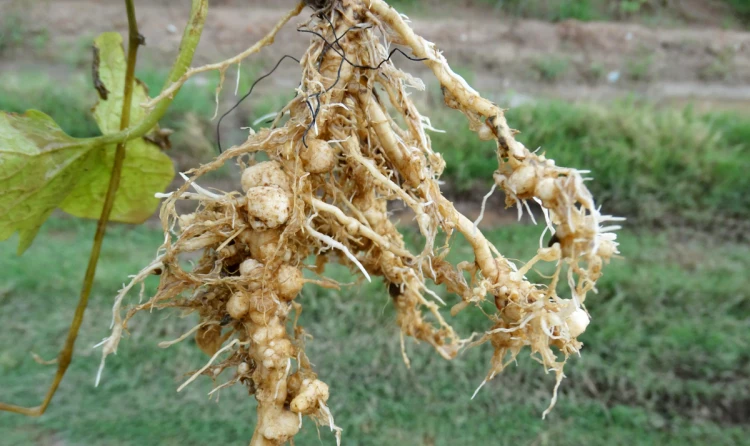
When uprooting plants (or vegetables in particular, if there are any) you can look at the root system of each plant. Check if the soil is clear of nematodes. These are small worm-like organisms and are one of the most widespread and dangerous pests. They feed on the sap of plants, eventually leading to their death.
Nematodes on the roots of a plant
If you find out there are nematodes in the soil, you will need to buy a special product, called nematocide to control these pests. As there are two types of nematocides: biological and chemical, we suggest that you start with a biological one.
Step 2: Make a compost
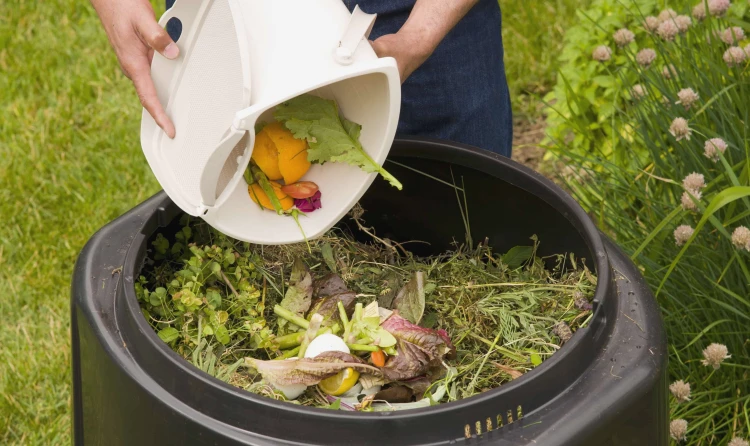
When you’ve rooted out the plants and made sure they’ve vegetated well over the year and have been in good health, you can make a compost. You may also put fruit and vegetable peels, eggshells and fall leaves in it. In about a year or so, the material will decompose, and you will have a pure organic fertilizer that can feed your garden plants and improve the structure of the soil.
Step 3: Add fertilizer to make the soil more fertile.
Option 1: Use your compost mixture as a natural fertilizer. The advantage is that it supplies the soil with organic matter that is very beneficial for soil health, and also this organic matter acts as food for microorganisms and for some insects (worms) that feed on dead plant matter.
Option 2: Another organic fertilizer you can use is animal manure. It is proven to be the most effective fertilizer. Manure is extremely rich in nutrients, as well as humic and fulvic acids and amino acids. It feeds both plants and beneficial microorganisms and insects. If you do not raise livestock, you can buy manure from the nearest farm. In the best case, you can buy granulated organic fertilizer that goes through heat treatment and thus the soil is completely protected from weeds.
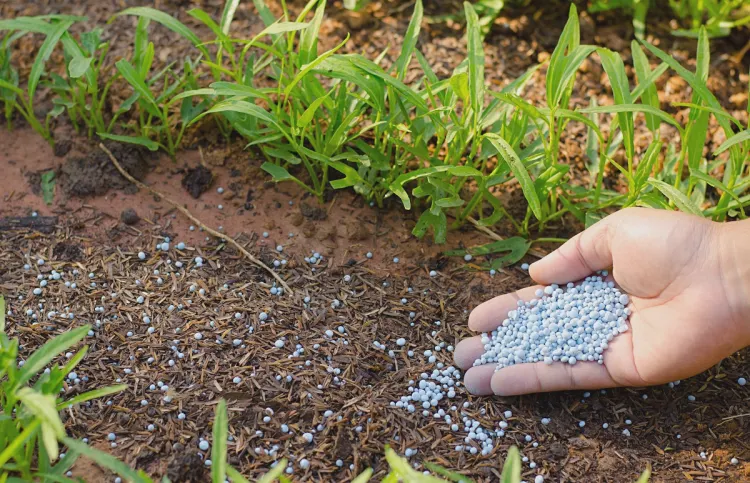
Option 3: Last but not least, you can use mineral fertilizers with increased phosphorus and potassium content. These are trace elements that dissolve slowly. Mineral fertilizers are extremely concentrated, and you can spread them very easily.
Step 4: Tilling the soil
Once you have chosen the fertilizer you will use, you must spread it evenly over the entire surface of the soil. Then it’s time to till the soil. In order to be able to turn the soil, the conditions must be suitable – neither too dry (very hard soil) nor too muddy. The soil needs to be lightly-moist.
Why is tilling important?
During the growing season, the soil has hardened quite a lot in places because you’ve probably walked past the plants, paths have also formed, and so on. Along with your plants, weeds may have grown. Unlike cultivated plants, they tend to multiply and generate many more seeds. Many of these seeds remain on the soil surface and can take over your garden very easily, so you should bury them very deep in the soil at 8-10 inches.
By tilling the soil, you also disturb the habitat of harmful insects that spend the winter in the soil. What is more, in winter, the snow will cover the turned soil and at some point it will melt and provide enough moisture for the new plants.
Best tools for turning the soil
Depending on the size of your garden, you may pick between hand tools or machines. The two best options are as follows:
- Shovel
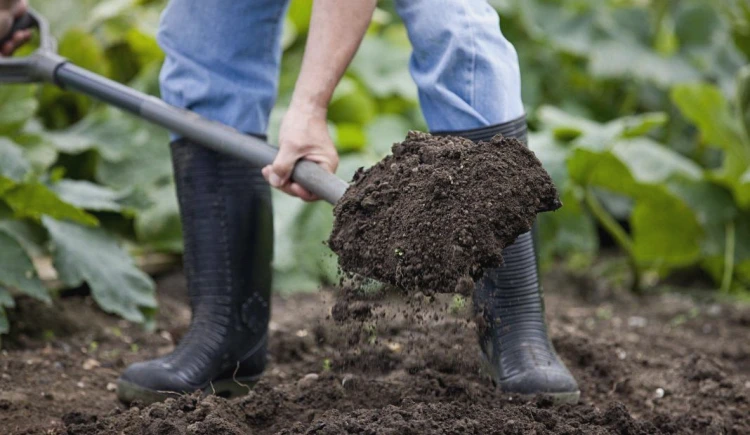
If your garden isn’t big, or you’re looking for ways to till the soil by hand, shovels are one of the best tools for that. Pick one that has a comfortable handle, as tilling requires a lot of hard work.
- Cultivator
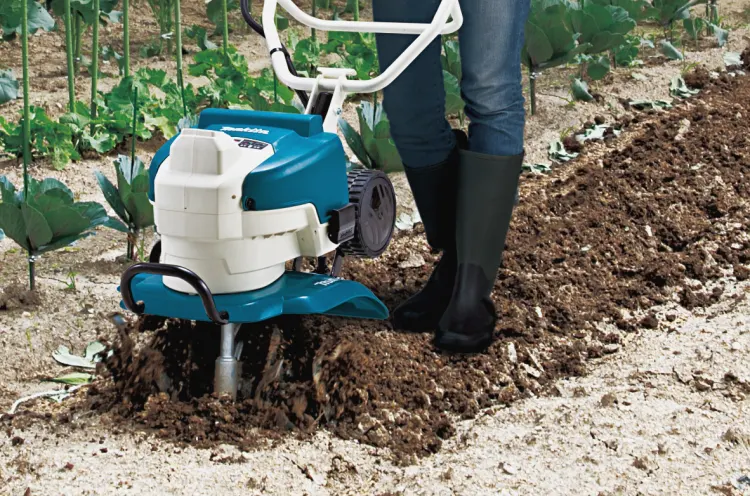
If your garden is too large to be cultivated with hand tools, you can use a petrol or electric cultivator. It is an ideal solution for keeping your garden thriving. It aerates the soil, mixes fertilizer with the soil, and controls weed growth.

