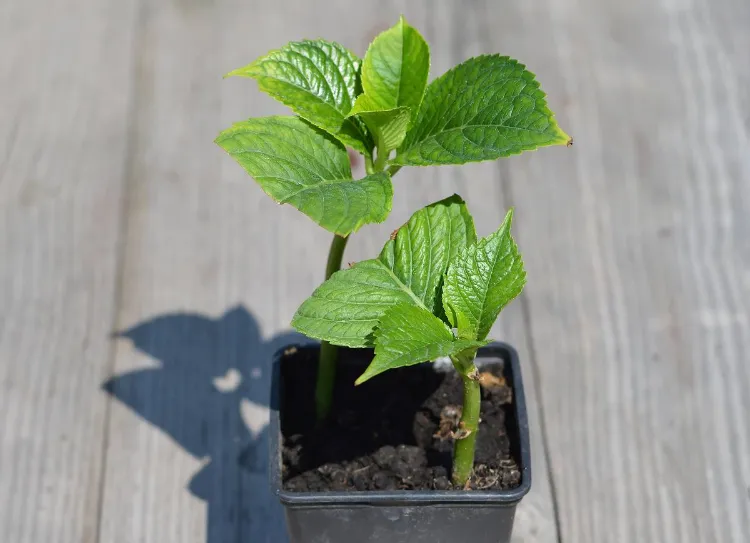
When to take hydrangea cuttings? How to do it easily? What are the important steps in taking cuttings? We tell you everything!
When to Take Hydrangea Cuttings?
Rest assured, hydrangeas are simple shrubs to take cuttings from. Generally speaking, all you have to do is push a branch into the soil and it will develop a root in the chosen planting location. Easy, isn’t it? Take care, however, in the event of a harsh winter, when you’ll need to work in cold conditions. Finally, remember that the cutting period runs from the end of August with semi-hardened wood to December with dry wood. Let’s get to work!
How to Propagate Hydrangea Cuttings in Water?
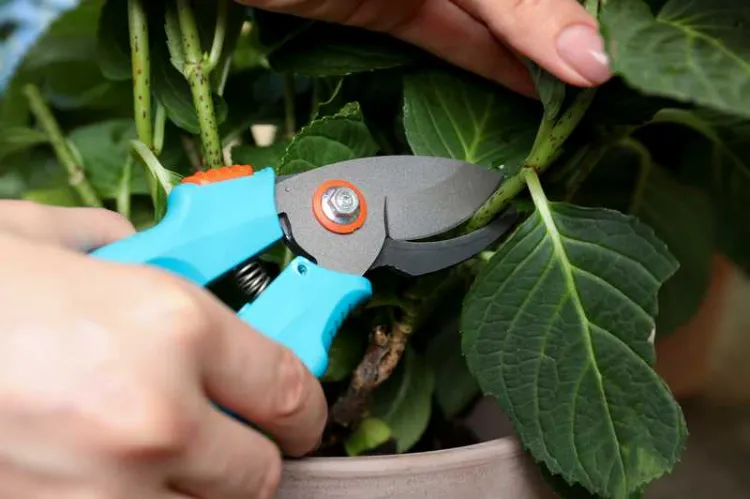
To begin with, it’s essential to take your cuttings from the current year’s shoots, using pruning shears. This should be done on the main axis of the stem or on the small side shoots. Choose healthy, vertically oriented shoots, giving preference to shoot tips that have not flowered. Remove the bottom leaves by cutting the petioles fairly short or by pulling on the leaf blades. Be careful not to damage the buds. These contain the root-forming cells. We advise you to cut horizontally, just below the pair of leaves, so that the roots are formed in a cluster of undivided plant cells. It is not fatal if you cut at a node at an angle, rooting should also occur, but it may be more scattered along the buried stem. Finally, take into account that the length of the cuttings should be adapted to the period in which you take them. The evaporation of water is more significant through the leaves, so the length of the cutting must be reduced.
Prepare the Substrate for Your Hydrangea Cuttings
To prepare your substrate, you have the choice between 2 options: 50% blond peat and 50% sand or 1/3 sand, 1/3 peat and 1/3 heather soil. Then proceed as follows:
- Fill a deep box or large pot with a light, porous substrate.
- Make sure that water runs through the drainage holes.
- Moisten the entire substrate well
Also read: Things Hydrangeas Hate the Most: A Practical Guide to Abundant Blooms
Insert the Cuttings
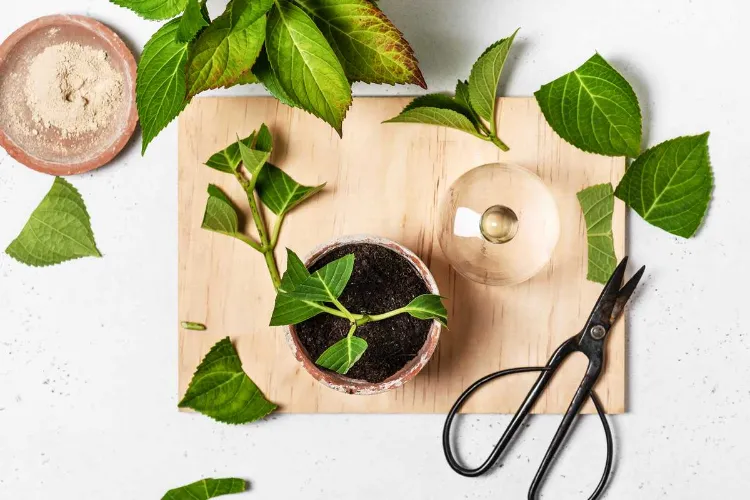
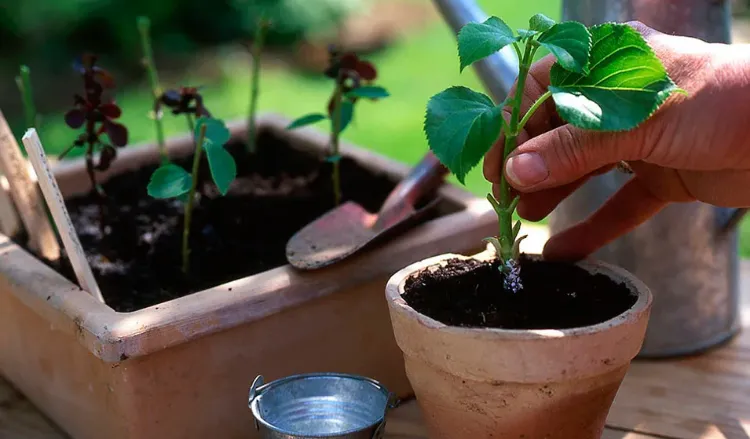
First, dip the base of the cuttings in rooting hormone powder to increase your chances of success. Then tap the cuttings to remove excess powder. After that, make a hole using a stick if the soil is a little dry. Now it is time to insert the cuttings a few inches into the soil. To do this, here are our practical tips:
- Pack the soil all around.
- Water so that the substrate sticks well.
- Do not put a dish under the pot to avoid water stagnation which would lead to rotting.
- Place a cover if the air is dry.
Note that 59°F/15°C is the ideal temperature to carry out this operation.
Also read: How to Take Honeysuckle Cuttings in Winter? All You Need to Know to Succeed
How to Care for Your Hydrangea Cuttings?
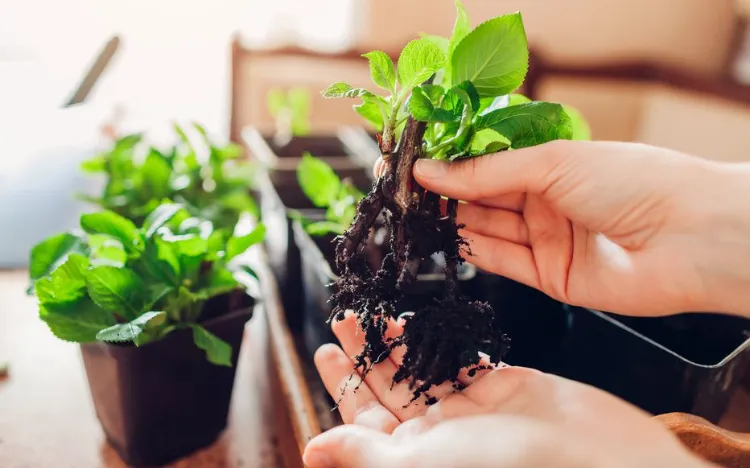
If new shoots appear before winter then all is well! If you discover some sort of lump when digging up the cutting, then be patient and put the cutting back in the soil. Don’t panic, roots will soon develop. If unfortunately you notice that the plant is dehydrated and the buds dried out, there is no point in keeping the cutting. Reduce watering and aerate the plant more frequently as soon as the roots appear. Repot your plants in spring or fall depending on the vigor of the regrowth. In a pot or in soil, it’s up to you! We strongly recommend that you use a richer potting soil, adapted to the needs of the plant.

