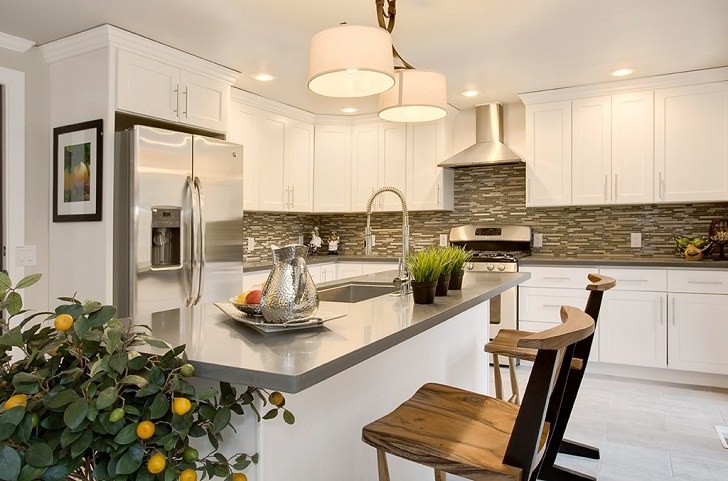
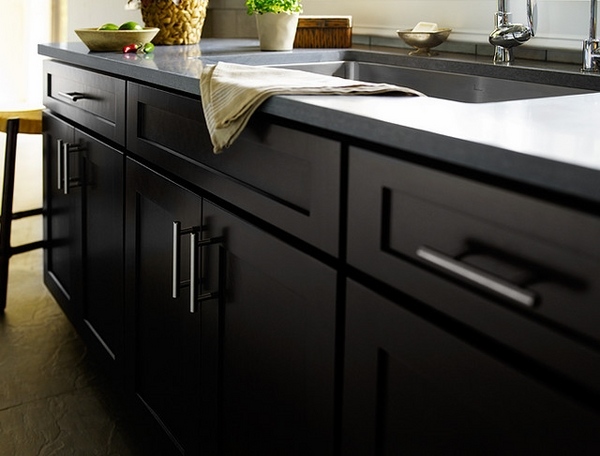
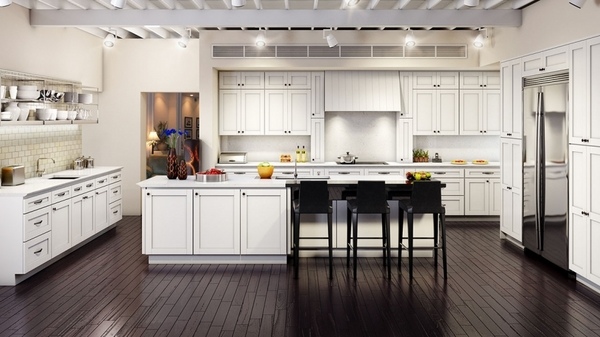
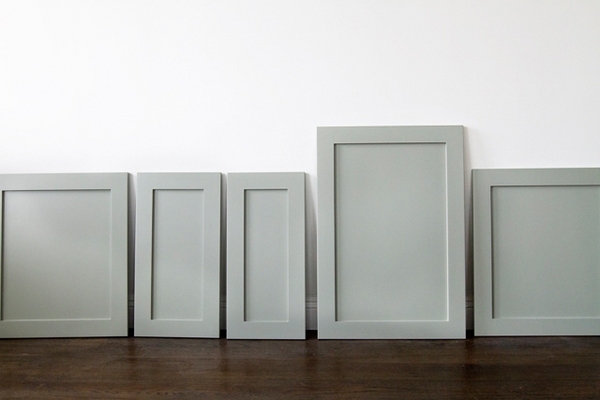
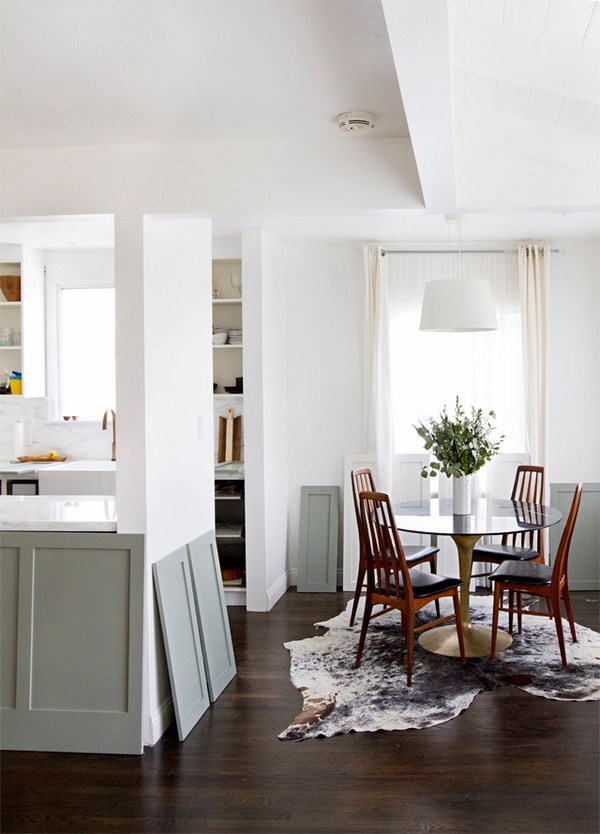
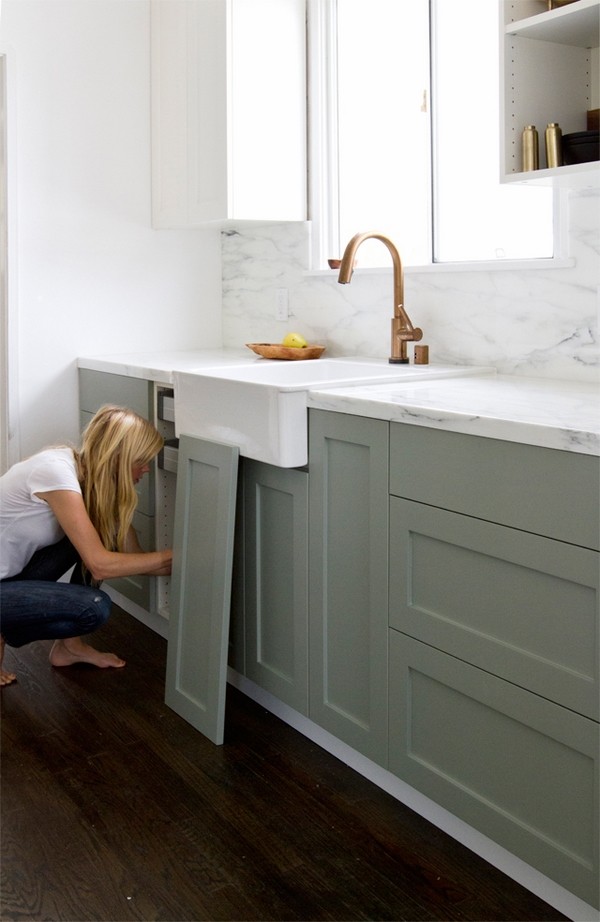
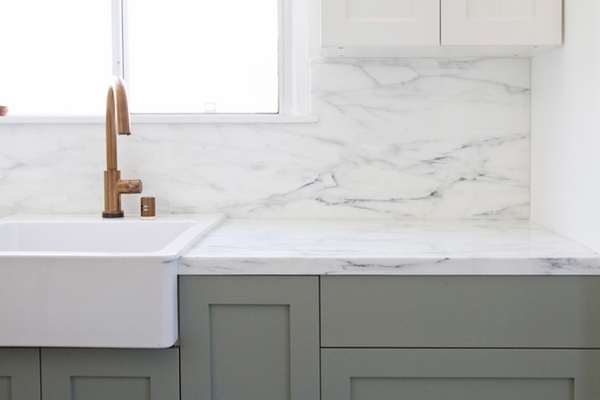
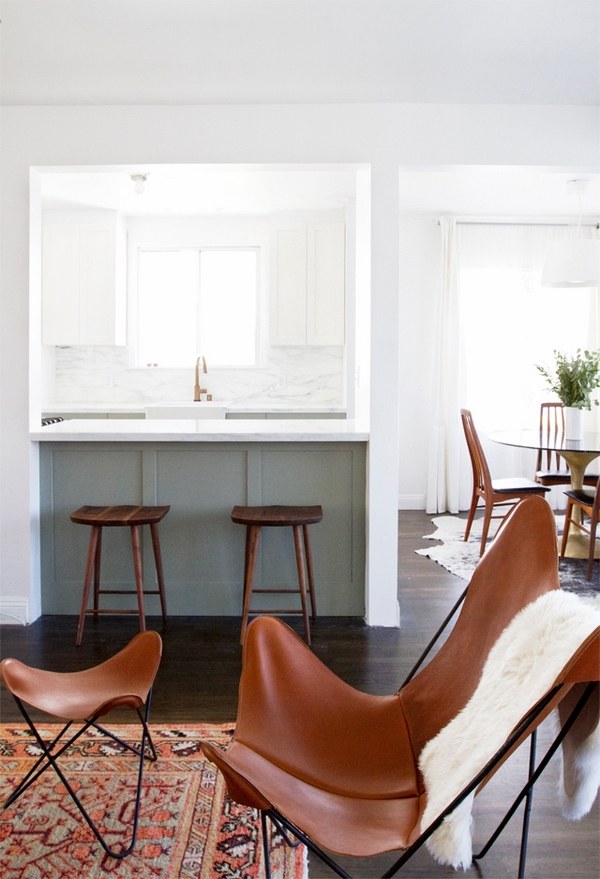
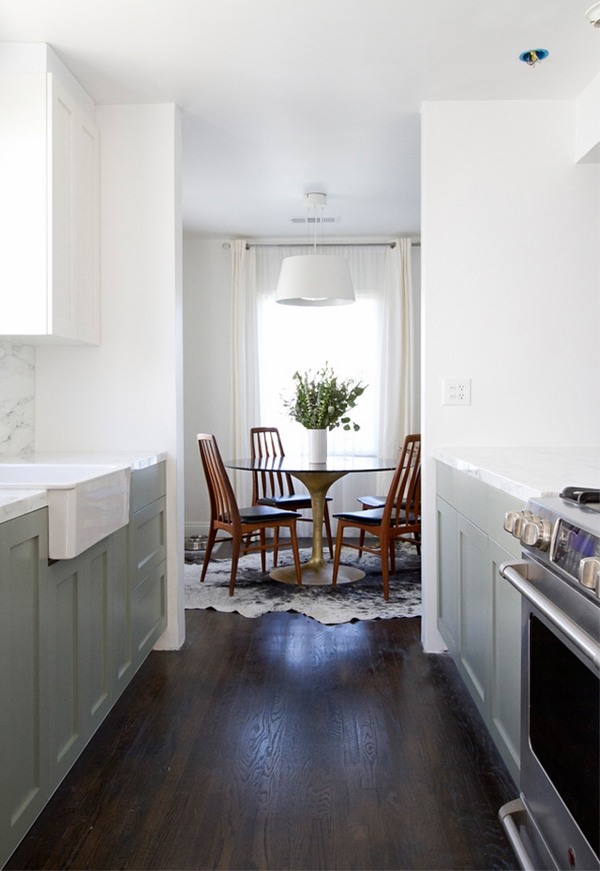
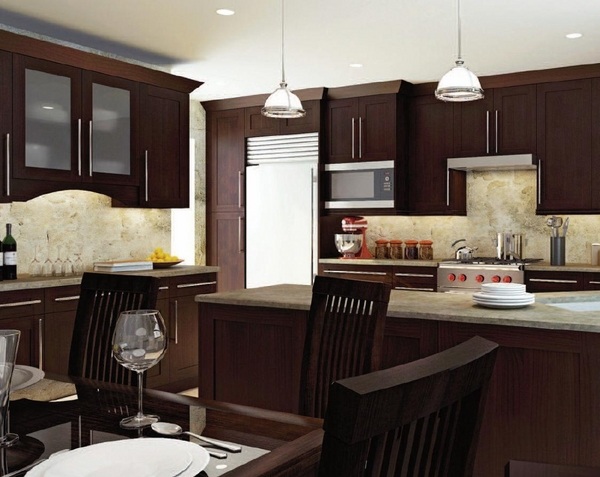
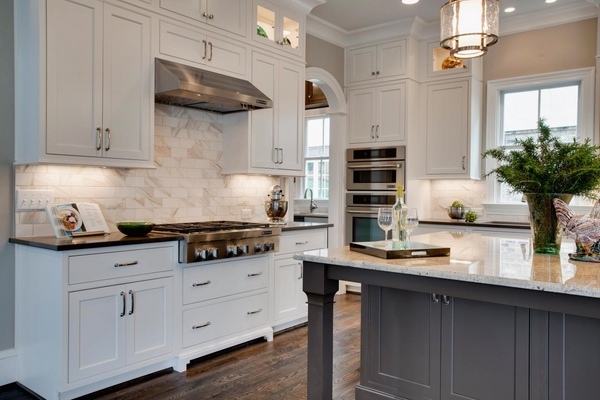
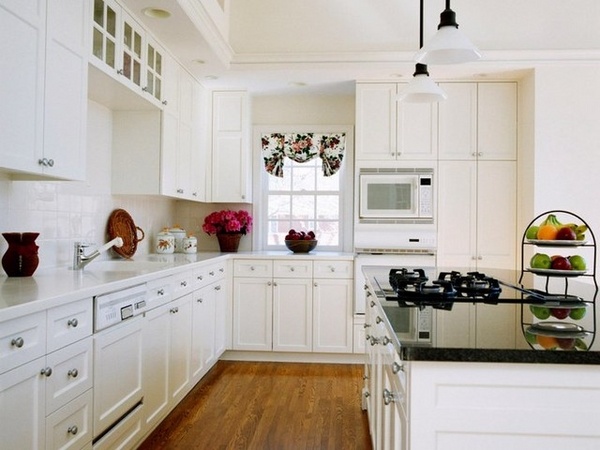
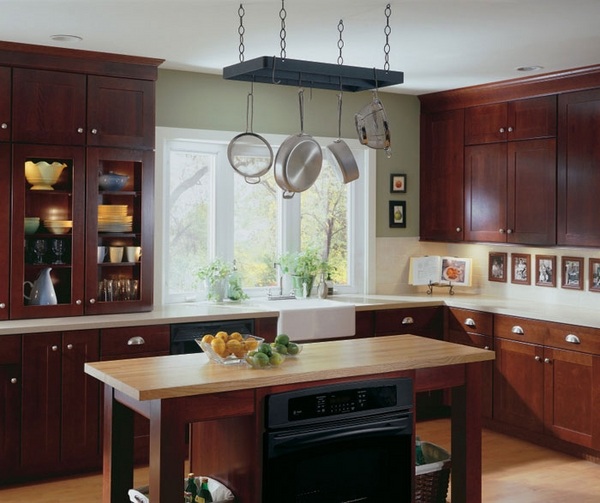
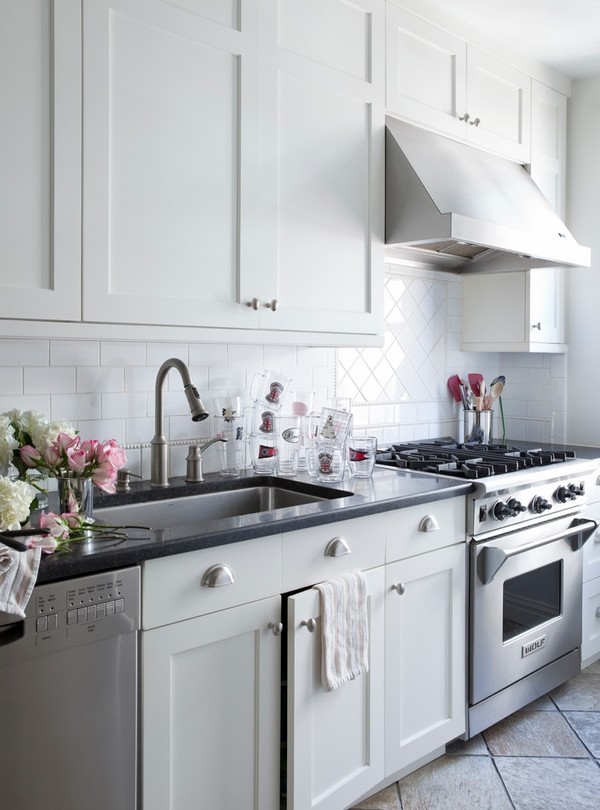
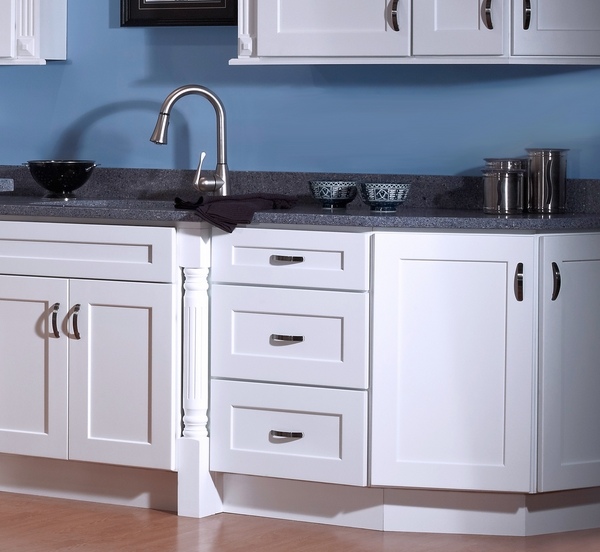
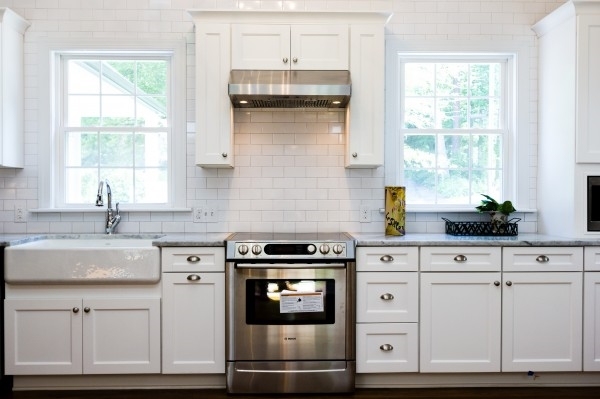
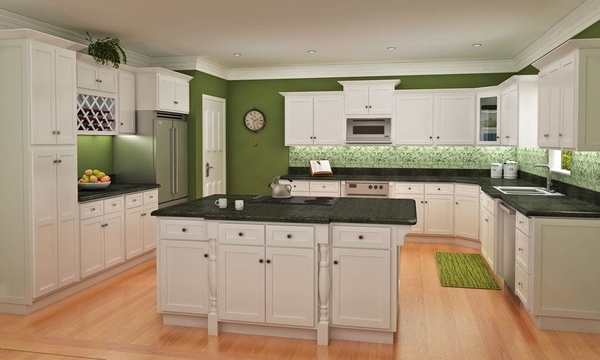
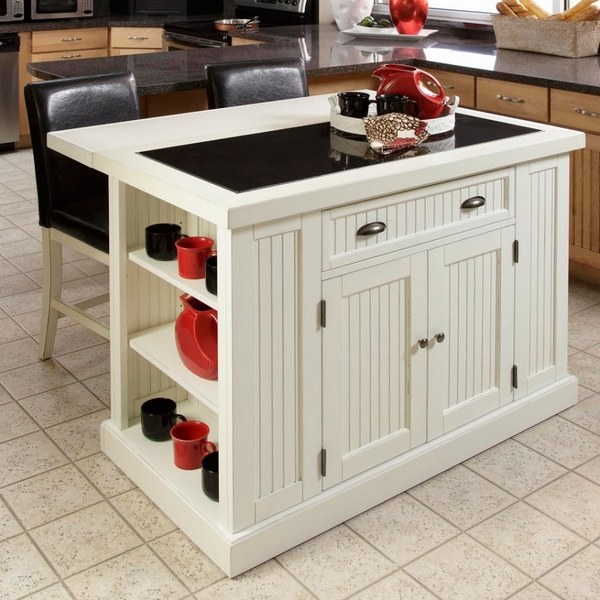
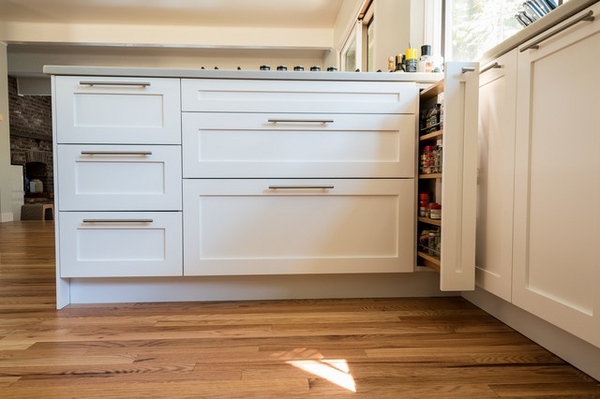
DIY Shaker cabinet doors – one of the easiest ways to update your kitchen. You know that a complete kitchen remodel requires a serious investment as it includes not only cabinets, but backsplash, countertops, flooring, lighting, etc. Sometimes, especially when your flooring and countertops are up to date, all that is needed is changing the cabinet doors and you will have a completely transformed kitchen.
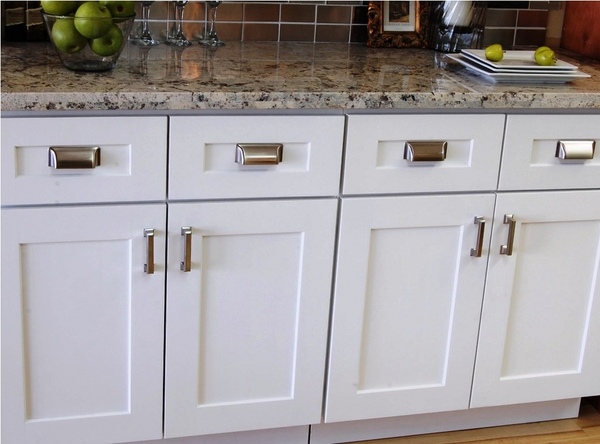
Shaker style cabinets are a true classic and reflect the craftsmanship of old times. However, the simplicity of straight lines, the clean look and the versatility, make Shaker cabinets a popular choice for modern kitchen designs.
Update your kitchen and give it a modern look
DIY Shaker cabinet doors are relatively easy to make. What you need is oak strips, plywood, wood glue and a table saw and when you realize that this is a cheap kitchen renovation project, you may give it some consideration. Flat kitchen cabinet doors can be easily turned into eye-catching Shaker style cabinets in a weekend. Although the traditional Shaker cabinets have a 3/4 inch strip, a 1/4-inch strip will give you the same look and appearance, so it is really up to you to decide the right width. Choose the right paint color for your updated cabinets and you will be amazed from the completely new and stylish look of the kitchen. Shaker cabinet doors are strong and attractive and can be made with tools that you most probably have in the garage. You will need a router or router table only if you want to trim the outer edge of the doors but otherwise you can stay with the clean simple look.
DIY Shaker cabinet doors – step by step instructions
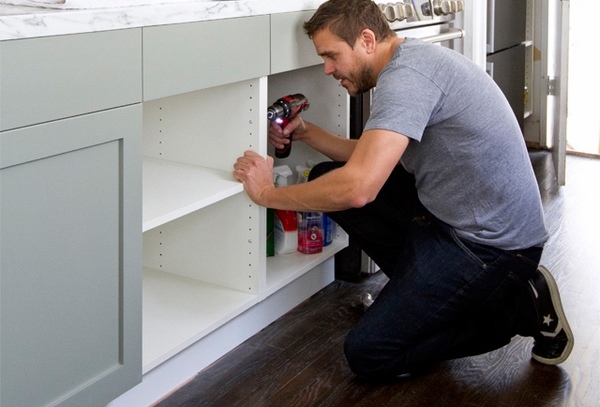
DIY Shaker cabinet doors is a project that requires some initial planning. You need some space to work, preferably in the garage or the yard. You need to remove the cabinet doors and the hinges from all the doors. Sand the front of the door to remove old lacquer, dirt or paint. Be careful to sand parallel to the grain until the door is smooth. Carefully measure the sides of the door that are parallel to the grain. And cut two pieces of 2 1/4-inch with a miter saw. Apply glue on the back of the strips and place on each side of the cabinet door. Shoot a pin nail centered 1 inch from the top and 1 inch from the bottom. Hold both strips with clamps until the glue is completely dry. To make the horizontal lines, you need to measure the distance between the hardwood strips at the top and bottom and cut hardwood strips for the top and bottom. Apply glue at the back and place the horizontal strips. Shoot a pin nail through the strips and place clamps on them as well until the glue is dry. Sand the corners and apply a primer, paint, lacquer or stain in the color that you have chosen to match the interior of the kitchen.

