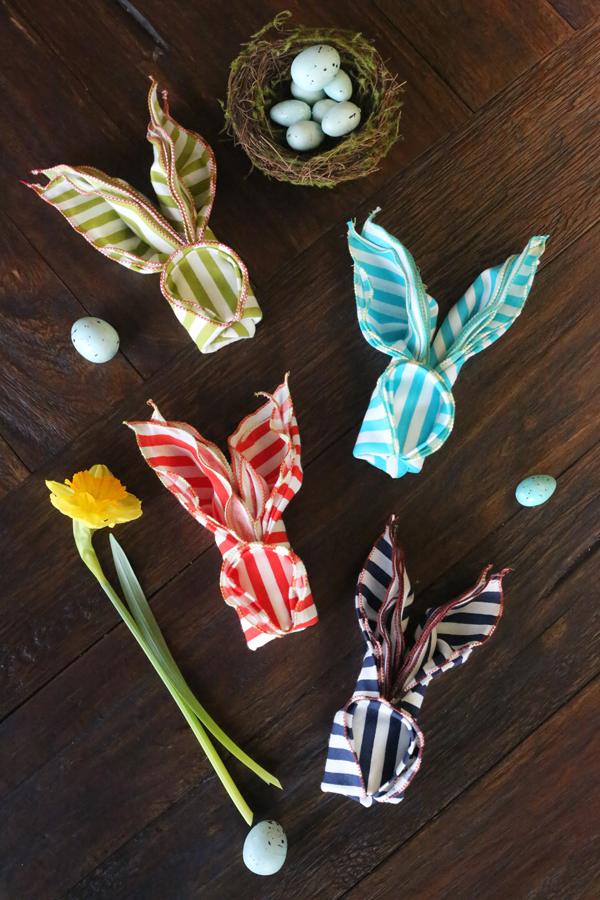
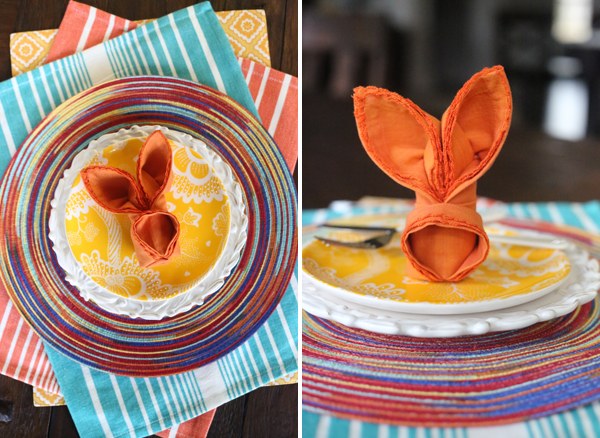
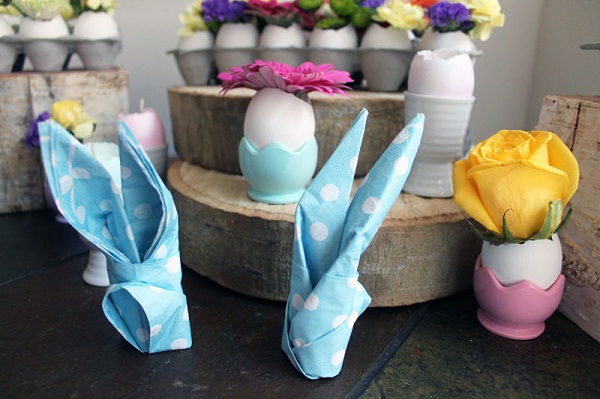
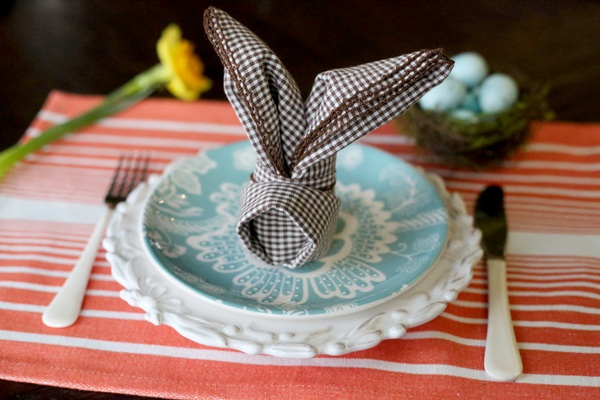
Easter crafts are a wonderful way to spend time with the kids and also show our skills. Moreover it is a wonderful way to add beautiful decoration details to our home. And we all gather around the table with the family and friends for the Easter breakfast or dinner so why not using one of the craft ideas and learn how to charm everyone with original napkins? Here is a bunny napkin folding tutorial to ease you.
You can use the bunny napkin folding tutorial for any type of napkins – paper or fabric. Cotton or linen ones will look much better but if you plan an Easter party for children – paper napkins are more practical. Make sure your napkins are square so that you are able to achieve the desired bunny shape. Another piece of advice is that thin napkins are easier to fold than thick ones. Their color should be in accordance with your table decor.
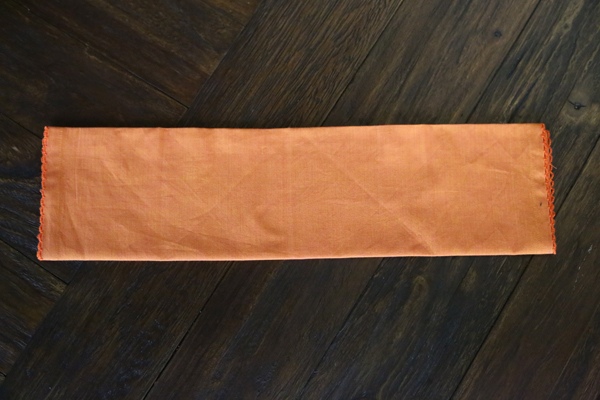
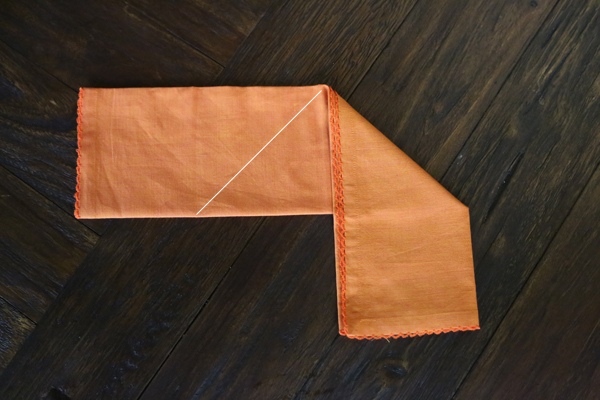
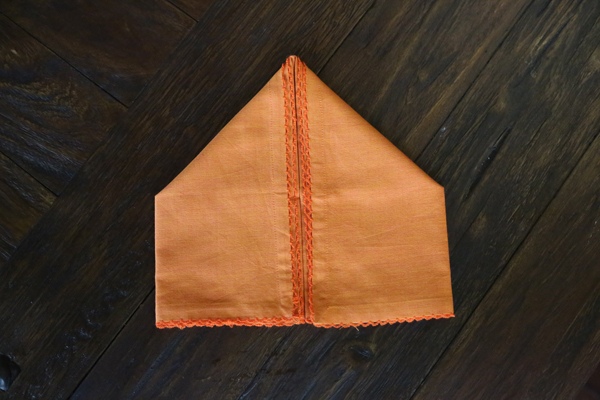
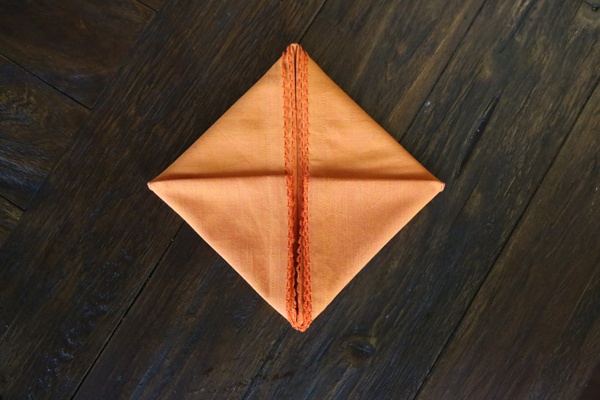
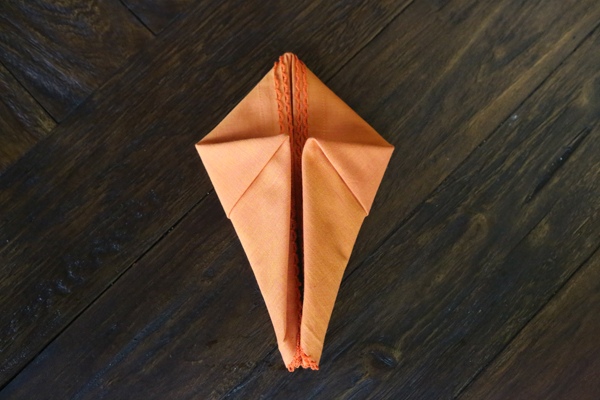
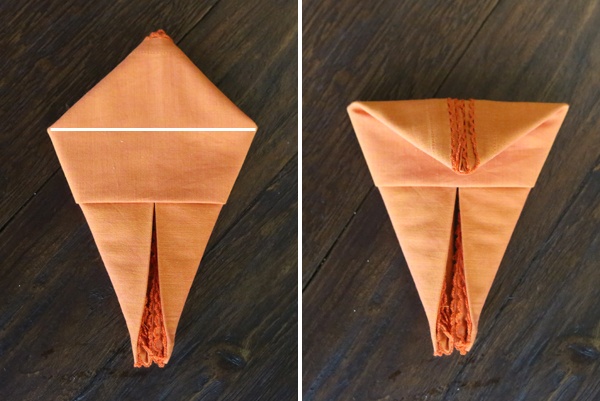
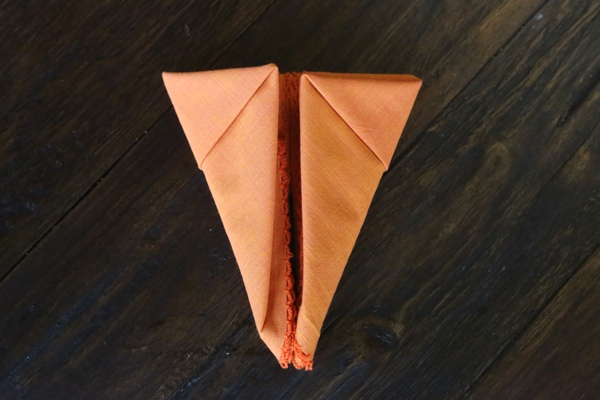
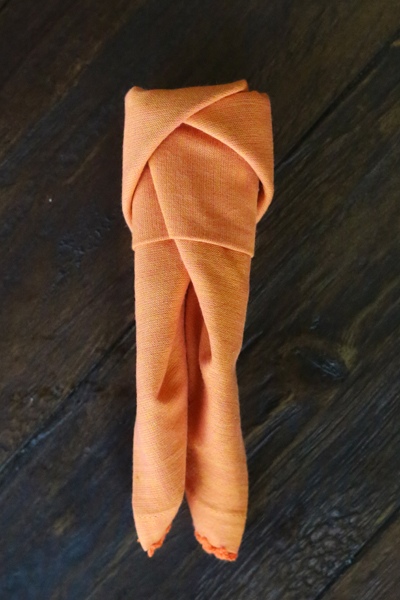
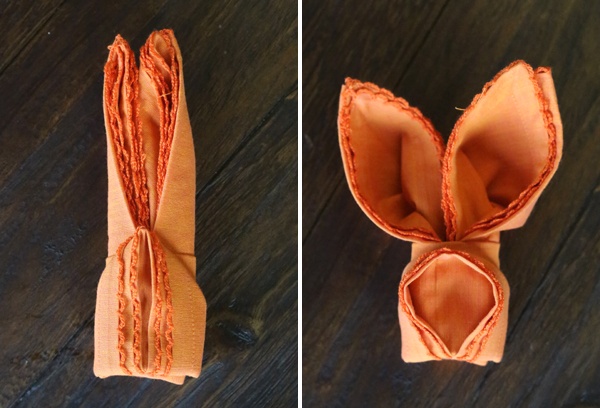
Start with folding the napkin in half and then in half again, forming a long rectangle. Fold both ends down so that they meet in the center, and form a point at the top. Fold the bottom corners upwards, also meeting at the center. Fold the side corners as shown below so that you form a kite shape. Very gently flip the entire napkin over and fold the top point downward. Gently turn the napkin back over. Roll the right side of the napkin over, a bit past the center point and fold the left side over and tuck it into the pocket on the right side. Place the napkin bunny upright and adjust. Follow the pictures in the bunny napkin folding tutorial and enjoy yourselves!
Also read: Creative Easter Craft Ideas – DIY Paper Flower Golden Eggs
and
Have a Happy Holiday with Easter Craft Ideas for Kids (And Moms)

