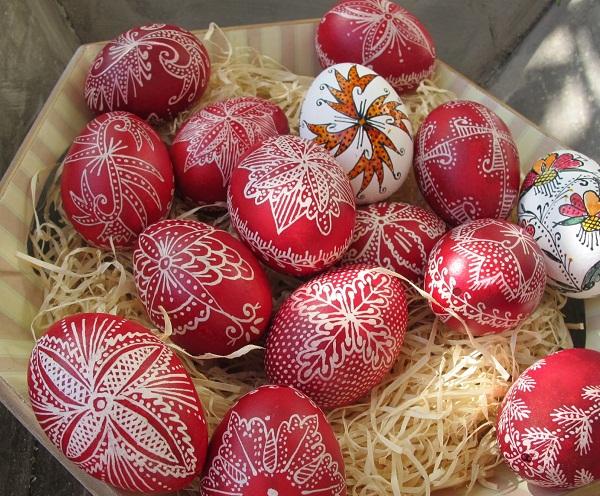
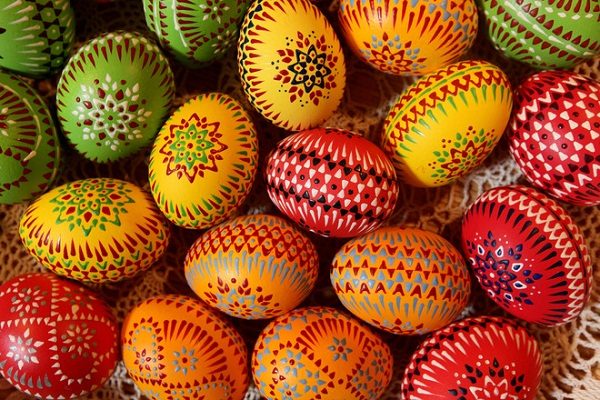
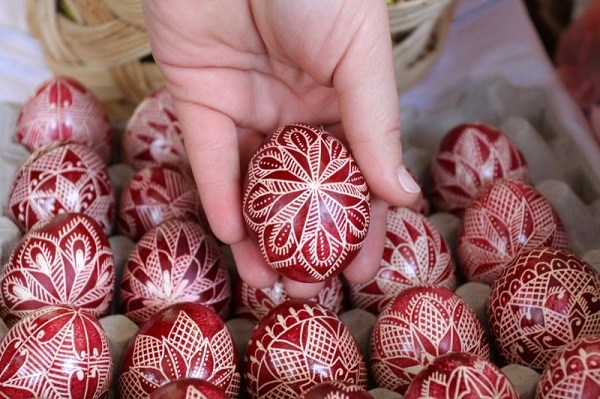
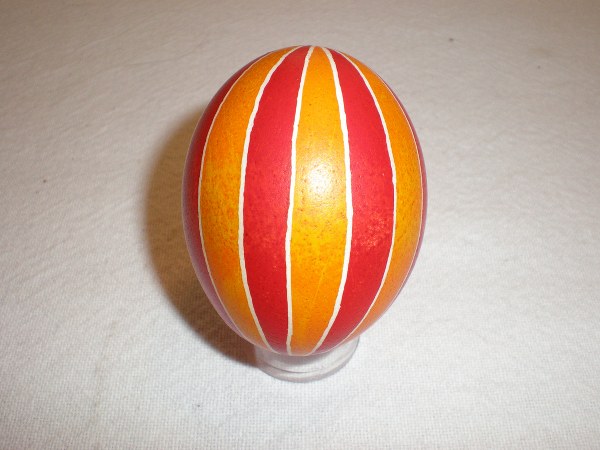
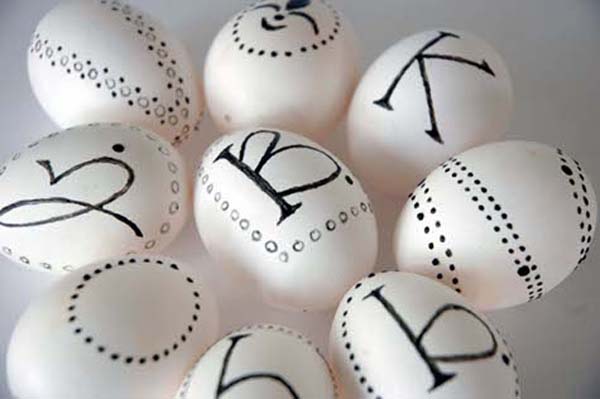
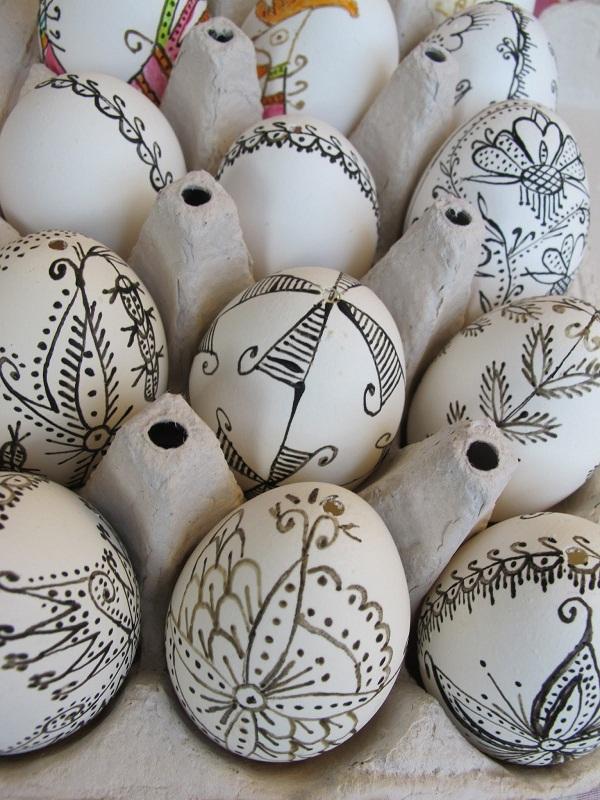
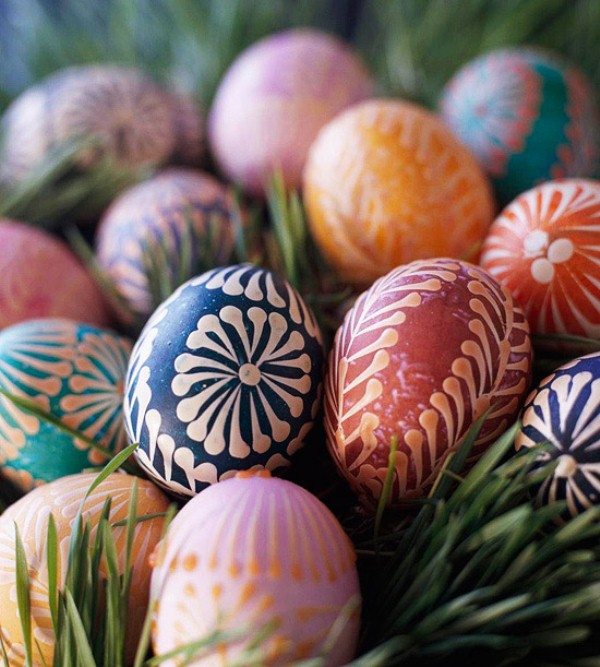
The traditional Ukrainian eggs are called pysanky and are one of the most interesting Easter eggs craft ideas and will be the perfect centerpiece on your Easter table. Making them takes time and patience but the result is amazing. The technique and the motifs are traditional but you they require a very steady hand and some good practice. The good thing is that even if you are not that crafted and skilled, you may create simpler patterns and use modern colors to make some nontraditional design elements.
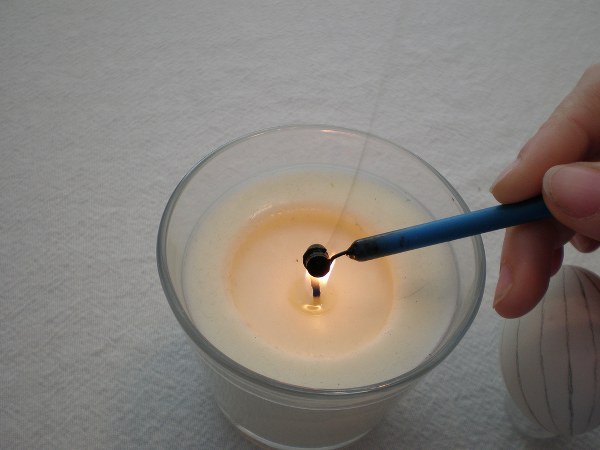
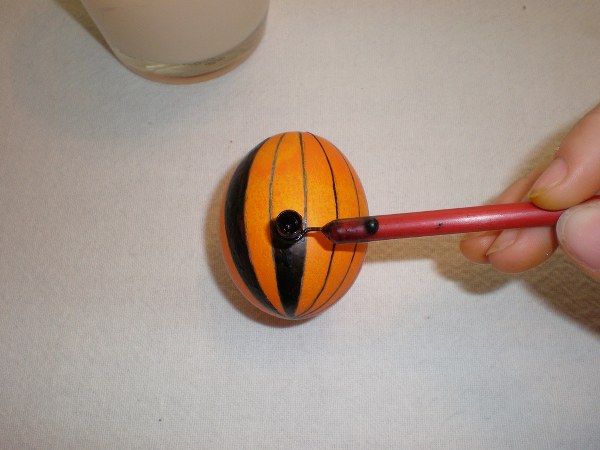
The technique which is used in this Ester eggs craft is very similar to batik. To describe it with simple words – you use wax to draw on the egg and after dyeing, the wax is melted and reveals the drawn pattern in contrast. Beginners can start with one color of wax, although you will see designs with several colors. You may decorate blown out eggs or edible eggs as the decorating method is safe. What you need is the kistka tool, eggs, pure bees wax and egg dye. The kitska tool is a little metal funnel in which bees wax is put, heated over a candle flame so that the wax is melted and then draw the wax onto the egg.
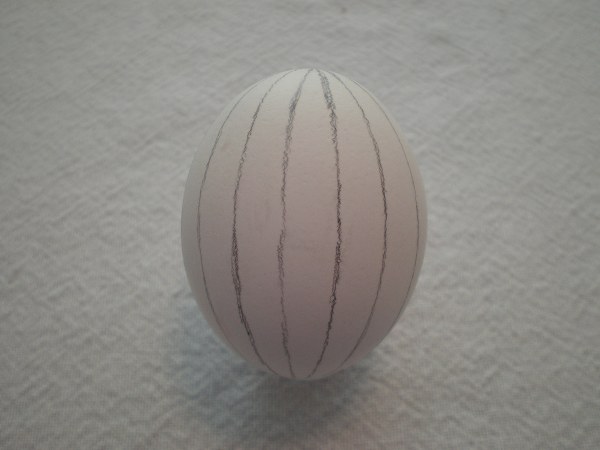
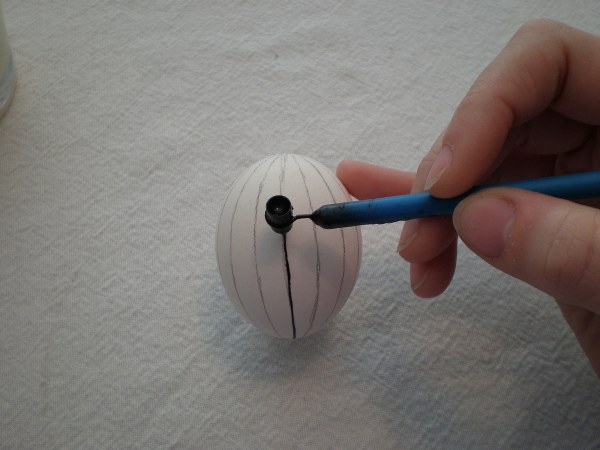
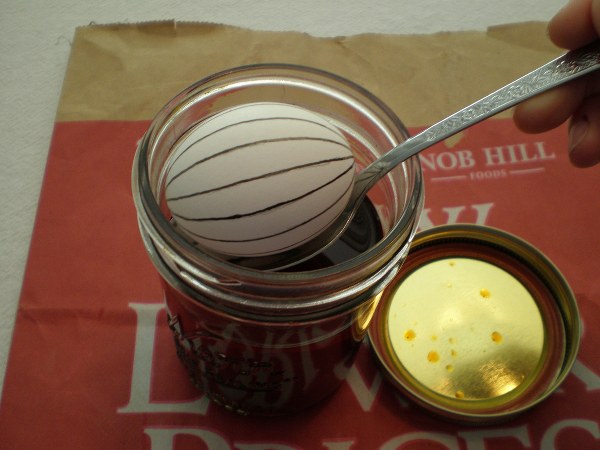
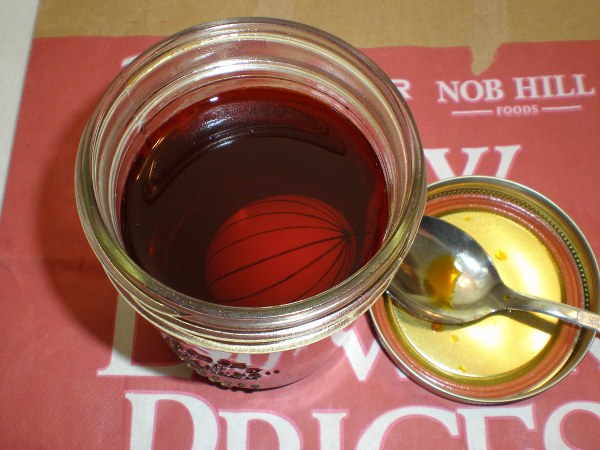
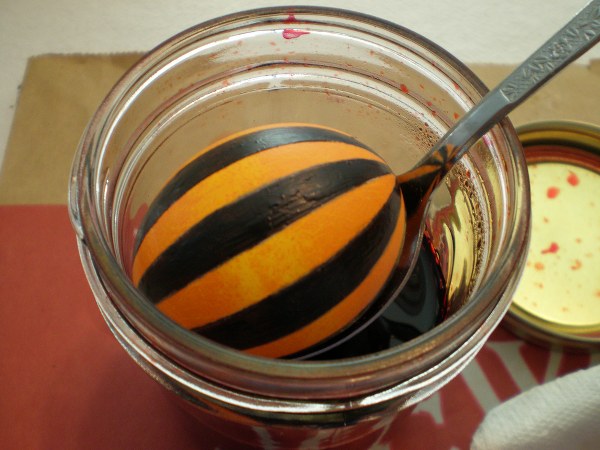
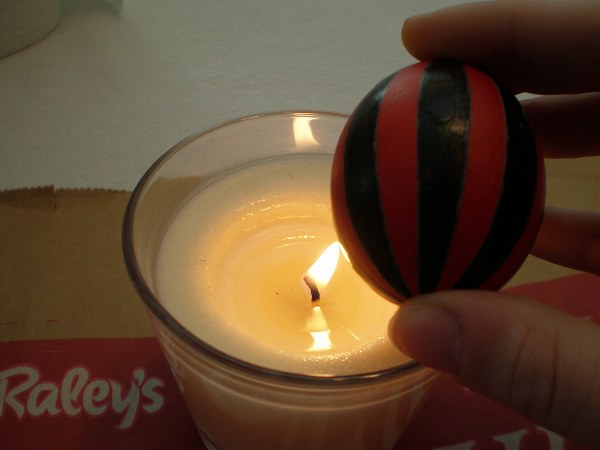
It is advisable that the eggs you plan to decorate in Ukrainian style are at room temperature so that accidental cracking is avoided. With the help of a pencil draw the pattern you have chosen on the egg shell. You may section the egg first to ease your work. Remember that wax is applied where you do not want dye. Hold your kitska tool like a pencil and repeat the lines you drew on the egg. Try to work in small sections. After you finish your pattern, dye the egg in a color that you like – red, green, blue, yellow – anything that suits you. You may stop here or continue with decoration and add additional wax lines. After applying the additional wax decorating – dye the egg again, but in a different color. Every time you add wax lines on a colored letter, after removing the wax, you will have different colors on the egg. When your pattern is finally ready – carefully melt and wipe off the wax. You can ask your children draw patterns on paper or let them enjoy this Easter eggs craft together with you.
Also read: DIY Easter Table Centerpieces – 20 Ideas for a Stylish Decoration

