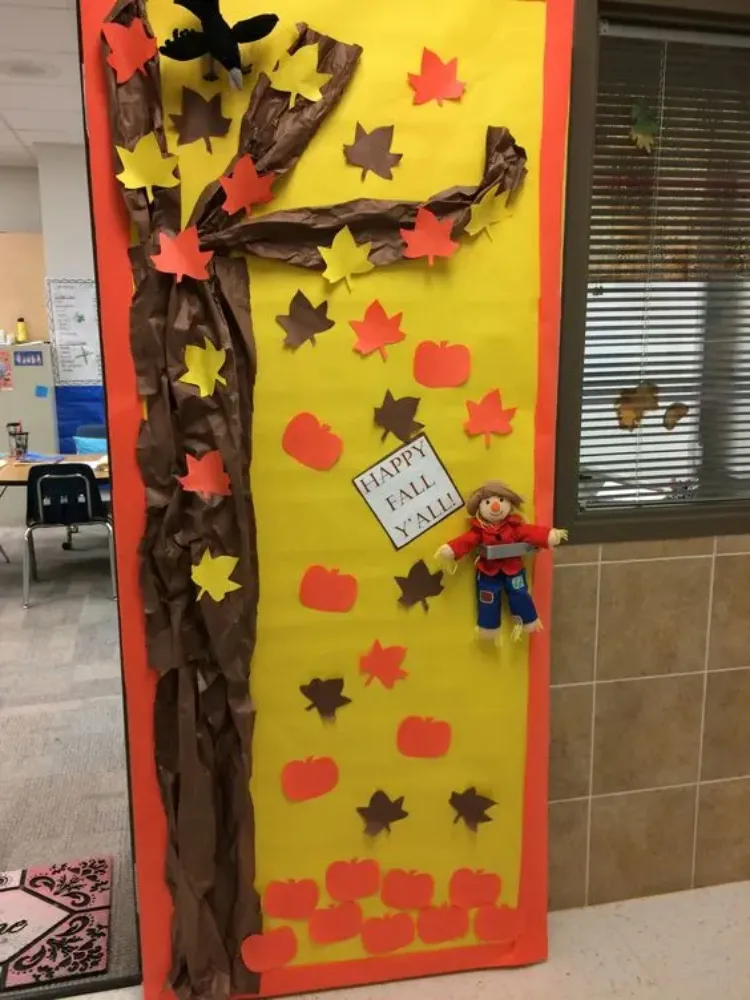
The school year has officially begun and as unbelievable as it may sound, so has autumn! This is one of the most exciting seasons for kids, as well as grown-ups, as it sets the tone for one of the most grandiose celebrations of the year – Halloween! Although we still have a whole month to carve pumpkins and pick out a costume, we can still channel the festive vibe with some DIY fall classroom decorations! Gather your students together for a fun creative project that will give your learning space a whole new character!
DIY Fall Classroom Decorations
Sometimes something as simple as a festive garland, a wreath, or even a banner can completely change the atmosphere in a classroom! Turn the seasonal decorating process into a fun collective activity by engaging your students in a little craft session! Here are 5 quick and simple decorations you can incorporate into your classroom that will instantly put you in the autumn spirit!
DIY Yarn Pumpkin
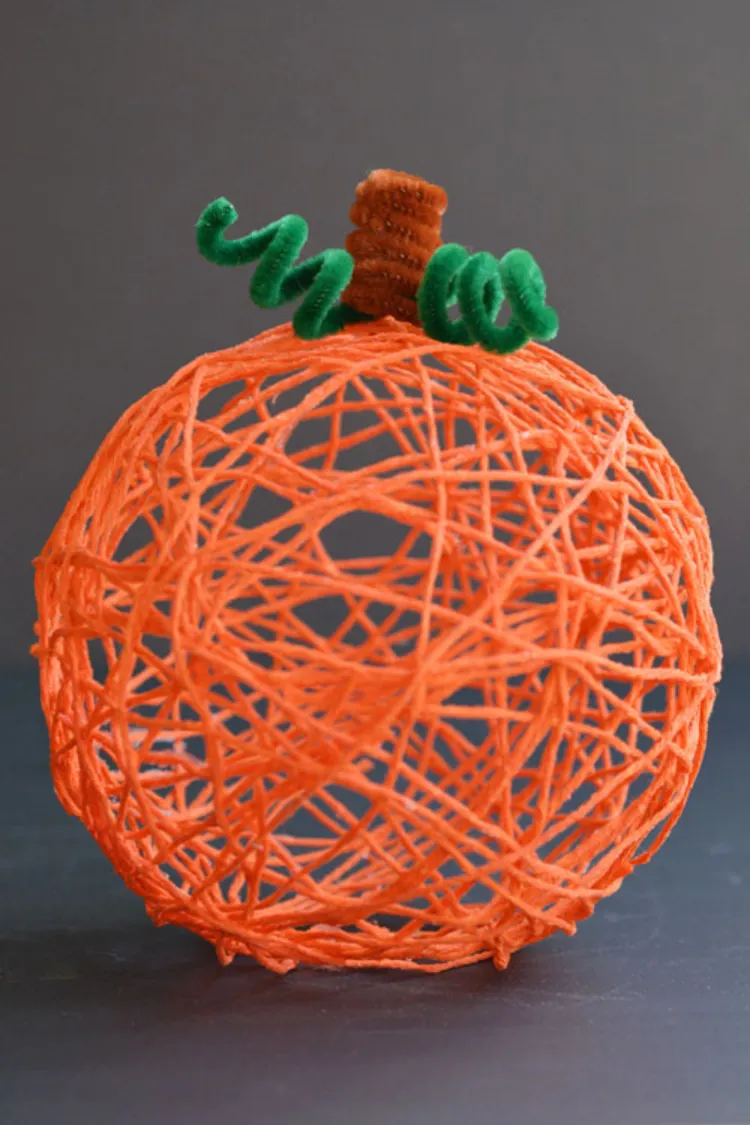
Credits: onelittleproject
What better way to kick-start the fall season than with a couple of DIY pumpkins? One thing I love more than a quick craft project is one that looks aesthetically pleasing and leaves very little if any room for failure. This one is just the type! What’s great about this yarn pumpkin project is that it’s just as engaging for children, as it is for adults! I guarantee you, once you’ve made your first pumpkin you’ll want to craft another dozen! Here’s how to recreate this awesome fall decoration!
Materials:
- Balloons
- Orange, yellow, and/or brown yarn
- Tacky glue
- Brown and green pipe cleaners
- A bowl
- A plastic fork
- Scissors
- Tape measure

Instructions:
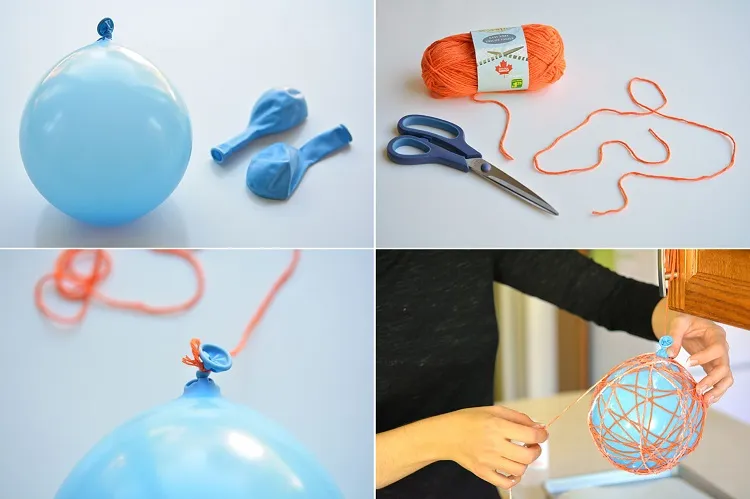
- Take one balloon and blow it as much as the size of the pumpkin you’d want to make.
- Note that the bigger your balloon is, the more yarn you’re going to need for the body of the pumpkin.
- You’re going to need approximately 21 pieces of yarn at a length of 35″ (91.44 cm).
- Avoid cutting the pieces of yarn any longer than that as they will get tangled once you dip them in the glue.
- Mix in a bowl 1/2 tacky glue and 1/2 water.
- Tie one piece of yarn at the end of the balloon.
- Hang the balloon on that piece of yarn by securing it with a piece of scotch tape.
- Take another piece of yarn, and dip it into the bowl of glue.
- Run the piece of yarn in between the tines of a plastic fork to remove the excess glue.
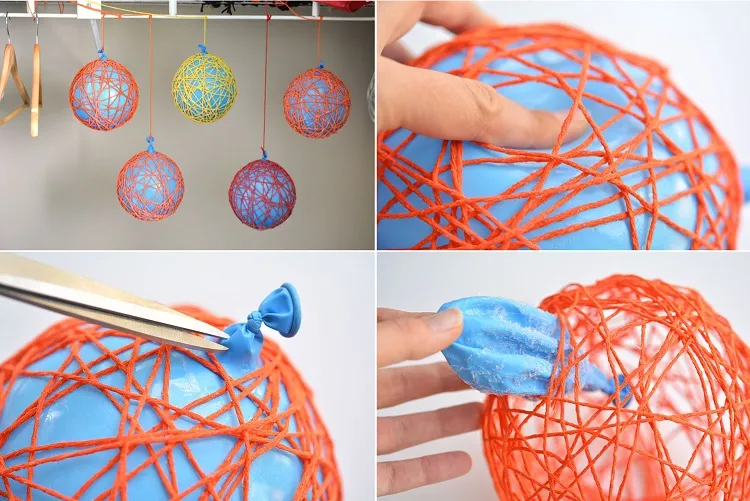
- Take the glued yarn and press one end close to the bottom of the balloon, then start wrapping it around it.
- Repeat the process until you’ve used up all the previously cut yarn pieces and don’t forget to press down the ends to secure it in one place.
- Once you’re done, let the balloon hang until the glue is completely dry.
- Put a piece of paper or a towel underneath the balloon as the glue may drip down.
- It takes approximately 10–15 minutes to make the balloon, however, it will need 24 hours to dry completely.
- Once it’s dry, press gently on the balloon in order to detach it from the yarn.
- Use the scissors to cut a small hole close to the knot of the balloon to deflate it.
- When all the air is out, simply pull the balloon out through one of the holes of the yarn ball.
- Finally, use the brown pipe cleaner to make the stem of the pumpkin and attach it to the top of the yarn sphere.
- Do the same thing with the green pipe cleaners for the vines.

Handprint Fall Wreath
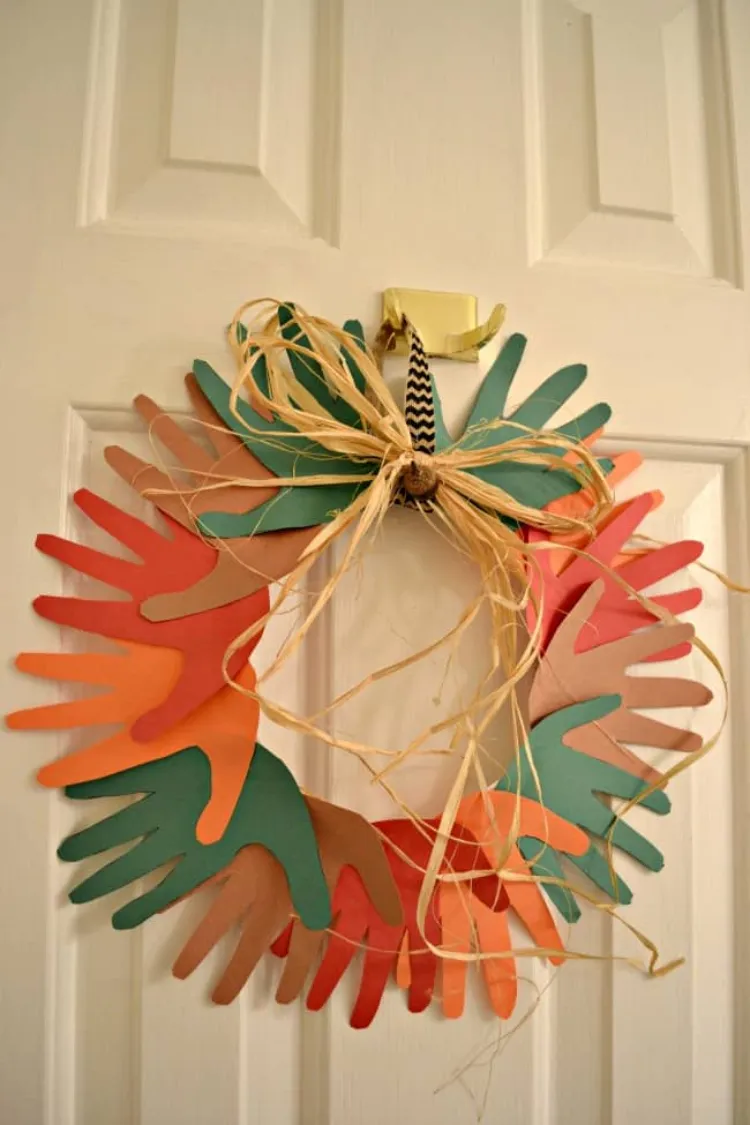
Credits: todayscreativeideas
A really cute and personal decoration idea that you can try with your class is this handprint fall wreath! Just ask every kid to outline their hand on a colorful piece of paper, or have them do it for one another in groups! Here are all the supplies you’re going to need!
Read also: 4 Simple DIY Modern Fall Wreath Ideas to Celebrate Harvest Season With!
Materials:
- Thick paper in autumn colors – orange, yellow, red, brown, green
- A big paper plate
- Raffia
- A ribbon
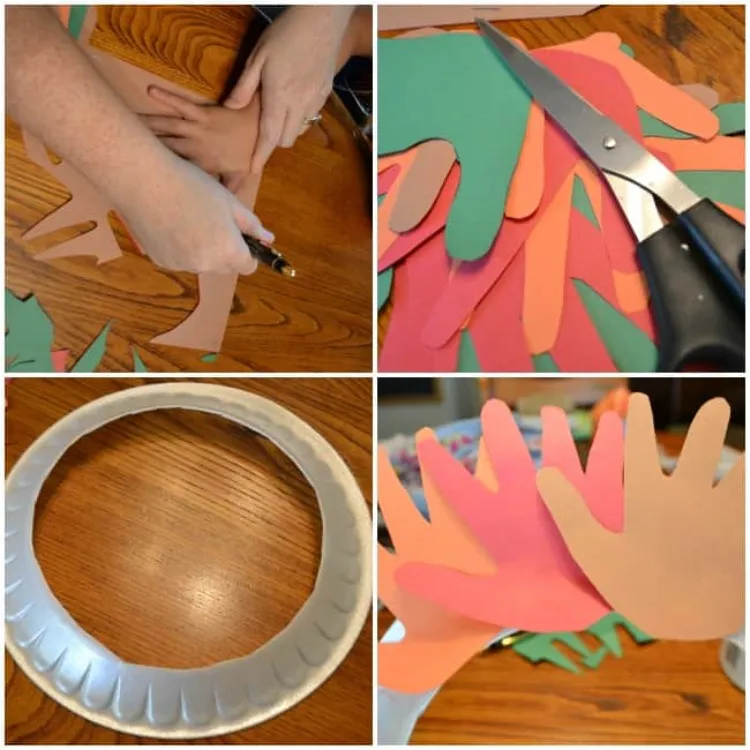
Instructions:
- Trace the hands of the kids with a black marker onto the piece of paper.
- Cut out the handprint with scissors.
- Take the paper plate, and trace a circle leaving a 3-4 cm border.
- Cut out the inside of the plate.
- Use double-sided tape or glue to attach the handprint to the paper plate.
- Let them dry.
- Attach the ribbon for hanging to the wreath.
- Make a raffia bow and tie it around the ribbon.
Colorful Paper Leaf Banner
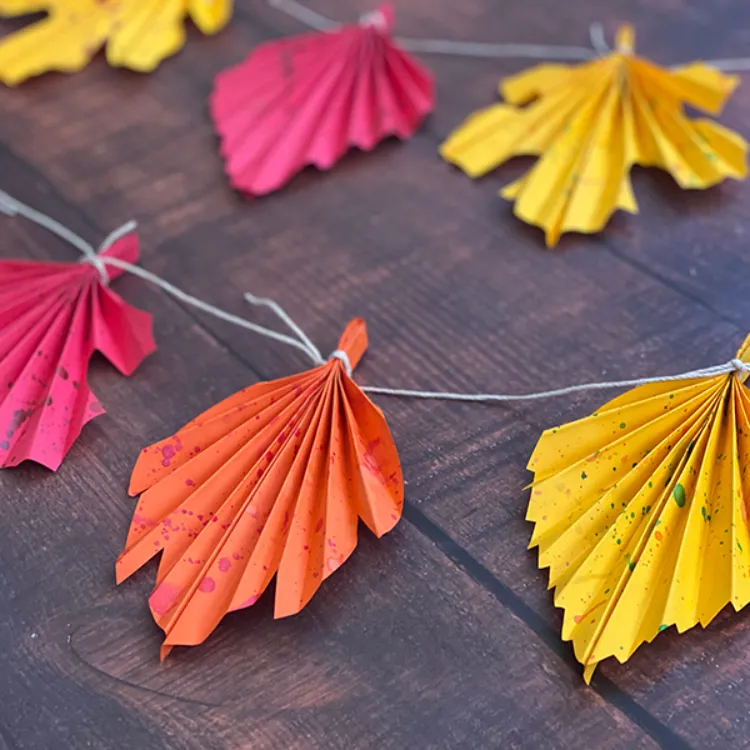
Credits: astrobrights
This colorful paper leaf banner is the perfect door decoration to craft with your students! It’s quick, simple, and super effective! You can even encourage them to make one for their home! Just print out the free template below and follow the step-by-step guide!
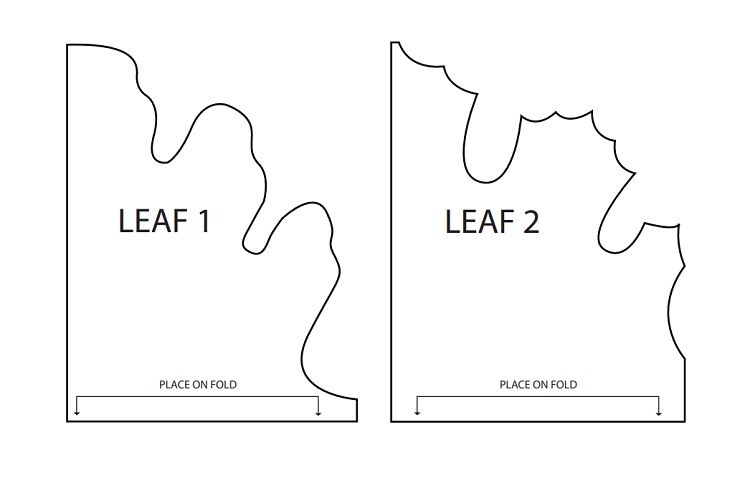
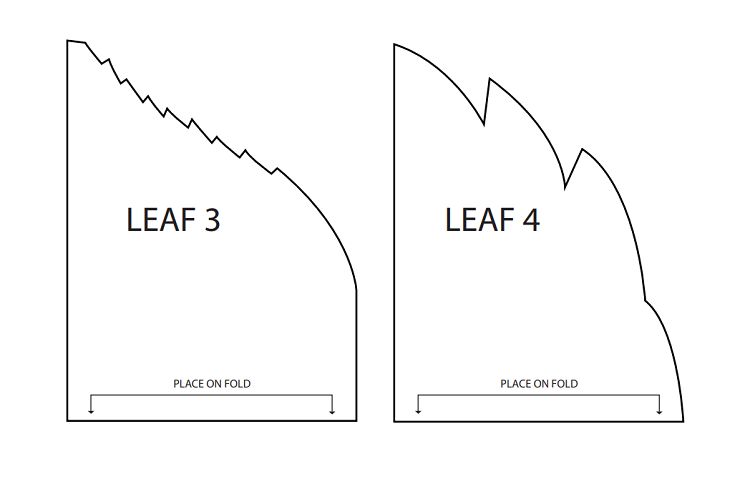
Instructions:
- Cut out each individual leaf from the template.
- Take a few pieces of A4 paper in different fall-themed colors.
- Cut the A4 paper horizontally into 4 even long rectangles.
- Take one piece and fold it in half.
- Pick one of the templates and place it on top of the folded cut paper with the bottom of the template along the folded edge.
- Cut out the paper following the guide of the template.
- Starting from the long edge, fold the cut-out paper in an accordion pattern
- Secure the ends using double-sided tape.
- Use yarn to tie a knot around the ends, connecting the leaves in a garland.
Read also: DIY Fall Crafts for Adults and Kids: How to Invite the Charm of the Coming Autumn Inside Home!
DIY Fall Paper Leaves Garland
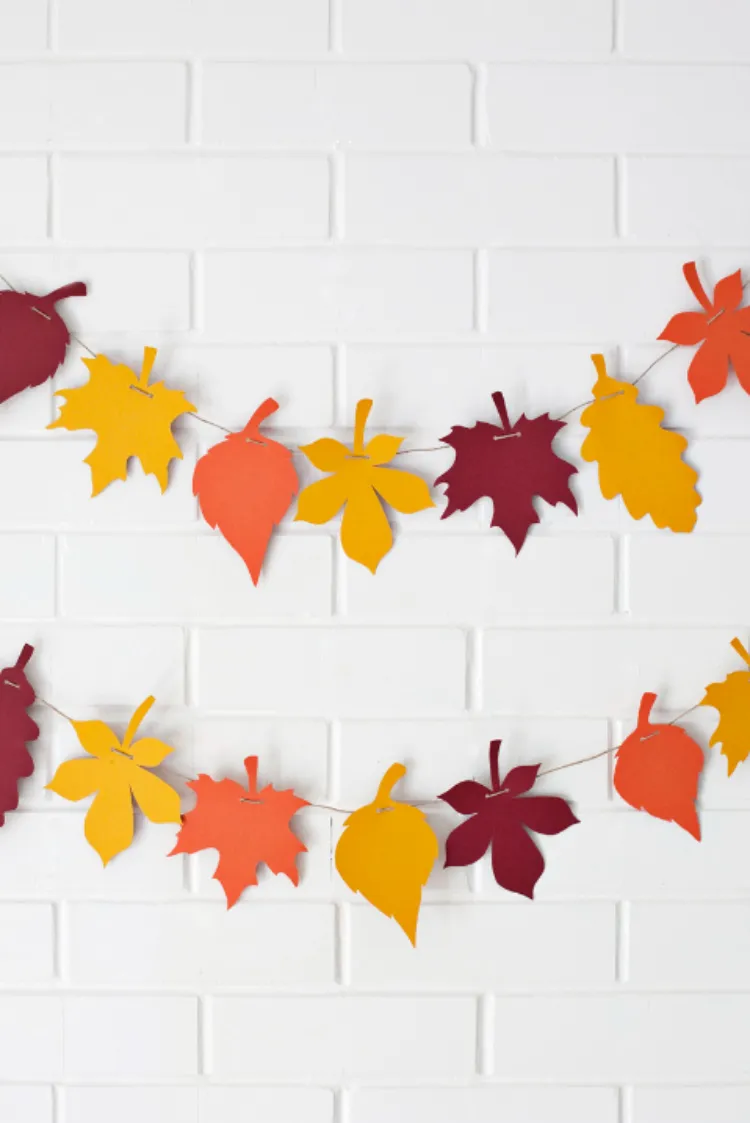
Credits: abeautifulmess
This super minimalist and easy-to-make fall paper leaf garland is guaranteed to lighten up the appearance of any classroom! Here’s how you can easily recreate this decoration with your students and bring the autumn spirit into your learning space!
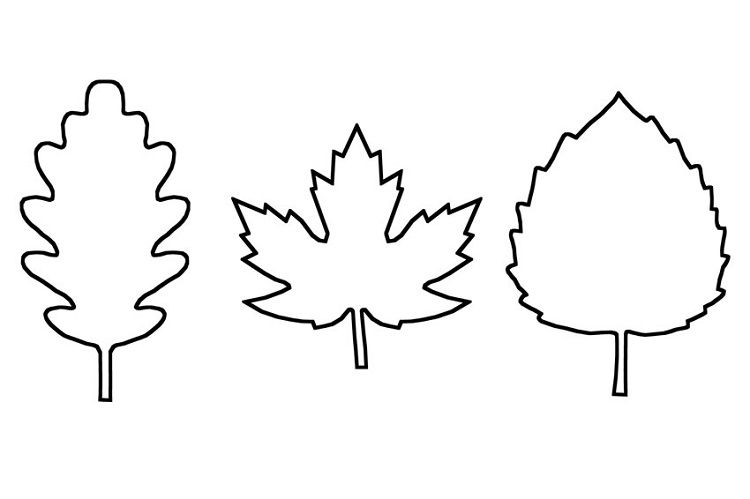
Free printable leaf template
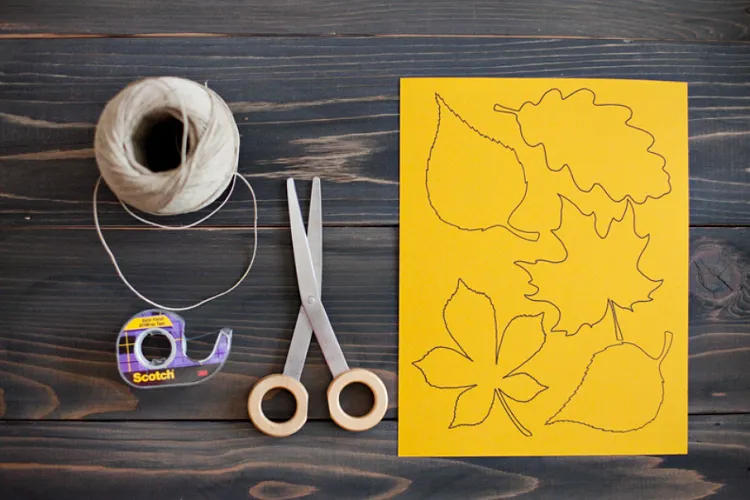
Materials:
- Colored paper in yellow, orange, and burgundy or red
- Scissors
- Twine
- Scotch tape
Instructions:
- Print out the free leaf pattern onto the colored paper, or print it out on regular white paper, then cut out the leaves and use a marker to outline them on the colorful paper.
- If you have a hole puncher, use it to make two holes at the bottom of the leaves to put the twine through.
- If not, use the scotch tape to attach them to the twine leaving even space between each one of the leaves.
Hanging Paper Pumpkins
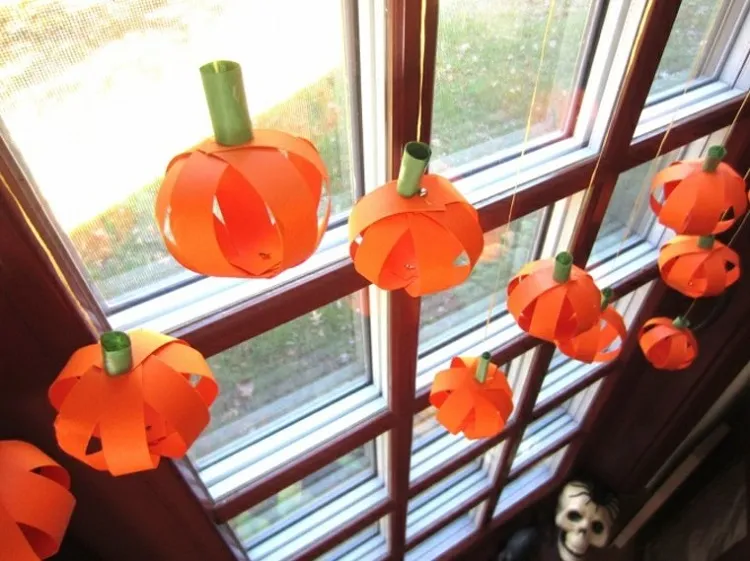
Another super adorable and fun autumn decoration I’m sure any kid would love are these small hanging paper pumpkins! You can hang these above the windows, on the door, or use them as decoration for the whiteboard! If you want, you can allow the kids to give them a personal twist by choosing the color of their pumpkins, instead of having regular orange ones! Follow the instructions below to make them yourself!
Materials:
- Thick orange scrapbook paper in standard letter size (one sheet of paper will be enough for 6 pumpkins)
- A sheet of green paper
- Scotch tape
- A twine string
- Metal brads
- A tack
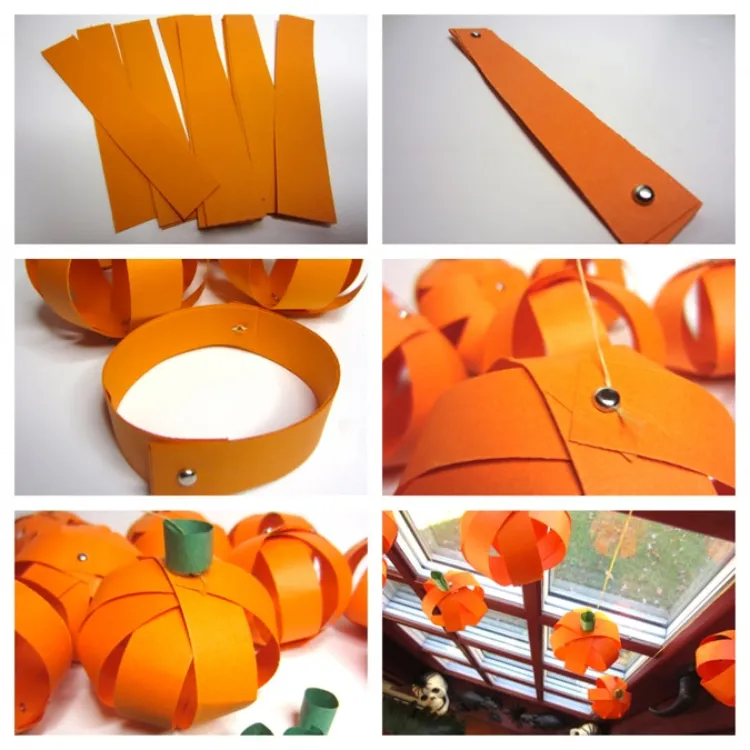
Instructions:
- Cut the orange paper into smaller 1/2″ x 4″ (1.27 cm x 10.16 cm) pieces.
- You’re going to need 7 pieces for one pumpkin.
- Layer the pieces on top of each other and use a tack to make a hole at the bottom, then push a brad through and secure the pieces of paper together.
- Repeat the same process at the top of the stack of paper strips.
- Once both the top and the bottom of the stack are secured with brads, take the stack and pull out a few pieces to create an oval shape.
- Once you have the perfect orb shape, take a twine string and tie it around the top brad.
- Cut a small square from the green piece of paper, roll it in a tube around the string, and use the scotch tape to secure it in place.