What do you use to patch holes in drywall? How to patch small or large holes by yourself?
Credits:@Ursula-Page/Shutterstock
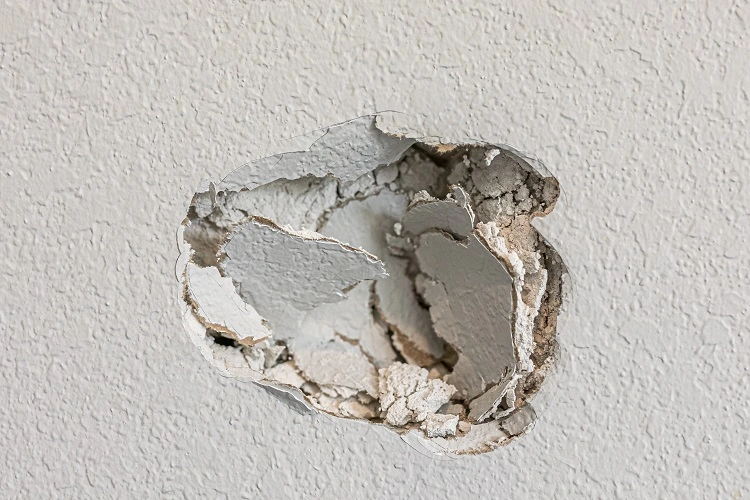
Drywall may be a durable building material, but as it happens so, small or large holes can appear over time whether they occur accidentally or not. Luckily for homeowners and renters alike, patching drywall holes can be an easy DIY task that you can achieve by yourself with a few simple instructions, items, and tools. How to do it exactly? Let us show you.
How to Patch Drywall Holes of a Small or Large Size: Full Guide
Credits:@Benjamin-Clapp/Shutterstock
Before starting the repair process, you first have to determine the size of the drywall hole you want to patch. For starters, very small holes that are caused by nails, screws, pushpins, and other fasteners that are used for the purpose of hanging pictures or wall art can be patched quite quickly. Small holes, that are the size of a doorknob or larger, will require a patch kit to be filled. And for larger holes that are usually the result of an accident, let’s say bigger than 1 square foot, a patch kit won’t be enough. You will need to cut to the adequate size and shape a new piece of drywall. But don’t worry, with our comprehensive guide, this DIY job will be a piece of cake!
What you will need for small holes:
- Drywall patch kit
- Putty knife
- Paint brush
- Lightweight joint compound
- Sandpaper (medium & fine grit)
- Paint
- Primer
What you will need for large holes:
- Drywall
- Measuring tape
- Drywall saw
- Pencil
- Furring strips
- Drywall screws
- Drill
- Joint compound
- Putty knife
- Paint brush
- Sandpaper (medium & fine grit)
- Utility knife
- Mesh tape
- Paint
- Primer
For safety:
- Dusk mask
- Safety glasses
How to Patch Drywall Holes: Instructions
Credits:@O_Lypa/Shutterstock
Step 1: Beforehand, prepare the area for working. Use the utility knife to carefully cut away any loose or damaged edges around the holes. Clean them out. This will create a smooth surface, and will make it easier for the patching to hold. If needed, sand the edges of the hole.
Step 2 A: For small holes:
- Place the drywall patch over the hole and secure it by applying pressure.
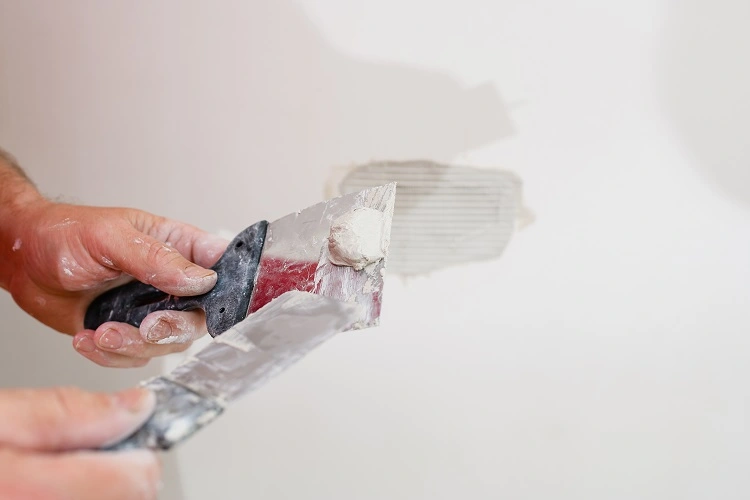
- Apply lightweight joint compound over the patch with the help of a putty knife. Fill the hole by aiming for a level surface.
- Then again, with the putty knife, delicately smooth the joint compound. Make sure you feather the edges so that they blend seamlessly with the surrounding wall.
Step 2 B: For large holes:
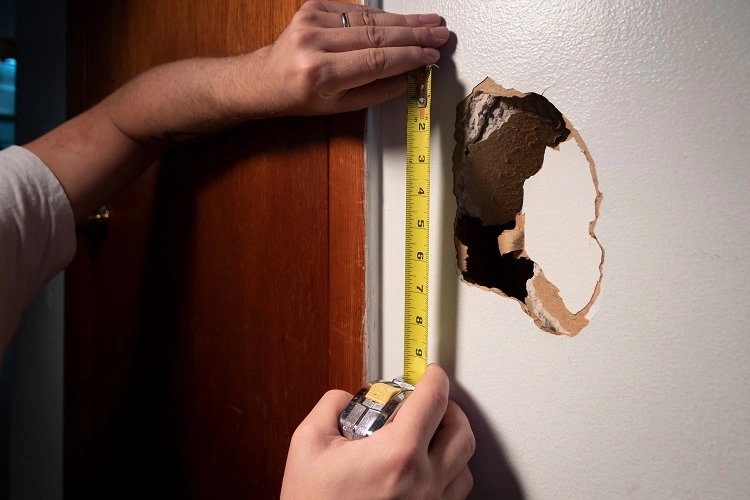
- Use the tape measure to measure the hole.
- Then cut a piece of drywall that is larger than the hole with the utility knife.
- Hold the cut piece of drywall up to the wall so that it covers the hole fully. Use a pencil to trace the border around the drywall piece.
- With the drywall saw, follow the pencil outlines and cut a hole to the size and shape of the patch.
- Now measure and cut thin strips of wood that can fit vertically inside the wall for each side of the hole. Each strip should be secured to the drywall with drywall screws and a drill. For the other half of each strip, it should stick out into the hole to work as a support for the drywall patch.
- Place the cut drywall patch into the hole. Secure it to the furring strips with the drill and drywall screws.
- To prevent the patch from collapsing or sagging over time, first apply a self-adhesive mesh tape on the borders and then cover the entire patch with it. This will provide additional stability.
- Then apply an even layer of joint compound over the mesh tape with the putty knife. Again, feather the edges, so the patch smoothly blends with the surrounding wall.
Follow the upcoming steps both for small and large holes.
Step 3: Now you just need to wait accordingly so the patch fully dries. Take note of the joint compound’s instructions for the specified drying time. Don’t overlook this step, as adequate drying time is key to a durable and solid patch.
Step 3: When the joint compound has fully dried, it’s time to sand it over. Use a medium-grit sandpaper to gently sand the patch. Aim for a smooth and even surface. Make sure no edges are left out.
Step 4: If you think it’s necessary, you may need to apply additional coats of joint compound to fully fill the hole. Allow for each coat to dry completely before applying the next one. Sand the patched area between coats to maintain a smooth and even surface.
Step 5: Now switch to a fine-grit sandpaper for a final sanding. Ensure that the patched area is not only smooth, but blends in coherently with the surrounding wall once you paint it.
Step 6: Before painting over your patched work, it’s essential that you first prime it to promote proper paint adhesion. Wait for the primer to fully dry. Then, paint the patched area in the same color as the wall for a seamless finish. Voilà! Well done.
For video instructions on how to patch drywall holes, either small, medium or big, watch this YouTube tutorial provided by Evan and Katelyn.
Also read: How to Fix Chipped Paint on Wall and Prevent Chipping Issues? Here’s Your Ultimate Guide!