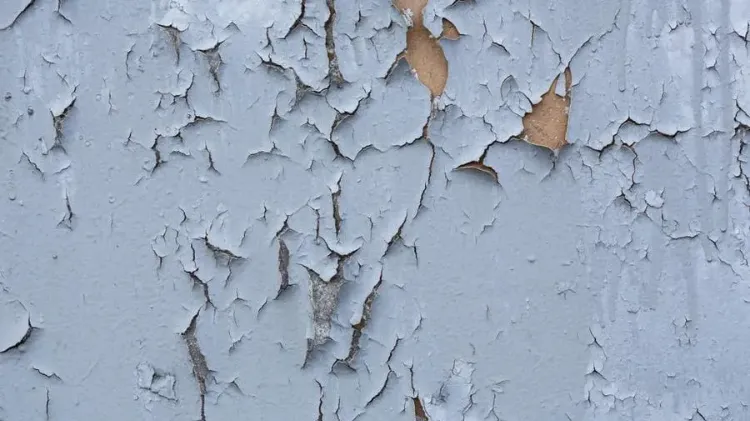
Which expert tricks and tips can help you fix a chipped paint on a wall? Which tools you will need in order to ensure that you will handle this task with success? How to prevent wall chipping issues in the future?
Here is How to Fix Chipped Paint on Wall in 6 Simple Steps, According to Experts!

Want to save money on hiring a professional to handle this task for you? If so, we have good news – with the right approach and mindset, you can solve the issue on your own! Below, you will find a step-by-step guide on how to do that.
Which Tools You’ll Need
While there are various techniques to fix chipped paint on a wall, we will give you the simplest one here. Before starting out with the process, make sure that you have prepared the following things – a paintbrush, primer, a can of paint, sandpaper, a drywall joint compound, and a knife.
First Step
Use a knife to scrape off loose bits of paint. You will need a smooth foundation before proceeding further, which means no large flakes. Once you have removed them, take the sandpaper and buff out the chipped paints.
Read also: How to remove mold from walls without damaging paint?
Second Step
Now it is time to fill up the chipped area, by using the drywall joint compound and a knife. Make sure that you even out the compound that is along the wall, so that it becomes as plain as possible. You do this by using the edge of the knife.
Third Step
Be careful at this point, since if you make the mistake to apply paint onto a wet compound, the paint will surely crack or look patchy. So, the key here is to wait for about 24 hours and check whether the compound is dry.
Fourth Step
It is important to buff the uneven compound slightly in order for it to blend well with the wall. If the edges look bumpy, use the sandpaper to sand away properly, until the surface is smooth enough.
Read also: How to install crown molding between wall and ceiling?
Fifth Step
Although this step is optional, we recommend not skipping it. Use a layer of primer, in case you want the end result to be long-lasting, or the chipped part was quite large.
Sixth Step
If you have completed successfully all steps above, it is time for the fun part – painting the wall! Ensure that the kind of paint that you will be using is compatible with the rest of the wall.
How to Prevent Wall Chipping?
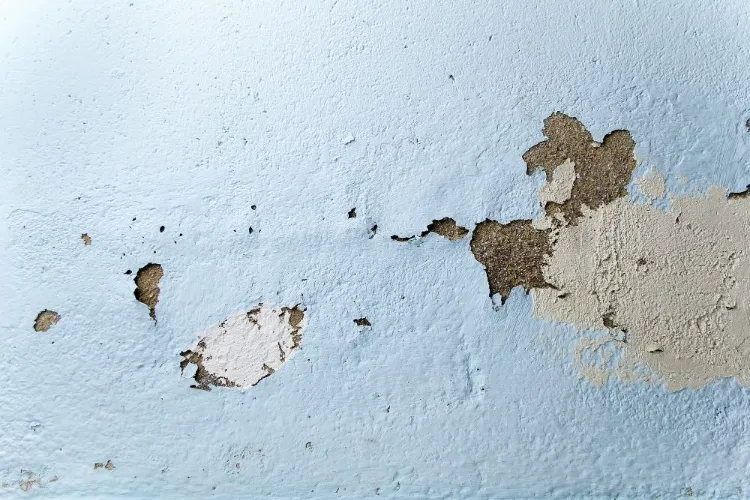
The two main reasons for chipped paint on a wall are extra moisture and using the wrong paint. So, how to deal with the first problem? Check whether there are any water pipes within the wall. If so, fix pipe leakages and add a ventilation fan that will combat the excessive humidity. What about the second issue? Talk with a specialist to figure out whether latex-based or oil-based paint is suitable for your home.