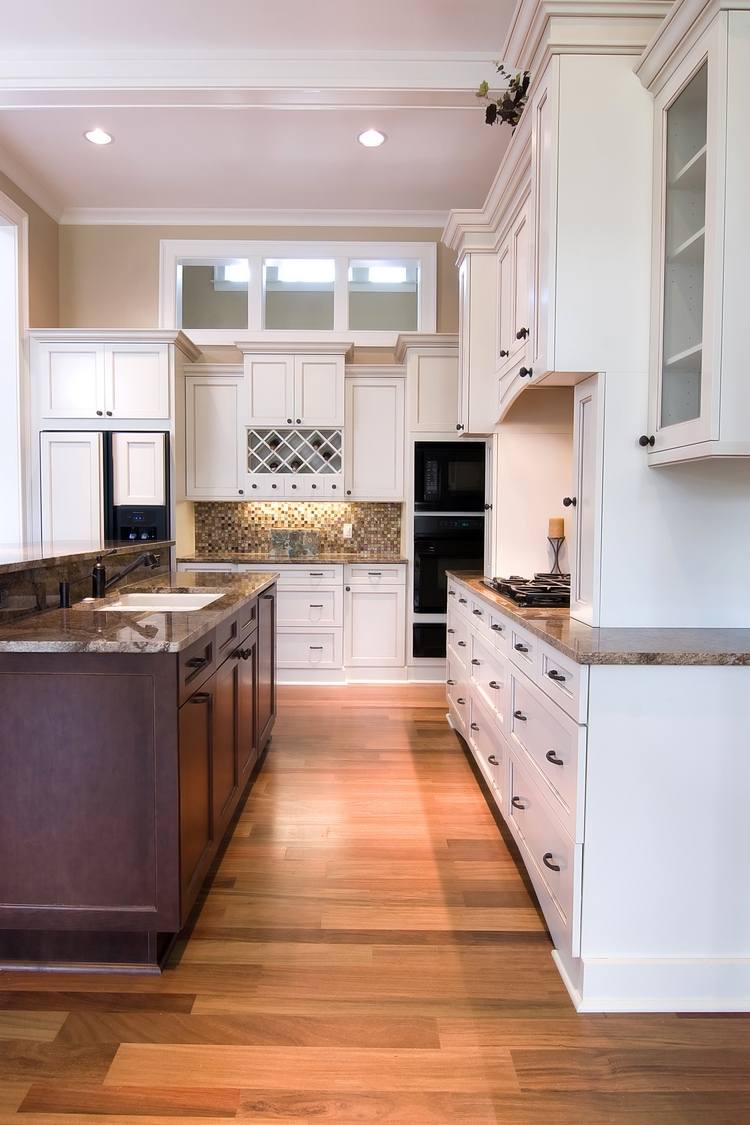
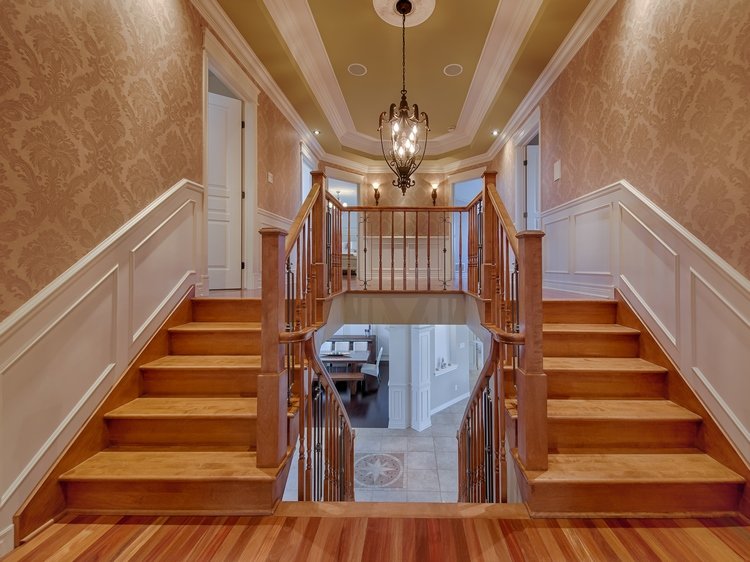
How to install crown molding? Ceiling decoration is an integral part of the overall design of the room and should correspond to the entire style of the interior. This type of ceiling finish is suitable for any style – modern, contemporary, rustic, traditional, and can be installed in any room of the home – living room, dining room, kitchen, hallway, etc. There is a wide variety of materials and finishes and nowadays homeowners can choose between traditional and new solutions for ceiling decorations which allow them to create a harmonious interior.
Installing crown molding is an excellent allows you to hide irregularities or flaws in the finishing work along the line connecting the wall and ceiling. That is why it is so important to know how to install crown molding. Usually it is made of polystyrene, PVC, polyurethane, plaster, MDF, wood, etc. The installation of this trim is the final touch on interior design.
Crown molding between wall and ceiling can be installed using different techniques. You can use adhesive or mechanical fastening. The simplest, most effective and easiest type of installation is using adhesive. In addition, this type of installation makes future repairs much easier and you can decorate the walls without having to remove or reinstall the finish of the ceiling.
How to install crown molding easily?
The most widely used crown molding is made of either polystyrene or polyurethane, because after painting they look as good as plaster and in addition, these options are cheap and exceptionally lightweight. Due to their light weight and ease of processing, their installation is not difficult even for craftsmen with little experience in repair work. You will need a ladder, mitter saw, non-toxic, high strength construction adhesive and nail gun tacker.
Prime the molding before installation. In this way you will make sure that it will be protected against swelling and shrinkage. Whether to paint it before or after installation is a matter of personal choice. If you paint it before installation, you will avoid paint drips on the walls and overall mess. Painting after installation is a guarantee that your finish will have a perfect ceiling appearance. You will have to do it very carefully, of course, but as we already said, it is up to you to choose which option suits you best.
The first step to install crown molding on the ceiling is to cut the rails in size. At the same time, its ends must have a straight line or an angle of 45 degrees, depending on the place of connection and whether you install the finish on an inside or outside angle.
Start installing the molding from the corners of the room. With the help of a miter saw cut the angles of two slats that will dock in the corner of the walls, attach and see how they mate. If necessary, with the help of sandpaper, grind off excess.
Apply adhesive to the back of the molding and fix it to the wall. The adhesive will hold the molding to the wall while you fix it with the nail gun tacker. Make sure you do not press too hard so as not to damage it.
Measure the next piece of molding and install it in the same way. Repeat until all the molding is installed.
No matter how precisely you cut the molding there will always be tiny gaps at the joints. Making them invisible is easy. You need some putty material. Apply the putty over the gaps and nail holes. If irregularities appear after drying use fine-grained paper and sand them.
Apply masking tape along the crown molding and paint it. Work slowly to avoid paint bleeding and drips on the walls. Let the paint dry and remove the masking tape.

