How to perform the perfect pedicure at home, step by step? What can you do to make your nail polish last longer? 9 easy steps for beautiful & healthy toenails.
How to Do Pedicure at Home Step by Step?
Don’t feel like going to the salon to get your pedicure done? Want to save some money, yet have pretty and shiny toenails at the same time? Here is how to get the perfect pedicure at home with home ingredients:
What you will need:
- nail polish remover (preferably acetone-free)
- cotton pads
- nail file
- foot file or pumice stone
- nail clippers
- foot cream or cuticle oil
- nail polish (base + top coat)
- basin
- bath salts, kosher or Epsom salt
Step 1: Prepare Your Toenails by Removing Any Old Nail Polish
Firstly, you will have to prepare your toenails before you start the home pedicure. Now is the time to finally get rid of that chipped nail polish that you’ve had for months. Soak a cotton pad in a nail polish remover and hold it on each of your toenails for a few seconds to really break down that polish. For extra stubborn nail polish stains, rub cuticle oil over the surface of your toenails to remove it.
What Is the Best Thing to Soak Your Feet in for a Pedicure?
Want to make the skin of your feet smoother and softer? When doing a home pedicure, the best thing to soak your feet in is Epsom salt. This type of salt is very nurturing for dry or sore feet, as the minerals found in it help to remove toxins from the body.
Step 2: Soak Your Feet and Nails in Soothing Salt Water
This is the step when you start to feel like you are spending a day at the spa. Take a basin, or use your bathtub if you have one, and fill it with warm water. Add a liberal scoop of soothing bath salts or a cup of kosher or Epsom salt. Submerge your feet and let them sit for 5-10 min to soften your toenail cuticles.
Step 3: Remove the Dead Skin from Your Feet
After you have dried your feet, now is the time to get rid of any dead skin and make them feel baby-smooth. Take a foot file or pumice stone and remove all dead skin from your calluses. Focus your attention on your heels and any other hard areas. Scrub until you feel like the skin of your feet is smoother. Be sure not to rub too hard as this can irritate your feet.
Step 4: Trim and Shape Your Toenails the Way You Want
So, your feet are now smooth as a baby’s bottom? Then let’s proceed to the next step and get your toenails in shape. First, trim your nails with nail clippers into a shape and length you prefer. After, take a nail file and smooth out the edges and corners of your nails. Don’t rush this step, as any fast and harsh filling can damage your nails.
Step 5: Pedicure at Home with a Relaxing Foot Massage
Continue your pedicure at home spa day with a relaxing foot massage! Take some foot cream or body lotion into your hand and start massaging your feet, toes and calves until you feel like it. Performing this massage not only feels great, but will help hydrate your feet after removing the dead skin. Finish the massage by taking a cotton pad dipped in rubbing alcohol and cleaning the surface of each toenail. This will remove any oily residue and prevent your pedicure from chipping or sticking.
Step 6: Rub a Few Drops of Cuticle Oil Into Your Toenails
Using cuticle oil for your nails both during summer and winter can have many benefits for them. Instead of trimming or cutting your cuticles by yourself, which can lead to irritation and infections, take a few drops of cuticle oil and rub it into your toenails. Not only will this make them look more shiny, but will better the overall health and appearance of your toenails, and protect them from bacteria.
Step 7: Apply a Thin Layer of Base Coat Before the Nail Polish
You certainly can’t skip applying a base coat over your toenails! Doing this will create a barrier between the natural oils coming from your nails and the nail polish you will apply later. Plus, it will make your pedicure last longer, and who doesn’t want that?
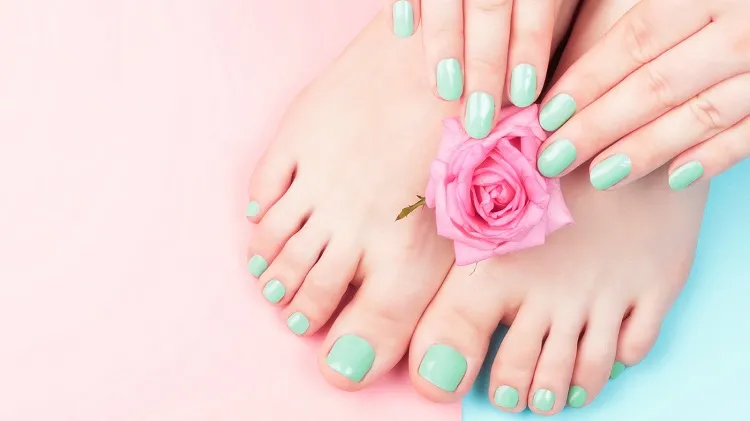
Step 8: Paint Your Toenails in a Desired Nail Polish Colour
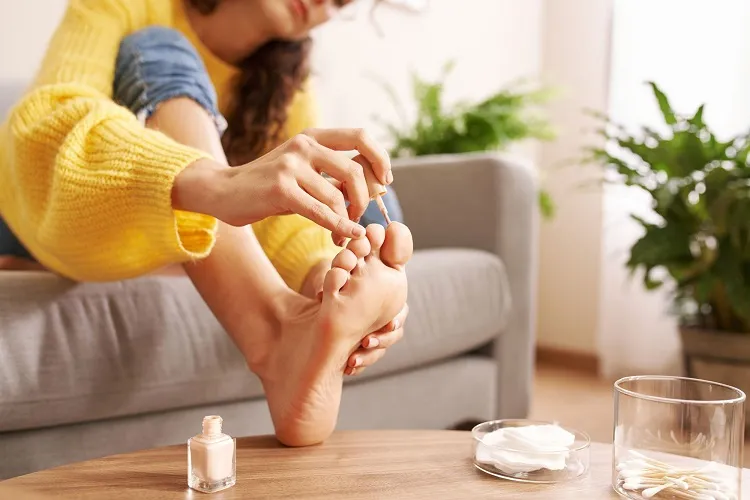
Before proceeding to apply a nail polish colour, use toe separators to prevent your polish from smudging. If you don’t have such, tear off a piece of a paper towel, roll it and place it between your toes. Proceed with applying two layers of a thin coat of nail polish. Let the paint dry for a few minutes before each coat. If you have a hard time painting inside the lines like I do, use an orange stick to clean up any messes.
Step 9: Finish Your Pedicure at Home with a Top Coat
Want to enjoy your pedicure for as long as possible? Then, you mustn’t skip applying a top coat over your fresh nail polish! This will seal it and leave your toenails looking shiny. Better to let it dry for at least 10 to 15 minutes before moving around your house. If you can even wait for 20 to 30 all the better, especially if you are putting socks or shoes on right after.
Read also: Here’s Why You Should Avoid Getting Gel Pedicures in the Winter!