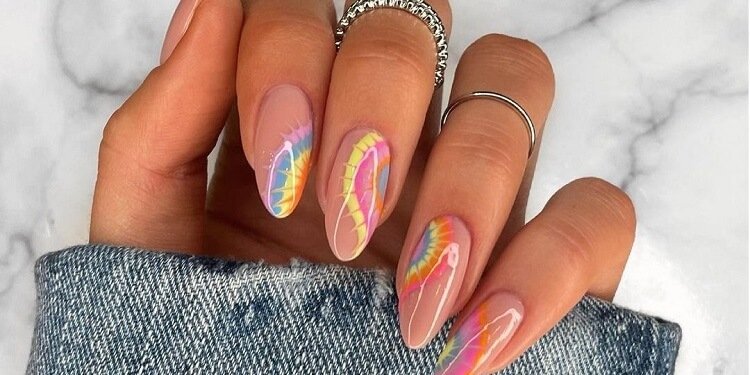
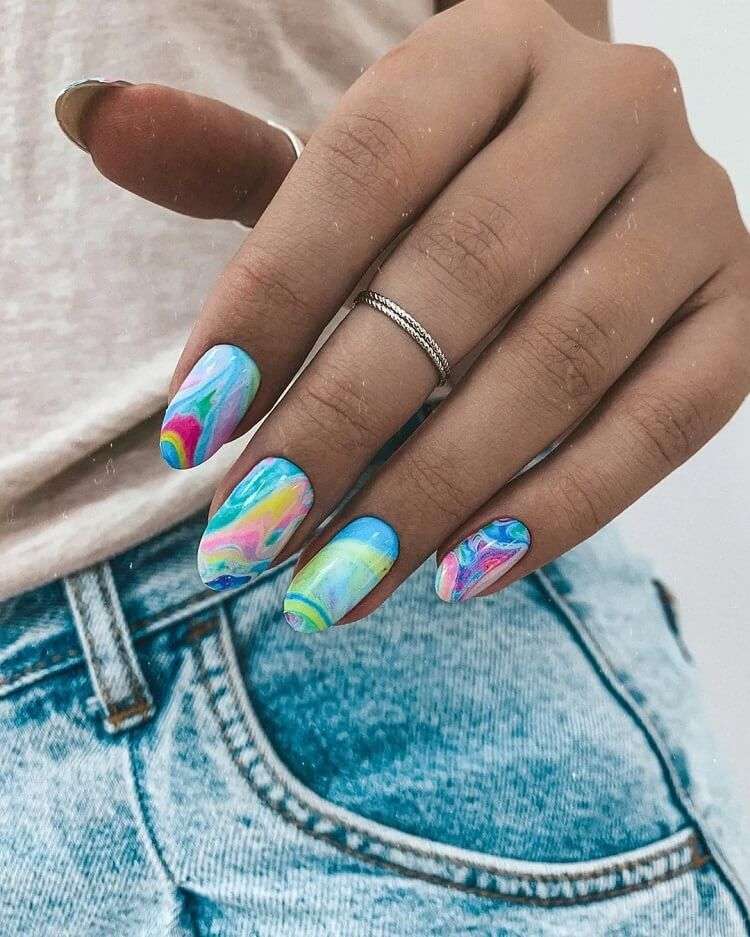
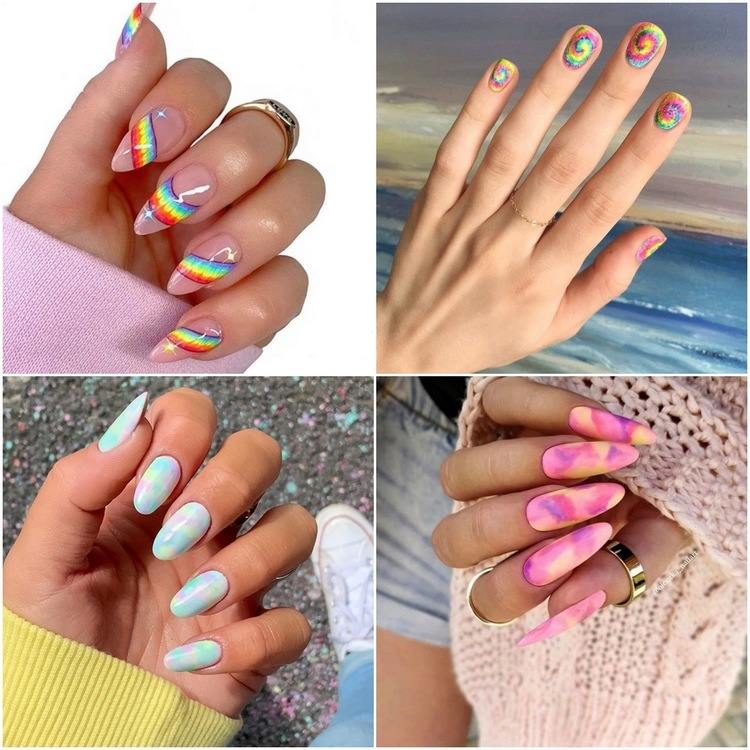
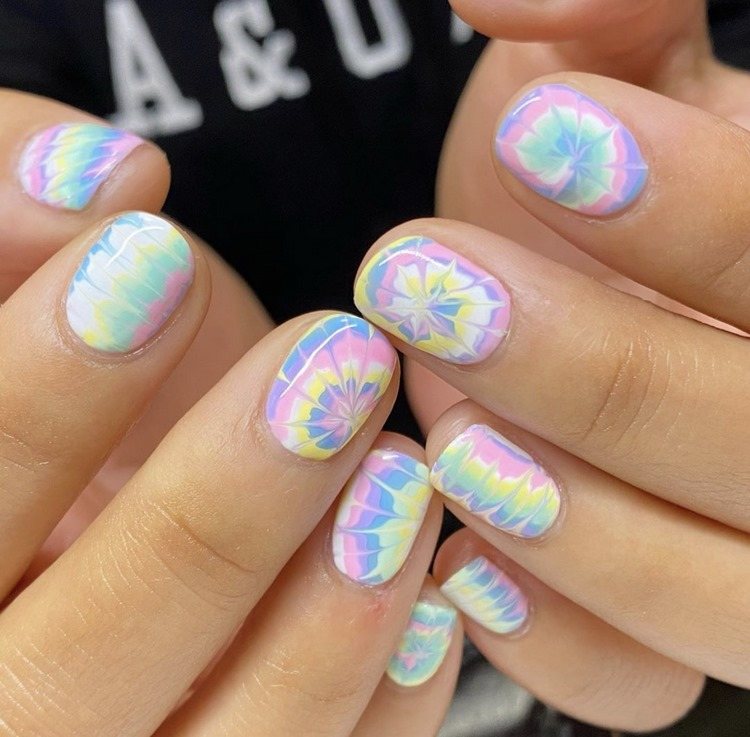
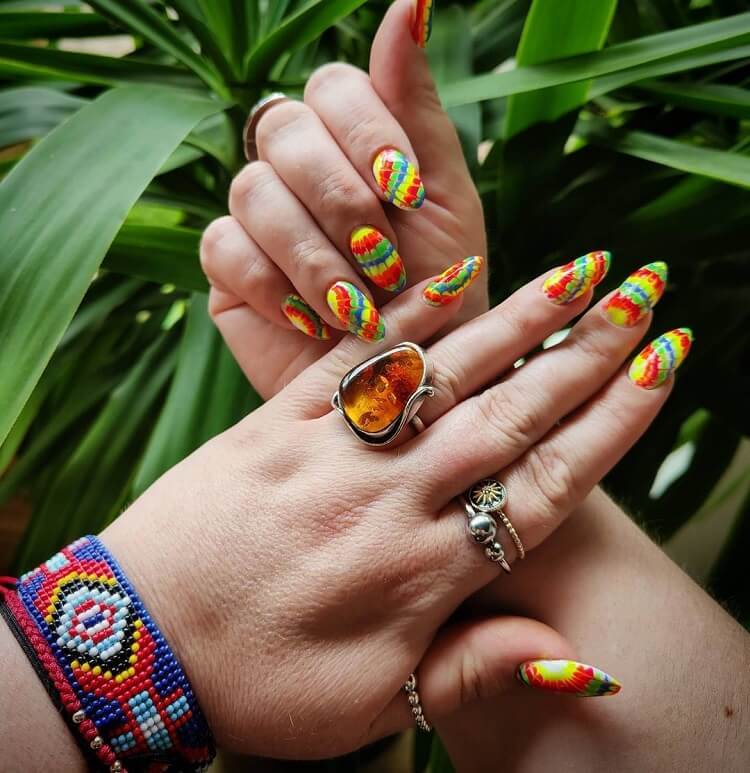
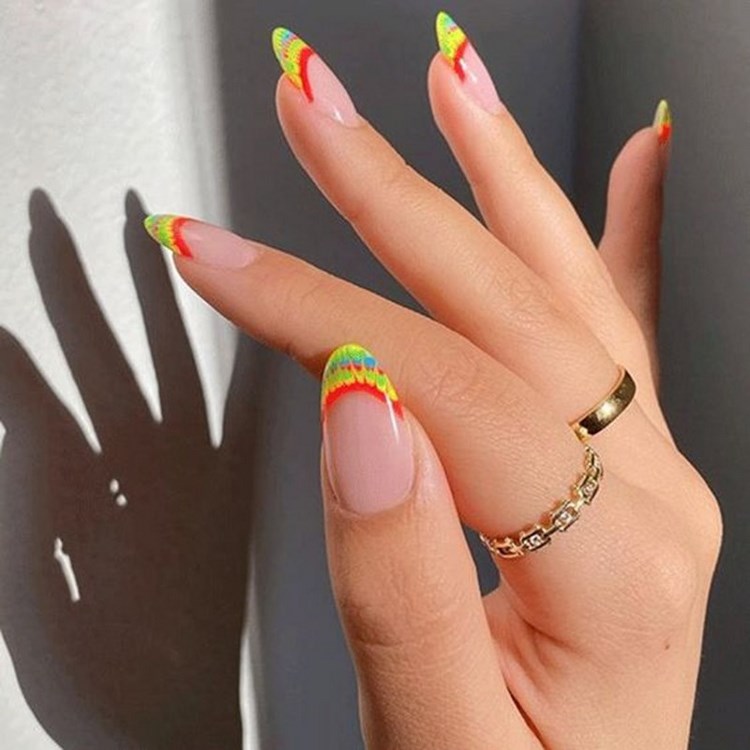
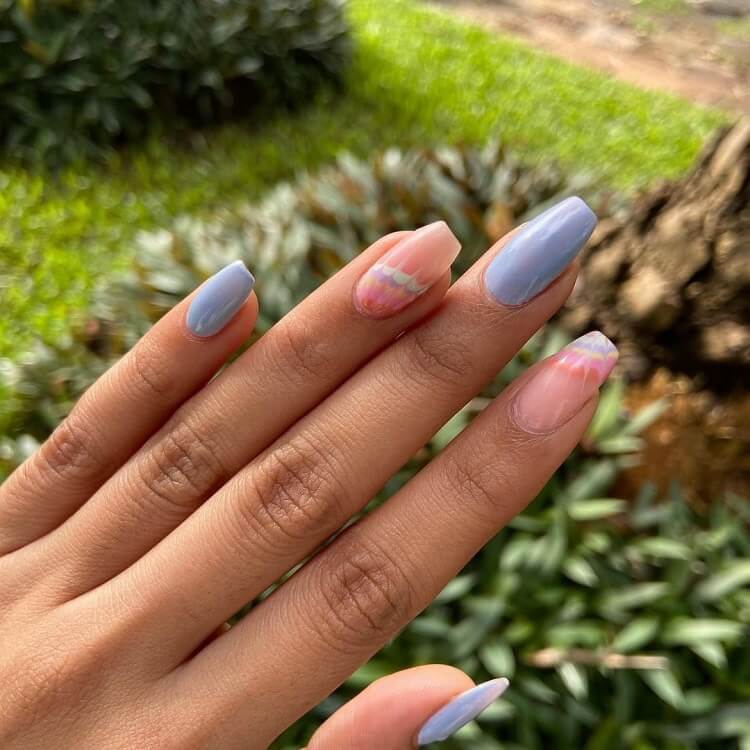
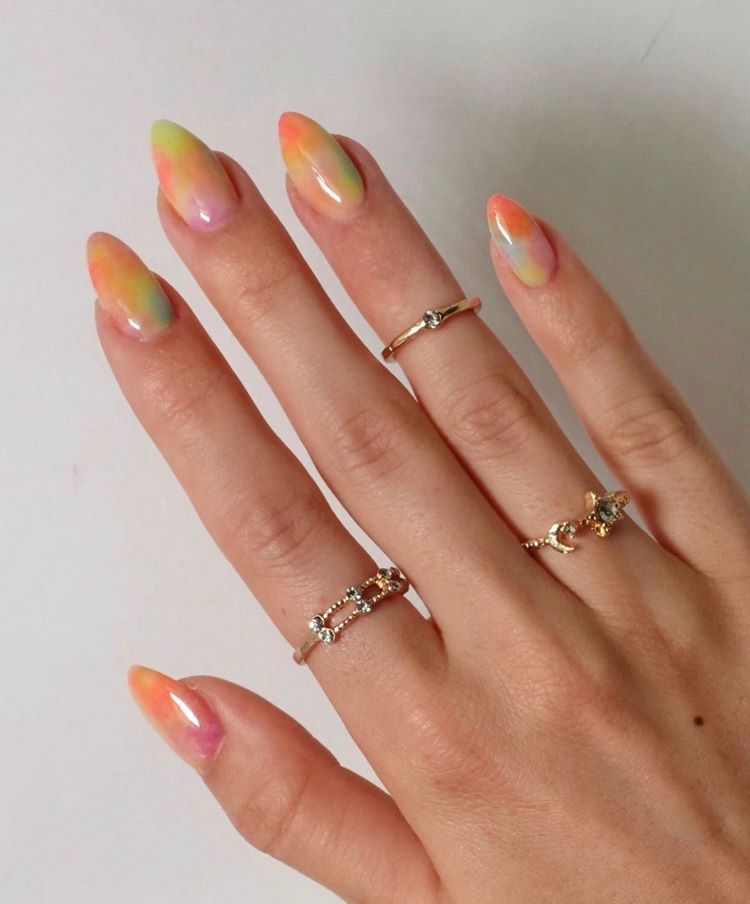
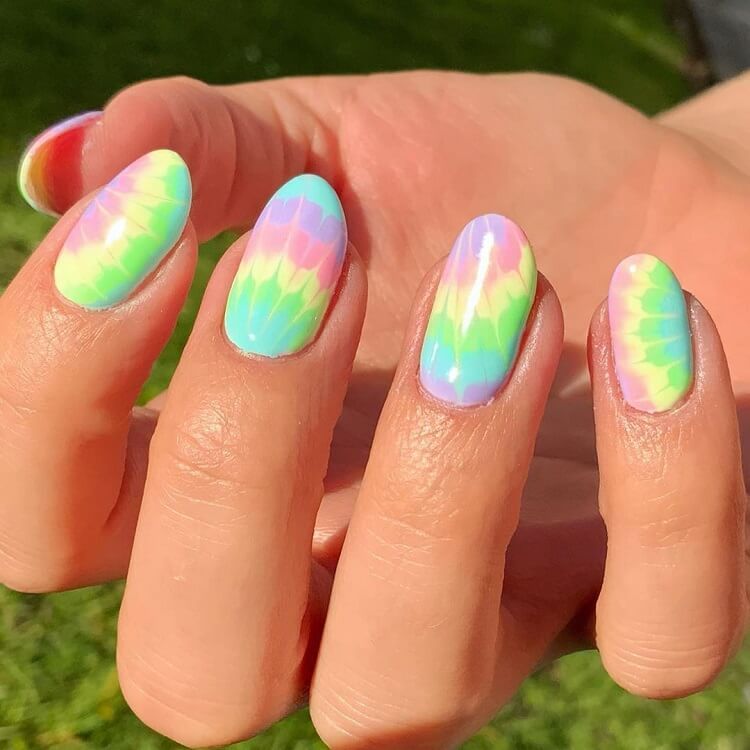
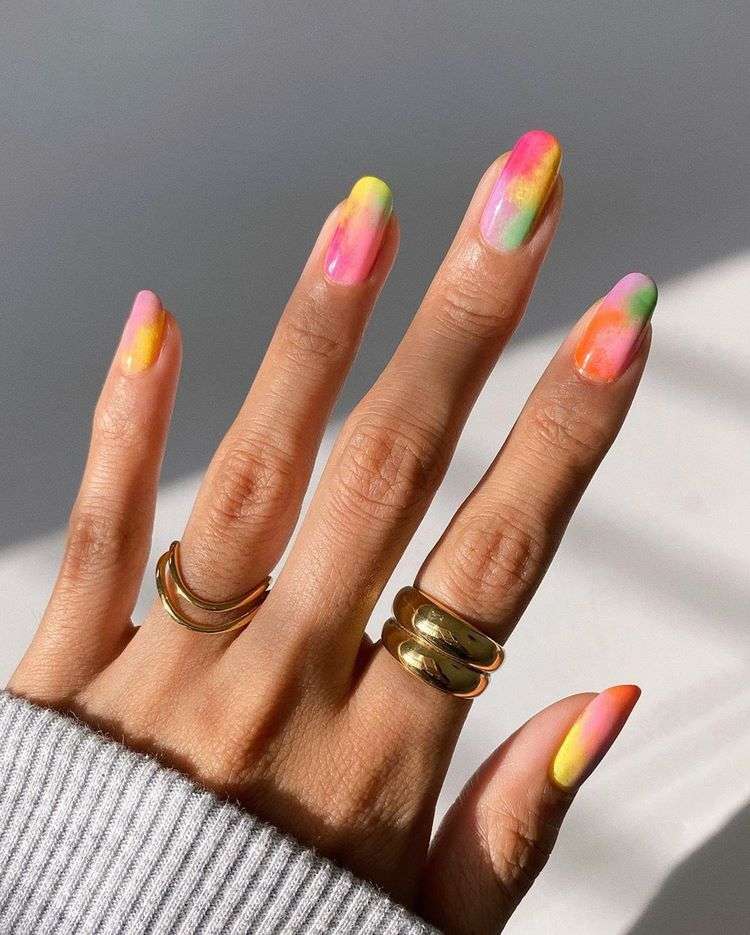
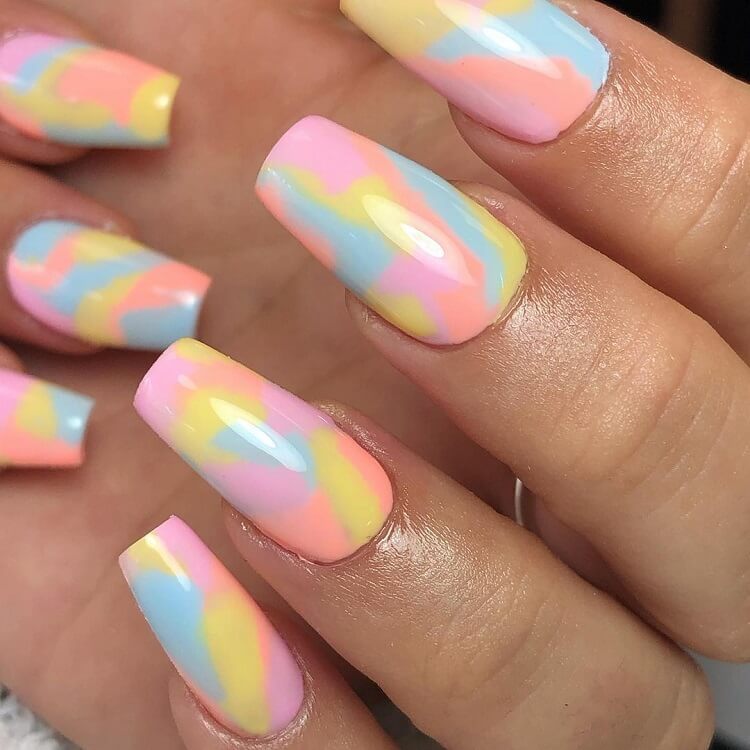
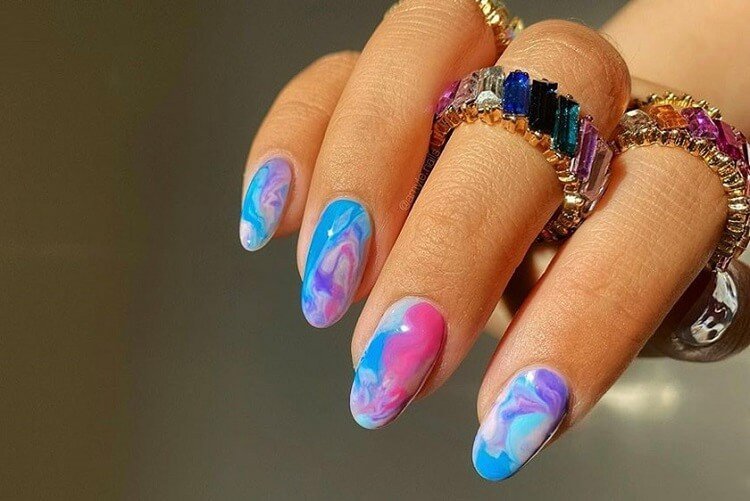
What is tie and dye nail art? What type of technique is that? Many of you may recognize the artisan coloring technique that was popularized by hippies during the 60s in which sections of a fabric are tied with a thread to resist the dye. The result is unique patterns like spirals, mandalas, circles, stripes, etc.
Tie and dye nail art appeared in 2020 following a fashion trend and quickly became popular among young women. We will show you to how to do tie and dye your nails! There are several ways to create different patterns depending on the desired result. If you love experimenting you should definitely try the tie and dye technique! This abstract nail decoration combines several colors in an exceptional and super creative way.
Tie and dye nails are not difficult to do at home. One of the best parts is that you don’t really need expensive professional tools to achieve a cool effect. You can create the wow effect just by using a small brush, a needle or a glass of water. Sounds weird to you, right?! Do not be discouraged! With these simple materials, you can become a real artist, even if you are an absolute beginner!
Tie and Dye Nail Art – How To Do It?
It’s surprisingly easy to do tie and dye nail art at home, if you don’t have time to go to a nail salon. But before proceeding with the decoration, you must prepare your nails by following the steps below:
Prep your nails with a base coat and let them dry completely before applying your first coat of color. Then apply a second coat of the base shade of your choice for a uniform base.
Then apply a single coat of white nail polish. You can choose a matte varnish or a nude color, because it will serve as a base for your tie and dye.
As for the colors, use contrasting pastel colors to bring out the pattern or bet on shades of the same color for an ombre effect. You can’t go wrong either way.
How to Do Tie and Dye Nails Using a Brush?
Pour a few drops of each of the nail polishes you have chosen in a random pattern (on top of each other and around each other) on a palette.
Using a round nail brush, gently move the colors so that they blend lightly. The colors will start to merge to form a tie and dye effect.
Gently dip the brush into the colors and drag it over your base color to achieve the desired effect. For a more abstract look, paint only the top half of your nails. Finish the look with a layer of top coat.
How to Do Tie and Dye Nails With a Glass Of Water?
In a small glass of water at room temperature, start adding drops of nail polish.
Continue to add the different colors of varnish by forming a concentric circle.
Once it’s done, use a toothpick to mix colors until you’re happy with the pattern.
Dip your fingers in the colors to transfer the pattern to your nails.
Use a cotton swab dipped in nail polish remover to clean the area around the nails.
Apply a top coat and you’re done!

