Climbing roses are usually attached to suitable supports. Since they easily reach a height of between 2 and 4 meters, they always need some form of support. The classic solution is to attach them to garden arches or gazebos. Other options include larger, solid garden obelisks, sturdy freestanding trellises, pergolas, rose tunnels and wrought iron gazebos. And of course fences, trellises and iron railings are also suitable. Climbing roses supporting constructions can be bought or you can make them yourself. We will show you different types of rose supports for the garden. If you want to make a trellis, we’ll show you some simple DIY projects.
What Types of Climbing Roses Trellis to Choose?
Is there anything more beautiful than a rose garden? There is a wide range of climbing rose structures in every price range on the market, made of different materials. At the lower end of the price range, frames are usually made of either wood or thin, ungalvanized iron. In the upper price segment, the frames are made of solid, galvanized and powder-coated steel.
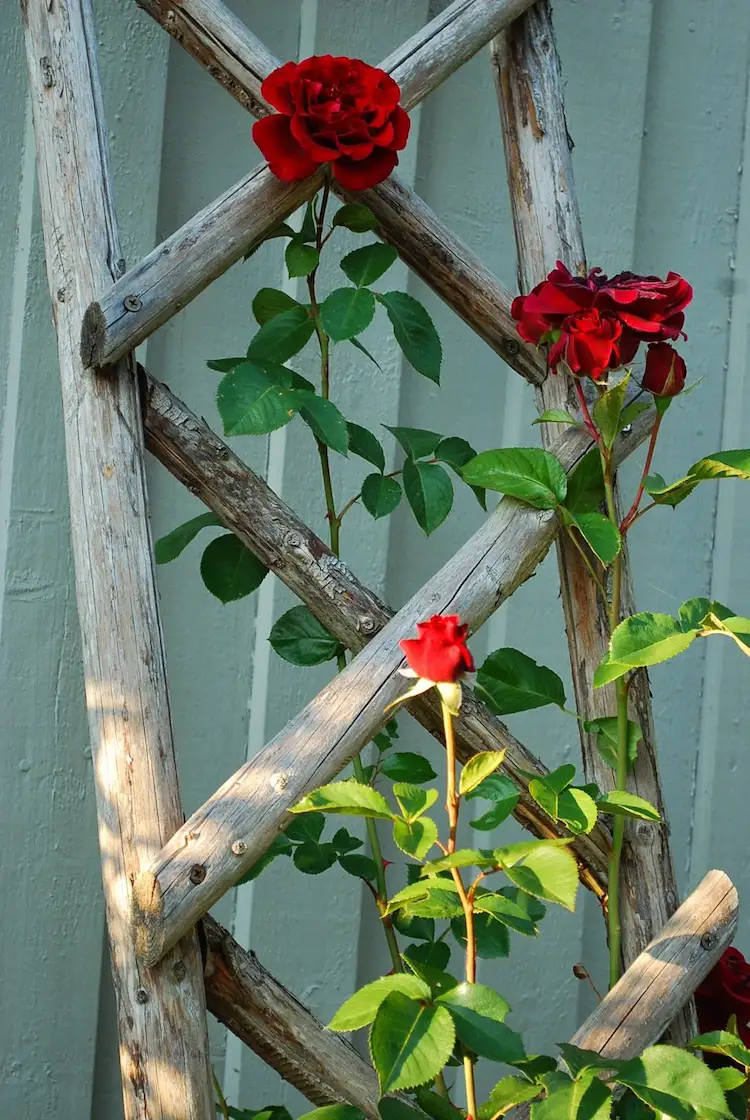
Lattice Trellis
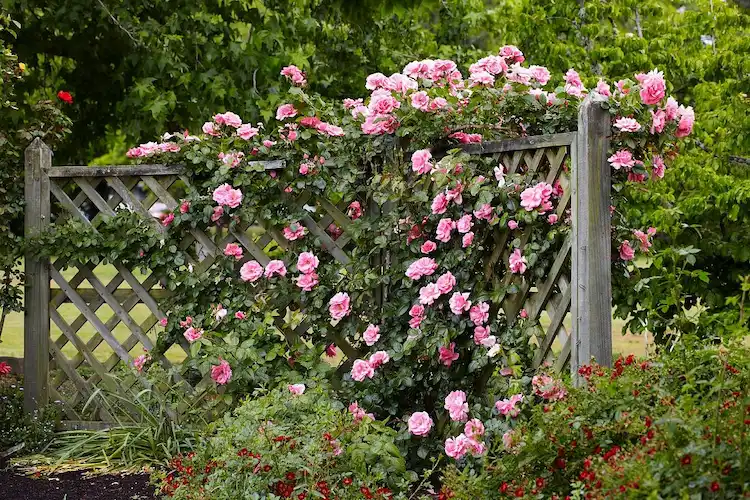
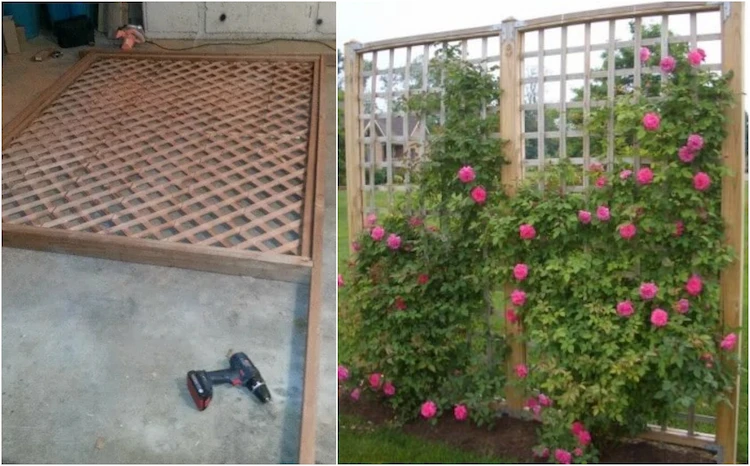
Lattice trellis is an ideal starting point for various outdoor constructions. It consists of sturdy lattice panels accented with faux columns. The lattice trellis supports climbing plants that spice up the exterior.
Wire Trellis
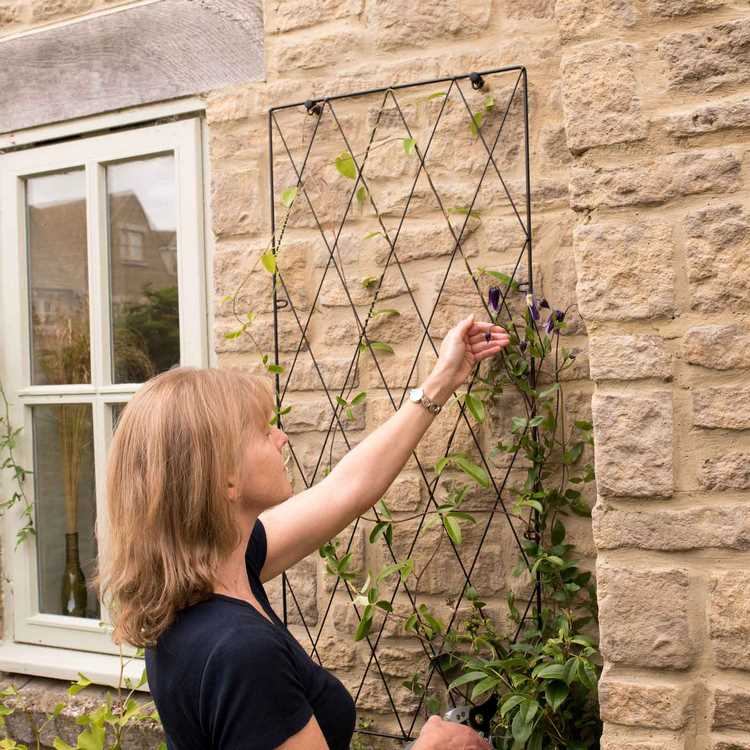
A well-planned, strong wire trellis will support even heavy vines with minimal failure, resulting in a neat, straight, and longer-lasting structure.
Bamboo Trellis
A bamboo trellis is ideal for supporting climbing roses. It has a simple pattern and is incredibly easy to make.
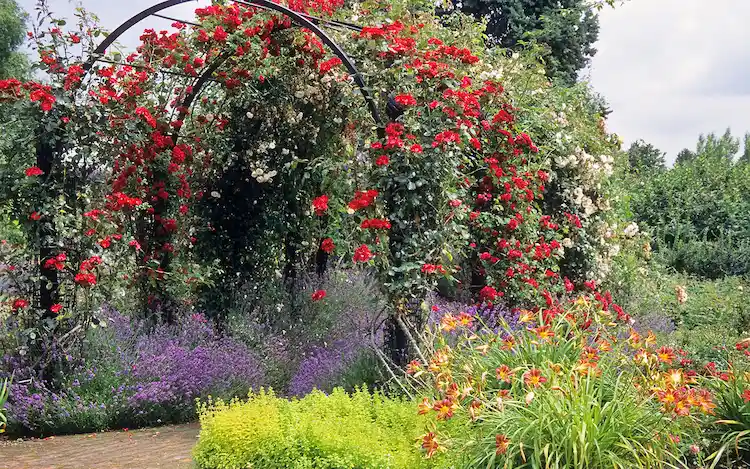
Climbing Roses Trellis Made of Stainless Steel
The supports made of strong steel profile and steel strips are completely welded and then hot-dip galvanized. The welds, which are most prone to rusting, are coated as well. Since zinc weathers over time, the frames are additionally powder-coated. This is the ideal rose stand. Even when they are bare, in winter or before planting, they are an eye-catcher and a real work of art in your garden.
Rose Arches
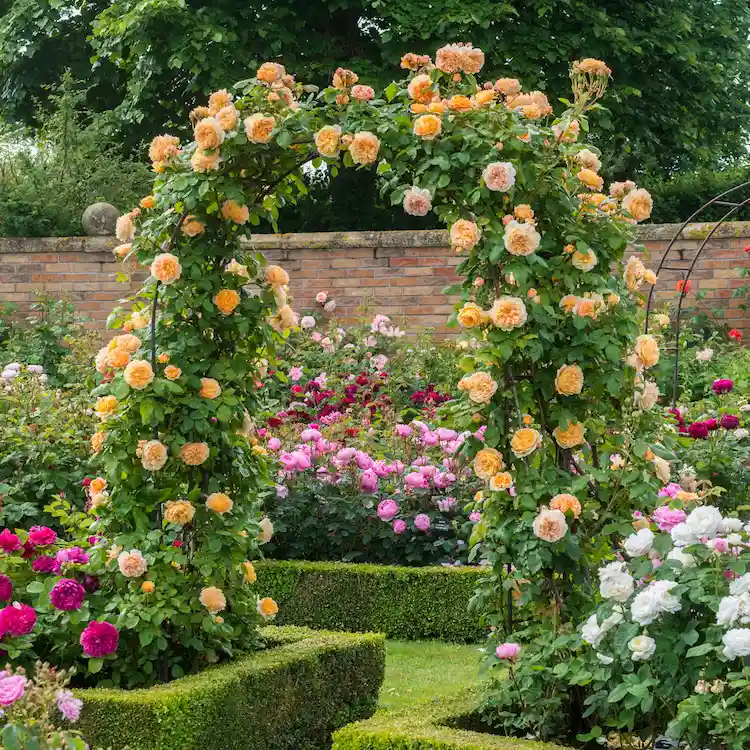
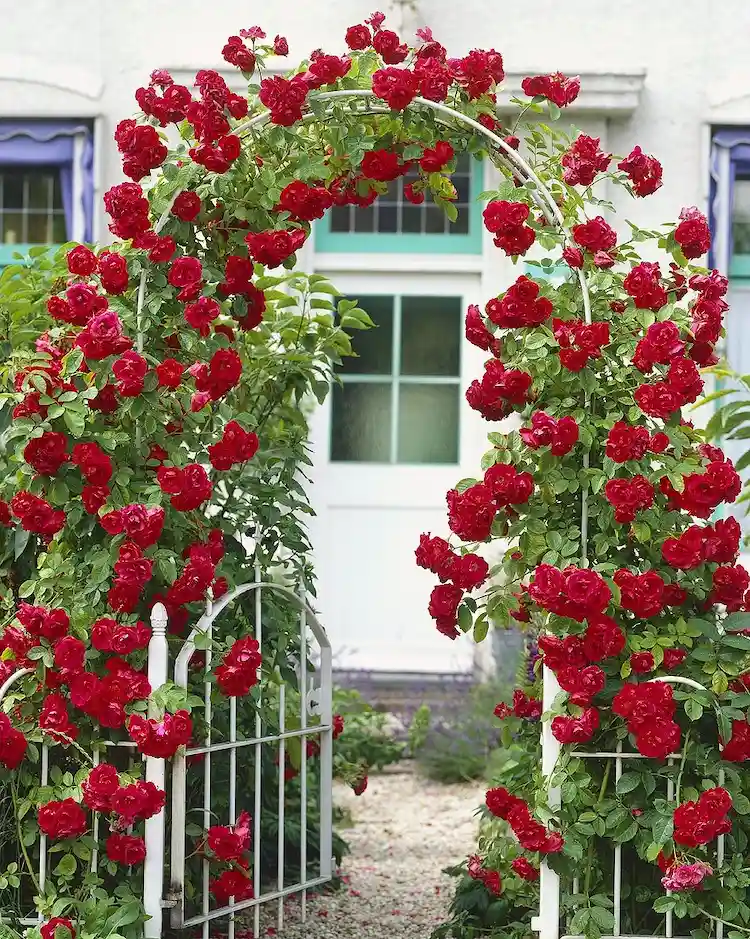
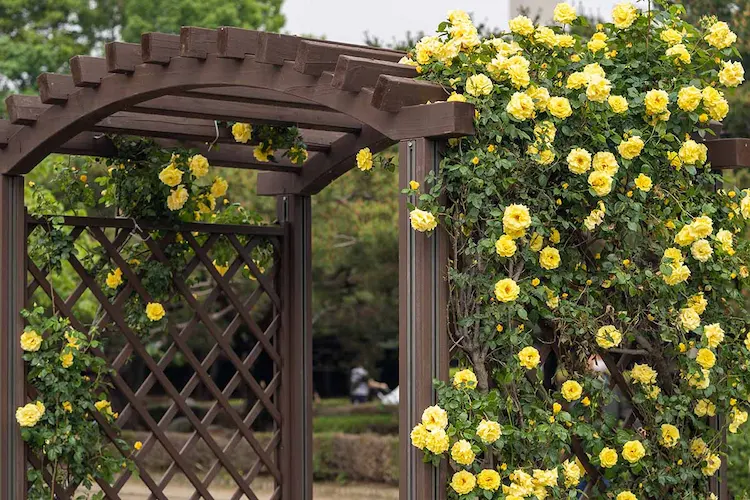
The most common and the most elegant looking are the rose arches. They can be made of wood or metal and will add a charming look to your garden.
How to Plant Flowers on a Trellis?
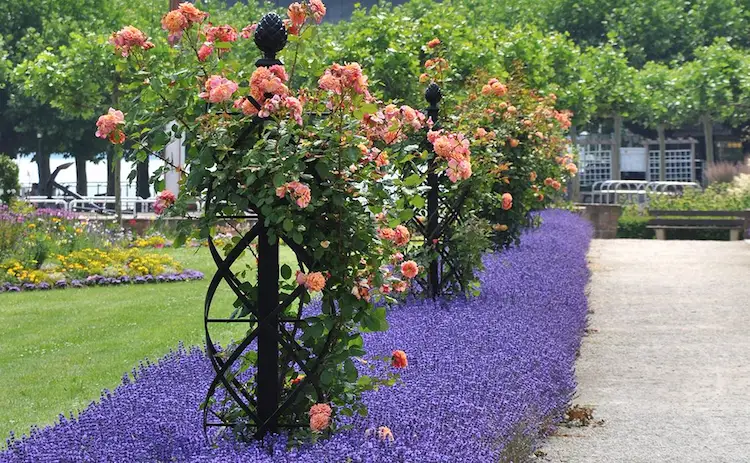
Gardeners are sometimes unsure of the best way to plant a rose against a support and have it grow along it. The answer to this question is not always easy and often depends on how you want to design your garden. The following guidelines apply to any type of trellis, including rose obelisks, garden arches, or metal wall trellises. Roses should never be planted in the center of a garden obelisk, although this is often seen. This complicates the upbringing of the rose, and sooner or later (usually after 4 years at the latest) the rose obelisk will be slightly raised and tilted to the side by the spreading shoots.
Roses should always be planted outside the garden obelisk, at a distance of about 7 to 11 cm. To create a lush effect from the start, we recommend three rose bushes per garden obelisk, or four to six plants per garden arch – two to three plants on each side, depending on the size and location of the garden arch. It is a matter of individual taste whether you plant three different roses or three of the same variety on a rose obelisk. In gardens smaller than three-quarters of an acre, it is more likely to plant only one variety, since different hybrids at a single garden obelisk can look unsettled. Limiting yourself to one variety that can be planted in larger numbers helps create the effect of expansive lushness.
How to Build Climbing Roses Support Structure?
Some supports are light and easy to make, and you can make and install them in your own backyard. Here are some suggestions.
DIY Rose Supports from Cedar Wood
Materials needed for this project:
- Cedar 2 x 4cm for the frame
- Cedar 1 x 1cm for the stops holding the grille
- Cedar Railing – Supplied in panels
- Concrete for fixing the structure in the post holes – Two 25 kg bags, 1 bag for each post.
- Self-tapping wood screws
Instructions:
- Buy the wood for your DIY rose trellis.
- Cut the wood to size, making sure the pieces of wood fit together properly.
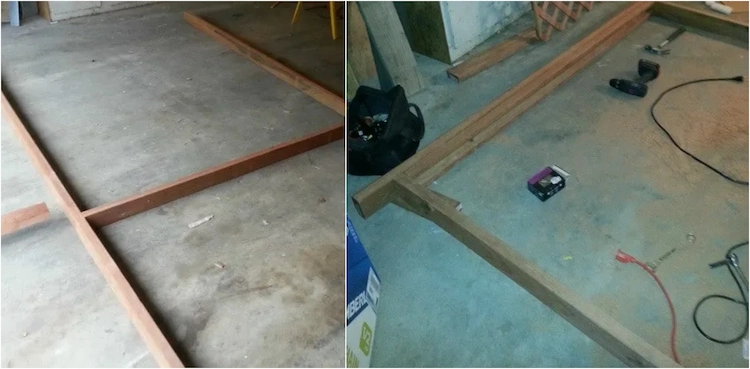
- Begin attaching the wooden frame with the self-tapping wood screws.
- Make sure your wooden frame is the perfect size for the wooden trellis to fit without having to cut it.
- Screw everything together and then fasten the frames outside in the ground.
- Dig two 90cm deep holes in the ground, insert your trellis and pour the mixed concrete for fixing.

