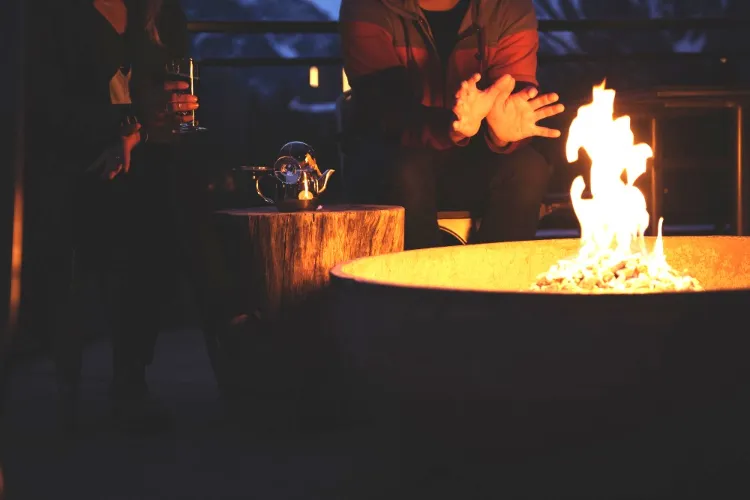
Is there a DIY balcony heater that is aesthetic, effective and risk-free at the same time? What are the regulations? Here’s a closer look at handmade concrete fire pit from scratch!
Top DIY Balcony Heater Idea!
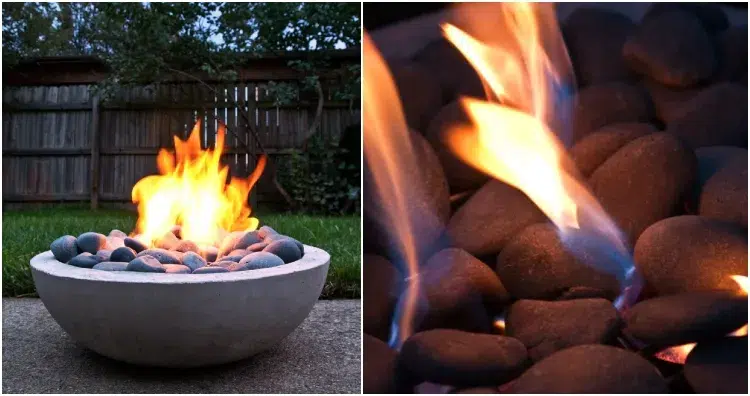
I found this project on a wonderful site dedicated to DIY and men’s lifestyle and I want to share it with you! This involves making a heater for a balcony or terrace in the form of a concrete fire pit which looks great and is not too complex to make. Obviously, you can just as easily skip the first steps and buy a prefabricated concrete fire bowl. However, this “lazy” approach is also less fun, right?
Also read: Outdoor Fire Pit: Important Recommendations, Material Options and Inspiring Design Ideas!
Make Your Own Concrete Fire Pit Step by Step
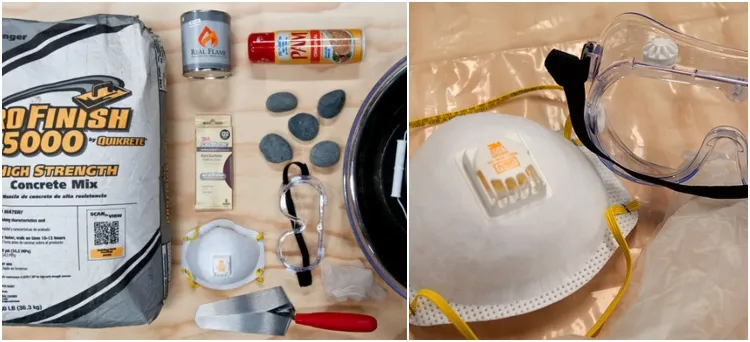
The first thing to mention, even before the tools and supplies, is that you need to check your local regulations for installation and operation of fire pits on the balcony. Most often, it is permitted as additional heating or decoration, but not for barbecuing. Just make sure that you are permitted to use such a DIY balcony heater. If so, here is the list of tools and materials to obtain, followed by the steps:
- quick-setting powdered concrete
- a large bowl for the outer mold (ours was 46 cm in diameter/18 inch)
- a smaller bowl for the inner mold (ours was 38 cm in diameter/15 inch)
- cooking spray or other non-stick agent
- large bucket for mixing
- medium-sized masonry trowel
- personal protective equipment (PPE): mask with dust filter, safety glasses and gloves
- protective plastic cover
- heavy items to use as ballast
- rubber mallet
- coarse and fine-grit sandpaper or sanding pad (60-80 ) and fine (220)
- Gel fireplace fuel canisters
- round metal grid (diameter 37 cm in this case/ 14 ½ inches)
- Faire safe stones, slates or other fireproof material
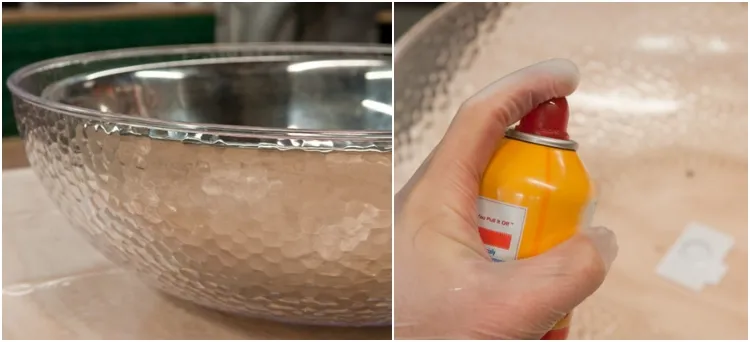
For this type of DIY balcony heating, you must first pour the concrete bowl. In the example shown, we used an extra large plastic punch bowl for the outdide and a large stainless steel bowl for the inside. Pouring concrete isn’t rocket science, but be aware that it’s a heavy material, which can make it difficult to mix by hand in large quantities. Either way, remember to use the appropriate PPE and prefer working outdoors or in a ventilated area. If necessary, cover the floor with a protective plastic cover.
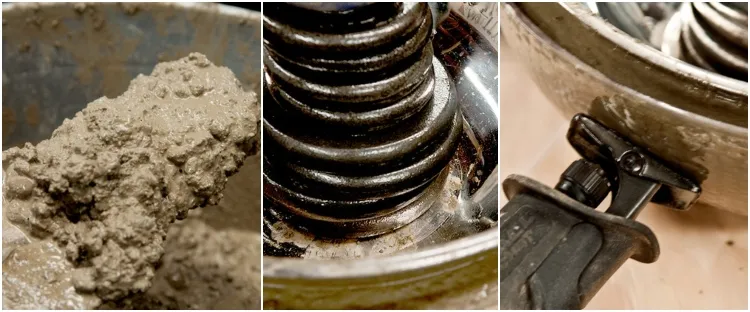
Once all the materials are prepared, spray your molds with non-stick spray. A thin, even layer on the inside of the outer mold and a second on the outside of the inner mold will do the trick. Then, wearing your protective equipment, mix your concrete. In this specific project, we used approximately 26 lb/12 kilos of dry concrete, adding water little by little until it had a consistency similar to cookie dough.
Next, fill the outer mold halfway with the concrete and press the inner bowl exactly in its center to check how high the concrete rises. Add more concrete with the trowel, if necessary. Once happy with the result, use the weights to hold the inner mold in place.
Tip: Use some power tool (a saw, sander, or even a hand blender) that will vibrate the bowl to eliminate air bubbles inside the mold. Afterwards, let the concrete set according to the instructions on the package (approximately 48 hours).
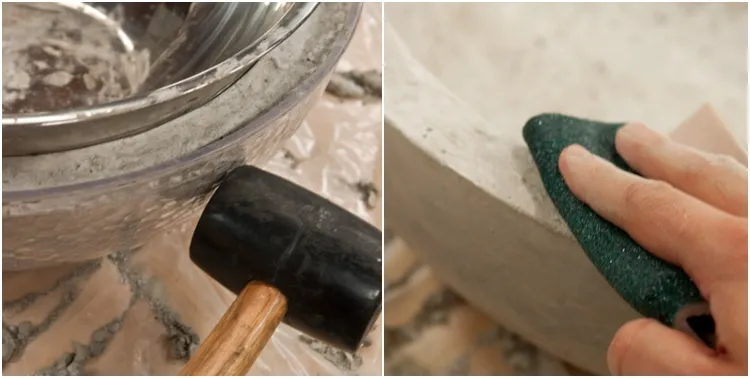
Gently remove the hardened concrete from the mold by tapping it with the rubber mallet, removing the inner bowl first and then the outer bowl. With the mask on the mouth, sand the edge with the coarse-grained paper and go over everything with the fine sandpaper to smooth it.
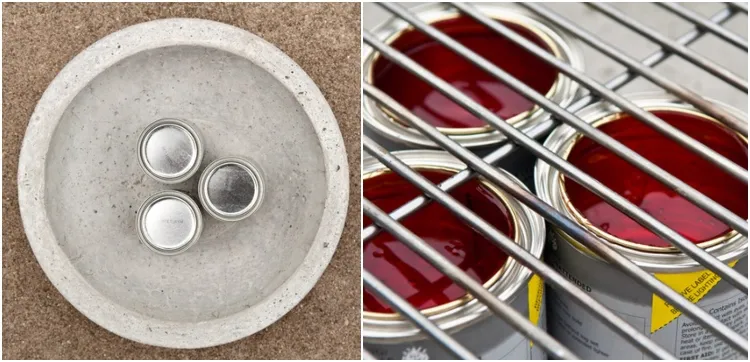
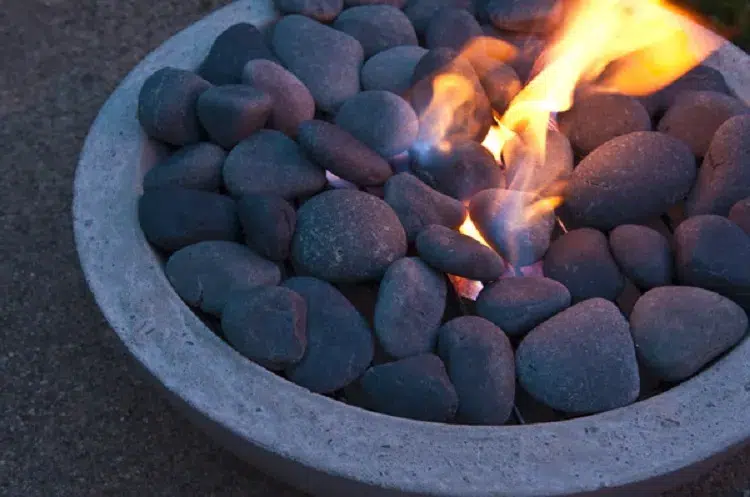
Assemble your DIY balcony heater by installing the canisters of fuel gel inside it. Place the rack on top and adjust its size, if necessary. Finally, cover the metal mesh with a layer of heat-resistant stones and turn on your inexpensive and original balcony heater to enjoy it during the cool evenings! That’s it!
Also read: What to Do With the Wood Ash from the Fireplace? 10 Practical Ideas

