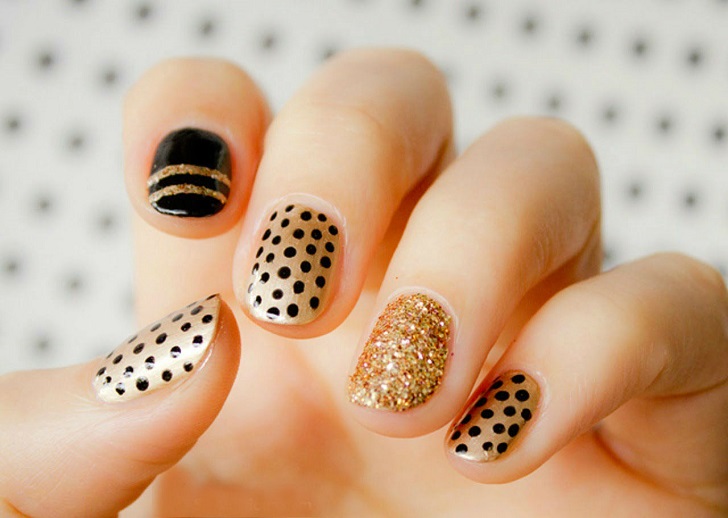
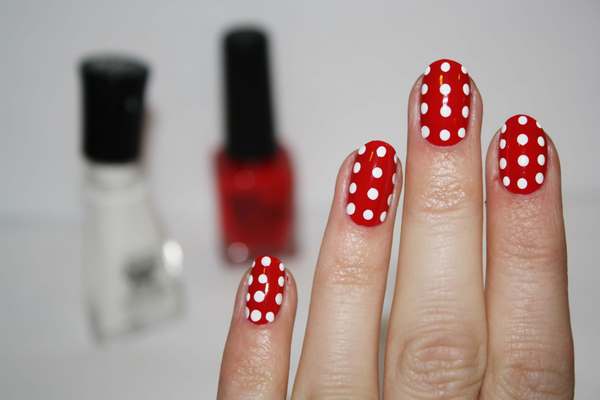
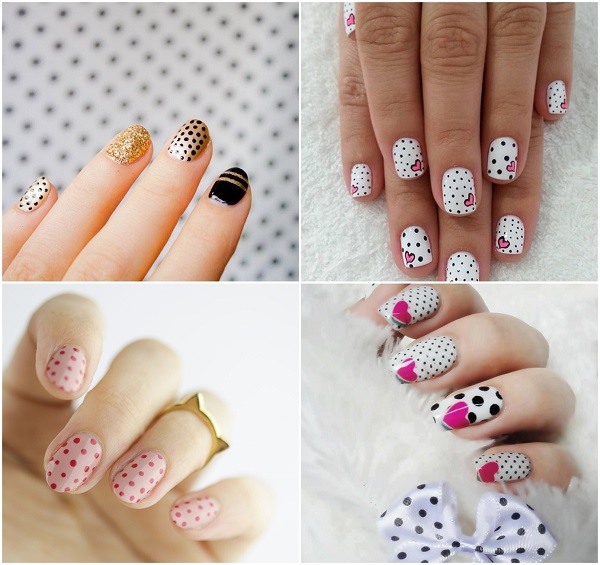
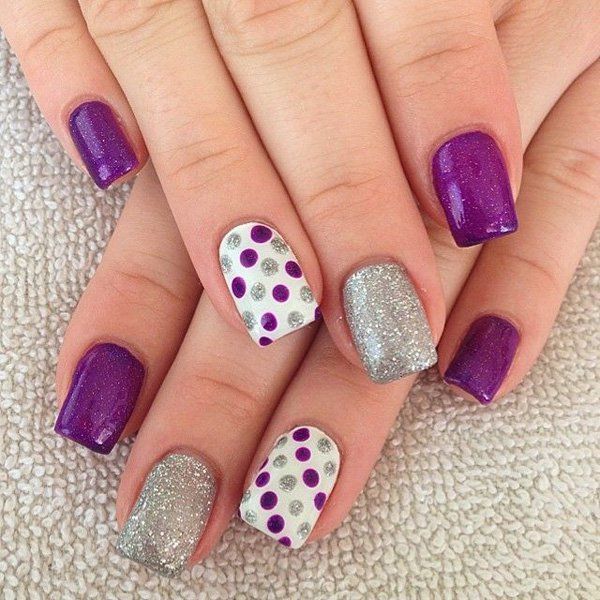
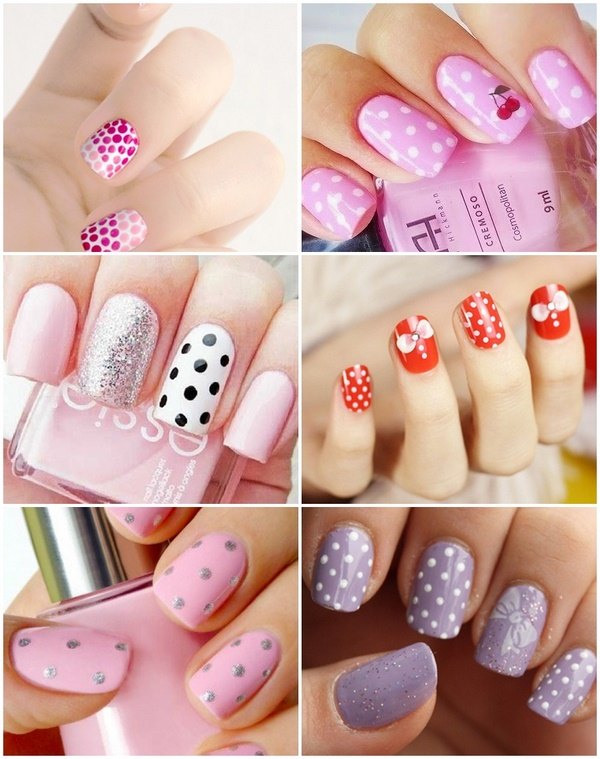
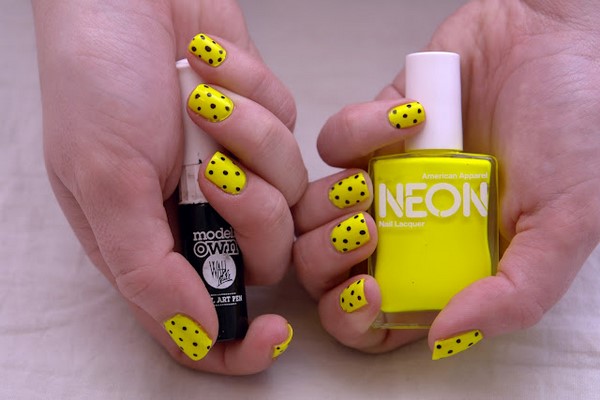
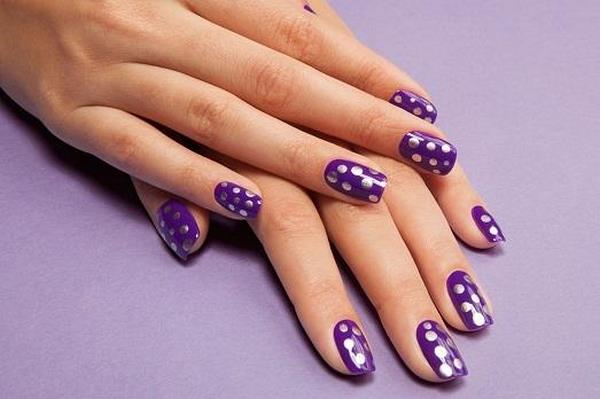
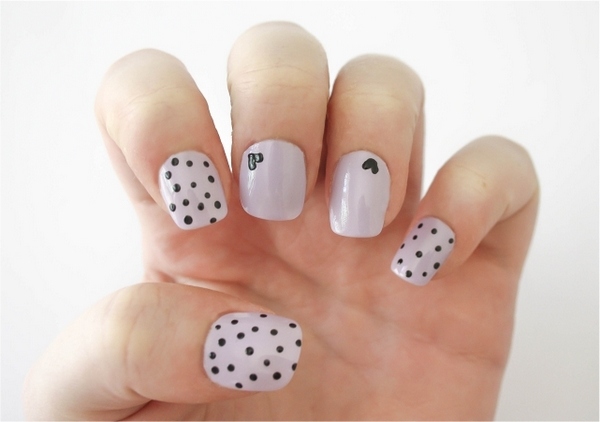
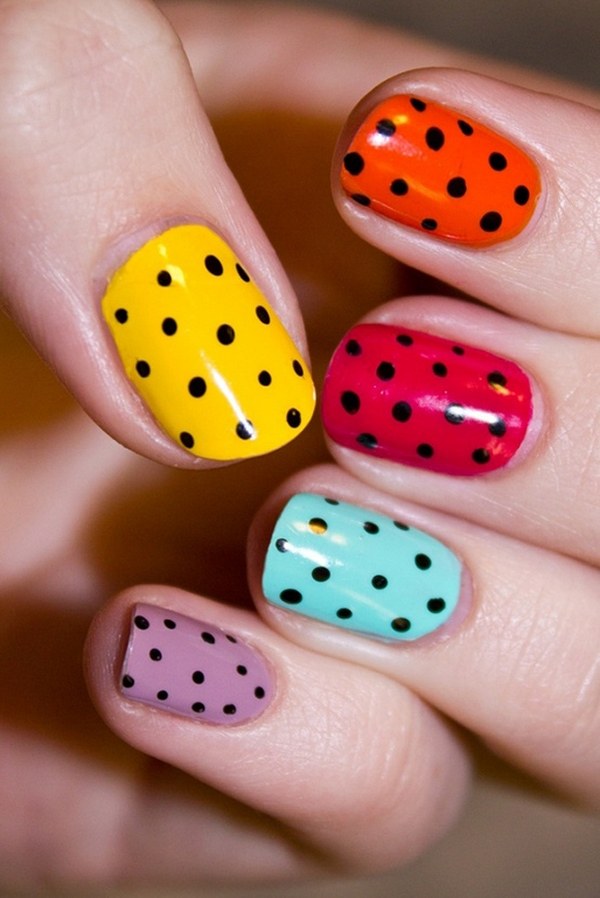
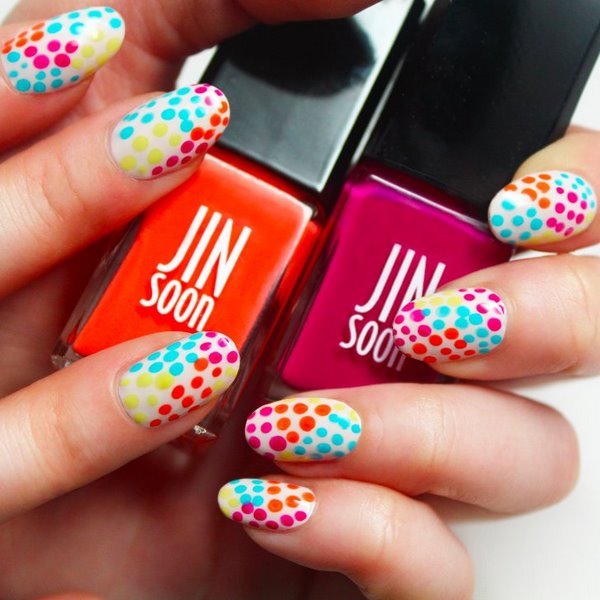
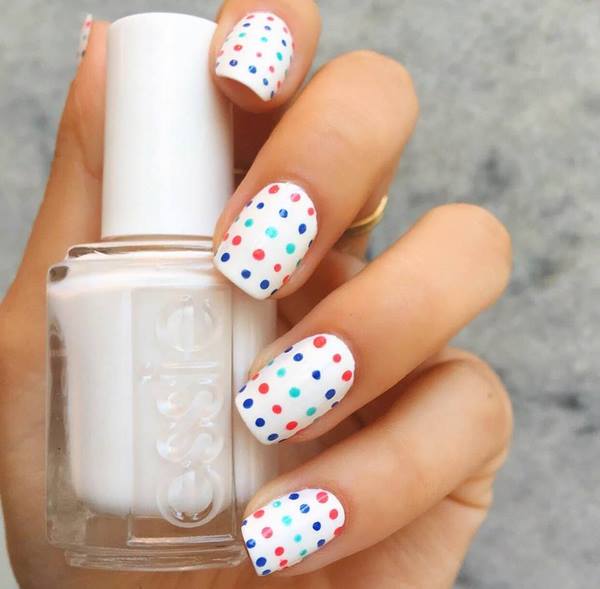
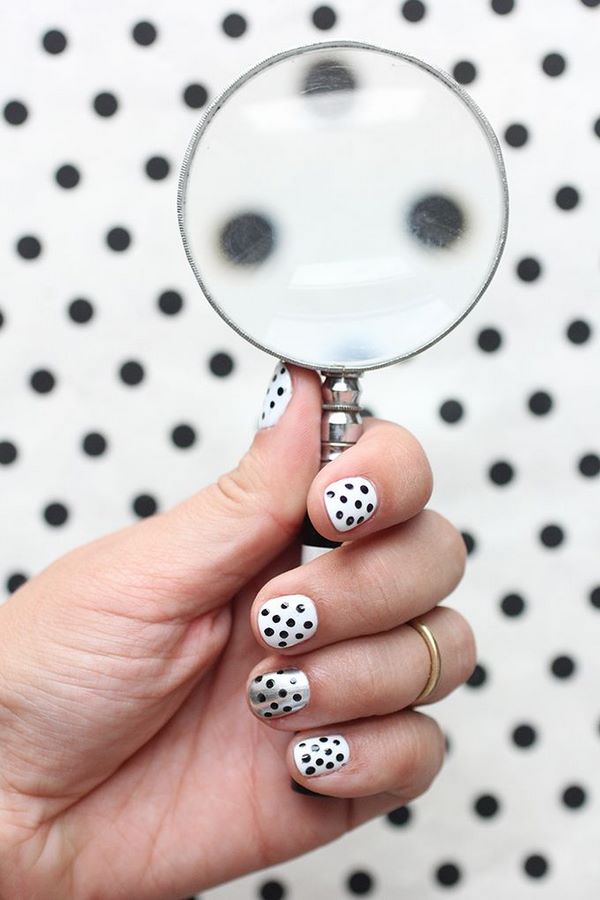
Polka dots nail art is the ideal option for summer nails as this design looks so playful and adorable! When the warm summer season comes, every woman wants to add a bit of freshness and bright colors to her look. This is valid not only for clothing, but also for manicure. A colorful palette will give you a lot of new emotions. Do you want to be more flirtatious and attract attention? Then polka dots nails are just right for you! You can do your polka dot nails without much effort at home and save your time and money and also show your own artistic talent. Bright dots scattered on the surface of the nail in a specific order or in a more artistic manner- it all depends on your idea. Whether you will choose multi-colored dots or opt for a more classic look, this design is really simple and you can do it even without skills or much experience. The main thing is to choose the colors that you like and give your nails the right shape!
DIY polka dots nail art ideas – experts’ tips
Nowadays polka dots nail art can be a complement to a retro style or a fresh ornament of modern appearance. DIY polka dot nails require some patience but after some practicing you will learn how to make a stylish manicure pretty quickly.
The choice of colors for your nail design will depend on your preferences. Obviously, you need contrast colors so that the polka dots look bright and stylish. Make sure that all the nail polishes have exactly the same texture and prepare all the tools and materials in advance. Here is what you need:
- Two (or more) colors of nail polish. It is best to use bright colors – pink, light green, orange, yellow, white nail base or you can use a pastel shades as well;
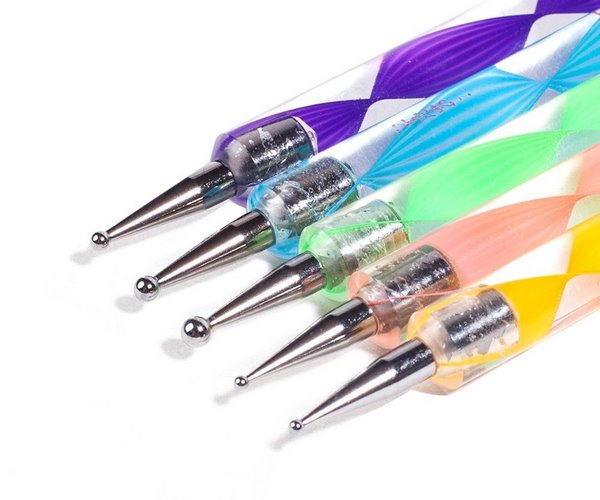
- Fine brush or a dotting tool for drawing accurate dots;
- A protective topcoat.
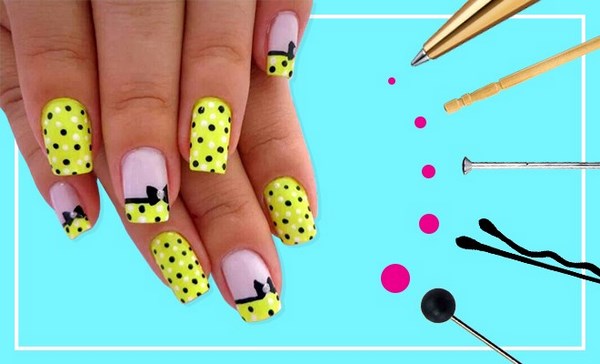
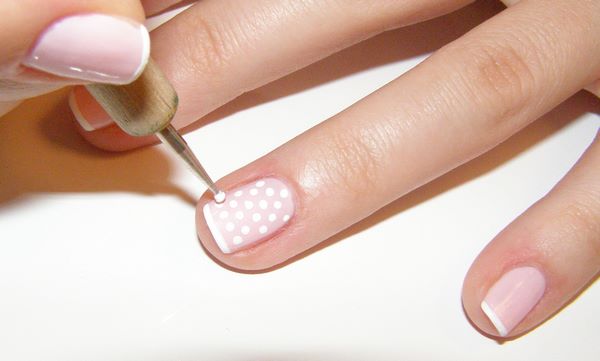
Drawing dots on the nail plate is much more convenient with the help of a dotting tool. What is a dotting tool? This is a special tool with a small ball on the end, created specifically to make dots on nails and comes in different sizes – for small and large dots. You can buy it in any of the cosmetic stores, it is not expensive and will last you a very long time. If you haven’t got a dotting tool you can use toothpicks or hairpins so do not be afraid to experiment!
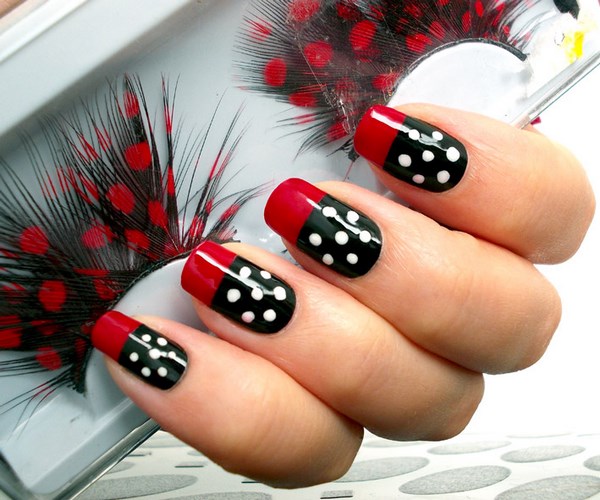
Large polka dots look best when arranged in the traditional pattern and look which is most suitable for square shaped nails. On round and oval nails it is better to use small dots and you can opt for the traditional pattern or choose a more artistic approach. You can combine dots in different sizes and different colors if you want to have a festive and playful look. Optionally, you can create a polka dot pattern on part of the nail and not on the whole plate.
DIY polka dots nail art ideas – step by step tutorial
Those who would like to try out some of the numerous DIY polka dots nail art ideas should remember that the most difficult part is to make beautiful, even, round points and arrange them nicely on the nail. The color palette that you choose will help you determine the style of your manicure – from strictly conservative to playful and flirty or avant-garde. Depending on the particular polka dot design you can use additional elements like rhinestones, bows, flowers, berries, stripes, stickers or other decorations to create a really unique design. Classic polka dot pattern is a combination of two colors but you can experiments with different colors and combine them as per your individual preferences.
How to do polka dot nails? Here is a useful tutorial:
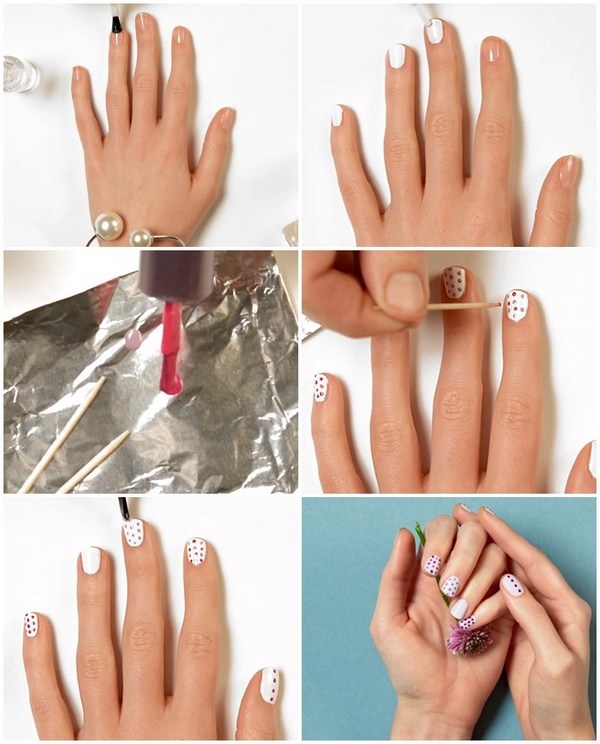
Step 1 – Trim your nails. Cut your nails to the desired length and file them to the preferred shape.
Step 2 – Apply a base coat. The base coat will help smooth out any irregularities on the surface of the nails.
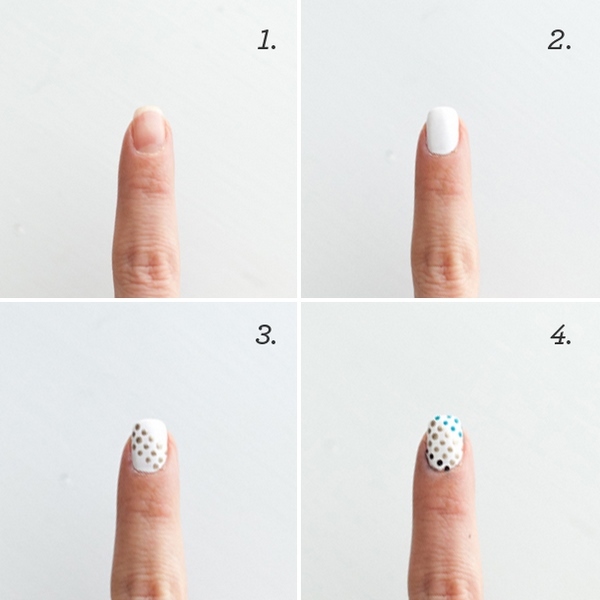
Step 3 – Paint the nails in the base color and wait until the nail polish is completely dry.
Step 4 – Draw the polka dots. You can use a toothpick, a dotting tool, a rounded end of bent bobby pin, a nail with a small head or anything else with a rounded end. Pour a little nail polish on a piece of paper or aluminum foil and dip the toothpick. Carefully dab it onto your nails to create the dots. Do not hurry, take your time and work slowly. Wait for the dots to dry.
Step 5 – Apply a protective top coat.
As you see polka dot nail art is very easy. However, if you do not have enough experience or you are not sure that you can make identical dots, or you do not have time, you can do polka dots on only one finger. There are a lot of ideas that allow you to spice up the classic polka dot pattern. You can experiment with the dots changing their color, size, location. If you need to keep to a strict dress code or a more formal style, choose black and white polka dots. You can use a combination of complementary colors which do not contrast with each other. Look at the photo gallery and choose the design that you like best!

