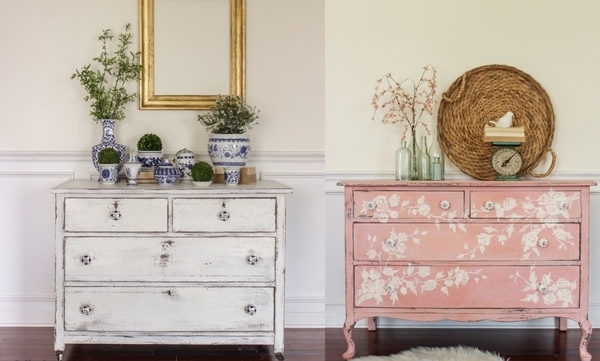
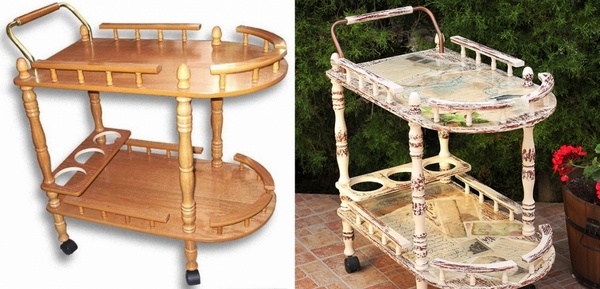
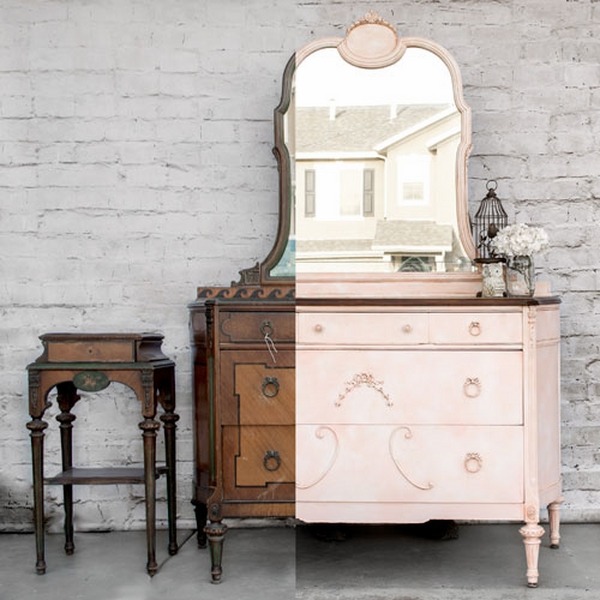
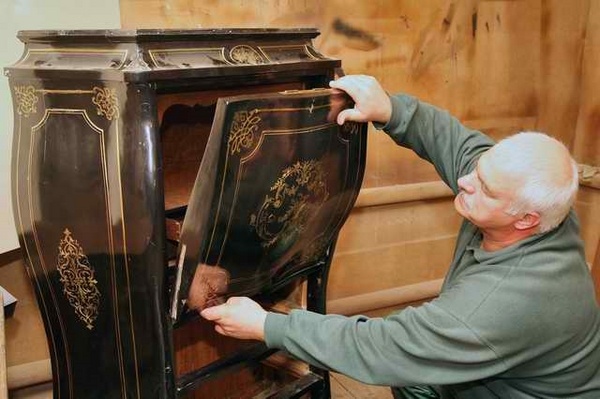
Furniture restoration is a recovery process and can be time consuming. It follows some basic principles and although many people believe that “spraying, stripping, sanding, staining” are the basic steps, they are only partially right as those are the basic steps for restoring wood furniture. At first glance, furniture restoration may seem rather difficult task when you consider a DIY project. However, furniture that has been used for a long time could be brought back to life as those pieces are very precious. We shall give you some tips and ideas for furniture restoration which will be useful to all who value their antique furniture.
DIY Furniture restoration – tips and ideas
Most of old furniture pieces are made of solid wood and are works of experienced furniture makers. They are environmentally friendly and without much expense you can restore their former appearance. What you need is some patience and imagination, as well as the will to spend some hours in manual labor. Many people prefer to repair and restore their furniture as this is a great way to change the design of their home.
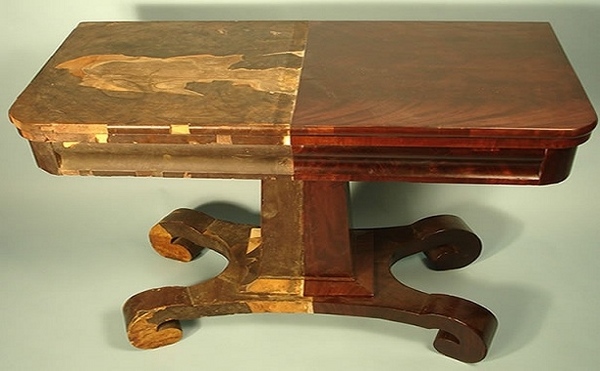
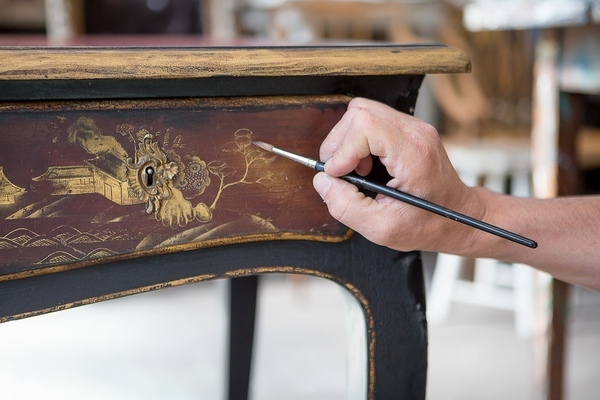
It all starts with eliminating scuffs and scratches, cracks, dents or chips on your furniture. This is a time consuming process which needs to be done with great attention. You have to remove old paint coatings to restore the body and then cover it with modern materials. Some of the hardware may need to be replaced, especially if you restore upholstered furniture – sofas, armchairs, poufs, etc.
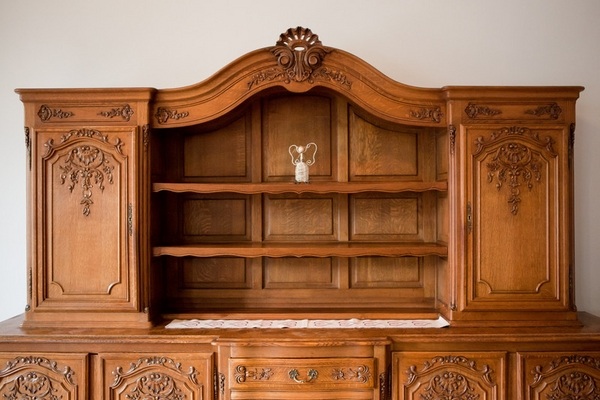
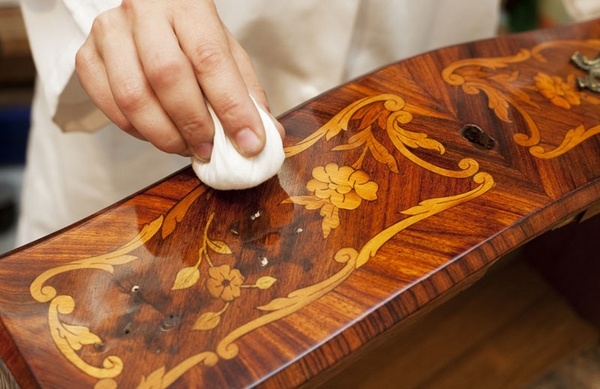
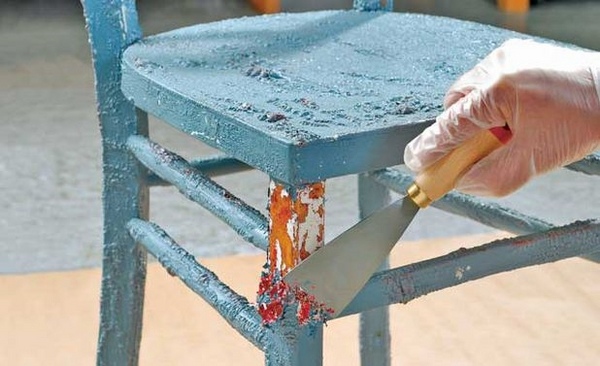
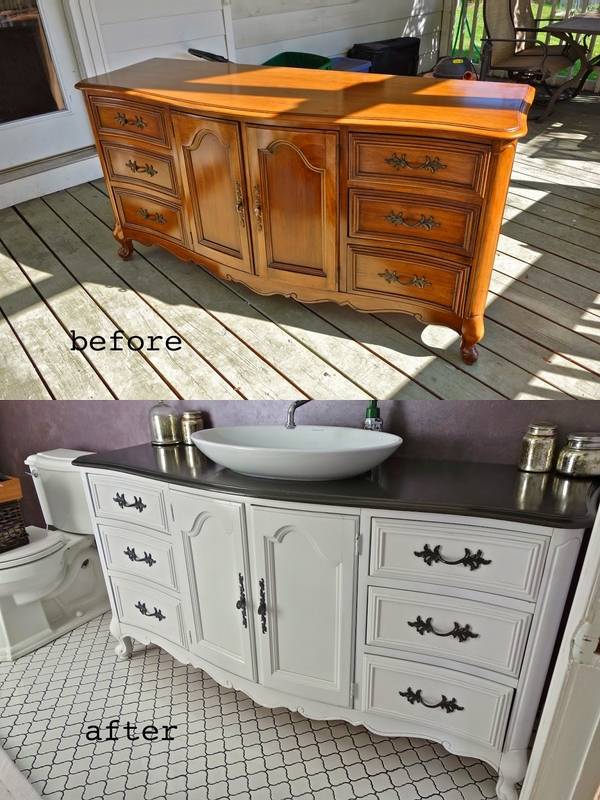
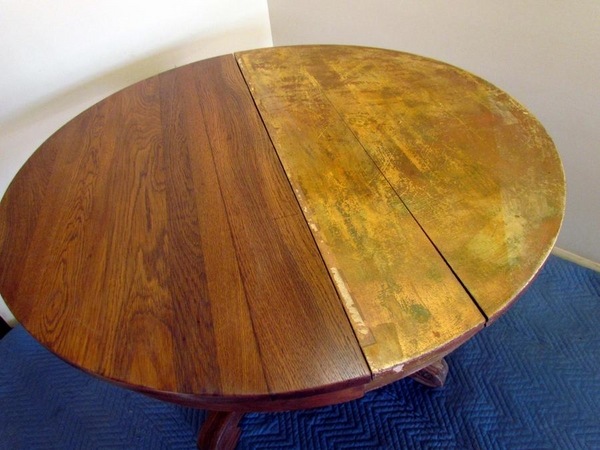
Partial furniture restoration is an easier process as you will not have to repair the whole piece but the damaged parts. When you restore wood furniture pieces like tables, cupboards or dressers if there are no cracks on the surface, you can only restore the lacquer coating where damaged. Unfortunately, this is seldom the case and usually the furniture needs a thorough restoration. In this case you have to remove the varnish or paint with a paint remover, strip the old coat of paint with a spatula, remove dust and de-grease the surface, sand the surface, clean it thoroughly and apply a new coat of paint or stain. Do not forget that you need to remove the hardware, if any, so that you could work on the whole surface. You may need to change broken glass, for example, if you are restoring a cupboard or built-in storage with glass fronts.
DIY Furniture restoration – how to repair upholstery furniture
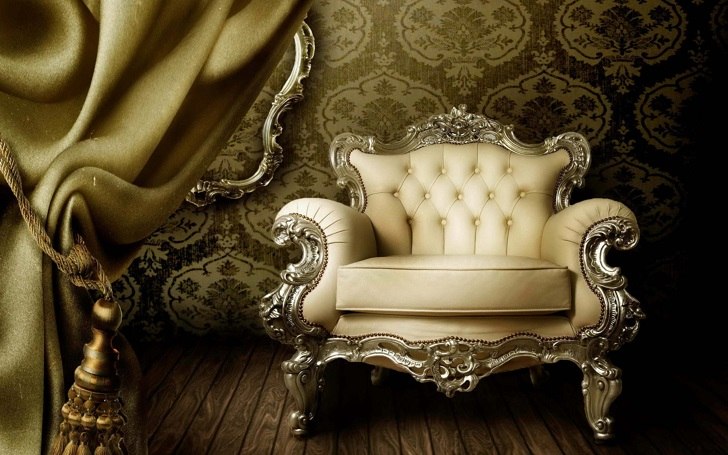
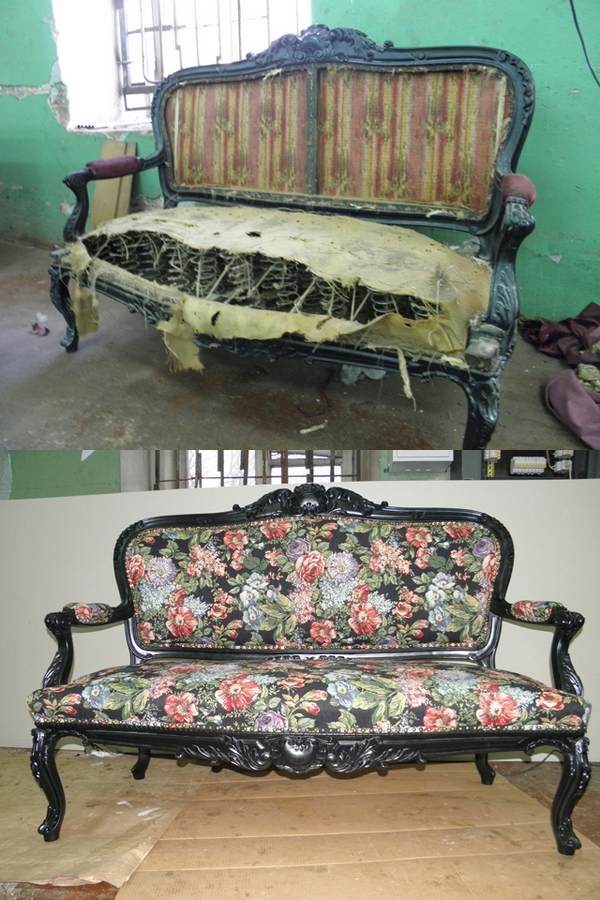
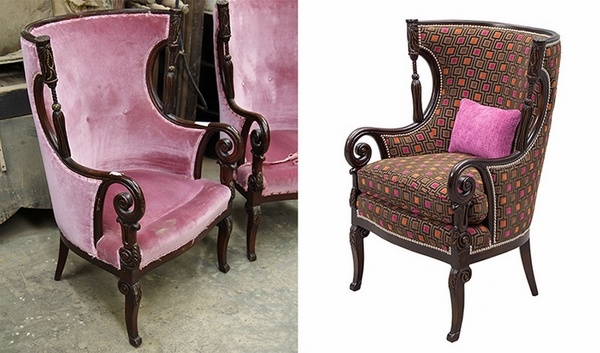
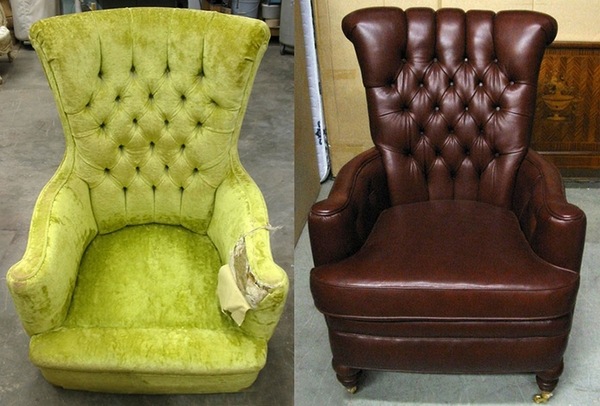
Sofas, chairs or armchairs can be used for more than one year, or even decades, if their wood base is solid and intact. Many homeowners are in possession of magnificent furniture pieces which have been in the family for generations. Antique furniture restoration will give new life to your chairs, armchairs or sofas and you can choose new materials, colors or textures that will suit your interior design. Upholstered furniture restoration requires specific knowledge and experience and we do not recommend you to do that as a DIY project unless you have the experience. It is much better if you trust a professional furniture restorer who knows how to replace the upholstery fabric and repair the hardware.
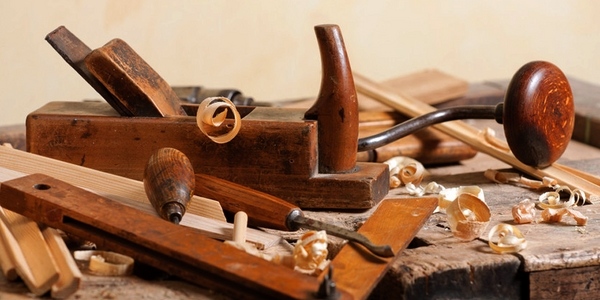
When you want to restore your upholstered furniture by yourself, it is better to start with a chair, for example, to get experience. Following the steps below will make sure you will have an excellent result without much trouble. You will need the following tools and materials – a hammer, a screwdriver, sandpaper, primer, wax or paint, suitable for wood, paint brush and / or spray gun.
Step one – Remove the upholstery from the chair.
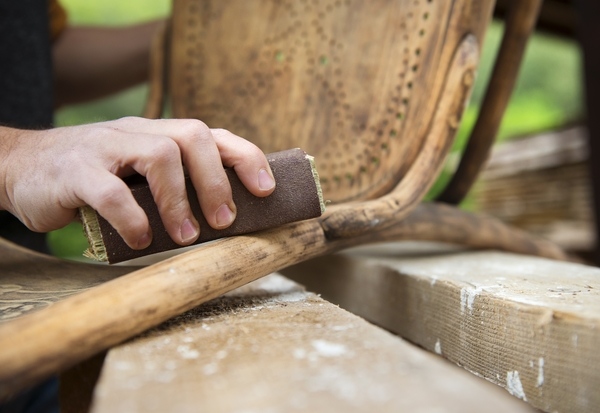
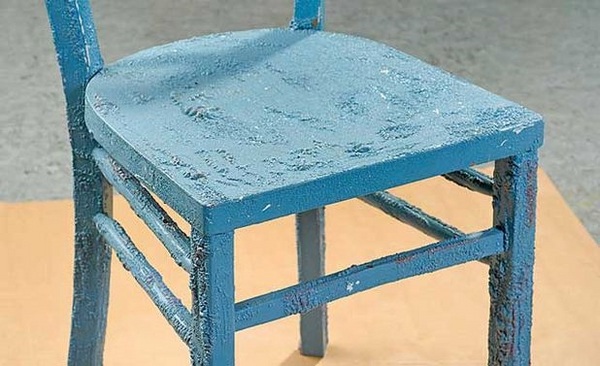
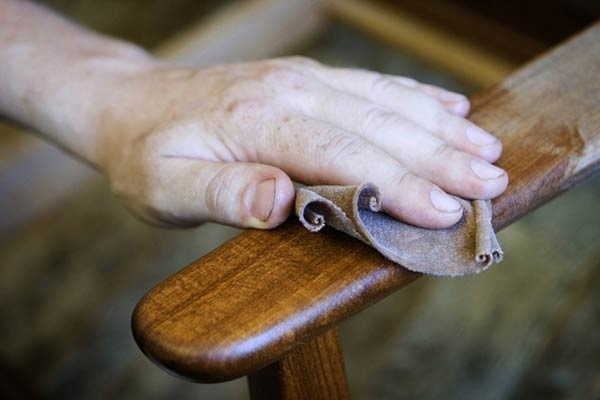
Step 2 – remove the varnish or paint and thoroughly clean the wooden parts of the chair. You can do it with the help of sandpaper depending on how many layers of paint was applied to the wood elements. If you do it manually, this is a tedious and time consuming process, but you may use a sander. If the chair has ornaments or carvings, you may have to finish the sanding by hand. Reinforce or replace springs or broken dowels.
Step 3 – apply a primer. Wood has a porous texture and paint or varnish will not last long without a primer. When you want to lacquer the wooden parts of your furniture, it is best if you apply a transparent primer, which will not hide the texture of wood. Using a spray will speed up the process. Let primer dry off completely.
Step 4 – Once the chair is dry after the primer, it should be sanded again sandpaper or a sanding sponge. Apply wood wax balm which will serve as a strengthening layer. Use a soft, clean cloth, then dry the surface.
Step 5 – Paint or stain the chair. Apply one layer of paint or stain and leave it for 24 hours until completely dry and if necessary sand with fine sandpaper. Apply a second layer of paint and let it dry. The new paint, lacquer or stain will change the appearance of the chair or armchair completely. When choosing the color of the new paint, try to pick the one that that will fit harmoniously into the overall design concept and color scheme of your interior.
Step 6 – choose a fabric and stuffing. Measure the fabric and use the old panels, if possible, as templates. Always add sufficient allowances for sewing and attaching of panels when making up the new measurements. Cut the fabric and lay each panel on the chair to check it they fit. Sew the panels and add the stuffing and upholstery panels to the chair (armchair). Use a stapler or other fasteners to fix the new fabric in place.
A word of advice for choosing a strong, durable fabric for your new upholstery – Jacquard is a suitable choice for domestic use. Tapestry is very strong and although a traditional fabric for upholstery, it may be quite expensive. Velvet is a beautiful fabric and the perfect choice for antique furniture restoration. Cotton and linen fabrics will give a new and fresh look of your restored furniture.

