You have always wanted to have a pretty and long manicure, but your nails are too weak to maintain it? Yeah, I here you girl. I have always had feeble nails, and whereas my friends enjoyed sparkly nail polishes and flower decorations, I remained bare-nailed for a long time. That is, until I discovered press on nails! Press on nails give you the ability to add a bit of glamour and style to your look without having to visit a professional nail salon. They are easy to apply, affordable, and can last up to two weeks if taken care of properly. So, if your nails are weak like mine, or you just want a cheaper and effortless manicure, here are 6 easy steps on how to apply press on nails!
How to apply press on nails?
Before we start the process of applying the press-on nails, first let’s look at the materials we will need and discuss some advice. You will need clean cotton balls, rubbing alcohol, cuticle trimmer/pusher, nail file/buffer, tweezers, and the press on nails kit (faux nails, glue, etc.). If the kit you have chosen does not feature nails that are already painted, you can also prepare a base coat, a nail polish in the colour you desire, and a top coat. If you want your press on nails to last as long as possible, it’s best to cut your natural ones short. This is optional, of course.
How long do press on nails stay on?
Press-on nails can last anywhere from a few days to two weeks, depending on the adhesive used and how you take care of them. To ensure your press-on nails stay on for as long as possible, it’s important to make sure that the natural nail bed is clean and dry before applying the faux nails. You can seal them around the edges with clear nail polish or cuticle oil. Additionally, avoid activities that may cause too much friction, such as washing dishes without gloves or playing sports without protective gear.
Clean natural nails before starting

The first step of applying press on nails, is to make sure your natural ones are completely clean. They should be properly cleansed with soap and water, with no signs of nail polish, dirt, or oil. You can also clean them with rubbing alcohol and a cotton ball to ensure a clean base for your press on nails. Dry the nails completely, and off you go to the next step!
Pushing back nail cuticles and filling
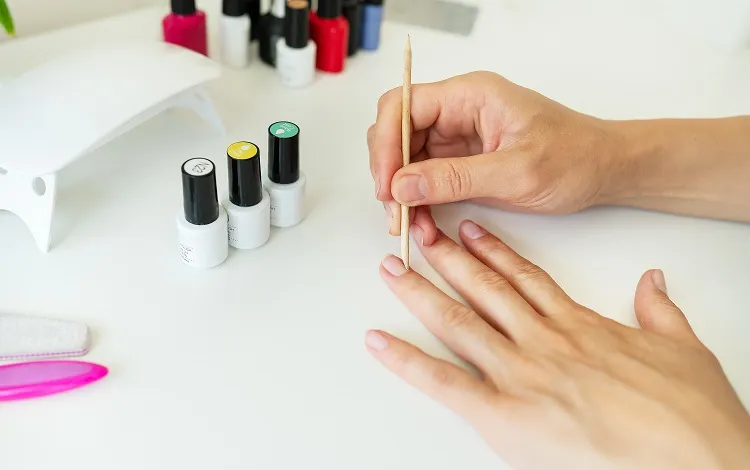
Now we continue by preparing your natural nails for the press on ones. Start by gently pushing back your cuticles using either a tool specifically designed for this purpose, or just use the tip of an orange stick. Push them away from the edge of the nail, but be careful not to over push them, which could cause damage. Afterward, lightly buff each nail surface with a buffer. Then wipe off any debris left behind using rubbing alcohol if desired (this will help create more grip between the press-on and natural nail when applied).
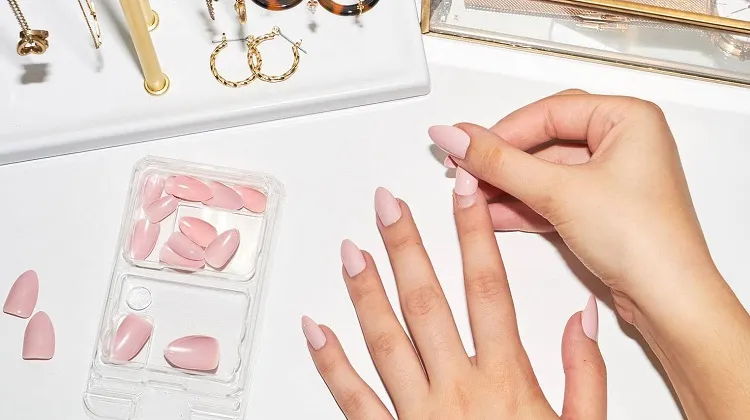
Choosing the right press on nails size
What size is best for each finger? Most sets of press on nails come with several different sizes included. Hence, there should be one that fits comfortably onto each fingernail without overlapping too much onto the skin or cuticles around it. Before you attach them with glue, you can try pressing down a nail slightly after placing it on, just so see how well it sticks before proceeding further. If needed, trim away excess edges carefully with a pair of small scissors. But don’t make them too short, as they won’t stay put as well afterward! Make sure none of these steps leave any residue behind. Otherwise, it might interfere later when gluing the press on nails.
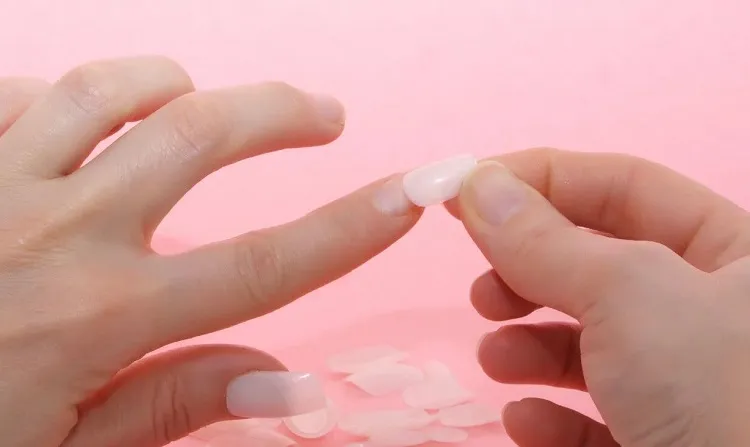
How to glue the press on nails?
Once you’ve selected which sizes fit best, it’s time for to apply those press on nails! If you want your nails to last for a week or more, cover your entire natural nails in glue. If you want this look only for the weekend, use just a couple of drops. Still, make sure not to apply too much glue. This will interfere once you press the fake nail down into position. Next, place the nail firmly against your natural nail bed, ensuring there aren’t any air bubbles underneath. Now, take some tweezers or another tool available in some kits like applicator sticks, and hold firmly until completely dry. Wait for 20 seconds. Check if everything is in order. Repeat this process one nail at a time, until all are done.
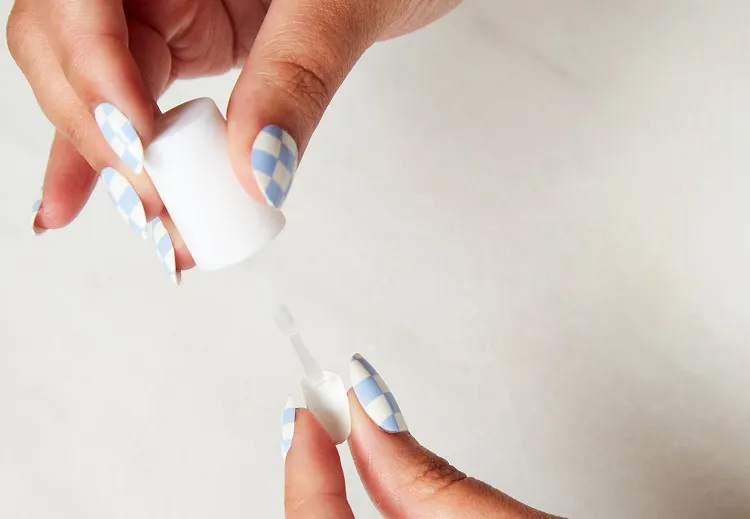
Painting your new press on nails
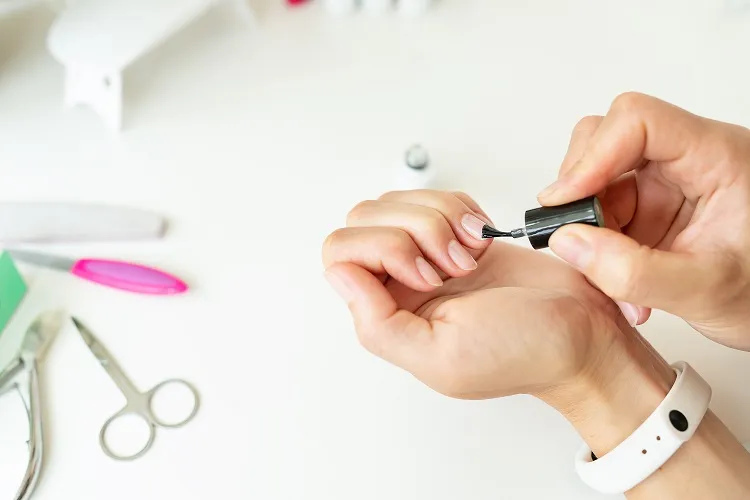
The best part is finally here! Let’s paint those press on nails for the full glam look! Begin by applying one layer of base coat, followed by two layers of a trendy colour nail polish. Finish off, by applying one layer topcoat protectant sealer to ensure the longevity of your nail polish. Let dry for a few minutes before touching anything else to avoid smudging the nail dye. Now admire your beautiful nails and show them off to all your friends. You don’t even have to mention they are press on ones, it will be our little secret!
The beauty of press on nails is that they are easy to apply and look great when done correctly. By following these 6 easy steps, anyone can achieve salon-worthy results in the comfort of their own home. Enjoy your homemade manicures, girls!