Recently, my parents got the opportunity to buy a very nice and secluded old house in the country. Like any old place, it’s in need of some repairs! My mother is currently focused on upgrading it to a more modern-day look. However, she is facing some troubles as the house has little storage space. There are mostly old wooden cabinets which pretty much need to be thrown out. She would like to place a family picture here, and an antique vase there, but there seems to be no room for items like these. How can she solve her problem? Well, I showed her how to hang floating shelves, of course! Want to follow my easy DIY 6 step-by-step guide and get some extra space in your home? Plus some great ideas on how to decorate them? Off we go!
How to hang floating shelves: DIY step-by-step guide
Before we begin with the DIY step-by-step guide on how to hang floating shelves, you will need to equip yourself with the proper tools.
List of tools:
- Level
- Tape measure
- Power drill
- Pencil
- Floating shelve
- Hammer
- Stud finder (optional)
Got everything? Okay, let’s get to working!
Step 1: Where will you hang your floating shelves?
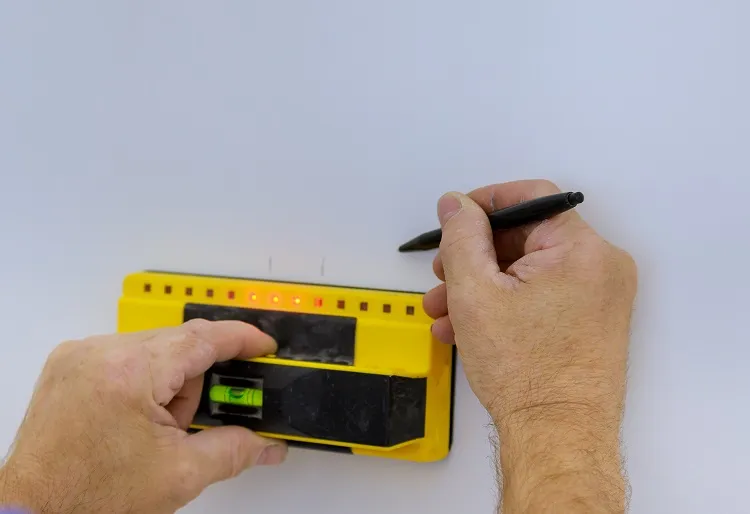
The first step would be to figure out exactly where you want to place your floating shelves. Here, the stud finder can come in handy. Stud finders help out in finding studs in your walls. Move them around your walls, and they will beep if they find any. This can be especially helpful if you want to hang your floating shelves above the TV or around any wires at all. You can also go without using a stud finder, but it’s a bit more risky. Better to be safe!
Step 2: Measure where the shelves’holes will be
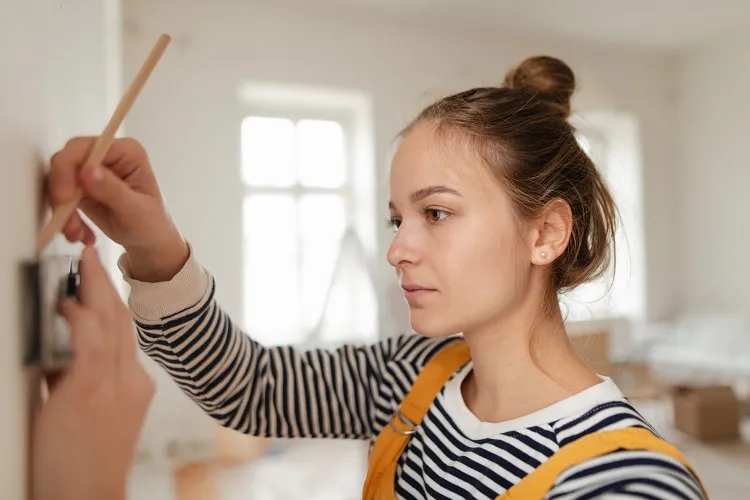
Take one of the shelves and hold it where you want it to hang. Make sure the shelf is centred by using the tape measure. Flip up the shelf against the wall and place the level on top. Level the shelf so it is straight. Check where the screws need to be and mark those spots with the pencil.
Step 3: It’s drilling time!
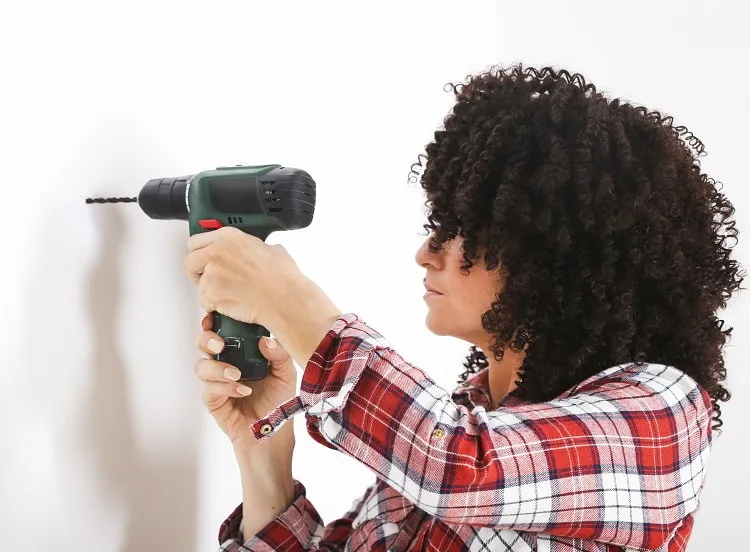
Before you start drilling, you should make sure that you have the correct drill bit. When I was helping out my mother with her floating shelves, I used the diagram below as guidance. You checked and have the correct one? Good, now we can get to drilling! Using your pencil markings as guidelines, use the power drill to make the holes in the wall.

Step 4: Put in the screws of your floating shelves
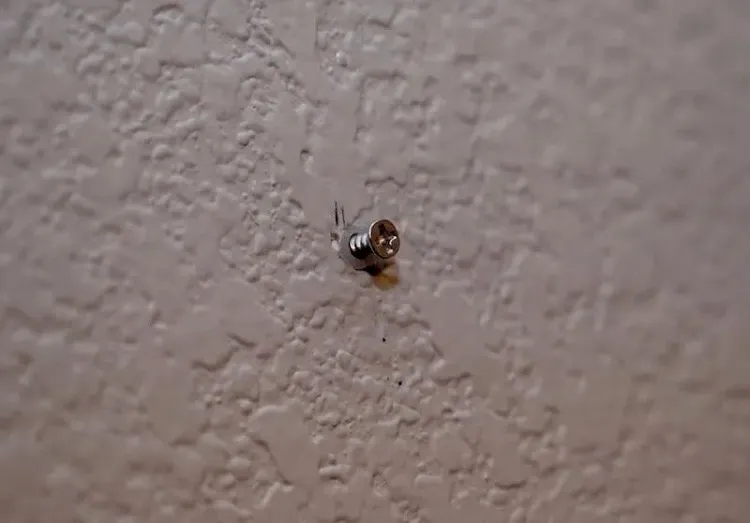
After you are done drilling, use the hammer to put in the anchors of the shelf into the wall. Before screwing in the screws, be advised to not put the screw completely in, so that you will be able to attach the shelf later. Okay, now you can screw in the screws of your shelves. Finally, for this step, use the level to make sure that everything is evenly positioned.
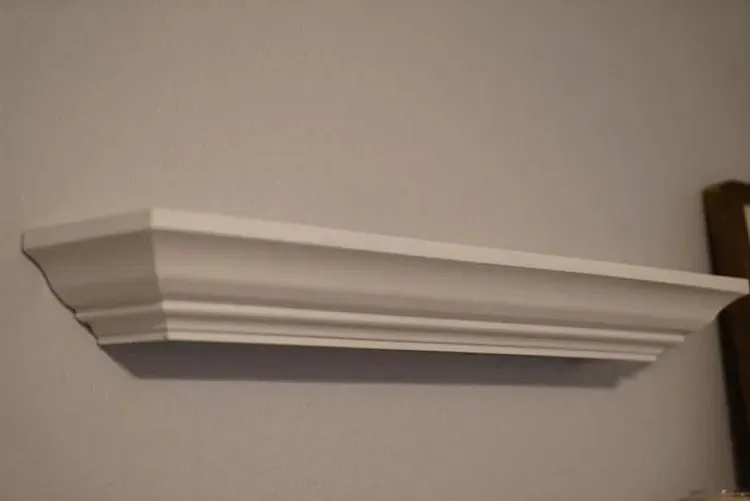
Step 5: Time to hang those shelves!

Okay, so you have checked the holes, and they are in the correct place? Good. Let’s hang those floating shelves! Take one shelf and check if its parts on the back line up with screws you put in. If all is good, just hang it up. You are done. Great job!
Step 6: Decorate them as you please + some ideas!
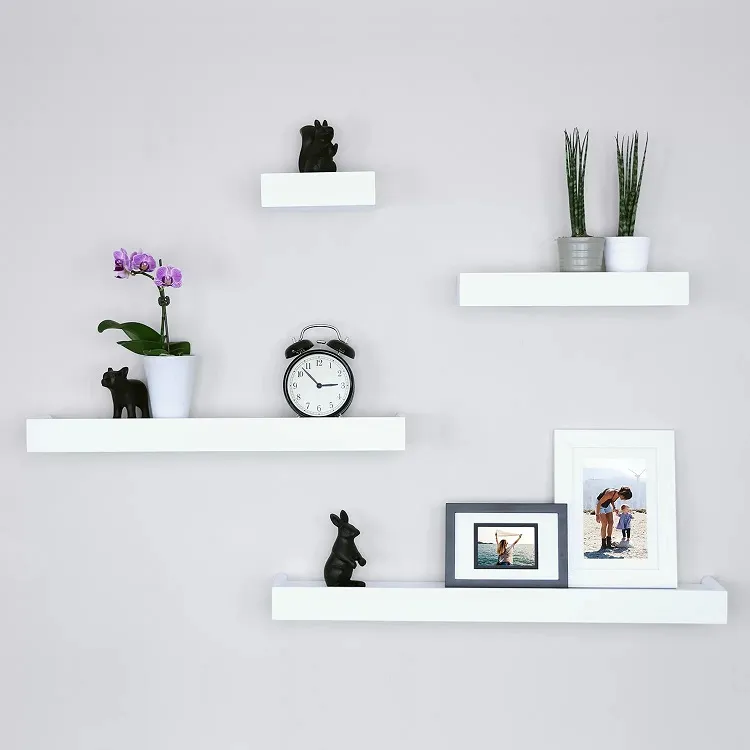
You finally have your stylish floating shelves, and you can enrich them in any way you like! And if you are looking for some ideas on what you can use your floating shelves for, or how to decorate them, just follow my lead and look at the great and modern designs below!
If you are looking to make more space in the bedroom, then your floating shelves will fit right in! The night stand is already overloaded by a lamp, a couple of books and some midnight snacks? Well, you can attach your floating shelf right above your side of the bed and decorate it in any way you see fit. An extra book, or scented candle, your choice! Just be careful not to bump your head when you lift it from the pillow!
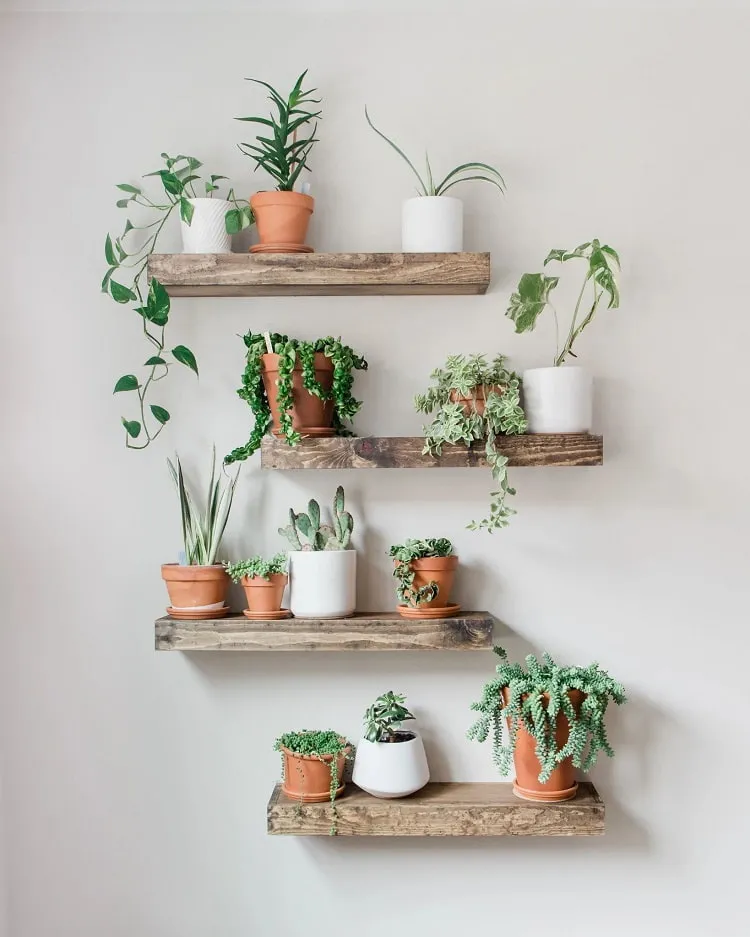
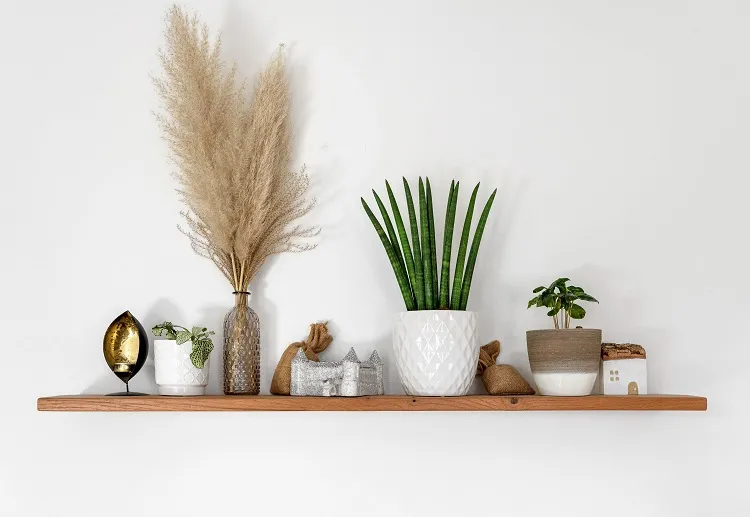
Ah yes, nature! If you are looking to make your own garden of Eden at home, but lack the space, the floating shelves will come to your rescue! This beautiful and stylish design shows just how much open a space can be if there are household plants in the room. Definitely adding this to my flat!
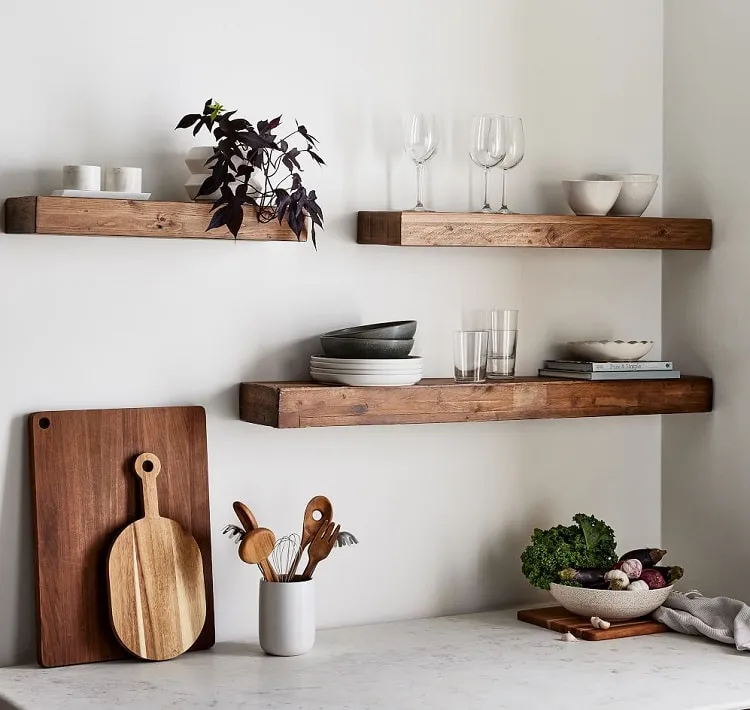
This picture was one of the inspirations I had for helping out my mother with her floating shelves. As the kitchen in my parents’ new place is not that big, the floating shelves came in quite handy! I just loved how the design is both rustic and modern at the same time. Now my mom has everything she needs by her side when she is cooking.
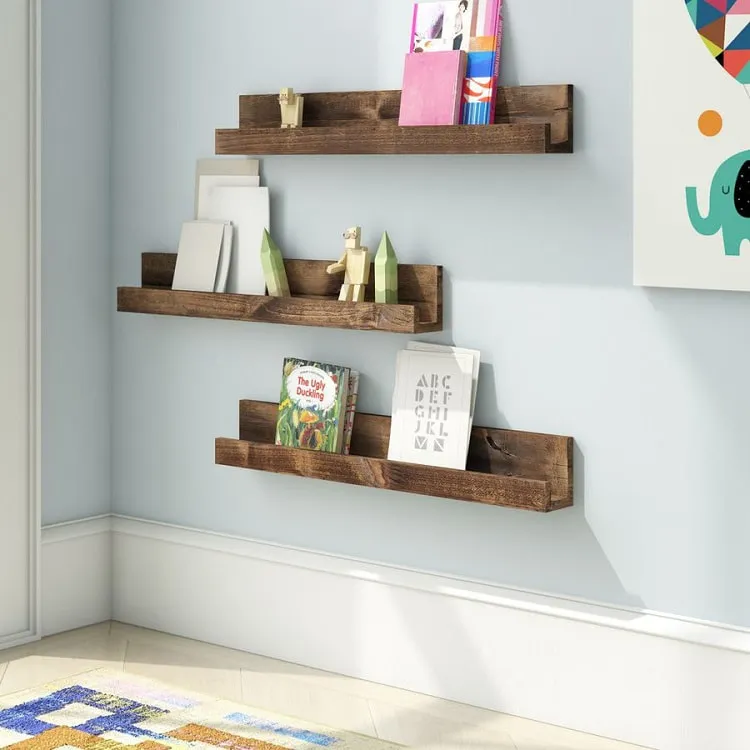
And of course, we have to have something for the kids! Hang up some floating shelves in your children’s room, so they can put their toys along with their arts and crafts. Achieve this stylish design by going with the wooden choice!
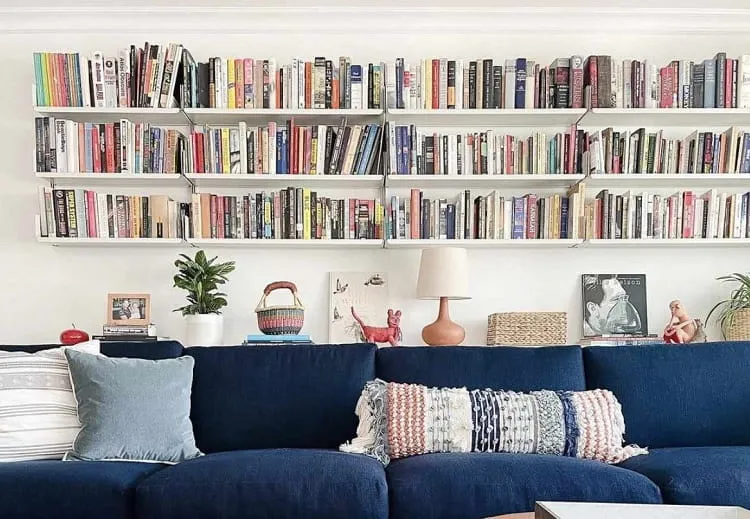
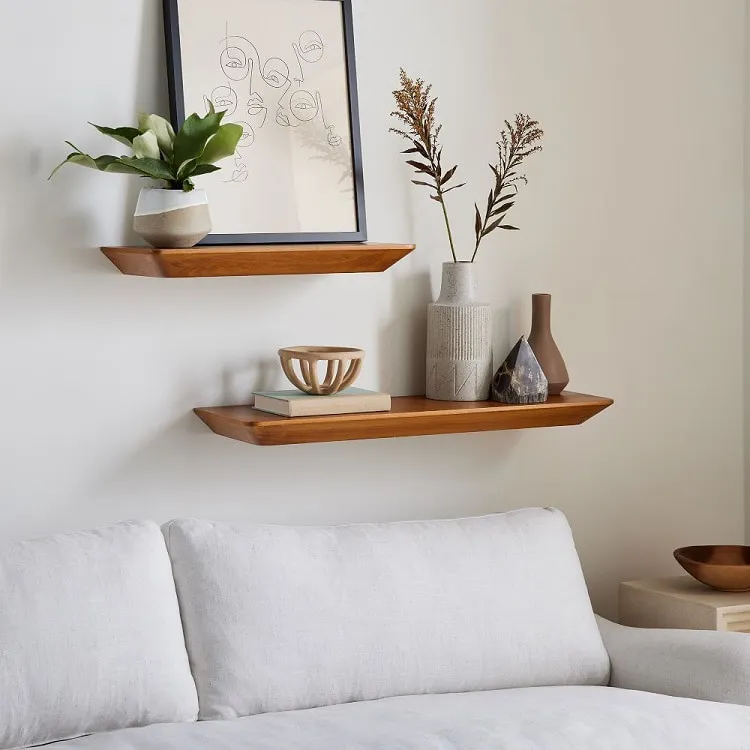
This one is for anyone who can’t go a day without opening a book! If you are looking on how to make your living room look bigger and add additional space, then hang those floating shelves! With this design, you can have the library of your dreams in your home!
Hopefully, the step-by-step guide on how to hang floating shelves did for you what it did for me and my mother. These shelves create such a simple and elegant design for our homes. And now you also have some great and fabulous ideas on how to decorate them! Good for us!