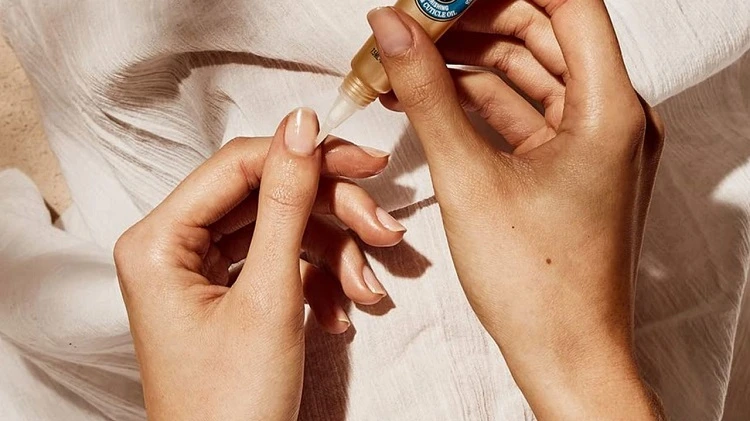
Ahhh… Do you know how your day can turn into a bad one? Chipped nails! When this happens, we have to run to the nail salon and get them fixed, especially if they are gel or acrylic. If I don’t have the time to go, my only thought during the day is to scratch it, or take the gel off. This can really damage your manicure and make things worst! That’s why I have the solution for you! Find how to fix chipped gel nail polish at home with this ultimate guide! I promise you that the steps are easy to follow, and the results are guaranteed!
How to Fix Chipped Gel Nail Polish at Home: The Ultimate Guide
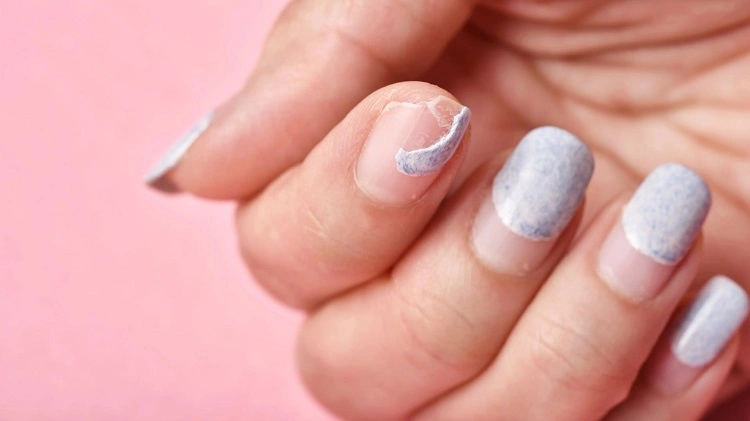
Now, first things first! Chipped nails are often the reason for our bad mood. They are not only unpleasant to look at, but they can be quite uncomfortable. They scratch and can easily get stuck on our clothes, which can be quite painful! Ouch! With that being said, you have to be really careful, if you are bold enough to try to fix them at home! It is not a simple task, but once you learn how to do it, you won’t have to spend money and time at the nail salon every time! Now there are two case scenarios: you can either fix your chipped nail if the issue is minor, or you can remove it entirely. I am going to tell you how!
Fixing Chipped Gel Nail Polish at Home: Easy Tutorial
Let us show you the easiest way on how you can fix that chipped nail! First, you are going to need your nail fail, a cleaning pad, nail polish and UV lamp. Let’s get started!
- Grab your nail fail and buff the chipped nail with the soft side. Be careful, you don’t want to remove the entire nail polish, you simply want to make the surface even, so you can fix it. Also, the chipped side should be rough enough, so the new gel nail polish can stick nicely.
- Next, take your cleanser pad, it can be with or without alcohol, and gently go over your fingernail. Make sure you clean everything gently.
- Take your gel nail polish and apply where the chipped area is. Keep in mind that everything should be even. Don’t apply a lot in the beginning. We want an even surface, as mentioned above. You can go over it, if it’s not enough. It is essential to cap the nail with the nail polish brush. That means to go over the nail, and put nail polish there, because it prevents future chipping.
- Now it’s time to take your UV lamp and do a complete 50 seconds, before taking your hand out.
- Take your fail again and buff the nail. Clean again with the cleanser pad and apply polish on the entire fingernail this time. Put your hand in the UV lamp and do 50 seconds more.
Read also: Find out how to do French tip nails at home!
How to Fix Chipped Gel Nail Polish Without the Color?
It’s normal that you don’t have the same polish color at home, if you did your manicure at the nail salon! But that doesn’t mean you can’t save your chipped nail at home! You can cover the chipped area with different decoration with whatever colors you have. Get creative and make fun designs! You can discover your skills as a manicure artist! There are a few suggestions that you can try out from this video!
How to Remove Gel Nails at Home?
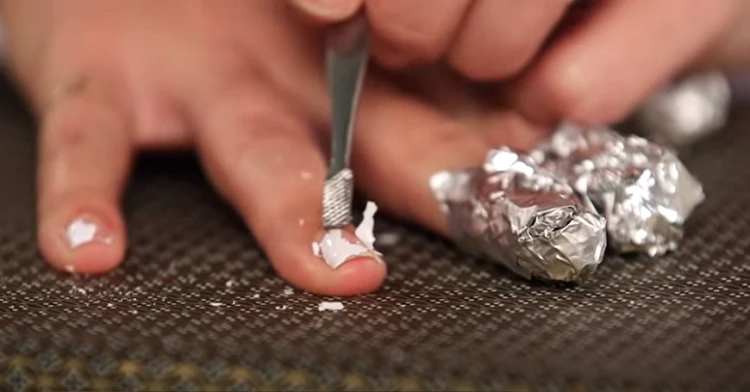
If it’s too late to save your chipped nails and fix them, the time has come to say goodbye! You will have to remove them at home. But don’t worry it is not as scary as it sounds. What you are going to need is: cotton balls, nail polish remover, nail groomer, and aluminum foil.
- First, take one cotton ball and start breaking it into tiny pieces. You are going to need 10 for all of your fingernails.
- Grab your acetone or whatever nail polish remover that you have and dip each of the tiny cotton balls inside.
- Place the cotton with acetone over your gel nail polish and wrap each finger with the aluminum foil. You have to make sure it is super tight, so the cotton doesn’t move. Leave it for about 10 minutes.
- When you start removing the foil, you are going to notice how the gel nail polish is starting to peel off. This is where you are going to need the nail groomer or cleaner. If you don’t have one a wooden stick would do the perfect job.
- Push off the gel nail polish. ABSOLUTELY start from the cuticle to the top! If you do it backwards, you risk damaging your nail!
- After you are done, grab a new cotton ball and dip it into the acetone. Clean all the excess and remove anything from your nails.
- If they are looking dry, you can apply nail strengthener.