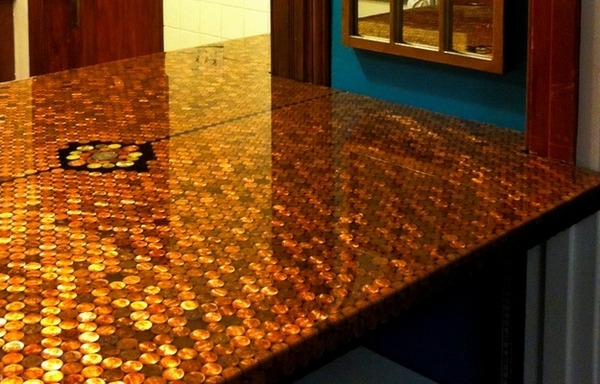
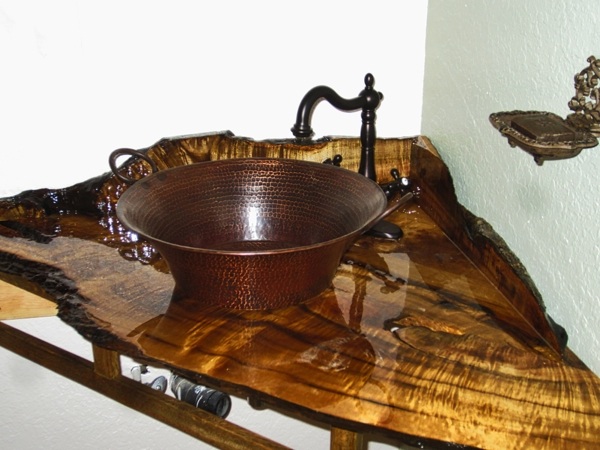
Modern building materials appear on the market every day and there are so many ideas for home decoration or craft ideas that many people cannot follow them. We have collected some cool ideas how you can make epoxy countertops and give your home an original and unique look.
A unique countertop is a conversational piece and will definitely show your craft skills and creative ideas. We shall show you the process of creating epoxy countertops step by step and add an original feature to your home interior.
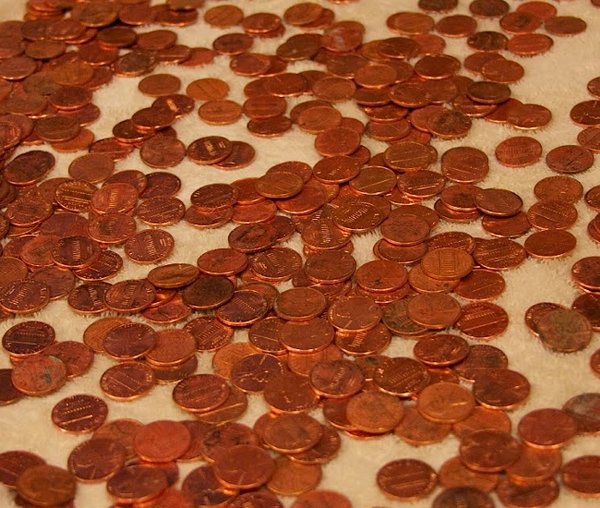
We have chosen a magnificent countertop which is made of coins and looks absolutely great. What you need would be lots of coins. You could use various coins that you brought from different countries while you travelled, for example. So, you will need coins, glue, a ruler and of course, epoxy resin.
It is not difficult to craft epoxy countertop designs, once you have decided what the design would be. To make this 3D coin countertop you need to make sure that your coins are the same size. Thoroughly clean your coins from oxides and dirt. There are special solutions which will cope with this task for a few seconds.
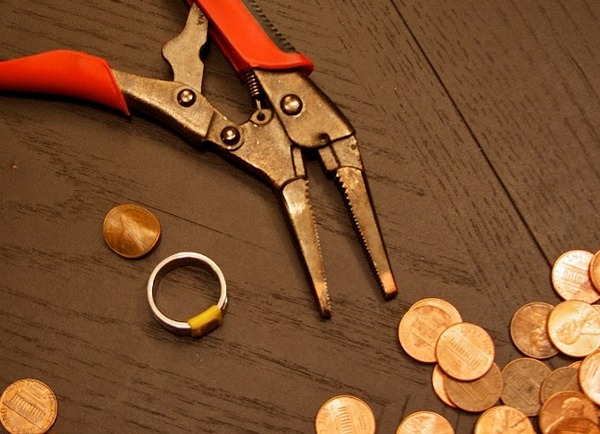
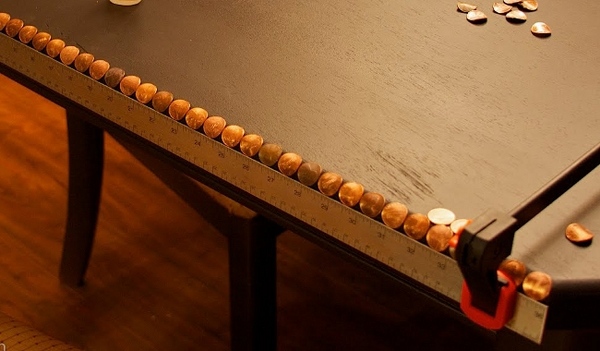
Place the first row of coins on the countertop surface. If you have a rounded edge, you will need to bend the coins using these simple tools – a steel ring and pliers.
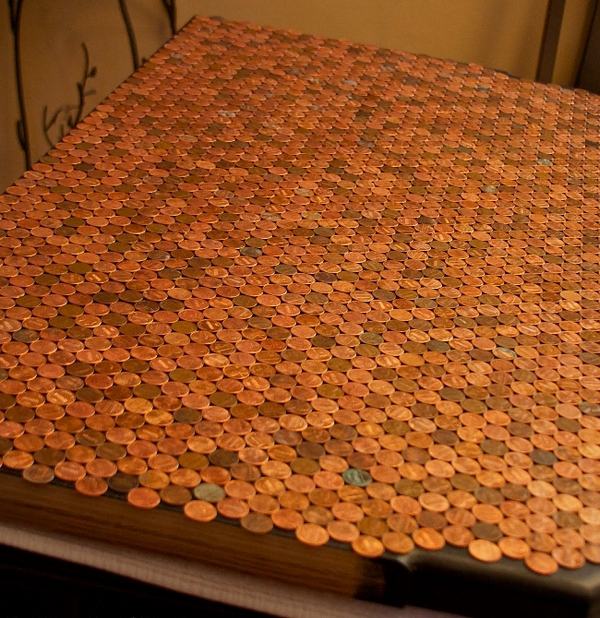
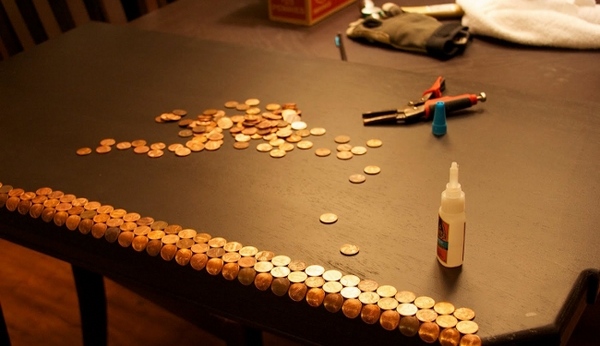
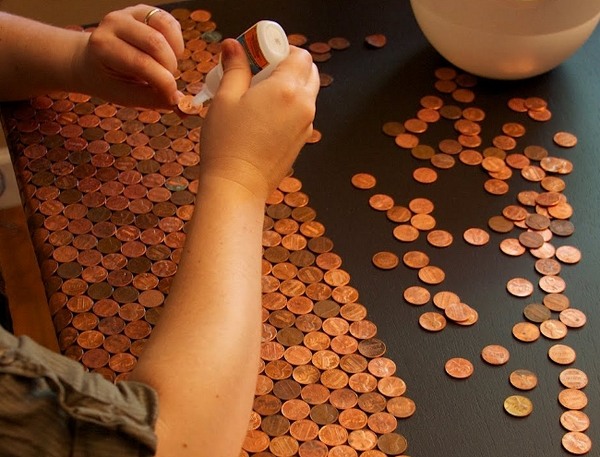
Use a long ruler or a builder’s level along the countertop to make sure your coin row is aligned and that the coins will stay in place and not fall off. Use a strong glue to stick the coins to the surface.
Keep gluing the coins until the whole surface is covered.
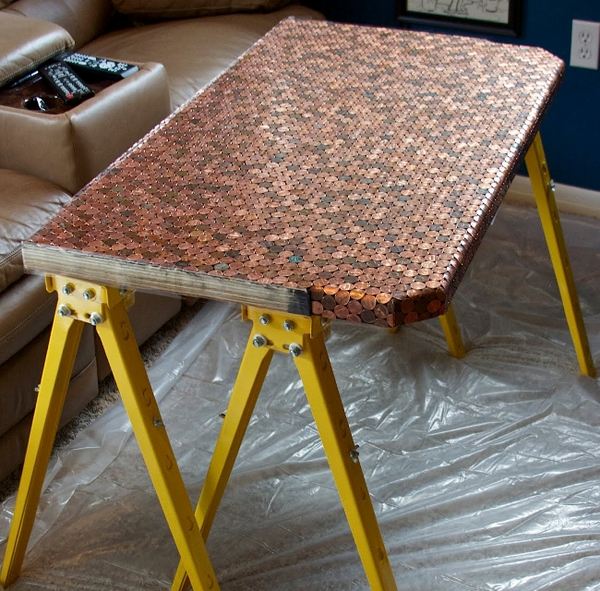
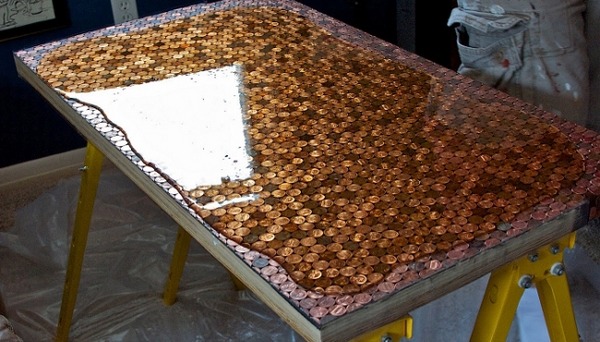
The next step will require a place where kids’ access is limited. Place your countertop on a stand. Make sure you covered the floor with protective polyethylene.
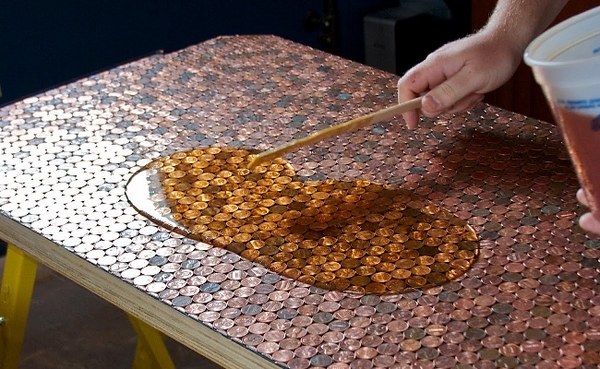
Make sure you have enough epoxy resin to cover all the surface of the countertop. Pour more than half of the epoxy resin into the center and carefully spread it over the surface with the help of a wooden or plastic stick.
Add epoxy so that it covers all the surface of the countertop with a layer of about 4-6 mm.
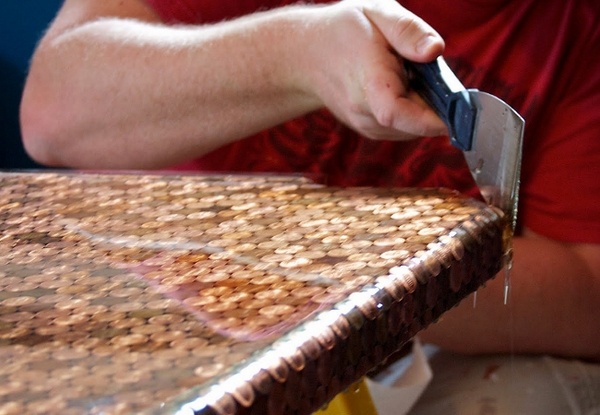
Cover the sides as well.
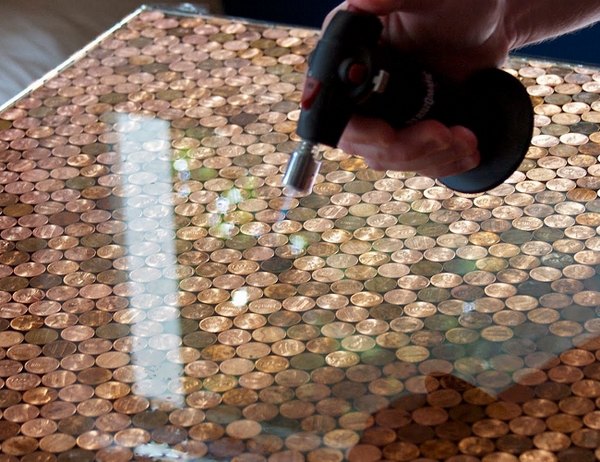
With a manual gas burner heat the surface of the liquid epoxy resin. This is necessary to ensure that air bubbles that appear after pouring will disappear. Now leave the countertop for 2-3 days so the epoxy resin can dry completely and after that you have a fabulous custom made countertop!

