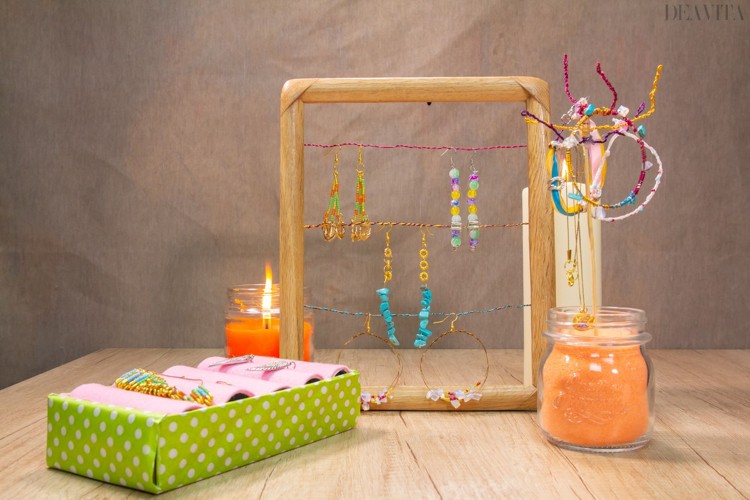
There are no women or girls who do not love jewelry. It is good to have a lot of jewelry, but it is better to know every time where your favorite pair of earrings or your favorite necklace is. Keeping your jewelry in boxes can damage or entangle it. End the big mess by making a jewelry organizer by yourself. These creative projects do not take much time and cost almost nothing. They also look good on a vanity table! Take a look at our 3 simple DIY Jewelry storage ideas and tutorials.
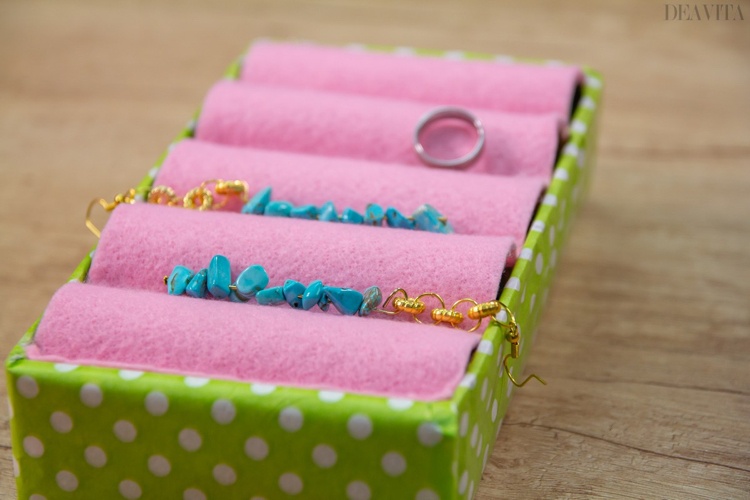
DIY Jewelry storage ideas – rings organizer
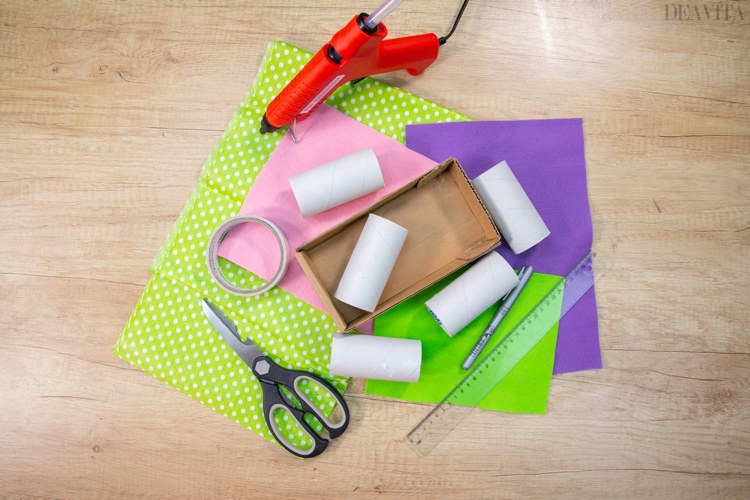
Materials needed:
Cardboard Box (20 cm X 10 cm)
Tissue Paper
Silicone Glue
Double Sided Tape
Felt (different colours)
5 Toilet Paper Rolls
Scissors
Ruler
Marker
Directions:
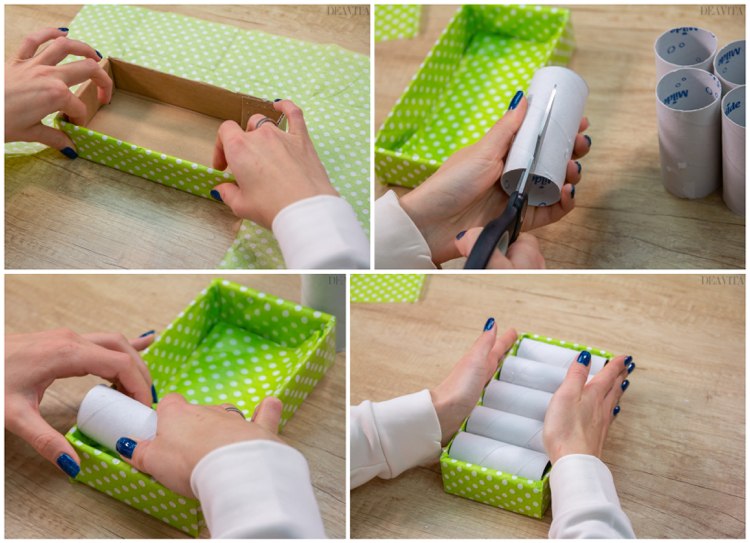
- Wrap the cardboard box in tissue paper. Use double-sided adhesive tape .
- Cut the rolls along the long side.
- Place the paper rolls in the box.
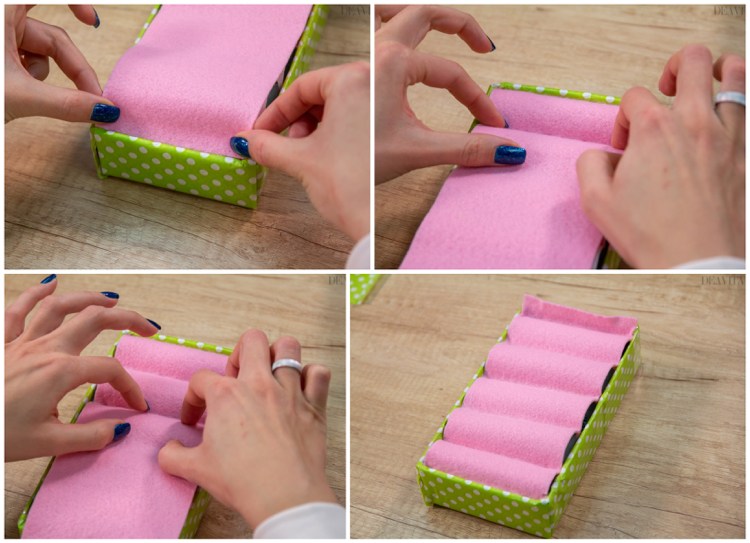
- Cut out a rectangle of felt with the same width as the box.
- Glue the felt to the wide side of the box and arrange it along the toilet paper rolls. Insert the fabric into the slits between each pair of rolls and that will be your ring tray.
- Finally, glue the felt on the other side and cut off the excess.
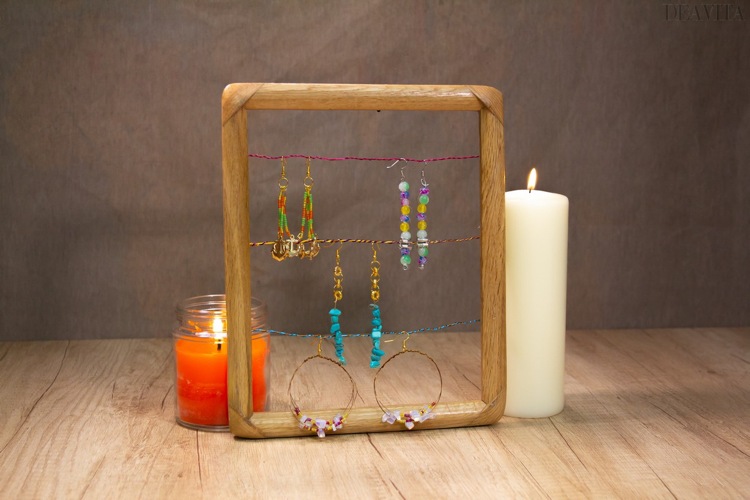
DIY Jewelry storage ideas – upcycle a photo frame
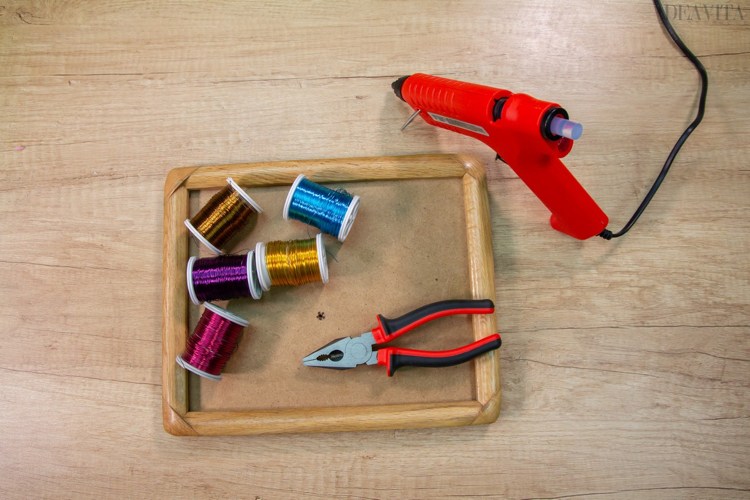
Materials needed:
Photo Frame
Wire
Hot glue gun
Pliers
Directions:
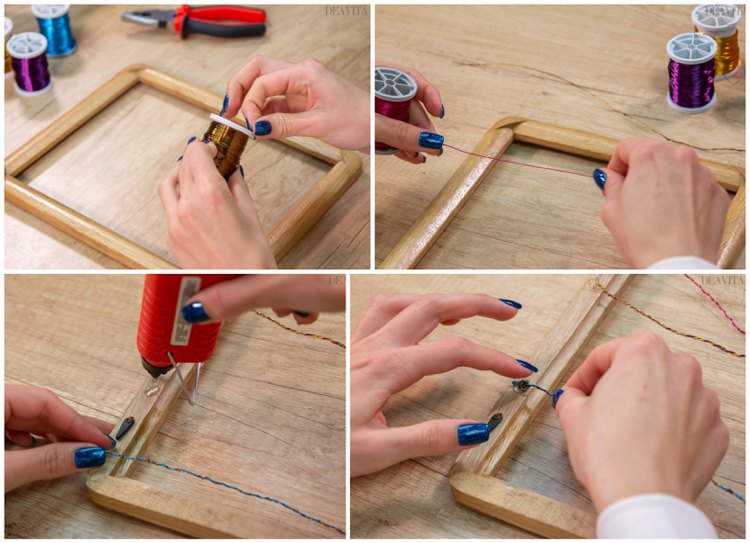
- Remove the back of the photo frame.
- Use pliers to cut a piece of wire a little bit longer than twice the width of the frame.
- Fold the wire and wrap it.
- Make a knot and attach the wire to the photo frame with the hot glue gun.
DIY Jewelry wire tree
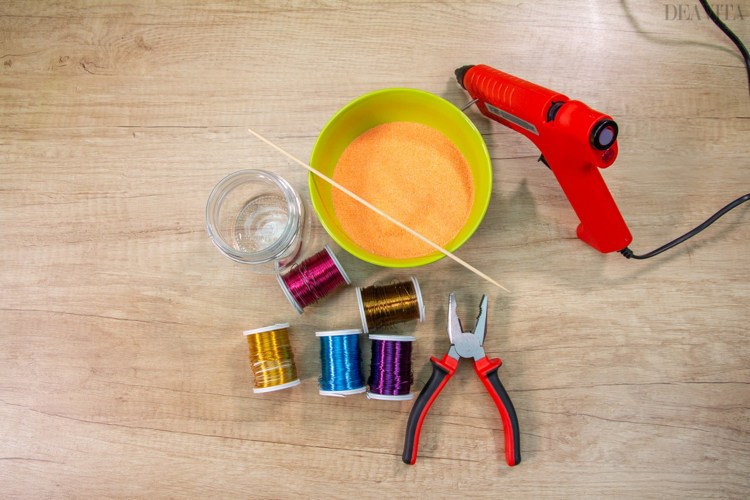
Materials and tools:
Wire
Glass Jar
Pliers
Skewer
Hot glue gun
Coloured Sand
Directions:
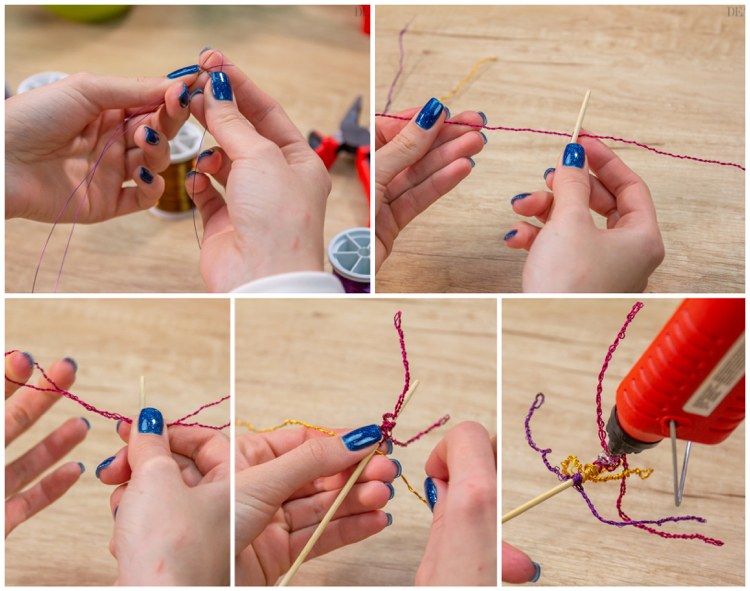
- Cut several pieces of wire to the desired length.
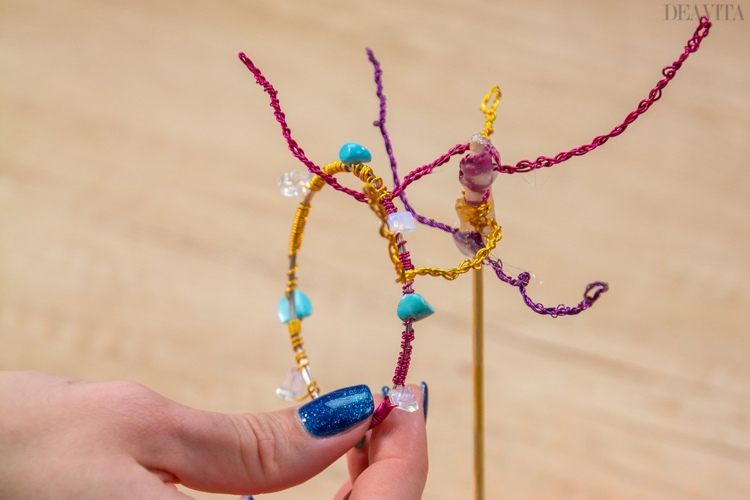
- Wrap them wire around each other to make the branches of the tree.
- Cut off the top of the wooden skewer.
- Wrap the wire twigs around the wooden skewer.
- Fix with hot glue.
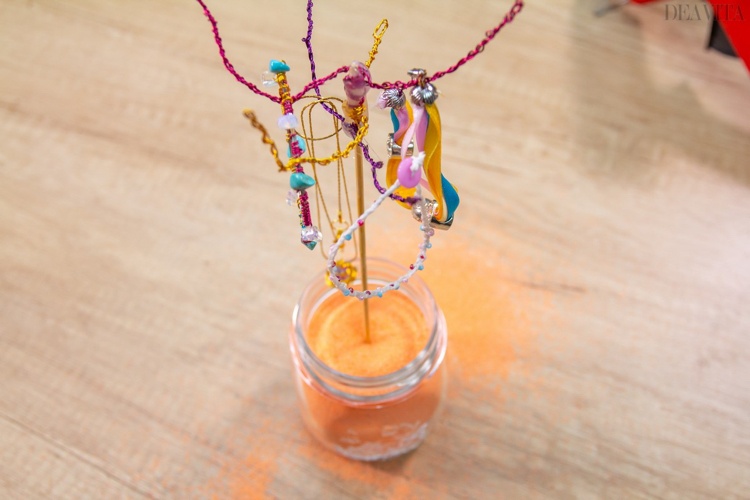
- Fill a glass jar with colored sand.
- Stick the wooden skewer in the sand.

