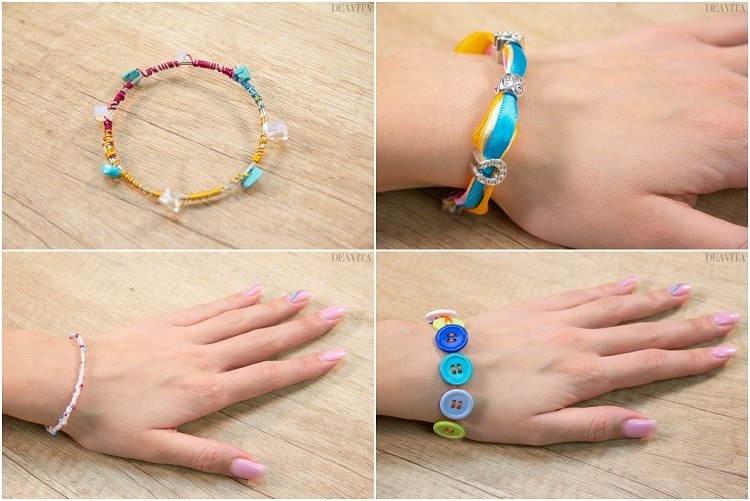
Handmade jewelry is unique and always very individual. Anyone who likes to enrich their jewelry box can make a piece of jewelry in accordance with their own ideas and needs. To make handmade jewelry you need a little imagination, patience and a concrete DIY idea. In today’s post we would like to present DIY bracelet ideas. You can follow the steps and make a beautiful bracelet for your own jewelry collection or as a lovingly made Christmas gift.
DIY Bracelet Ideas – colorful ribbons and beads
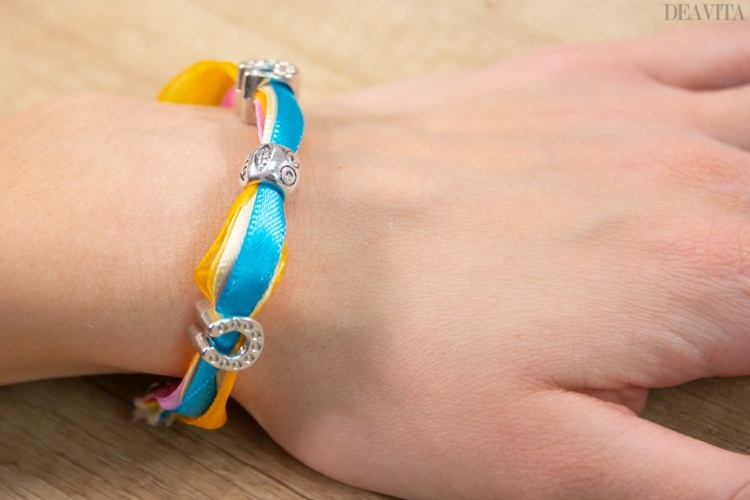
Our first proposal for DIY Bracelet Ideas is suitable for all ladies who value cool, colorful combinations and like to wear extraordinary, but feminine jewelry.
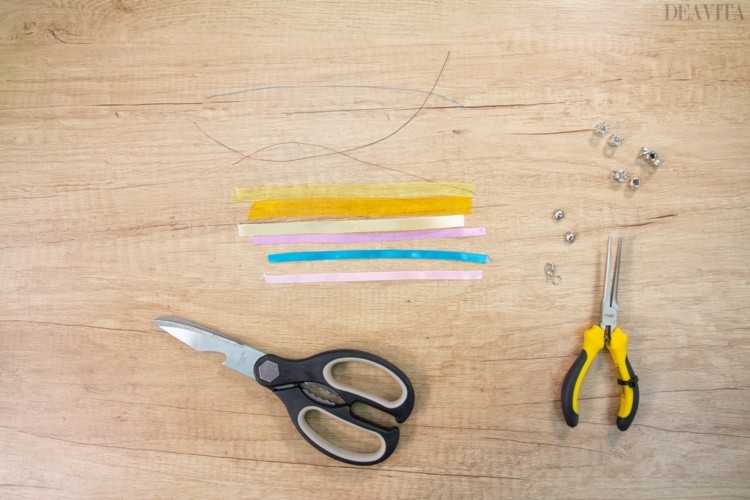
Materials needed:
Ribbons (different colours, each 16 cm long)
Beads (with large holes)
Copper Wire
Clasp (lobster claw)
Jump Ring
Bead Caps
Scissors
Jewelry Pliers
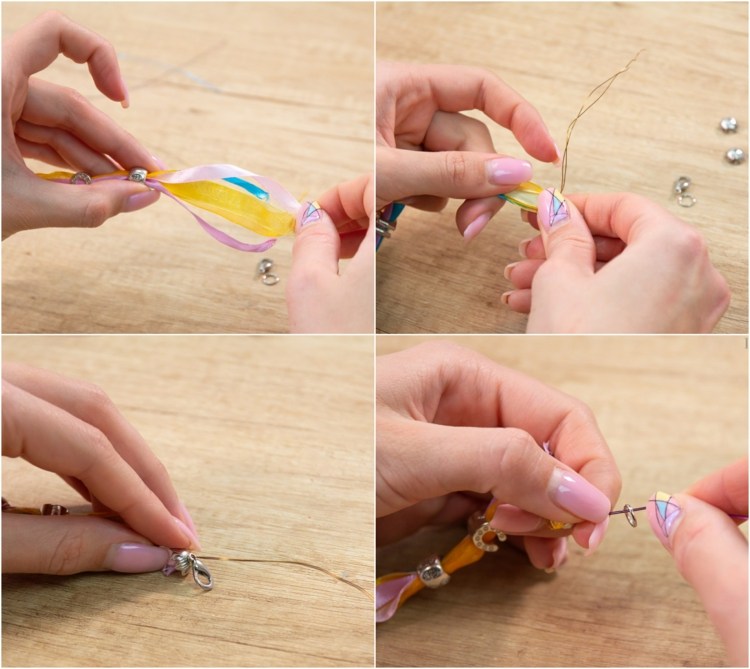
Directions:
First take the colorful ribbons and gather them in a bundle. The number of ribbons may vary depending on the desired thickness of the bracelet. Then thread the beads. Wrap one end of the bracelet tightly with a piece of copper wire. Put on the bead caps. Finally attach the closure. Remove excess ribbons.
DIY Bracelet Ideas with bead chips
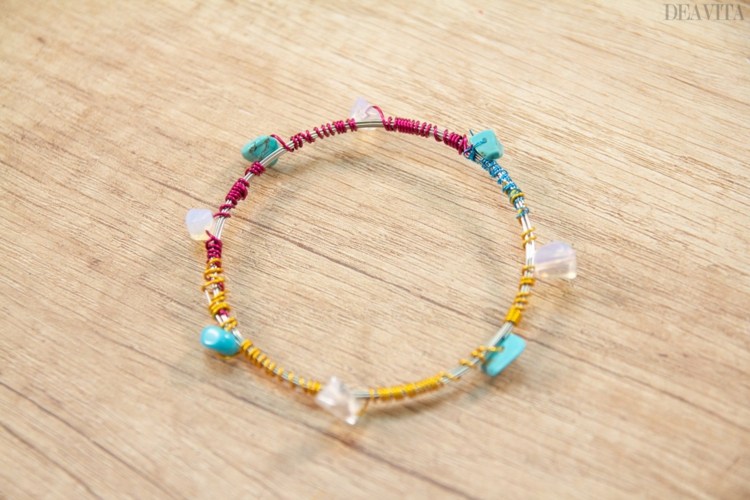
To make a different type of bracelets, you can use memory wire. With different beads or pendants you can create beautiful and elegant bracelets. We used bead chips in turquoise and white.
Materials needed:
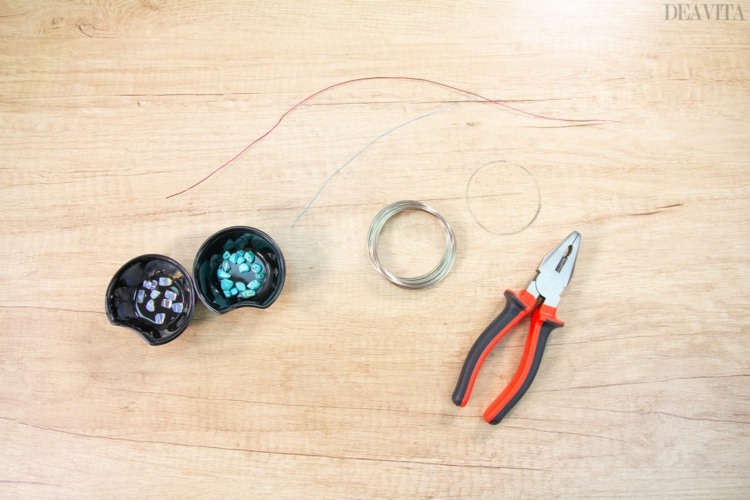
Memory Wire
Copper Wire
Bead Chips
Wire Cutters
Directions:
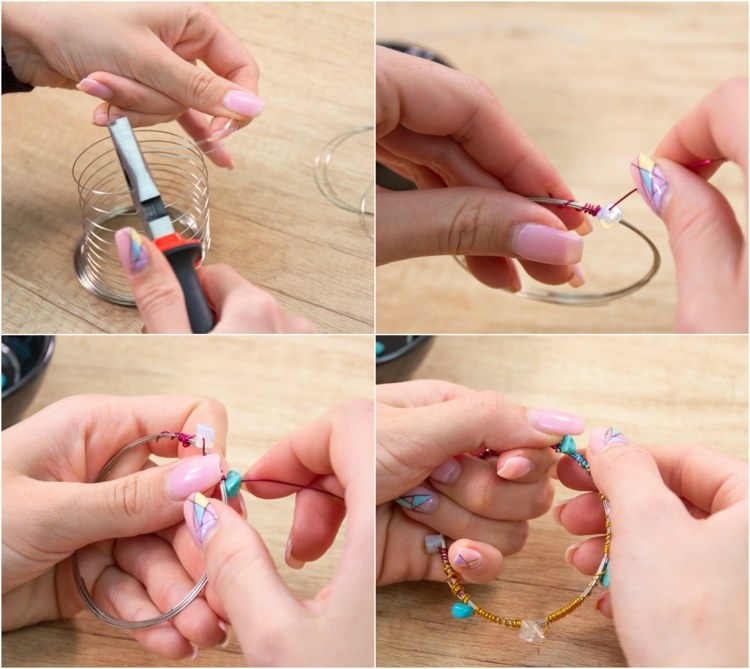
Cut off 5 suitably sized pieces from the copper wire and wrap it around the memory wire a few times. Then thread a bead and wrap the wire a few more times. Repeat the same process by changing the color of the wire and beads. Finally, tie the wire ends together.
How to make a nice bracelet with buttons
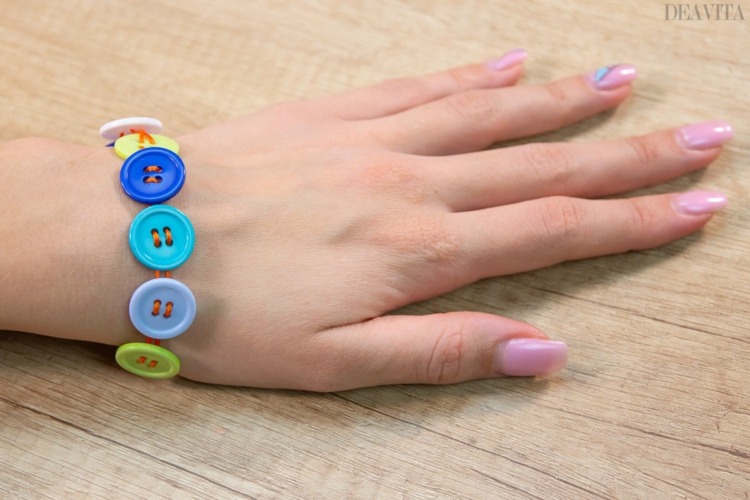
If you want to make a cute and colorful bracelet, you do not necessarily have to go to the craft store. Various everyday items can be used for making of arm jewelry. For our next crafting idea, for example, you need some colorful buttons.
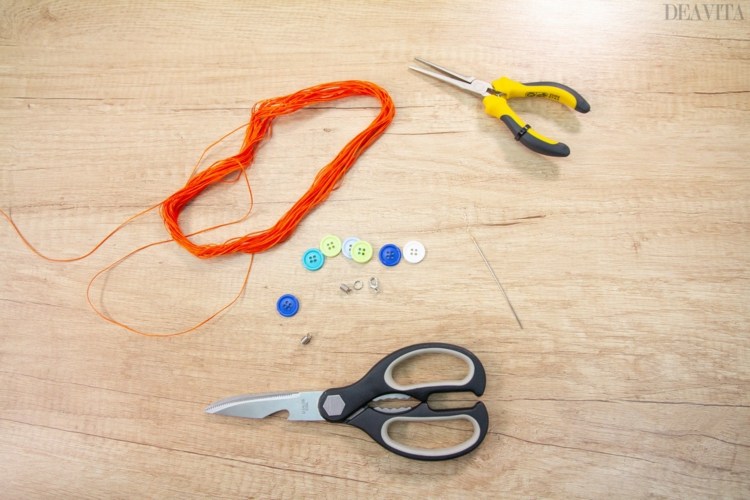
Materials needed:
Buttons (4 holes)
Waxed Cotton Cord
Cord Ends
Clasp (lobster claw)
Jump Rings
Scissors
Jewelry Pliers
Directions:
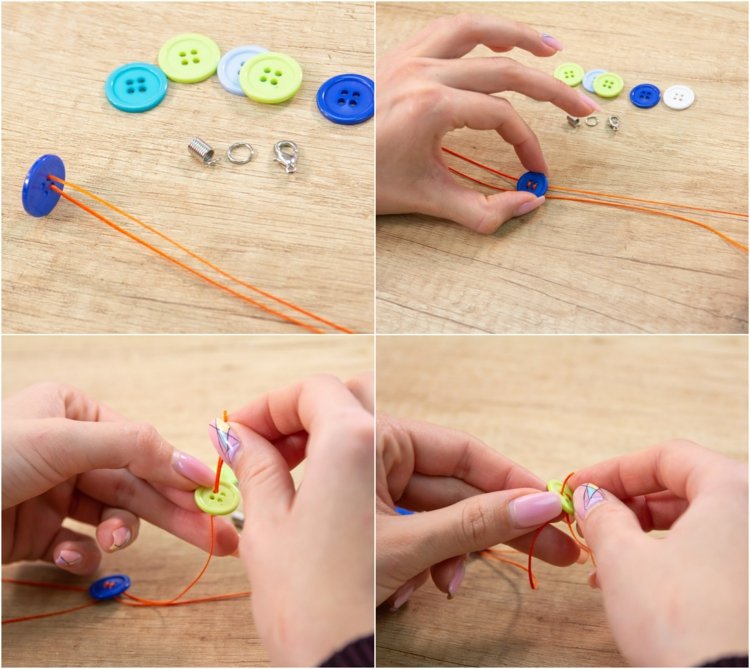
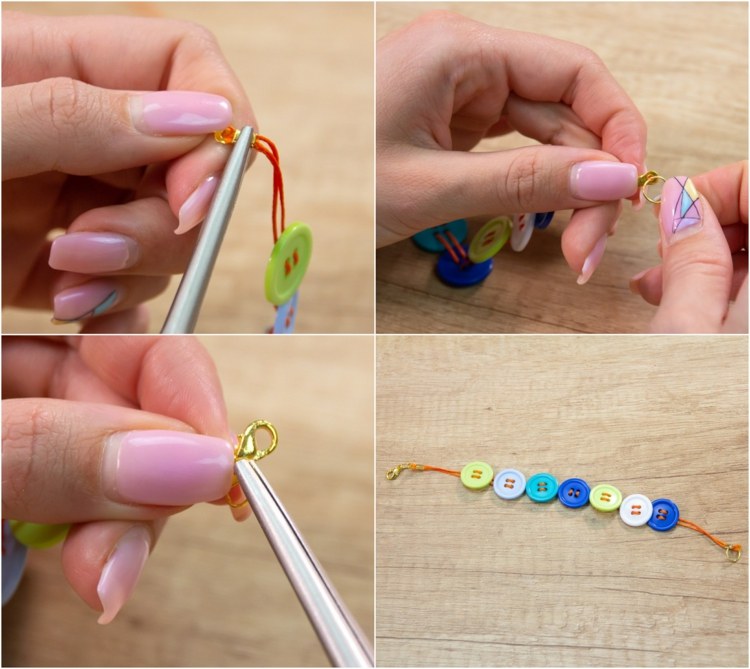
Measure your wrist and add another 6-8 centimeters. Cut off the waxed cotton cord. Then thread the buttons one after the other, creating a nice color pattern. Thread the string vertically through the first two holes of the button as shown in the picture and then through the other two. Repeat this process with the other buttons as well. Then attach the cord ends as well as the lock ring and the lobster claw clasp.
DIY Braided Bead Bracelet
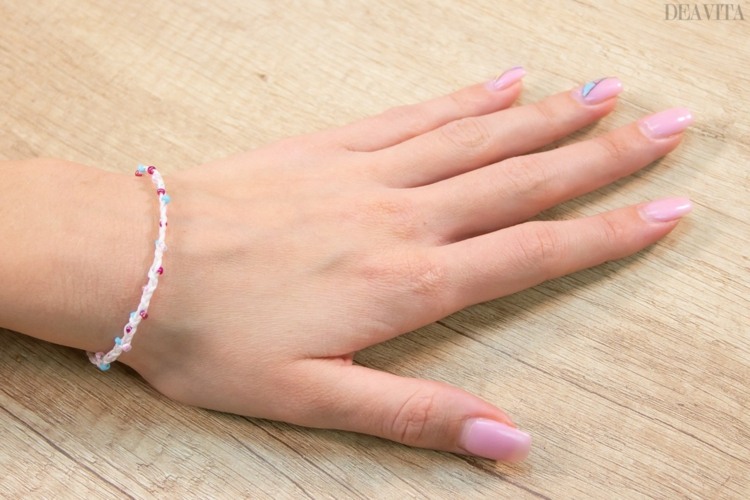
Our last suggestion is for a great braided bracelet with tiny beads and a button closure.
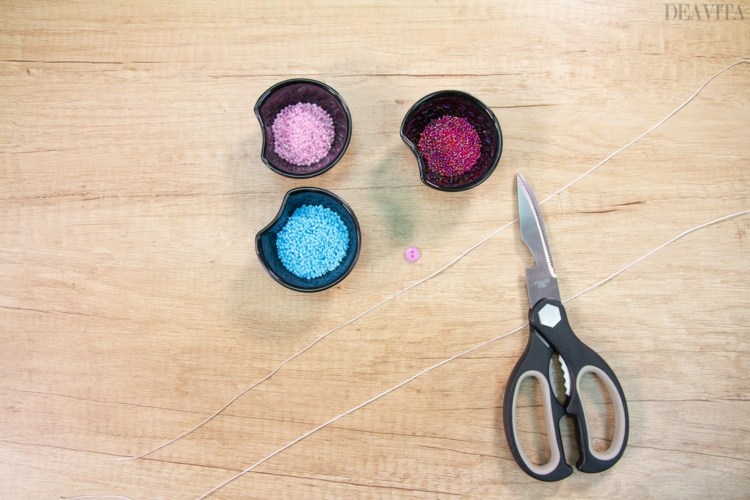
Materials needed:
Cotton Waxed Cord – 114 cm
Beads (small) – 60
Button (small; 2 holes)
Scissors
Ruler
Directions:
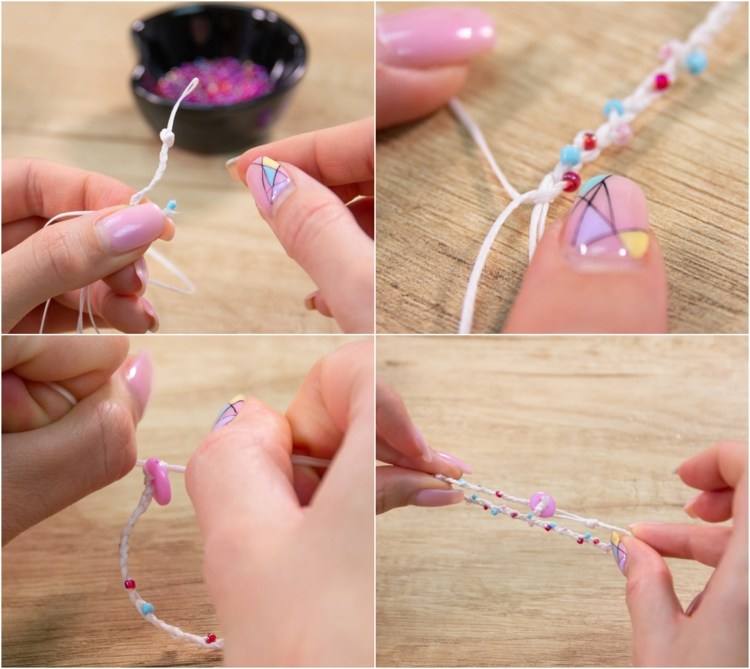
Cut a 66 cm long and one 48 cm long piece from the waxed cotton cord. Fold the longer piece through the middle. One end of the shorter cord is placed next to the longer one and held between the fingers. Now wrap the single twine twice to make a loop of about 1 cm. Tie the cord. Weave the strands into a braid. After every 1-2 cm, thread one bead and continue braiding. Finally thread a button.

