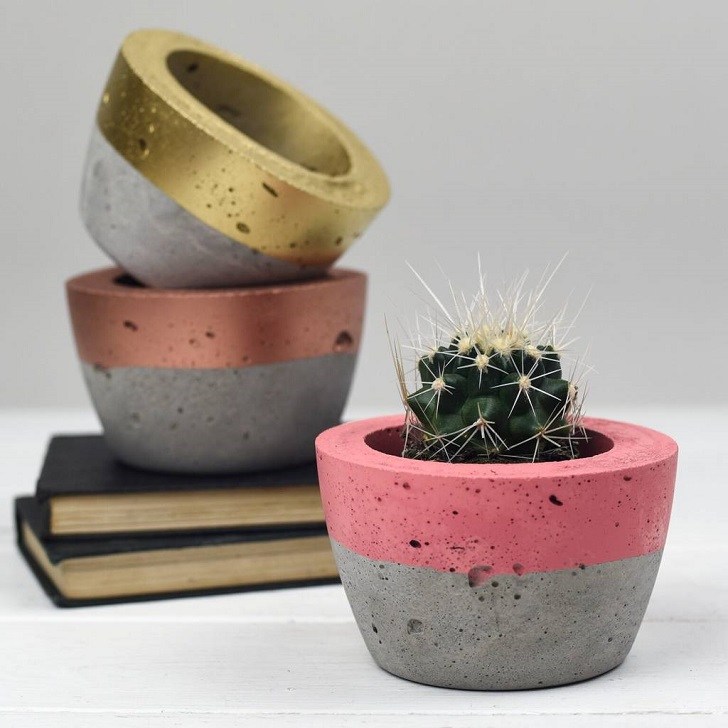
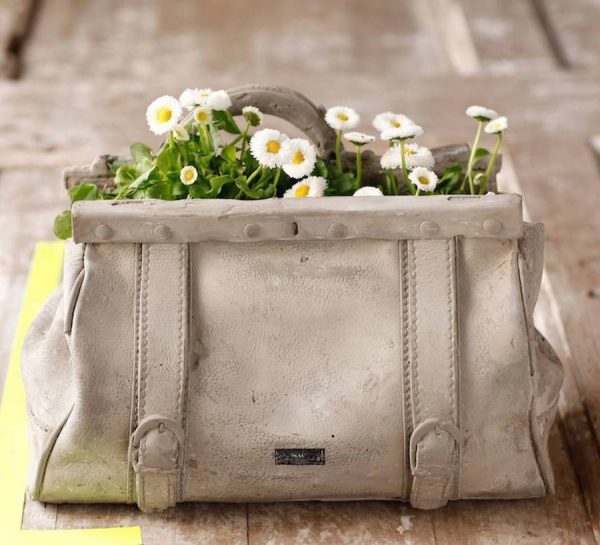
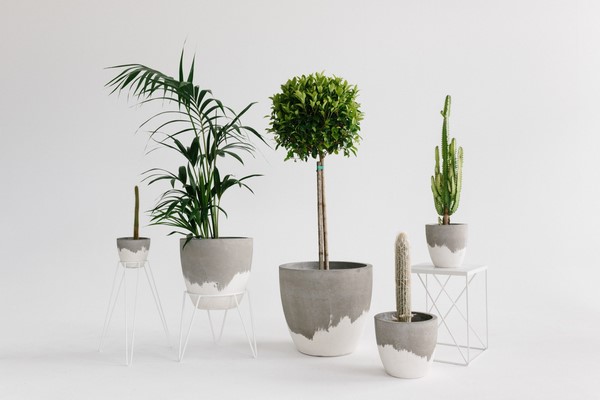
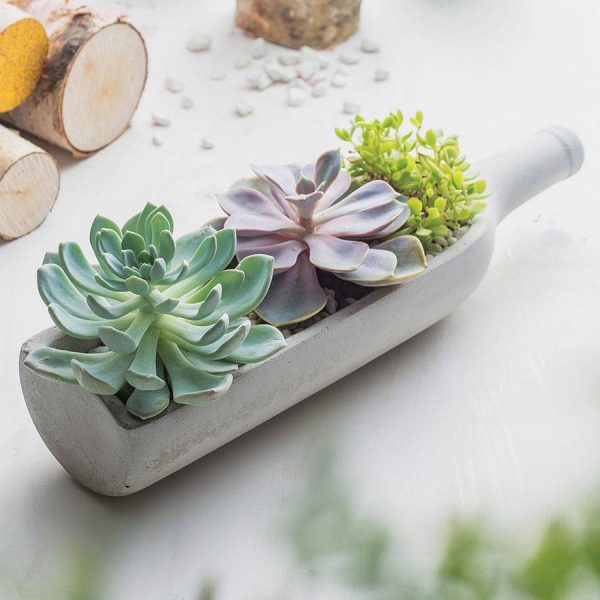
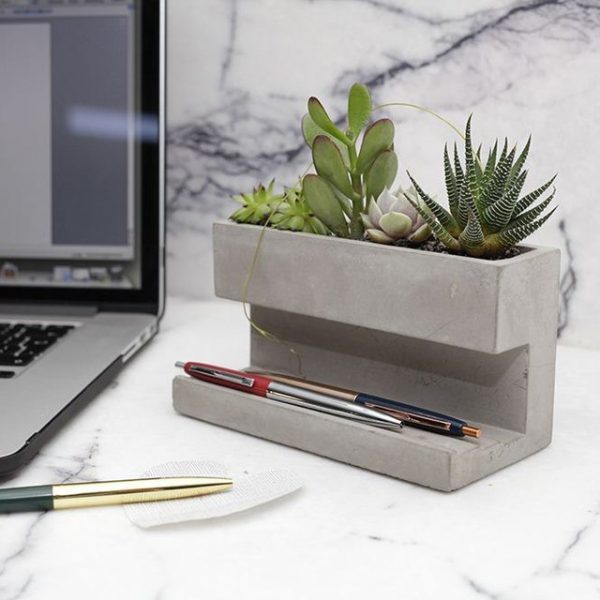
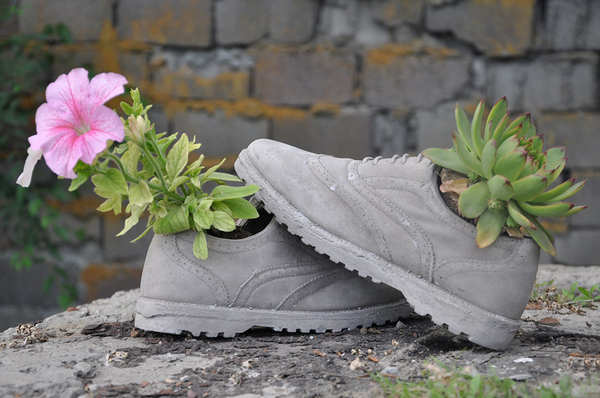
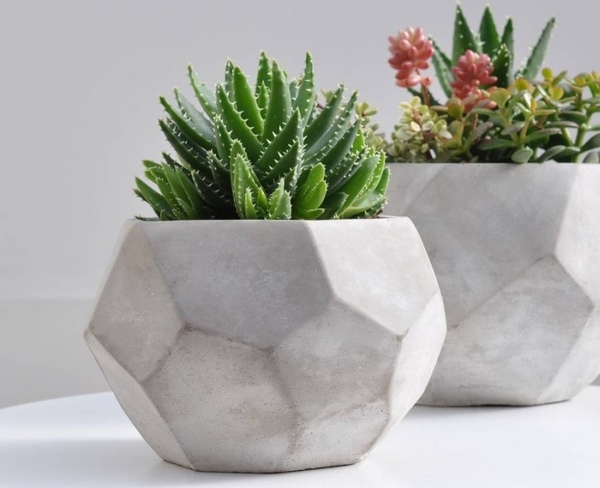
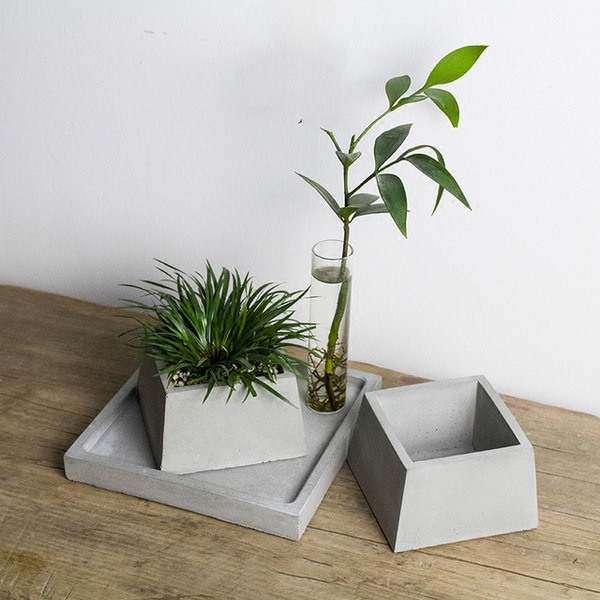
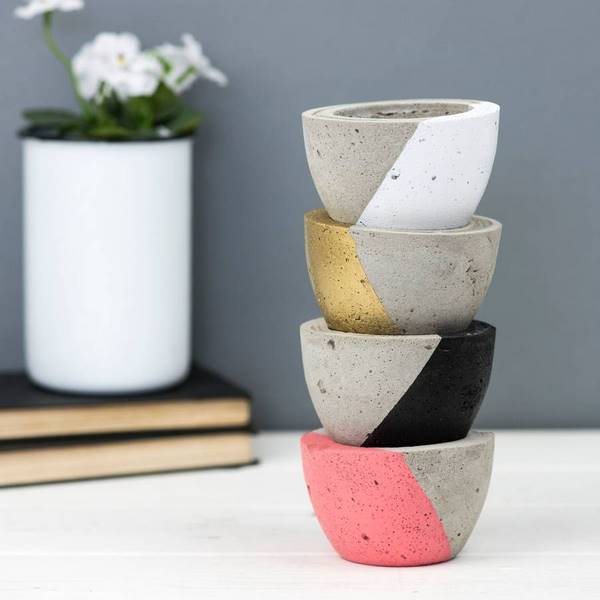
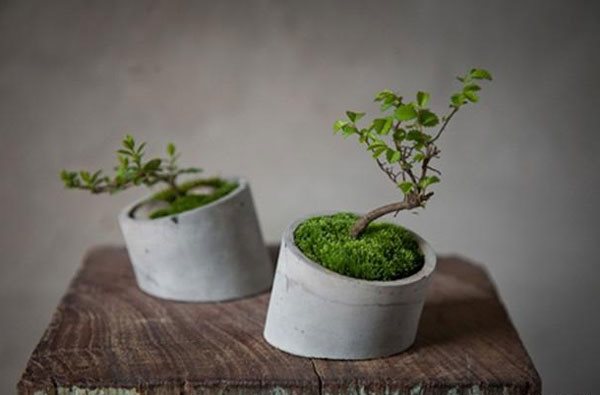
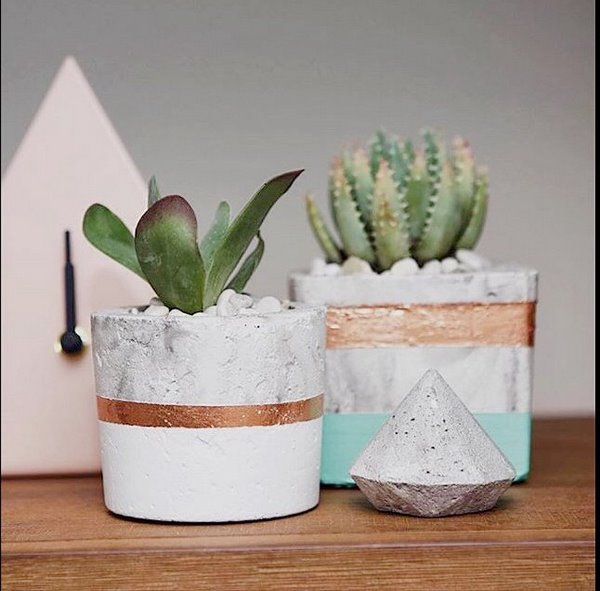
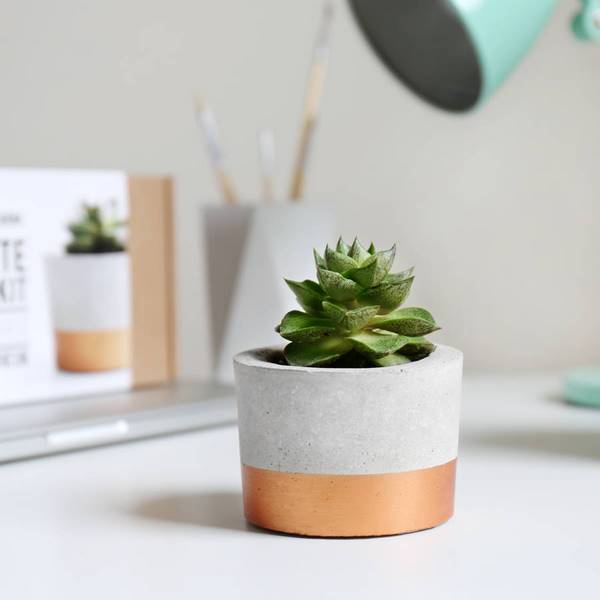
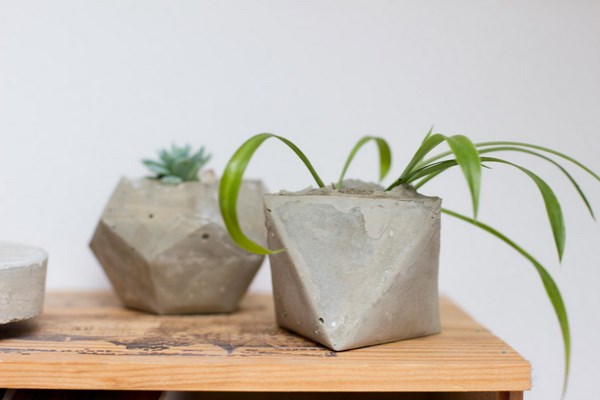
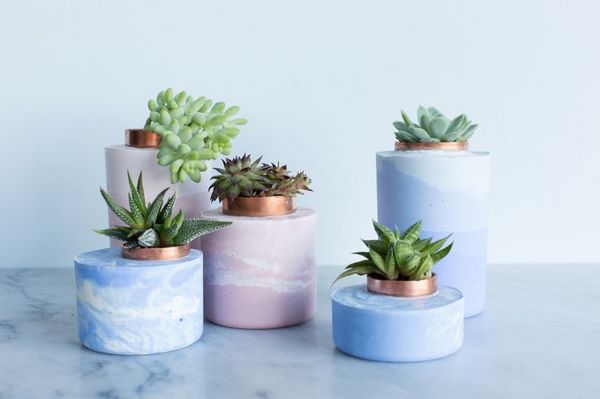
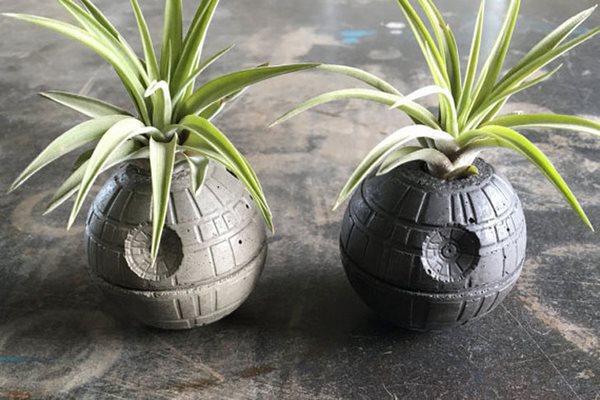
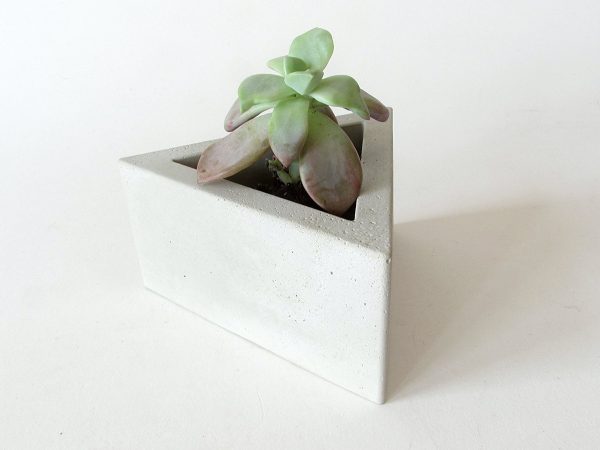
DIY concrete planters ideas are easy, cheap and fast. You can create your own designs and have unique flower pots for the house plants and not only, such planters are a great idea for the outdoor space as well. We will focus your attention on original designs for your house plants which will be a fantastic accent and accessory for your home decor.
DIY concrete planters ideas – contrasting combinations of strength and delicacy
Flower pots made of concrete are something really unique and special as they combine the brutality of the material and the fragility of plants in a spectacular way. This is a strong building material that has long been recognized by creative gardeners. It is rough, durable, strong and universal.
What molds to use for a flower pot? You can use almost anything – plastic containers, glasses, buckets, trays, large and small plastic bottles, etc. The only important rule is that your mold does not absorb water and is able to keep the shape for several hours.
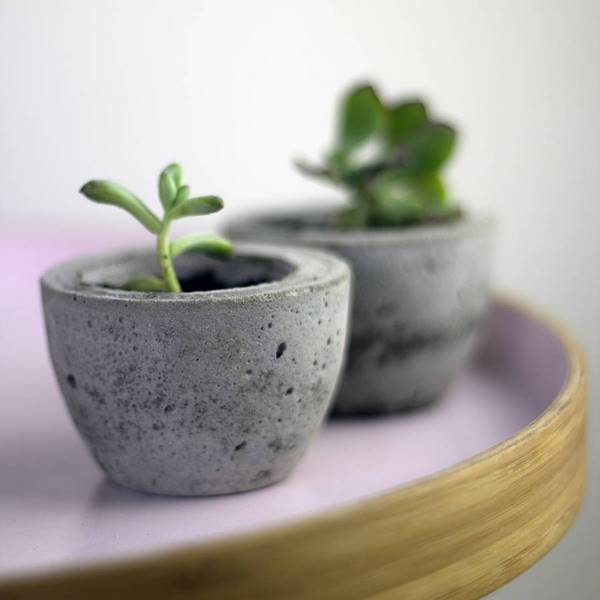
Homemade flower pots made of concrete can look quite cute although the material is associated with heavy constructions. Flowerpots can be made in small sizes, for growing succulents on a windowsill or for small flower arrangements as table centerpiece or festive centerpieces. To make such planters you do not need any special knowledge and skills and we will give you useful step by step instructions.
DIY concrete planters ideas – step by step instructions
DIY concrete planters ideas are relatively simple and allow you to shape pots that suit your taste, taking into account the characteristics of the plants for which they will be used.
What you need:
- smooth concrete made of sand without large rocks
- water
- mixing bowl
- trowel
- gloves
- one plastic container of the desired shape
- one smaller plastic container to place inside the big one
- pebbles
- petroleum jelly or cooking oil
- brush
Directions:
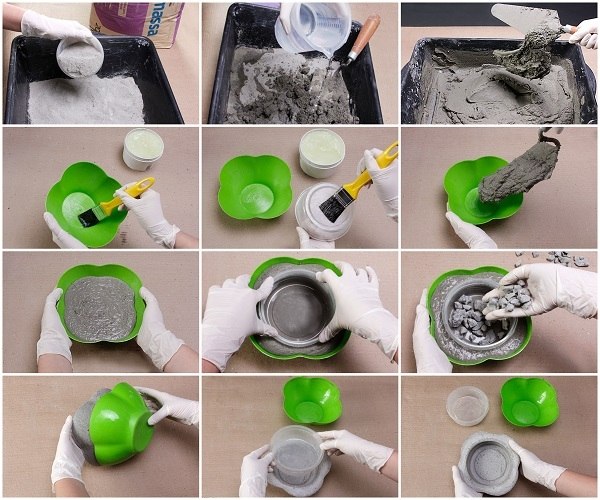
Step 1 – Mix the concrete, following the instructions on the package. Add water and mix gradually until the consistency is homogeneous.
Step 2 – Grease the containers with petroleum jelly or cooking oil so that the material does not stick and you easily take it out from the molds later. Make sure that you grease both the outside and the inside of the smaller mold.
Step 3 – Scoop concrete into the larger mold and put the second smaller mold into the first one. Fill the smaller mold with stones, pebbles or something heavy so that it does not rise. Let the planter dry for 24 hours.
Step 4 – Unmold your planter by shaking it loose. If you have greased the molds well it should come out easily.
Step 5 – Choose a plant for your new planter.

