The American manicure has a natural and classic look that never gets old. In addition, it can match every style and preference. This is why women of all ages prefer it over other types of manicure. Many people mistake the American manicure for a French manicure, since there are some similarities between them. Yet, they’re not quite the same. If you got inspired by this trend and wish to try it, keep on reading this article that will give you a step-by-step guide on how to do a high-quality American nail manicure at home.
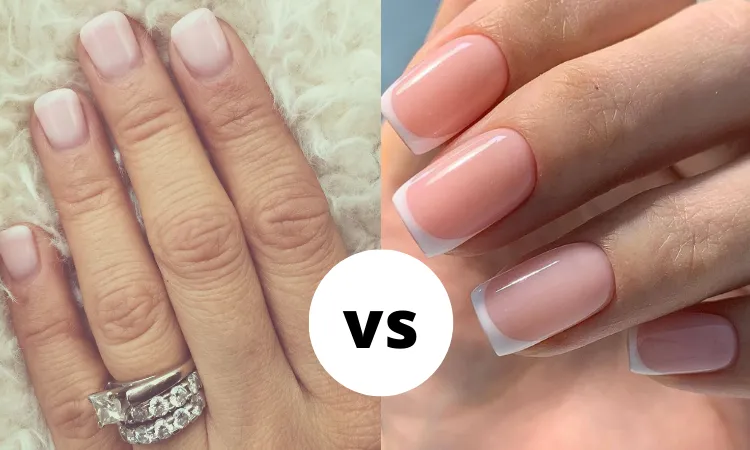
What is an American manicure vs French?
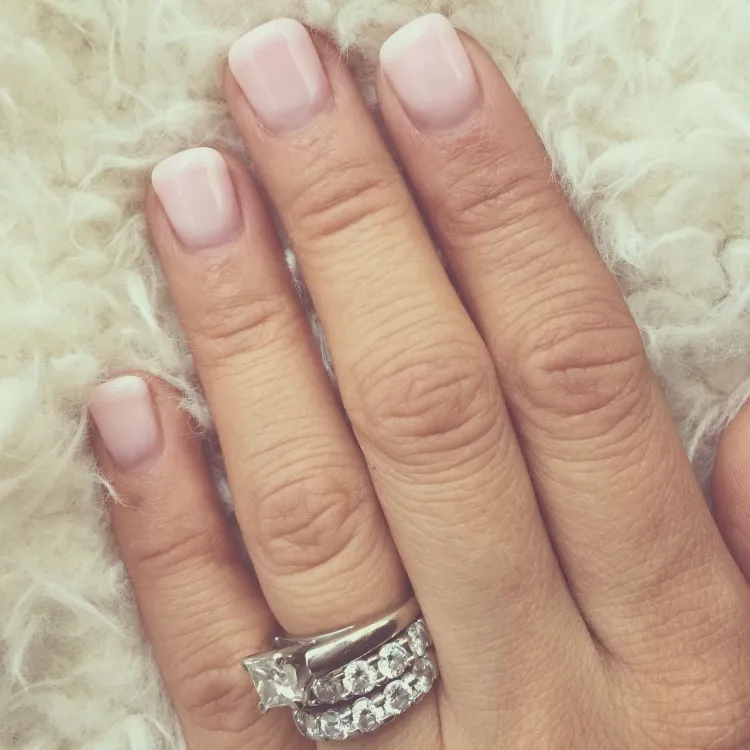
The main difference between American and French manicure is in the colors that are used. What’s typical for the American nails is that the manicure is a lot more simplistic, since the tips are colored and the base is nude. On the other hand, the French manicure is different in the way that the tips are white while the base is either pink or clear.
How to do American manicure at home?
The American manicure has many advantages, since it’s mostly compatible with all colors. It’s also suitable for both formal occasions and daily life. These are some of the reasons why many women decide to switch from traditional French to American style. Furthermore, it might even be easier to do than the traditional French manicure. Doing your nails at home is quite affordable, and you can experiment in a lot of ways until you find what suits your style and preferences. Besides, you save time instead of going to the salon. You should make sure, though, that you have a high-quality nail polish gel and scissors. Keep on reading to learn about the exact steps of getting homemade American manicure.
1. Prepare Your Nails for American Manicure
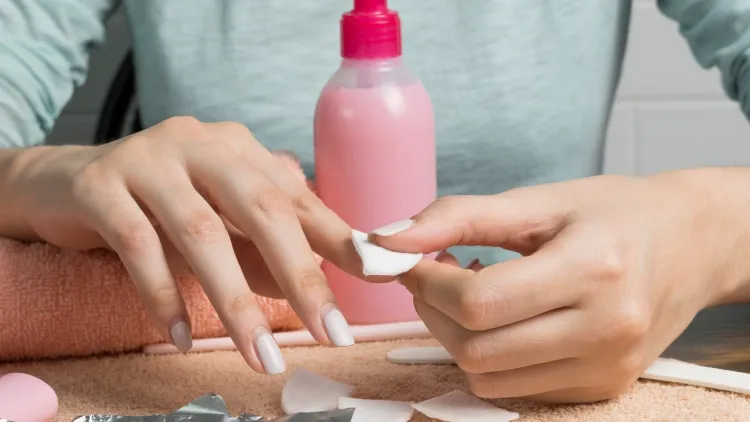
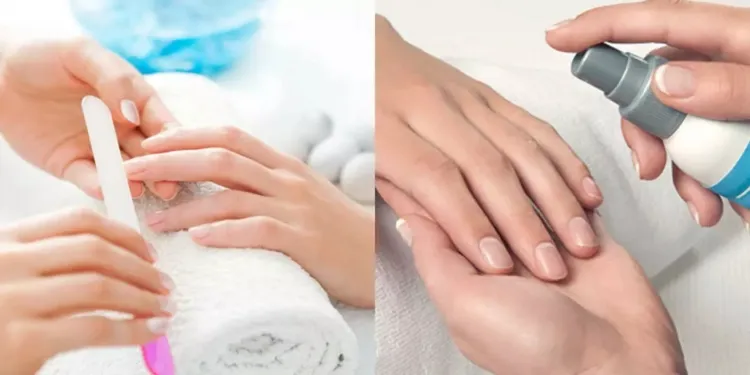
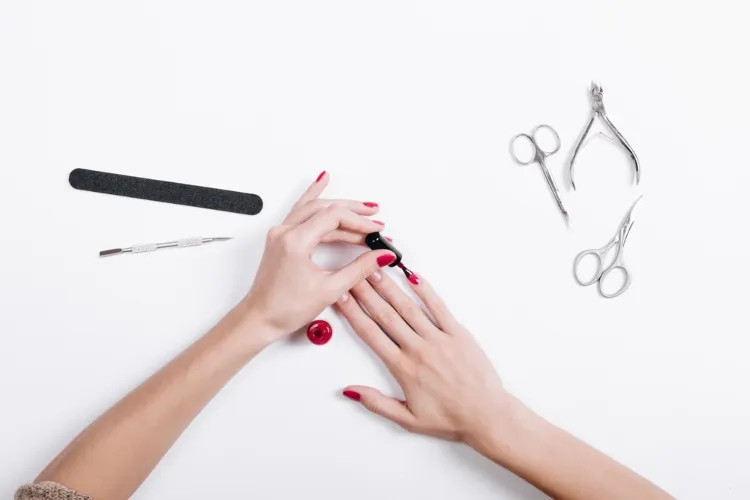
The first thing that you need to do is to trim and shape your nails the right way. It’s preferable to get them into a square or oval shape. Besides, it’s important to remove any remains from your old nail polish. This is the foundation of the whole nail polishing procedure. For this purpose, make sure to use only professional nail scissors. To protect your nails from breaking, you could also consider applying a moisturizing cream for your hands on a daily basis. In this way, you also protect your nails from infections and fungus.
2. Trim or Push Back the Cuticles
Another important thing to keep in mind is to properly trim or push back any cuticles on your fingernails. In this way, you can prevent spoiling your manicure. You should be careful, though, since the skin there is sensitive. So, cutting the cuticles may lead to infections. Last but not least, remove dead skin cells for a polished look.
3. Put a base coat
The next step is to apply a new base coat – it functions as a colorless enamel that helps the nails to stay beautiful throughout the next month. The base coat also enhances the look of your polished nails and makes them look more professional. In addition, it provides strength and prevents staining.
4. Draw your nail line
Try to pay attention when performing this step since it defines how your American manicure nails will look like. If you need help, you could use a template or sticker in order to make the line as perfect as possible. Another option is to ask someone more experienced to draw the lines for you. You can choose whatever color you want for the tips of your nails. Just make sure that it will complement the main color of your manicure.
5. Start with Polishing
Now, you can finally start with the most creative and fun part of the process. To get the best possible results, it’s important to choose the right color for your nails. Besides, make sure that you apply a high-quality nail polish, since it’s more long-lasting. It should be compatible with the color that you have used for the tips of your nails.
6. Fix it, in case it’s necessary
So after you have applied the nail polish gel, let it dry for about 10–15 minutes and see whether it’s necessary to apply a second layer or other type of nail polish. This can impact how long-lasting your manicure will be. Afterward, don’t forget the final step – apply the topcoat – this is a protective layer that makes your nails look even more beautiful.
In a nutshell, if you have decided to do your manicure at home, it’s important to handle it properly since it makes the impression that you’re taking care of yourself. The American manicure is obviously becoming more and more popular among women. Homemade nail manicure can save time and resources in the long run. This is why we prepared this step-by-step guide to help you get a professional manicure at home.

