Would you like to make a sloped garden accessible by building garden stairs yourself? Here’s an example weekend project that doesn’t require you to use concrete!
Steep garden areas are sometimes overlooked when landscaping, but you can build garden stairs yourself using various building materials. If part of your property is on a difficult slope, it would make sense to build some steps for better access. Fortunately, you have more design freedom when planning garden stairs because you can make the steps in different sizes. Although they should also look good, their main function is to be safe and comfortable to step on. Below you will find one such idea that you can implement in the garden with a little craftsmanship and affordable materials.
What Should You Consider Before Building Garden Stairs Yourself?
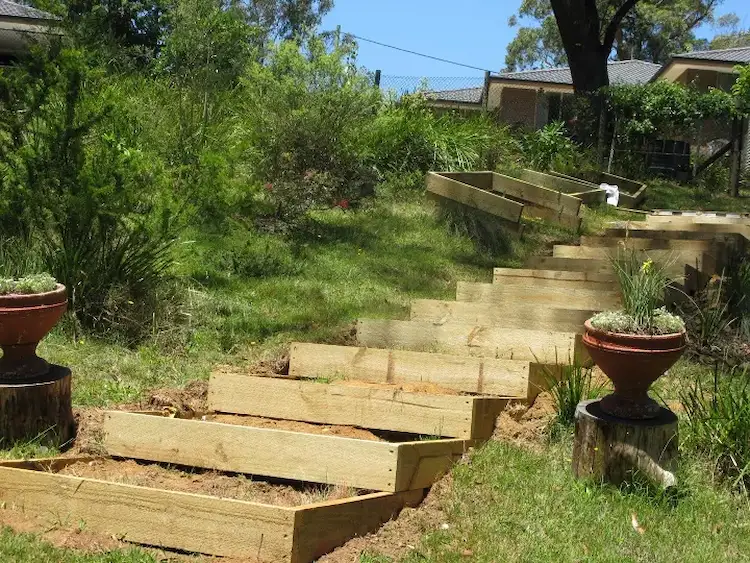
The main advantage of this type of steps is their potential tread area and width, which are significantly different from indoor stairs. For garden steps that have a slight slope, it is also possible to make them decorative to beautify the garden area. Before you start such a project, you should make sure that the garden stairs are suitable for the surrounding landscape. For this purpose, try to plan the steps in such a way that they can complement the overall look of the corresponding garden area.
In addition, adding handrails could be a complex task if you build garden stairs yourself on a slope. Therefore, it would make more sense to make the steps larger in size instead, to ensure better stability when walking on them. There is also the option of saving yourself from having to pour a concrete base or make casing.
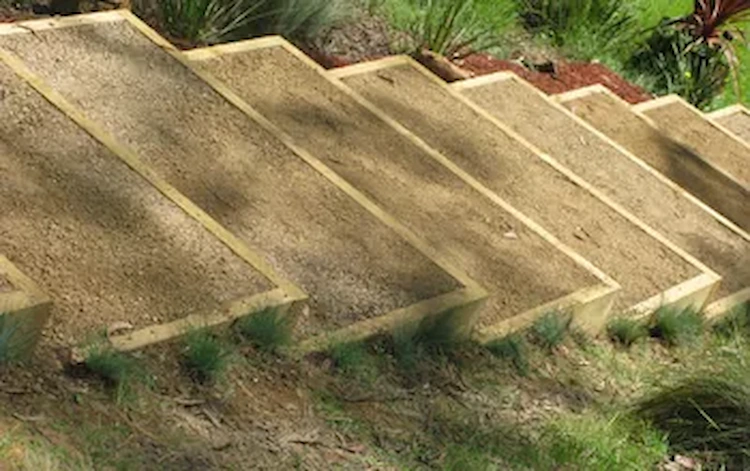
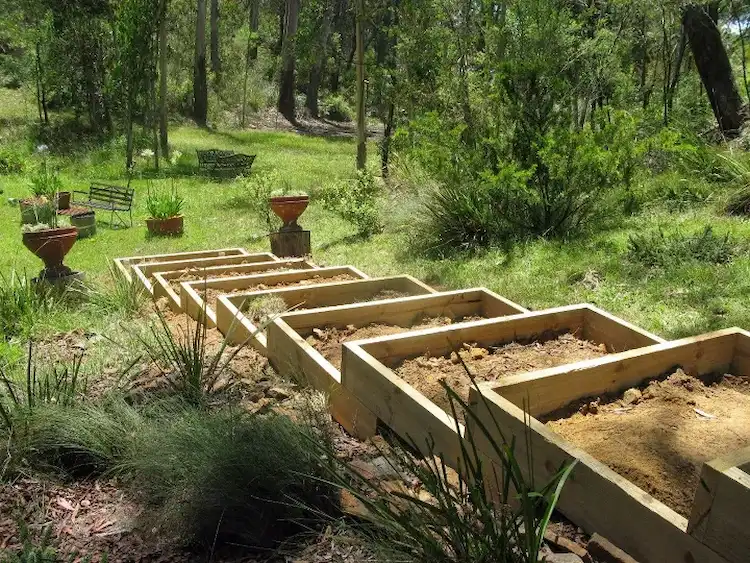
You can do this by simply filling the cavities in the steps with earth, sand or gravel. In this way, the project will be much easier and can be done in a weekend. Here are the required steps you can follow in the example described here.
How Can You Build an Outdoor Wooden Staircase on a Sloped Property?
If you choose the option with wooden materials, you can use different types of lumber or even recycled wooden boards. Just make sure they are sturdy and undamaged pieces of wood. If you also want to save yourself the carpentry work, you can have the individual steps made by a professional carpenter. You can then treat these yourself with wood impregnation so that they can withstand the effects of the weather and therefore serve you longer.
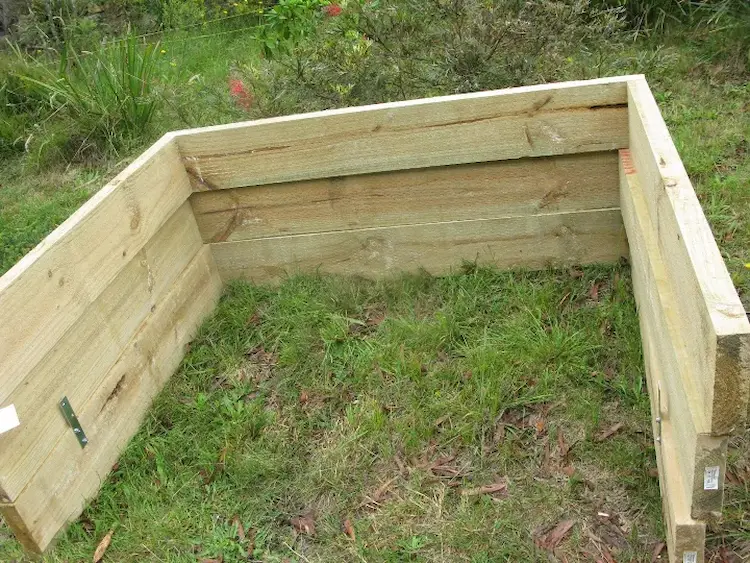
- The materials required to build such an outdoor wooden staircase can vary. For the project described here, you can stabilize the sides of the steps with two wooden sleepers embedded in the floor and a vertical sleeper.
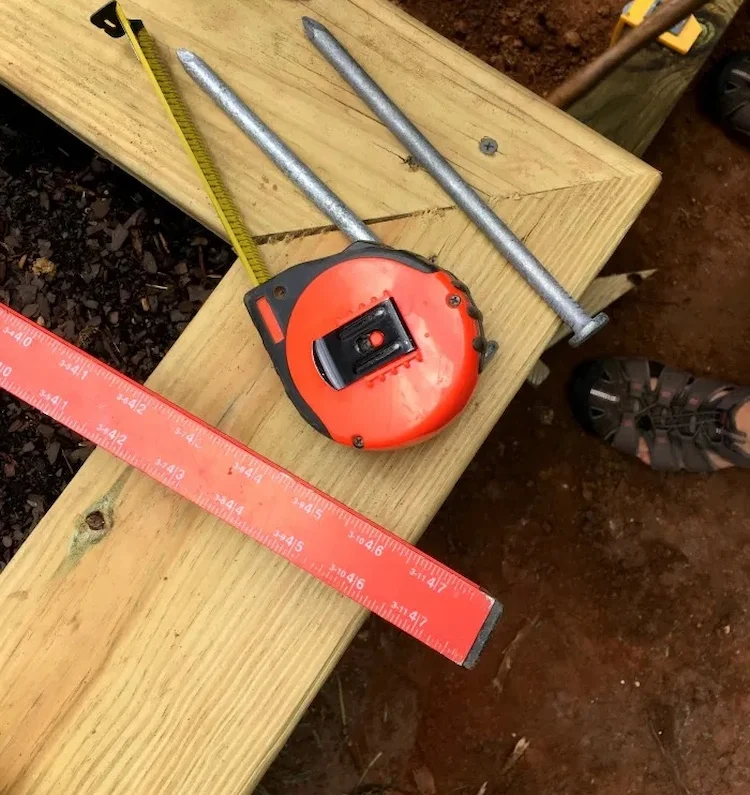
- You will also need a long level, tape measure or ruler, as well as string and chalk to estimate and measure the number of steps depending on the slope and length of the garden area.
- If you build the steps of the garden stairs yourself, you will need tools for sawing, screws or nails, reinforcing iron, a screwdriver and a hammer drill with an auger bit, as well as a rubber hammer and sledgehammer.
- Since the whole thing will require some digging and leveling, you should get a good shovel, a chute and possibly someone else to help.
- Then start the project by taking the following steps.
Proceed Step By Step and Build Wooden Garden Stairs Yourself
- First, plan the plot by measuring the length and height of the area. This allows you to determine the approximate number and depth of each step.
- Before cutting, measure each piece of wood, allowing for three times the additional width of the sleepers on each side. This is important because you will then let each side of each step into the slope. The other end will rest on the wooden sleeper underneath.
- First, use the string and chalk to mark the total area.
- Next, cut the sleepers to fit at the bottom of your garden stairs if the ground there is uneven. This may require some digging with a shovel.
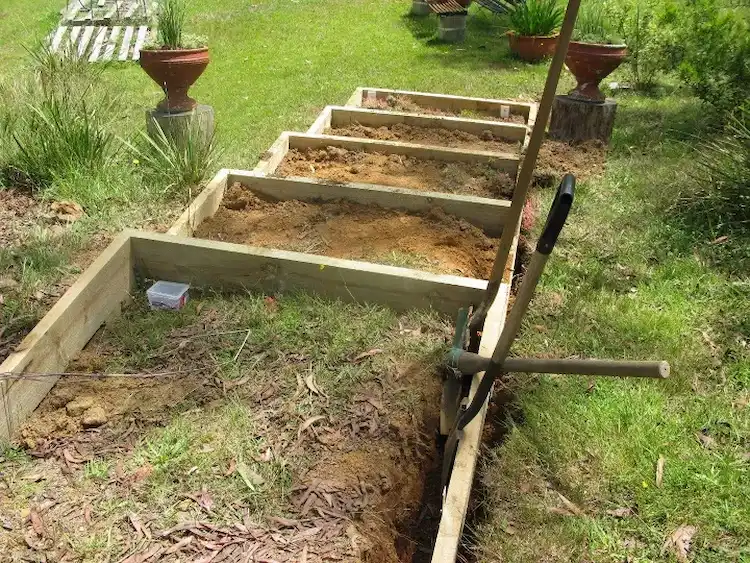
- Then use the shovel to dig small trenches on both sides of the slope to place the wooden sleepers there. You should make each trench slightly wider than the thresholds that will rest on the step below.
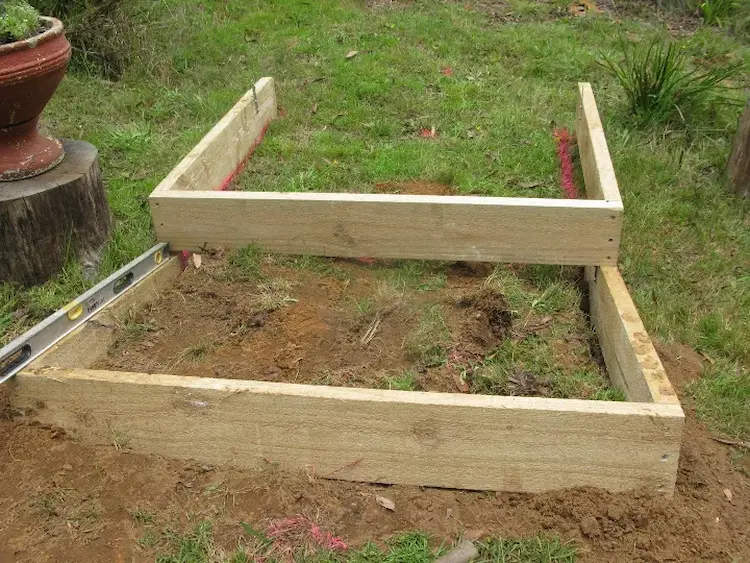
- Then use the level to level the ground using the wooden sleepers. This should be level with the ground or the wooden sleeper in front of it. You can use the sleepers as tampers to level the chute before repeating the process on the opposite side.
Fix the Wooden Sleepers and Fill the Steps
Now you can the sleepers for the sides of your garden stairs yourself and position them in the trench on the wooden sleeper in front of them.
- First, use the rubber mallet to knock the front sleepers against the sides.
- Then attach the wooden sleepers with two screws or nails on each side to make room for the rebar.
- Next, use the hammer drill with auger bit to make holes for the rebar in the sleepers. The auger bit should correspond to the diameter of each reinforcing bar.
- Now push the rebars into the drilled holes and hammer them into the ground or into the wooden sill below using the sledgehammer. The reinforcing bars hold the individual steps together and ensure stability when walking on them.
- Repeat the previous steps for each step, depending on how many of them you need.
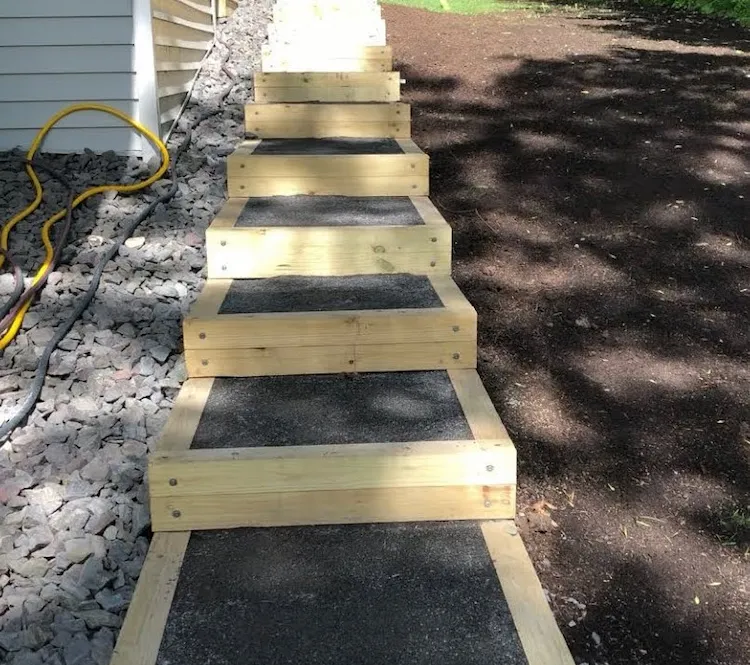
- Finally, fill the individual steps with gravel, sand or soil depending on your preference.
Using the instructions above, you can build simple garden stairs yourself in various ways. There are many options for decoration on the sides and at the two ends. You can decorate these areas stylishly by adding flower pots, natural stones or even eye-catching garden sculptures. Another suitable solution is to plant the steps on both sides with ornamental plants, ornamental grasses or flower beds. In this way, you complete the look of the garden stairs, which will make them fit into the landscape.
Also read: Garden path ideas with natural stone

