Making your own Christmas decoration is great and allows you to choose eco-friendly natural materials. If you are a DIY lover looking for inspiration, this article is for you! We are going to show you how to make a Christmas village and decorate the fireplace mantel, the windowsill, or arrange it as a table centerpiece.
DIY cardboard Christmas village
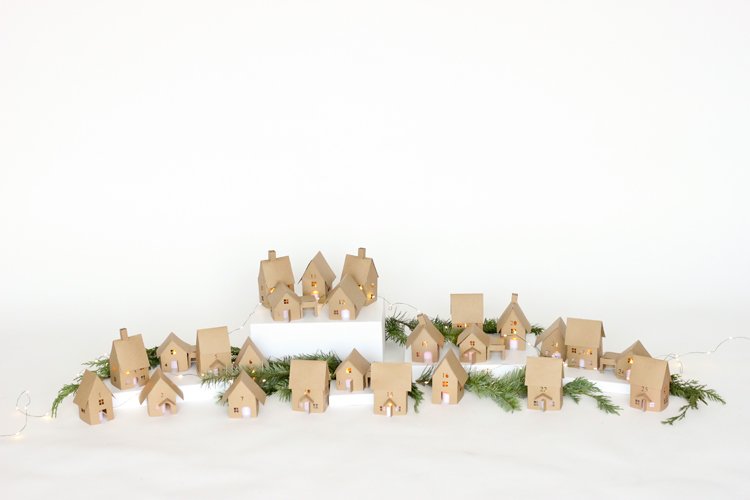
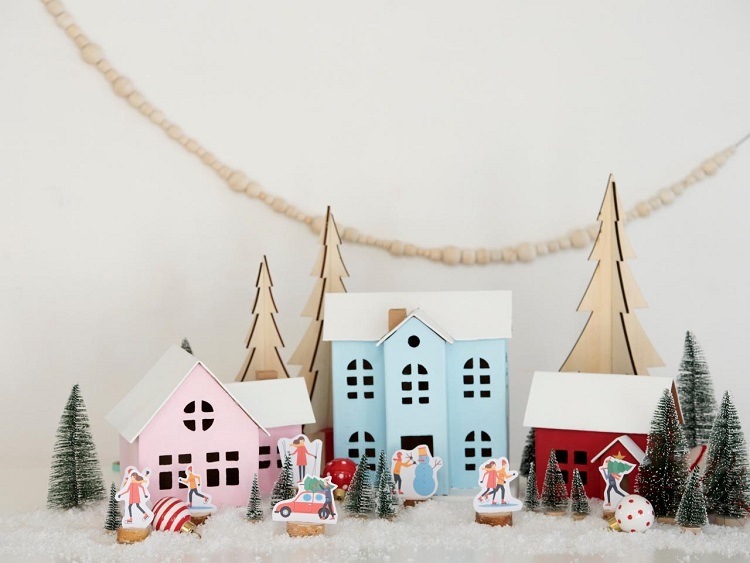
Making a Christmas village is part of the traditions of the end of the year celebrations. The idea is to recreate miniature scenes of life in a village during the Christmas holidays. There are dozens of ideas and there is something for every budget. The first DIY project that we want to show you is a small Christmas village made from cardboard.
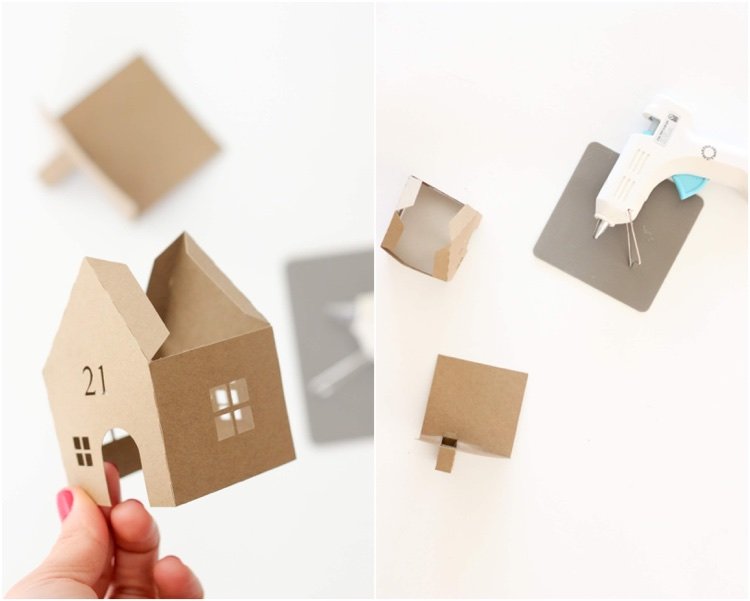
In order to make a cardboard Christmas village, you ideally need a Silhouette- type cutting machine. It allows you to cut card stock, vinyl, fabric etc. with precision. A precious ally in DIY projects, it greatly facilitates the work. If you don’t have such a machine, don’t panic! At the end of the article, you will find the PDF templates ready to be printed. Then you will just have to cut them out. To assemble the houses, simply fold the printed templates on the perforated fold lines. The roofs are left flat, so you have more flexibility for folding. Use a hot glue gun to secure them in place.
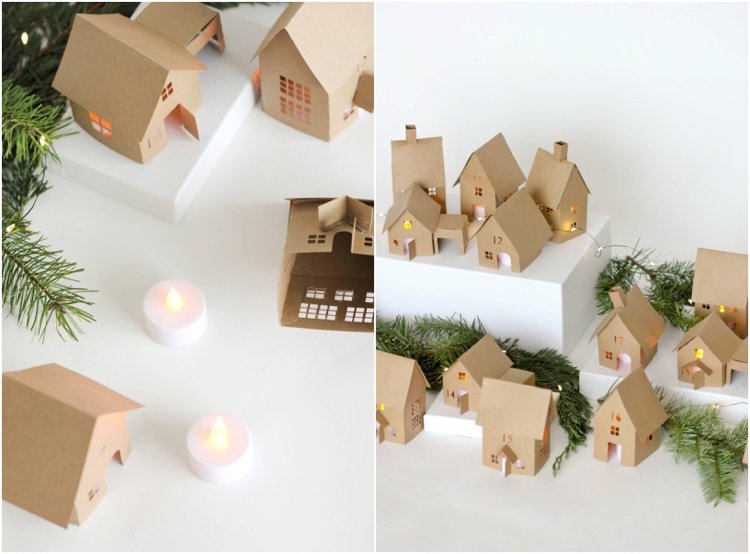
Once your cardboard Christmas village is ready, you can start decorating. Of course, it is possible to leave the small cardboard houses as they are! If you still prefer seasonal details, here are some gorgeous ideas. Since this is an Advent calendar, you can put a small gift under each small house. Chocolates and small treats are also a great idea. You can also make miniature greeting cards as little surprises. Finally, your Christmas village can be used to decorate the windowsill or on the mantle of the fireplace. In this case, we advise you to make a luminous Christmas village. Keep it simple instead of complicated! Just put a flameless tea light under each cardboard playhouse and you’re good to go!
Homemade Christmas village made of cardboard
First of all, here is the list of necessary equipment:
- House templates (templates to be printed at the end of the article)
- 1 large roll of brown craft paper (or colored construction paper)
- Large cardboard sheets
- X-Acto knife
- scissors
- ruler
- hot glue gun + sticks
- glue stick
- pencil
For decoration:
- Acrylic paint, colors of your choice
- fine brush
- Wooden ice cream sticks
- Wooden coffee stirrers
Directions:
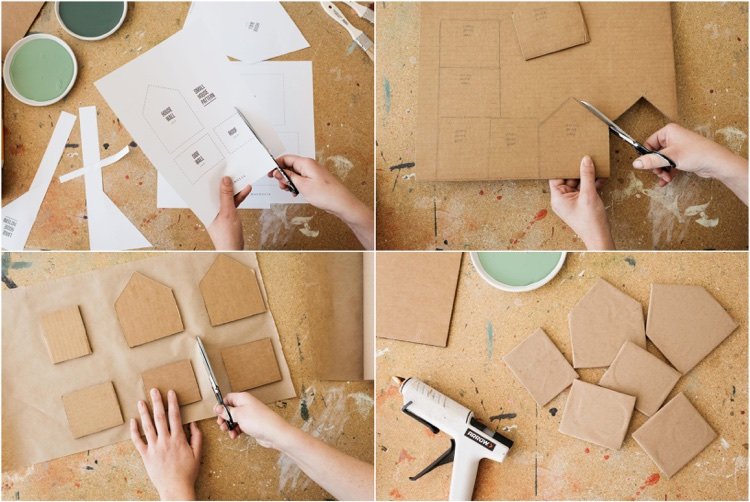
Download and print the house templates. Cut out the houses, then lay them on the cardboard and trace the outlines with a pencil.
Cut out the houses you outlined. If you prefer to work with an X-Acto knife, it is advisable to use a ruler so that the cutting lines are straight.
Once all the elements are cut out, apply glue to one side of each design and place them on the cardboard, glued side down. It is important to leave 5-6 cm of space around each house.
Put hot glue on the edges of each piece of cardboard by folding the craft paper so as to dress the front square with the craft paper. Do the same for the rest of the cardboard elements.
Make sure the glue is completely dry before proceeding to the next step.
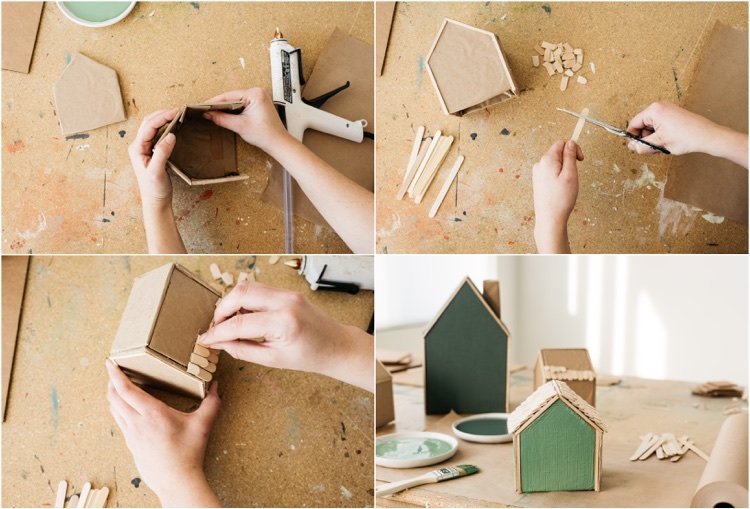
Using the hot glue gun, glue together the elements of the first house. Let dry and continue with the remaining houses.
Paint all of the cardboard houses or paint only a few. Allow the first coat of paint to dry before applying a second coat.
Cut off the rounded ends of the wooden coffee stirrers. Measure the size of the edges and cut the wooden stirrers into the corresponding length. Glue them in place with hot glue.
This time, cut the two rounded ends of a wooden popsicle. These “tiles” should be approximately 1.5 cm long.
Glue the first row of tiles with hot glue, starting at the bottom of the roof. Glue the second row by overlapping it with the previous one. Repeat until you cover the whole roof.
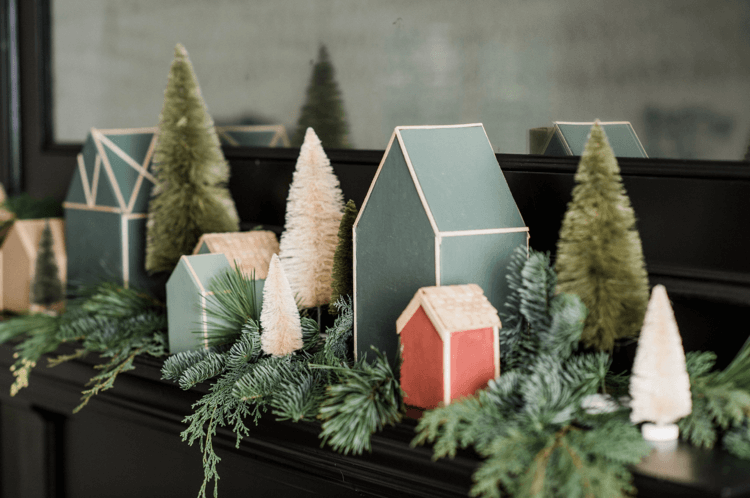
Have fun adding extra decorative details like fir branches, LED tea lights, DIY Christmas trees, etc.
Cardboard Christmas village decorated with duct tape
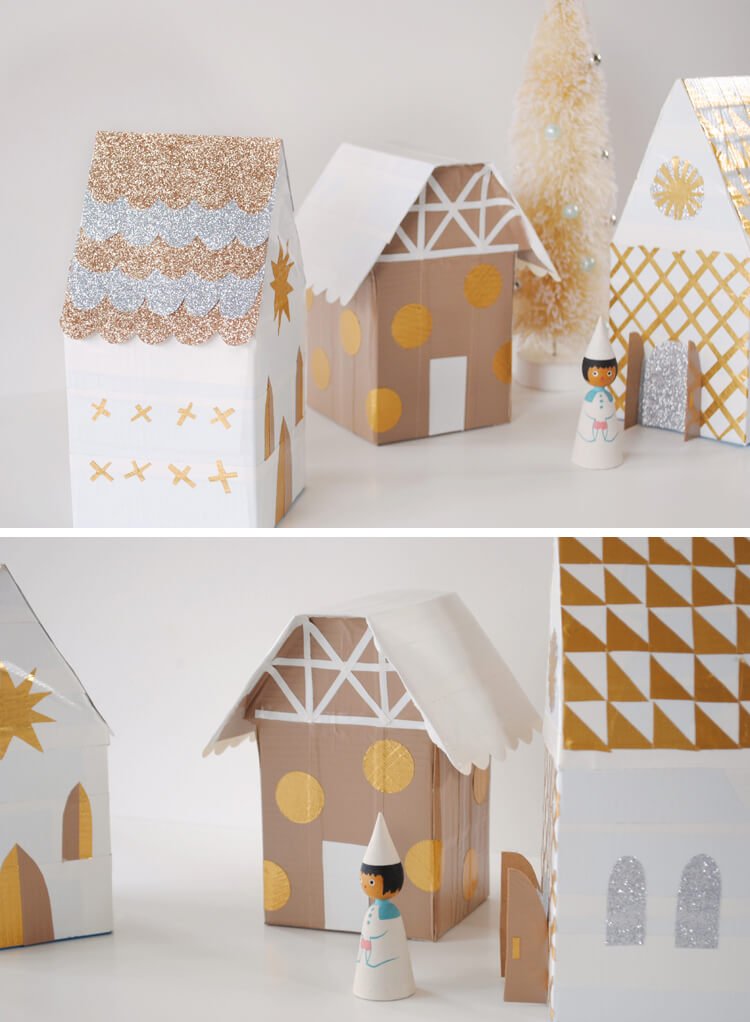
Want to organize a creative workshop for the family for Christmas? We have a great idea for you! How about making a Christmas village out of cardboard? It couldn’t be easier, this project will only take you half an hour. Arm yourself with a few sheets of cardboard, a hot glue gun, a pair of scissors and a pencil. The first part of the project is to create cardboard houses. Now the fun part! Get creative with the decoration of your Christmas village! Here is an example with duct tape. Cut out different shapes and make your Christmas houses unique.
Where to place your Christmas village?
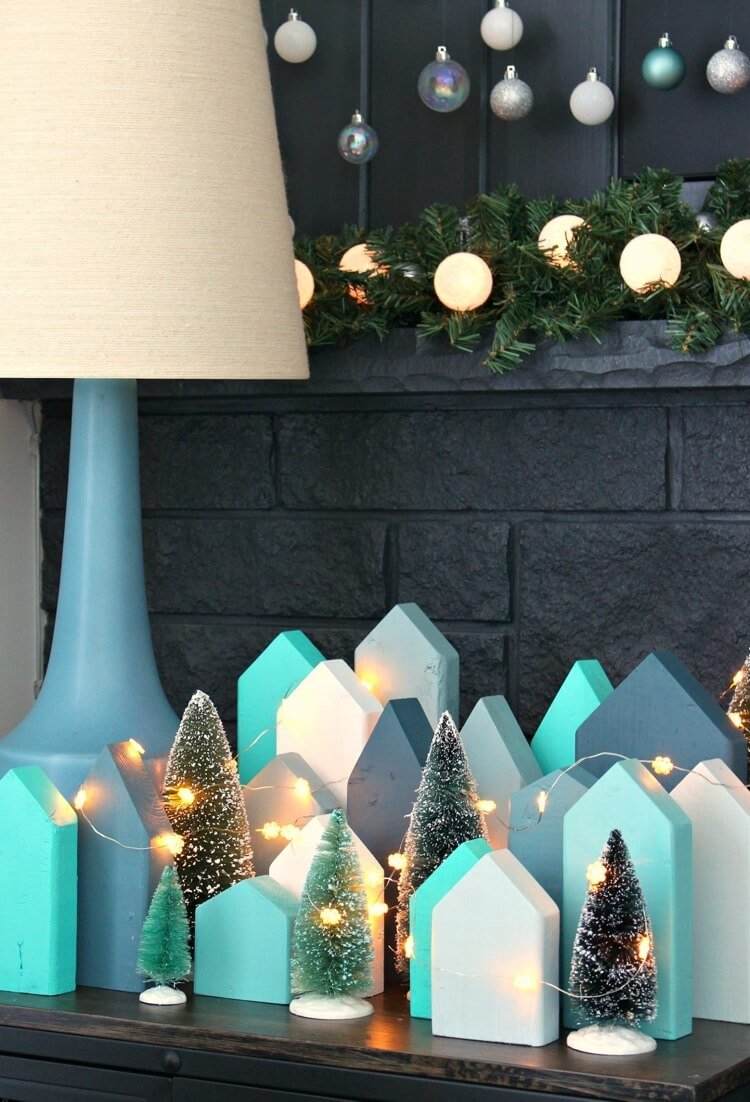
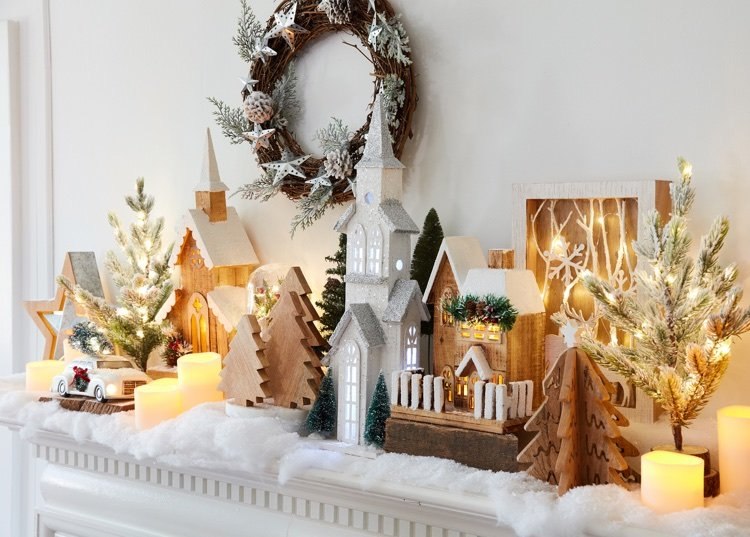
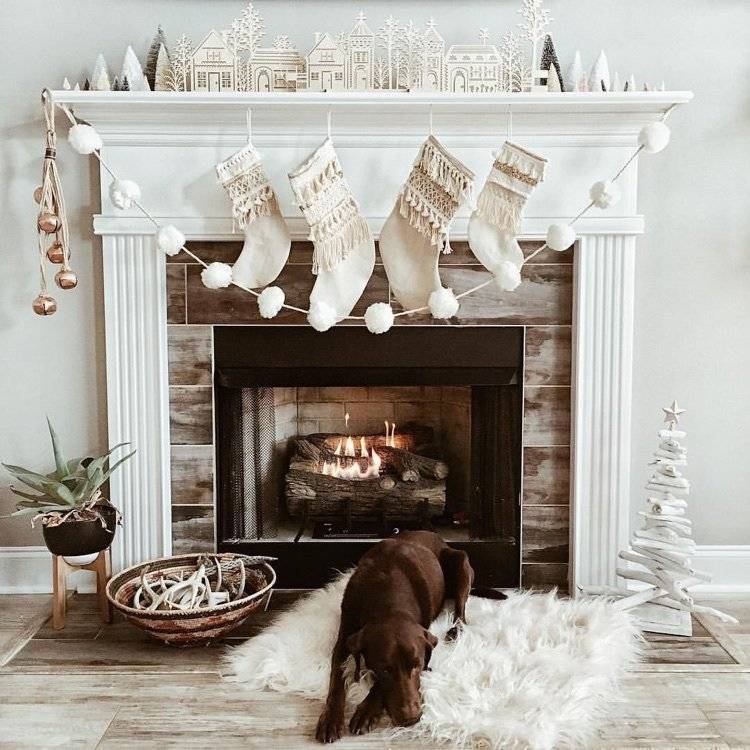
A DIY Christmas village deserves a special place for the whole family and their guests to admire. Where to place it? Usually the Christmas village is displayed on the fireplace mantle. The fireplace, that focal point of the room, is the perfect place for handmade Christmas decor. Combined with natural or decorative fir branches, twinkling lights or LED candles and ornaments, your Christmas village will be an eye catching element of the festive decor.
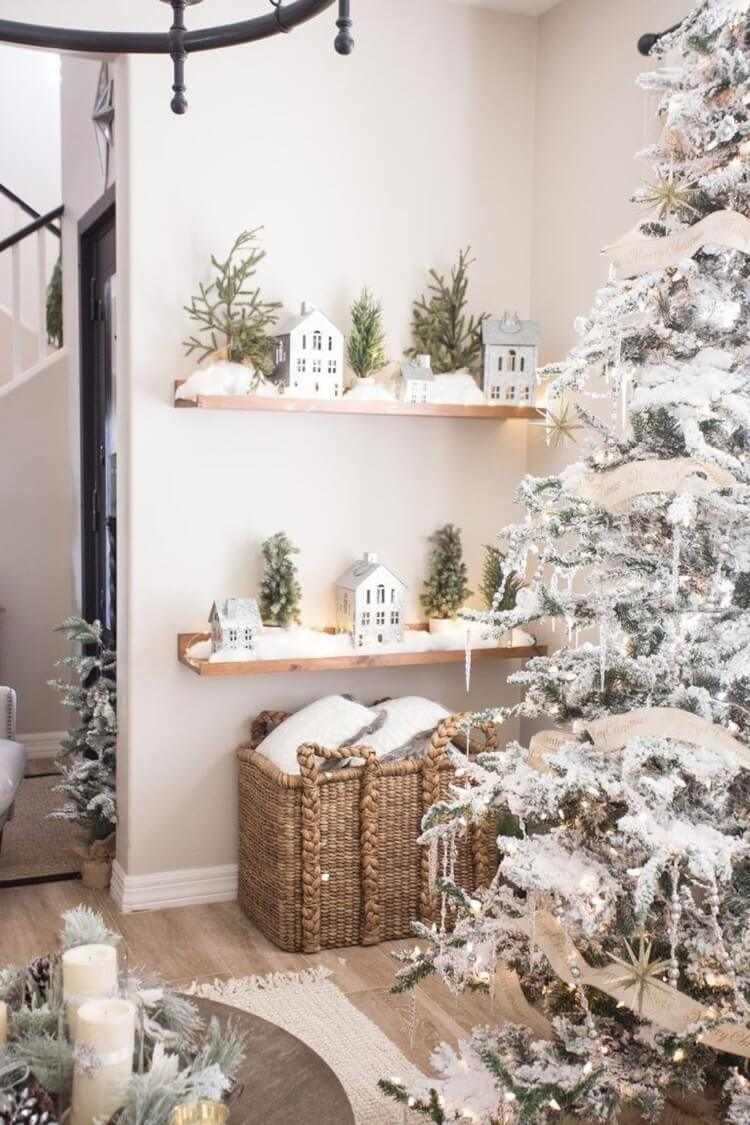
As an alternative, why not reserve the windowsill for your mini houses? Thus, the Christmas decor will embellish your room and be at the same time a beautiful view from the outside. You can also place the Christmas village on a shelf in the living room, in the dining room or as a decoration of a coffee table. Even as kitchen decoration, the small houses will look wonderfully festive on a shelf or on the kitchen buffet.
* Illuminated cardboard Christmas village: a deliacreates.com project
PDF templates to download here
* Cardboard and wood Christmas village: a project of magnolia.com/blog/
Templates to download: small house; average house; big house

