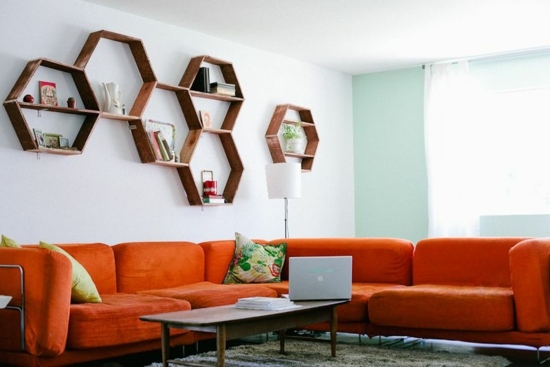
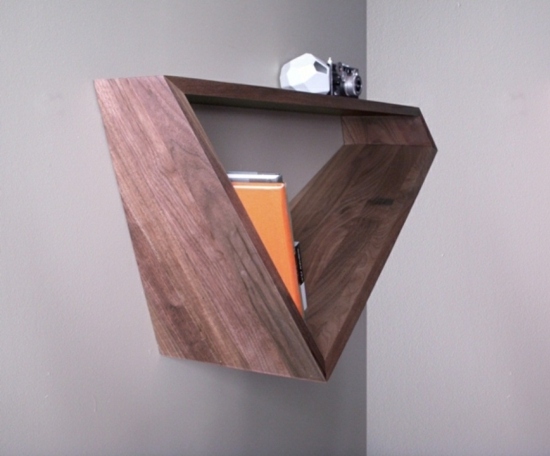
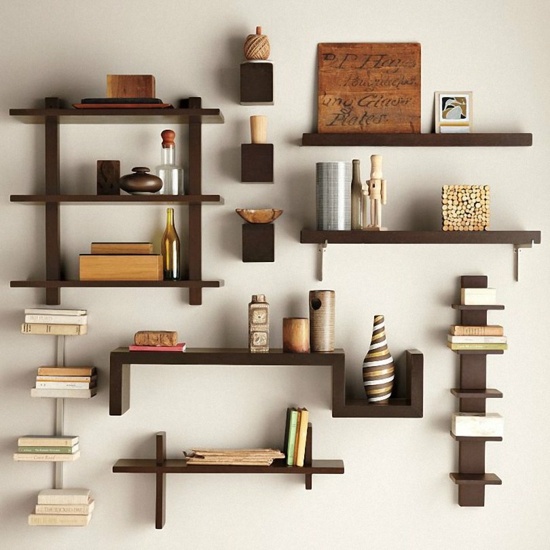
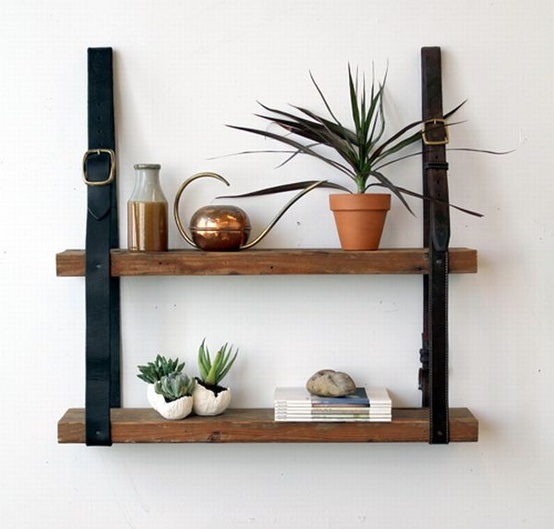
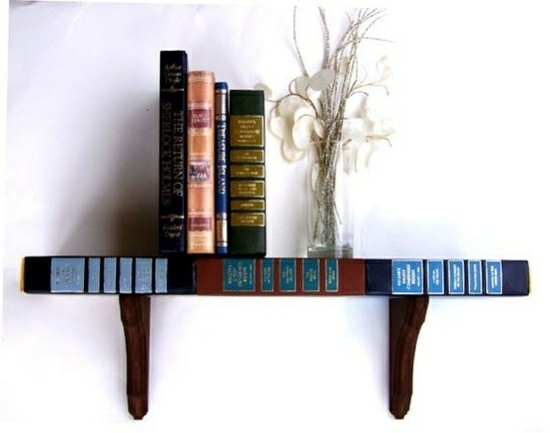
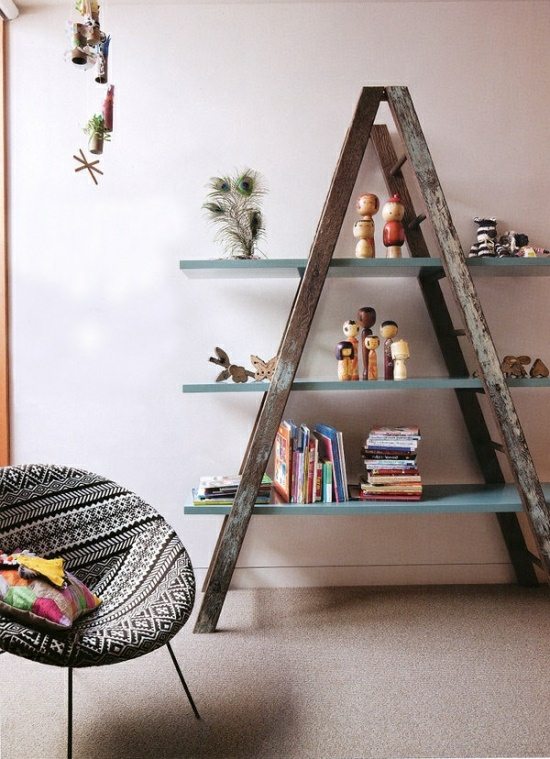
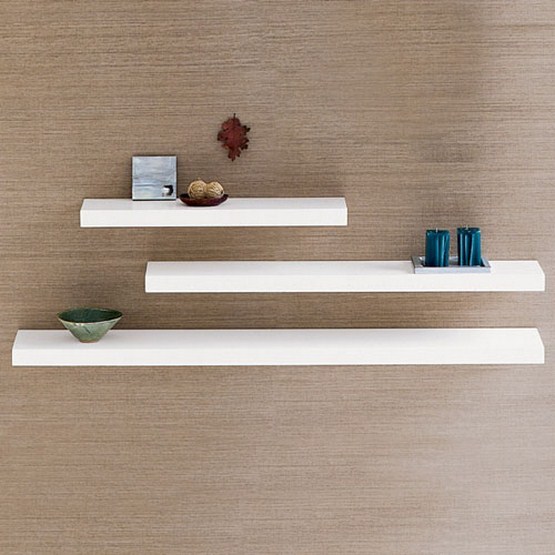
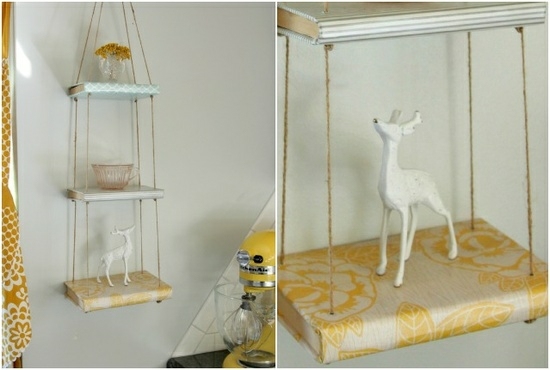
This quick and easy DIY Wall shelves guide will show you how you can build functional shelves by yourself. The idea is practical and can find multiple uses – from the nursery, living room, even in the hallway.
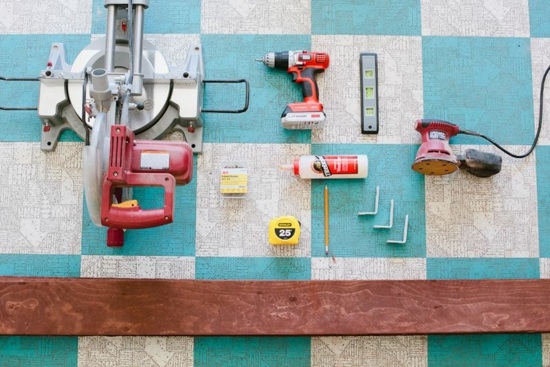
Materials which you will need for the DIY Wall shelves idea- miter saw, wood screws, drill and drill bits, smaller than the wood screws, sandpaper, glue for wood, wall brackets, pencil, wooden boards.
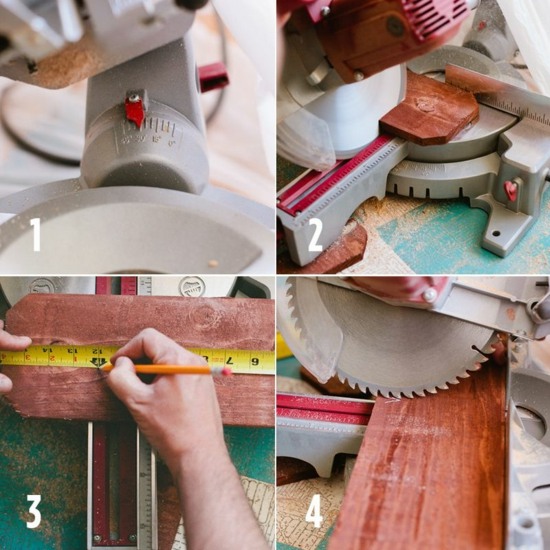
Set your miter saw so that it cuts to 30 degrees angle. You do not need to change the settings throughout the project. Cut the end of the wooden board on 30 degrees. Measure 30.5 cm and mark the spot – cut the board so that it is 30.5 cm long.
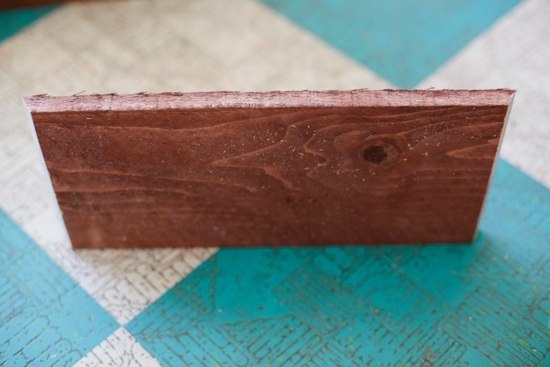
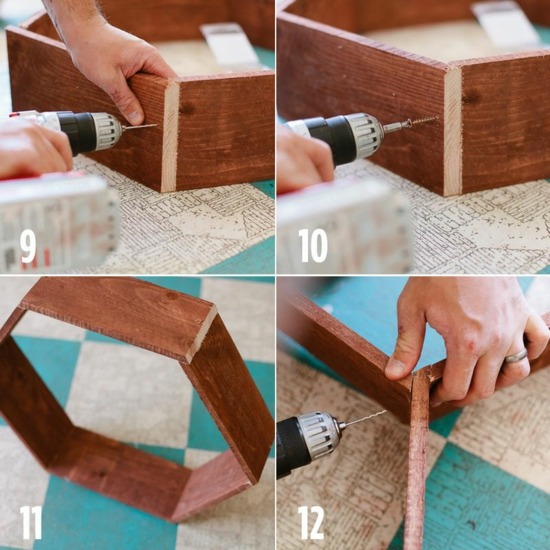
For this DIY Wall shelf design, you need 15 pieces which should all look like in the photos – be careful for the right angle. For each shelf, you will need 6 pieces. Make the base first and glue the pieces together. Press the individual elements together for a few seconds so that the glue holds. Drill two holes on each side at the base and a hole in the other pieces. Connect the elements with the wood screws and you’re done.
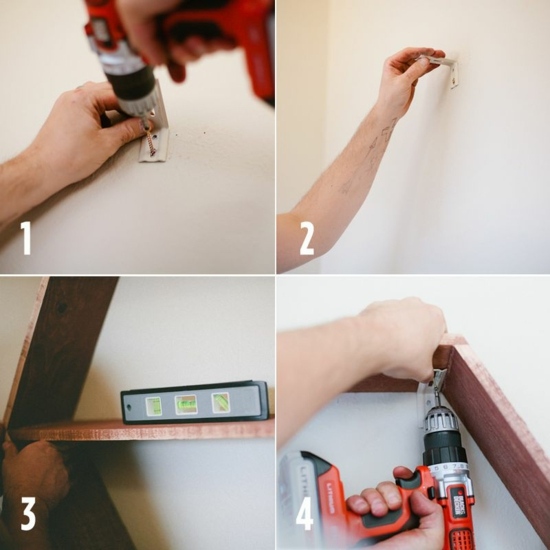
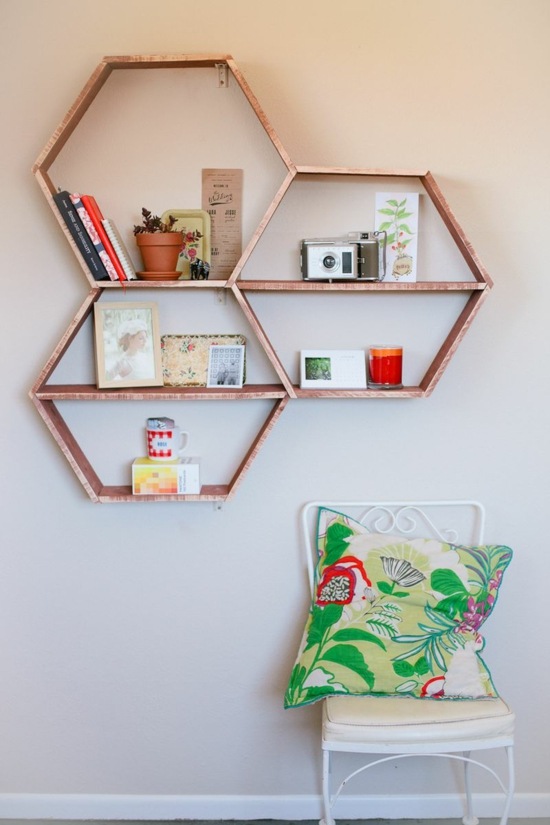
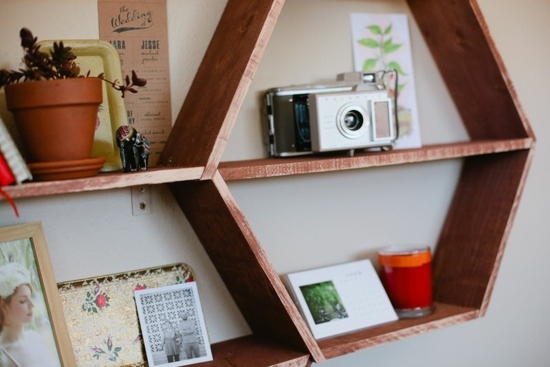
You can adjust the remaining shelves to achieve the same shape. Grind off the wood. Now you only need to attach the shelves on the wall. The shelves are perfect for the nursery, over the desk or even in the kitchen. If you want to set up a cozy reading corner, you can combine a chair and shelves – in this way you will always have your favorite books with you.

