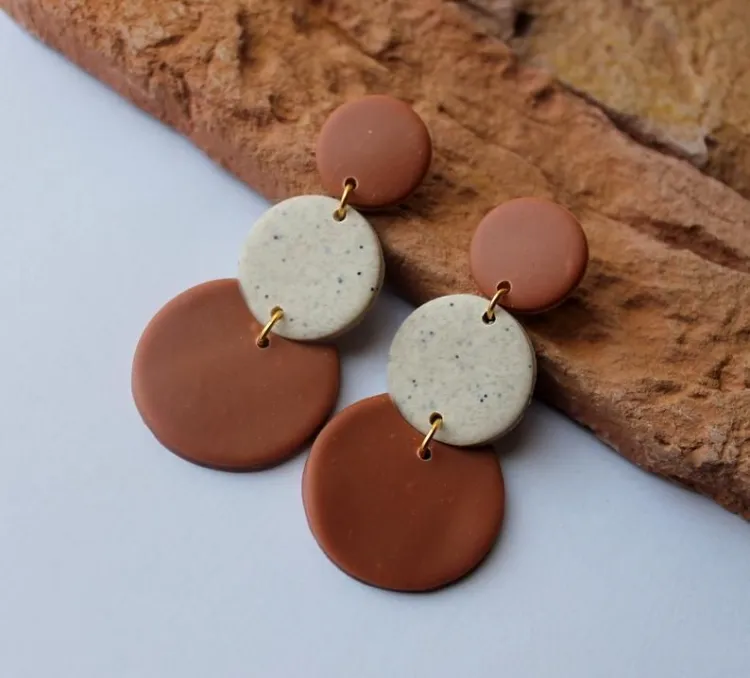
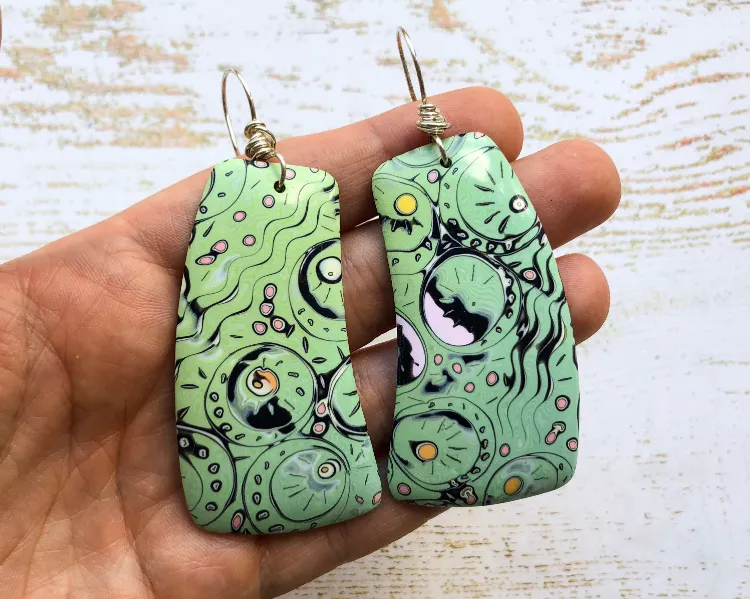
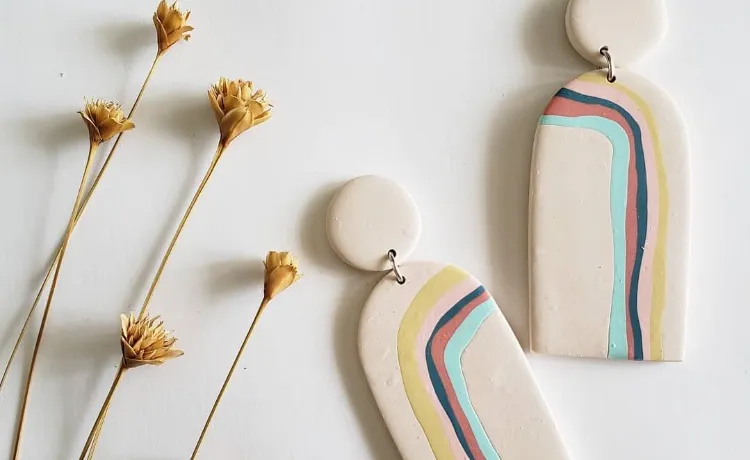
How to create a custom pair of fall clay earrings that instantly emphasize your feminine charm?
DIY Fall Polymer Clay Earrings That’ll Enhance Your Facial Features!
The new season is almost here, and you might feel inspired to make some changes in your appearance, including the type of accessories that you are wearing. So, how to make fascinating fall clay earrings on your own?
What Exactly Is a Polymer Clay?
This is a type of clay that is made of vinyl, and it is perfect for modeling and crafting purposes. The reason being is that polymer clay is soft until you bake it into an oven. You can use it to make jewelry, including earrings.
Step One – Preparation
In order to avoid accidentally damaging the surface of your table, protect it by putting either a piece of glass or a metal baking sheet. Besides, wipe down the table in order to remove dust that could otherwise end up in the clay.
Read also: Easy and colorful ideas for DIY earrings!
Make Sure That You Have The Necessary Tools
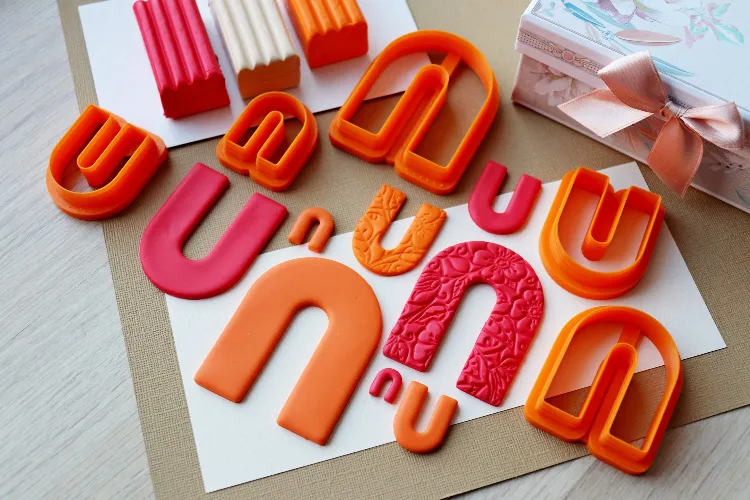
The materials that you will need are the following – earring backs, polymer clay, jump rings, superglue, jewelry pliers, clay slicer, clay cutters, a toothpick, acrylic rolling pin, and a baking sheet.
Conditioning for Elegant Clay Earrings
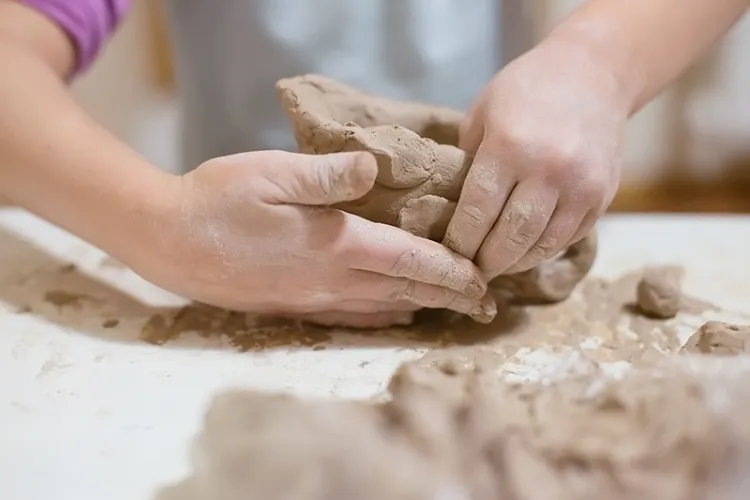
This step is quite important since the clay should be soft and flexible before working with it. Condition the polymer clay either with hands or by using a pasta machine. Be careful not to trap any air bubbles in the clay. If it does happen, use a knife to pop them.
Use Clay Cutters to Define Earrings Shape
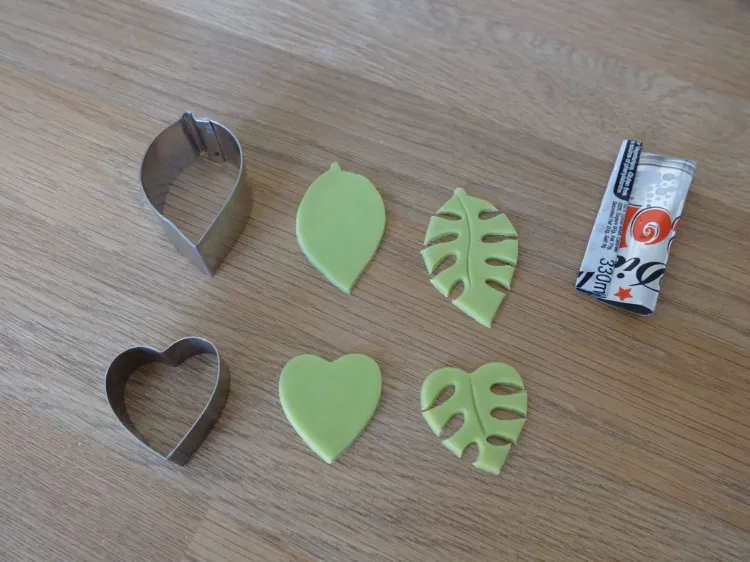
After you are done with creating the design in polymer clay, use either a craft knife or specialized clay cutters in order to cut out the earring shapes. Keep in mind that you should leave small holes in the clay where you will attach the jewelry elements after baking. You can use the toothpick for this purpose.
Bake the Clay Into the Oven
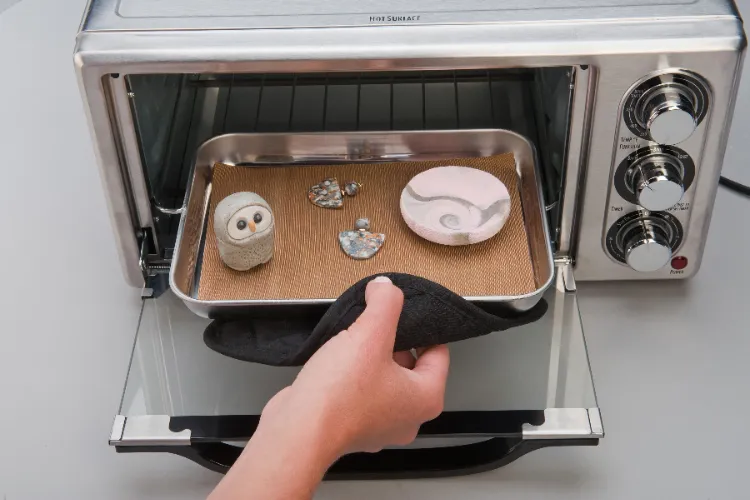
Before putting the clay into your home oven, ensure that there is no lint or dust into it. Heat the oven in advance and when you leave the earrings there, cover them with an aluminum foil in order to avoid discoloration. Bake for about half an hour.
Add Jewelry Components
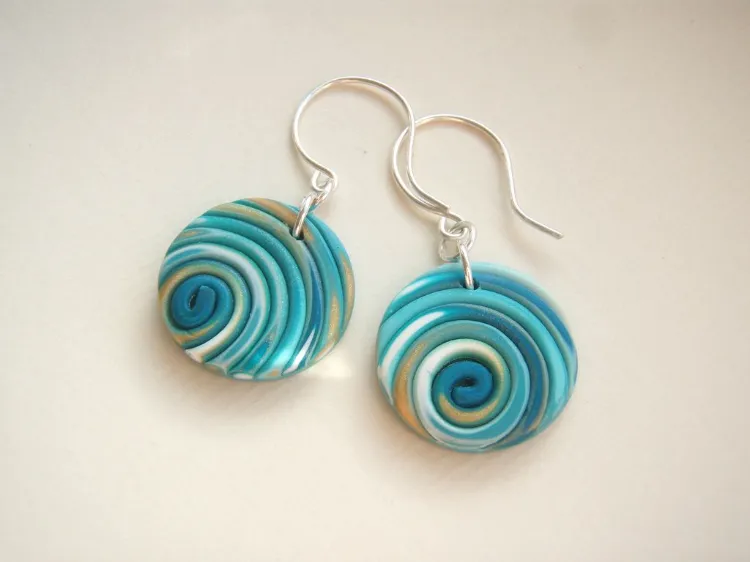
The last step is to add the metal earring elements in order to transform the clay shapes into real jewelry.
Read also: DIY jewelry storage ideas!
What to Do If There Are Fingerprints on the Clay?
The solution is to always buy high-quality, branded clay and to clean your workspace in advance. Wipe down the materials and tools too.

