How to invite humming birds to your garden in winter? How to make a heated humming bird feeder?
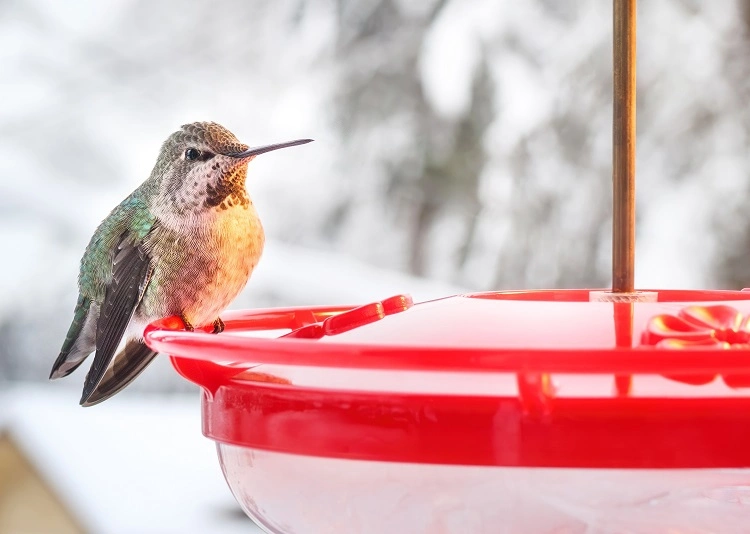
Credits:@sophiecat/Shutterstock
Having hummingbirds swing by your garden is a real treat that would bring joy to anyone. Unfortunately, these tiny and delicate creatures face many obstacles when it comes to finding food in the cold winter months. Even if you’ve already built or bought a humming bird feeder for them, the nectar can easily freeze if the temperatures drastically drop. How to prevent this from happening? By easily designing your very own heated humming bird feeder!
How to Make a Heated Humming Bird Feeder?
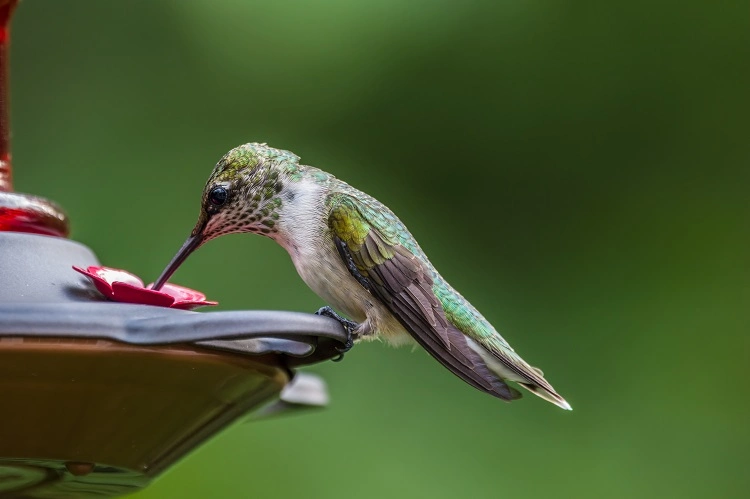
Credits:@Sandra-Burm/Shutterstock
A heated humming bird feeder can of course also be store-bought or ordered online. Yet, these commercial feeders will still cost you something more than a few dollar-store materials and a little of your precious time. If you search the net, you will find countless ideas for building your very own heated humming bird feeder. Today, at Deavita.net, we’ve chosen what might seem the easiest method for making a DIY heated humming bird feeder that won’t break the bank. But first, one might ask themselves if the heater might interfere with the quality of the nectar that the tiny birds are consuming?
Is Warm Nectar Safe for Hummingbirds?
Humming birds are regularly associated with warm tropical climates, yet that doesn’t mean that the nectar they consume has to be extremely hot. When building a heated humming bird feeder, the goal is to prevent the nectar from freezing and keep it slightly warm, not hot. A suitable temperature for the nectar would be somewhere between 70 ºF and 80ºF/ 21°C and 27°C, or for short, room temperature.
Also read: How to Make a Bird Feeder: Upcycling Ideas for the Garden or Balcony
DIY Heated Humming Bird Feeder Craft
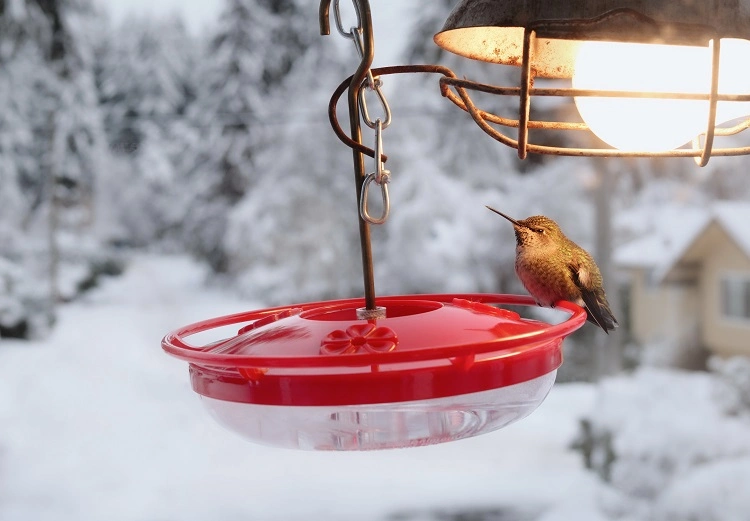
Credits:@sophiecat/Shutterstock
Now that we’ve come down to it, let’s make a homemade heated humming bird feeder! This craft will only take you an hour, so you can do it even during the working week or leave it for your weekend activities. Here is a list of the materials you will require:
Materials:
- Small humming bird feeder
- Recycled plastic container
- 7.5 watt incandescent indicator light bulb 52 (not a LED one)
- 4 3D printed hooks for ceiling lights
- Socket and cord set
- Simple elastic
- Utility knife
How to make it:
- Start by using the utility knife to cut a hole in the bottom of the plastic container that has to be slightly smaller than that of the fixture. Insert the fixture inside and screw it into place with the retaining ring.
- Then, with the utility knife again, make holes on the sides of the container for the elastic. Insert the elastic into place.
- Thread the 3D printed hooks onto the elastic.
- Now put the small humming bird feeder on top, hook on the heater and tighten the elastic until you make a good seal between the feeder and the heater.
- Tie off the elastic so that it does not touch or melt the lightbulb. You can make knots on the outside.
- Screw in the lightbulb.
- Hang the heated humming bird feeder outside.
- Leave it plugged in for 24 hours to keep the nectar warm.
Super cute idea with ordinary Christmas lights wrapped around the feeder to keep the sweet liquid warm during freezing temperatures. If you live in an area where you regularly get snow during the winter, you can draw inspiration from this DIY feeder idea and built a cover on top of the feeder to keep snow and rain off the nectar.
Also read: DIY Bird Feeder – This Is How You Can Turn Recycled Materials Into Bird Feeders!