Would you like to help your feathered friends survive the winter? Find out some easy ways to make a bird feeder!
Birds don’t need much to withstand the harsh weather conditions of the cold season – some nutrient-rich food and a warm shelter. However, since they have difficulty finding them in winter, the help of bird lovers could be essential to their survival. There is no need for complex designs or expensive products, as there are numerous affordable and sustainable alternatives. For example, by reusing old plastic bottles or other recyclable containers and materials, you can easily make a bird feeder. Here you can find out how you can help wild birds find food without much effort or high costs.
How to Make a Bird Feeder by Upcycling Used Items?
Bird feeders can be easily hung on trees or placed on a stand in suitable garden areas or on balconies. You can even use a simple tray as a feeding station, whether you equip it with a roof or not. So there are almost no limitations when it comes to materials and structure if you want to make a bird feeder yourself. Of course, it would be better to choose natural materials as an environmentally friendly option, but upcycling plastic or metal would be just as useful. For this purpose, you can consider the following DIY projects as simple ideas.
Also read: Feeding birds in the garden: these tips will keep your feathered friends healthy in winter
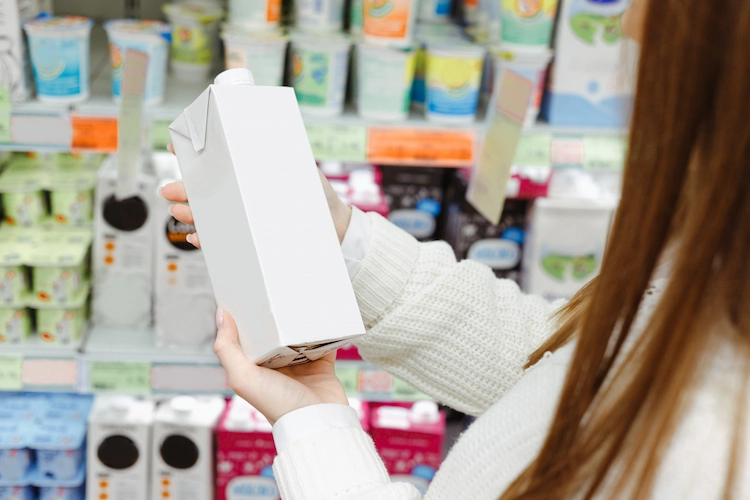
Turn Old Beverage Packaging Such As Juice Boxes into Food Dispensers
Although different species of birds prefer different feeders, you can, for example, use empty cardboard packaging as feeders. A milk or juice box is easy to work with and you can fill it with sunflower seeds and breadcrumbs. Just follow these simple steps.
Materials:
- Larger empty milk cartons or juice boxes
- Scratch awl, punch, ruler, utility knife, pencil, straws, twine or string, glue
- Brushes and colorful pieces of paper in camouflage colors (optional)
Directions:
- First, rinse the empty beverage containers well and let them dry.
- Then cut rectangular openings about 0,3 to 0,5 inches/1 to 1.5 centimeters in size in each side. Make 2 to 2,3 inches/5 to 6 centimeter openings at the top and bottom.
- Start by punching holes on two of the opposite sides to insert straws for the birds to land on. The number of straws is up to you.
- If you make a bird feeder, you can camouflage it, for example by using leftover wrapping paper in matching colors. To do this, you simply need to glue the pieces of paper to the surfaces using a brush and glue.
- Depending on whether you are hanging the feeder from a tree, you will need to make holes for the string and thread it. You can use an awl or needle to do this, and you should also poke a few small holes at the bottom so that snow or rain water can escape.
- Now you can fill the feeder and position it in the appropriate location.
- Do not use salted and roasted seeds or nuts as bird food, because salt is toxic to birds.
How to Make a Bird Feeder from a Metal Container or Plastic Bottle?
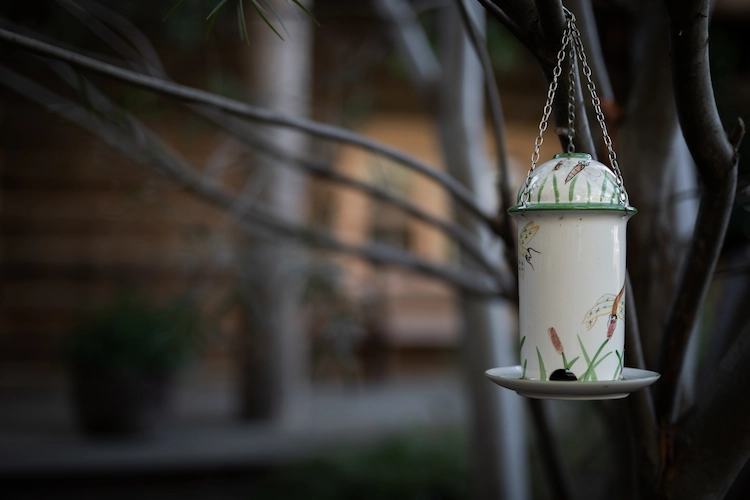
Both plastic bottles and old and unusable aluminum or metal containers such as teapots or thermos bottles are suitable for upcycling. By making small openings in these, wild birds can easily access food and thus find a safe source of food in winter. However, it is also very important to regularly remove dirt and leftover food from the feeders and not to let them get wet. Otherwise, you can proceed step by step as follows:
Materials:
- old metal container with lid and opening or larger plastic bottle
- longer and straight sticks (about 8 inches/20 cm long) such as chopsticks, pencils or whatever else you can find
- Tool for drilling and cutting metal or scissors, utility knife and awl for plastic. You can also use a soldering iron, but be careful when handling it.
- Chain, cord, ribbon or rope (about 8 to 11 inches/20 to 30 cm long)
- Suitable bird food
Step-by-step instructions for both options:
- First, you should remove any dirt from the chosen container. This will ensure that your bird seed won’t get moldy inside.
- If you are using a metal container, you will first need to make openings on two opposite sides using the drill or a saw. If it has a lid, you can put it on occasionally when it rains or snows. Also try making entry holes at the bottom for the birds.
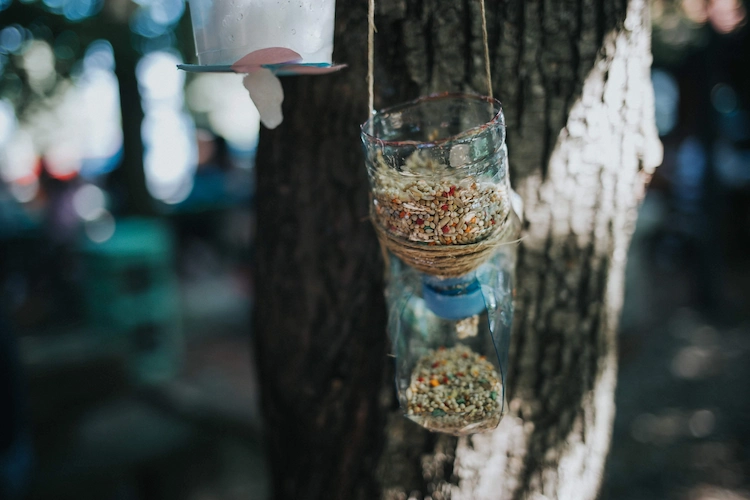
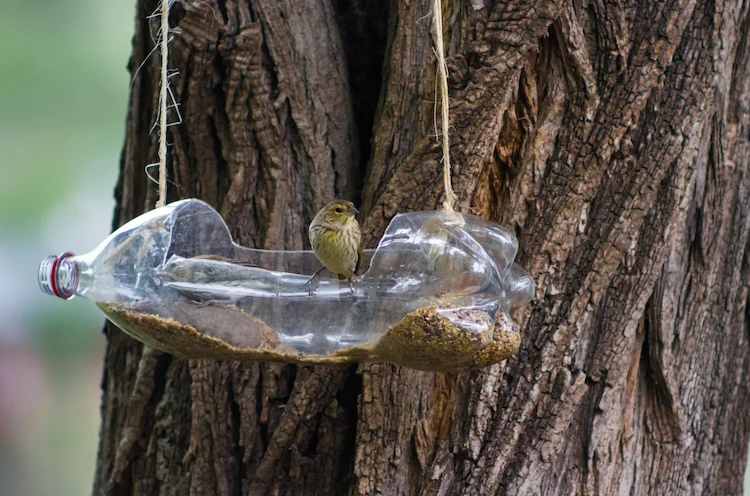
- If you are working with plastic, you can either cut the bottle in two and turn it neck down, or make the corresponding holes again.
- In both cases, however, you have to insert one or more rods straight and at different heights. The feathered friends will use these as perches when landing.
- To ensure that your installation fulfills its main purpose and provides food, you should also make a small hole about 1,5 inches/4 cm above each opening. This way the birds can easily access the food with their beaks. However, do not make the holes too large or the seeds may fall out.
- Now, depending on the container you are using, you can make holes in the neck of the bottle with the awl or in the metal container with the drill.
- Another option is to cut out an opening on the side of the plastic bottle with a utility knife. Then make two holes for the string and hang the bottle vertically on a branch with some weight and bird seed.
- Depending on the weight, insert a suitable rope or string for plastic and a chain for metal and tie them together to form a clothes hanger.
- For narrow openings, use a funnel or roll up a piece of paper to pour in the bird seed.
Also read: How to tame a robin in the garden?
and How to make a heated humming bird feeder? Super easy DIY craft


