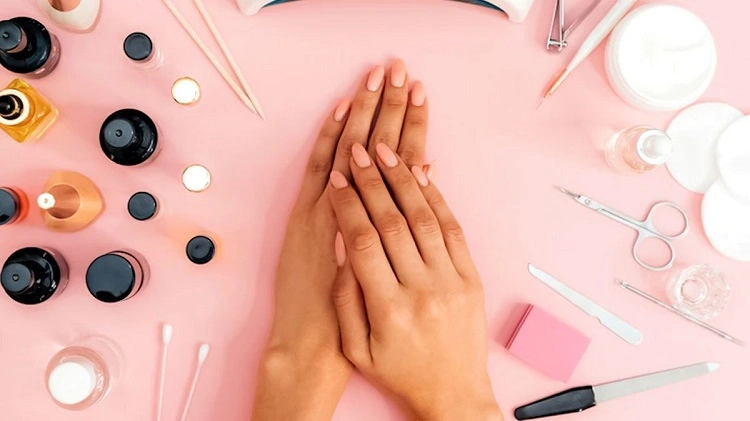
How to fix a broken nail at home? Can you do it without using glue? A step-by-step guide to easily repair chipped, cracked or broken nails by yourself!
How to Fix a Broken Nail at Home? An Easy Step-by-Step Guide
Let’s be frank here, breaking a nail is one of the most unpleasing, and not to mention painful, things that can happen to you. Have you ever had your nail broken in the middle? It hurts like crazy. And don’t get me started on the occasions when you are fresh out of the salon, and your manicure breaks within a day or so… However, there are easy ways you can fix your broken nail at home without having to pay extra for having it done professionally. How, you ask? Just follow this easy step-by-step guide offered by yours truly. And you don’t even have to use glue, which is often damaging to nails. Let’s do this, are you ready?
What you will need:
- nail file
- nail buffer
- alcohol
- cotton pad
- teabag
- scissors
- top coat/clear polish
- toothpick or tweezers
- nail polish colour of choice
Step 1: How to Prepare Your Nails Before Repairing Them?
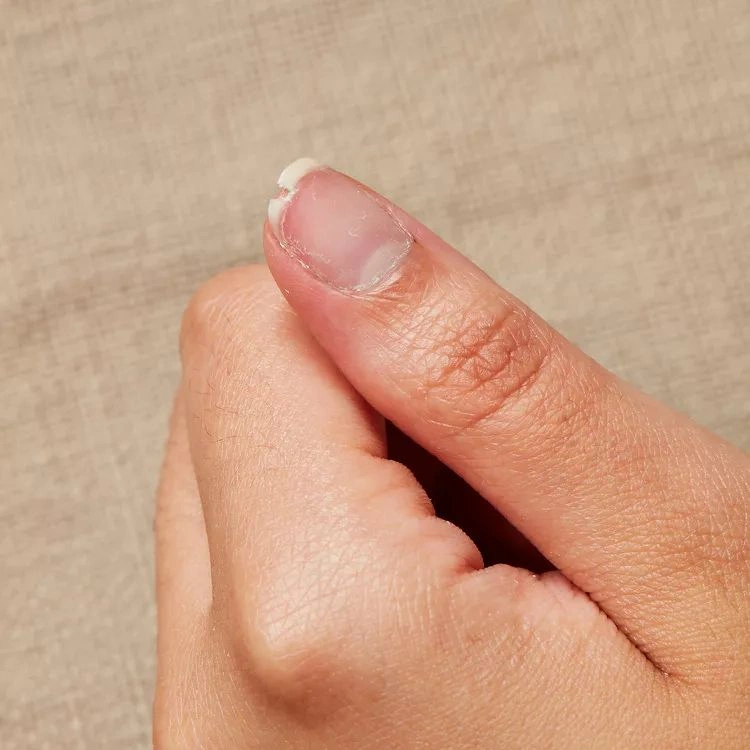
The first thing you will want to do when fixing a broken nail at home whether it’s cracked, chipped or fully broken is filing all the edges. And this goes for all your nails! Start by moving in a single direction, filing the nail back into its original shape. Make sure it matches with the other nails or is at least a bit shorter. After you’ve filed it, rub the nail with alcohol and buff it out so that it is smooth. This will help you later when mending the nail.
Step 2: Mending the Nail with the Help of a Tea Bag & Clear Polish
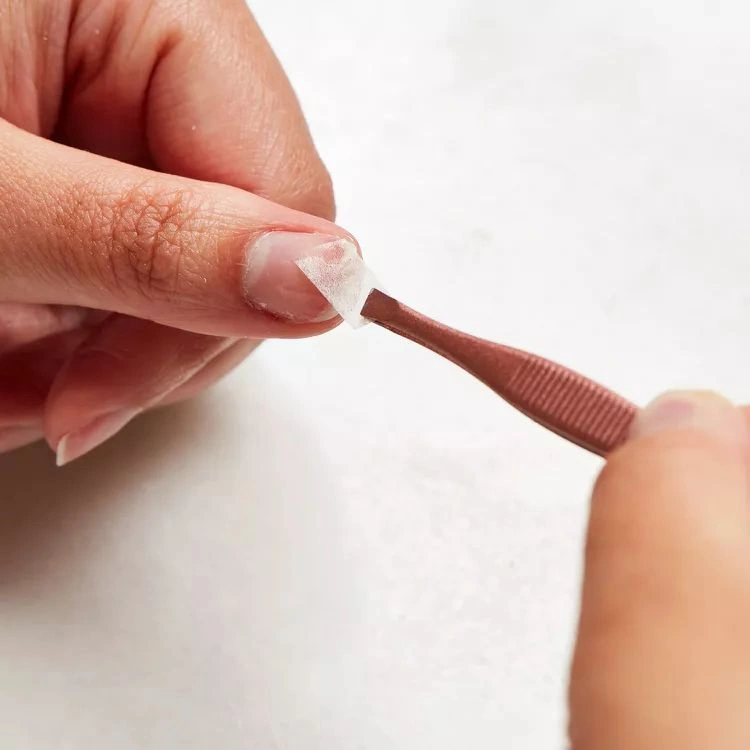
Take the tea bag and cut a small piece of it to lay over the crack of your nail later. Don’t worry if the piece covers the whole surface of your nail. Make sure that it is clean and there are no tea particles attached. Now apply a layer of clear polish to your broken nail and use a toothpick or tweezers to adjust the tea bag piece onto it. Do it while the polish is still wet. Once it’s dry, buff out the ruff edges before proceeding to the next step.
Step 3: Complete the Repair Process with a Nail Polish Colour of Choice
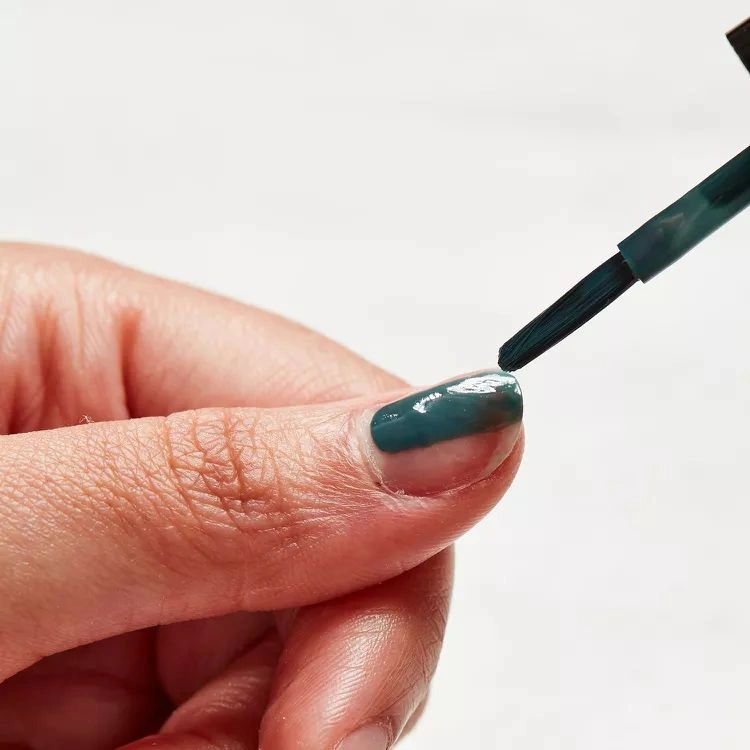
You’ve fixed your broken nail? Congrats! Now let’s apply a pretty nail polish colour to completely cover up any signs of damage. Paint your nails, wait for them to dry, and apply a top coat to finish. Let it dry again, and apply cuticle oil to strengthen your nails. Marvel at your beautiful homemade manicure. And it didn’t cost you anything!
How to Fix a Broken Nail Until It Grows Out?
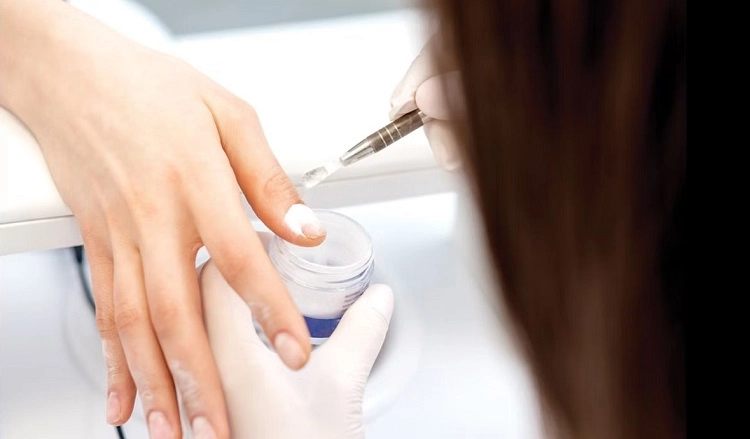
If you are in a situation where your nail is chipped or broken beyond repair, unfortunately you will have to file it and cut it down as much as possible. Make sure the nail is even as it can be across the top. This will keep your nail from further damage or getting caught on clothes (super annoying). Until it grows out, you can try nail powder for a quick solution. Just apply a thin layer of nail glue over your broken nail and dip it into the powder. Leave it to dry, buff its surface and proceed with applying a top coat. Thanks to the powder, your nail will feel and look stronger until it eventually grows out.
Also read: Nail slugging or THE manicure technique to try to knock out soft, brittle and split nails in 2023
How to Fix a Broken Nail at Home: Expert Nail Care Tips
As breaking a nail can be one of the most annoying things in a person’s life, it would be great if we could avoid such occurrences in the future. Or, at least, experience fewer of them. Just so you know, even if you apply strengthening creams religiously, chipping or cracking a nail can still happen. However, there are many things you can do to protect your nails as much as possible. Here are a few expert nail care tips:
- Always keep your hand & nail cream at a close range and apply them 1–2 times a day.
- Don’t chip or peel your gel polish, but have it professionally removed.
- Cuticle oil is a must, apply it whenever you can. Most practical at night.
- Avoid harsh nail products and use acetone-free nail polish removers.
- Remember to wear gloves when cleaning the house to protect your nails.


