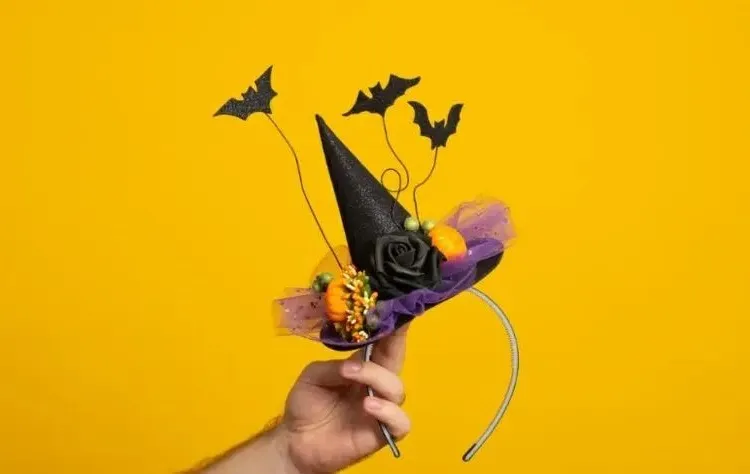
Of course, a cool witch hat is a must for the perfect costume. There are plenty of designs, but if you’re willing to invest a little time, you can also make a witch’s hat yourself without even having to sew. Well, are you interested in a little DIY project?
You can quickly make a cute hat on a headband using paper or felt as desired, which is comfortable to wear and not too bulky or heavy.
How to Make a Witch Hat for Halloween with Felt or Paper?
Make a hat in just a few steps and decorate it according to your preferences. Learn now how to make a witch hat for your Halloween witch costume:
- Headband
- Black paper, preferably glittery, or black felt
- Scissors
- Chalk or textile pen
- Hot glue gun
- Tulle
- Wire
- Small decorations (make sure these are not too heavy)
- White paper
How to Make a Witch Hat for Your Halloween Costume?
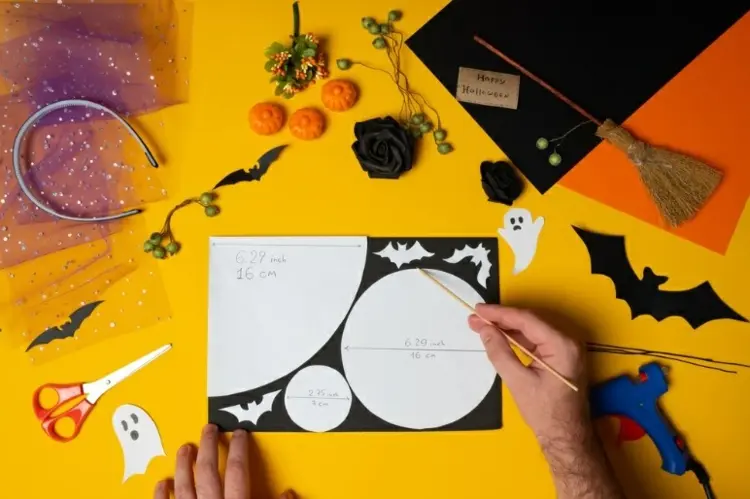
- Draw three circles on the white paper to create stencils for the fabric/black paper. You can use a compass if you have one, or a large bow for this. The largest circle has a diameter of 32 cm/12.59 in, the medium one 16 cm/6.29 in, and the small one 7 cm/2.75 in. You only need a quarter of the largest circle.
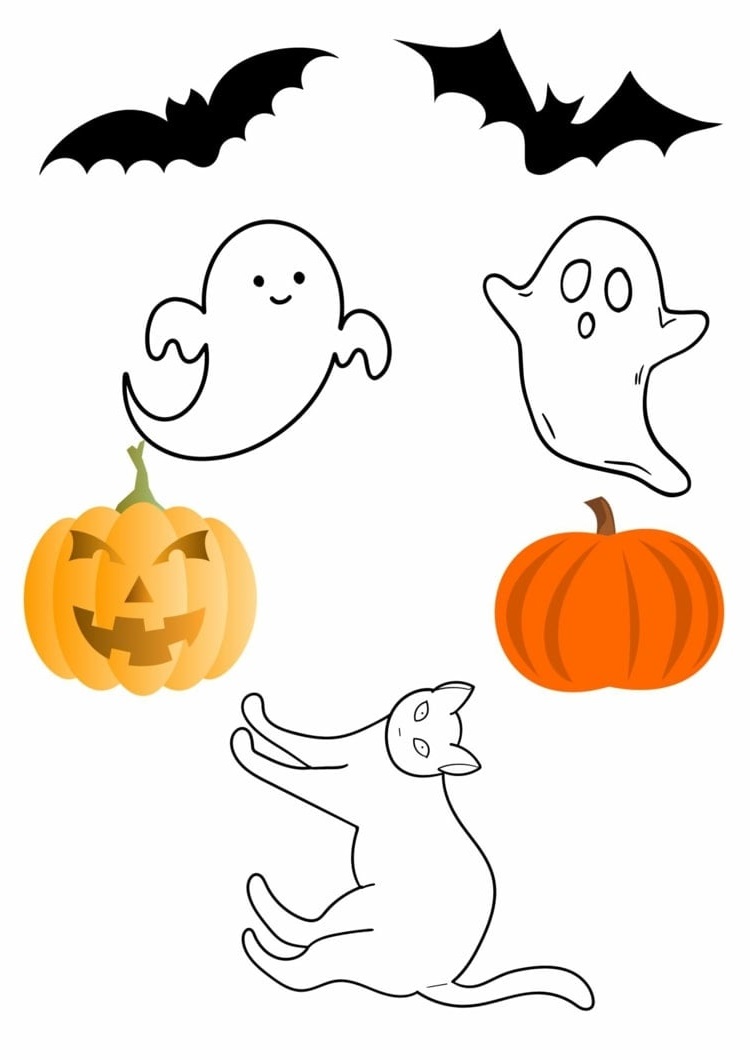
- If you want, you can make a few bats, ghosts and similar motifs to decorate the witch’s hat. You can use our free templates provided below for this.
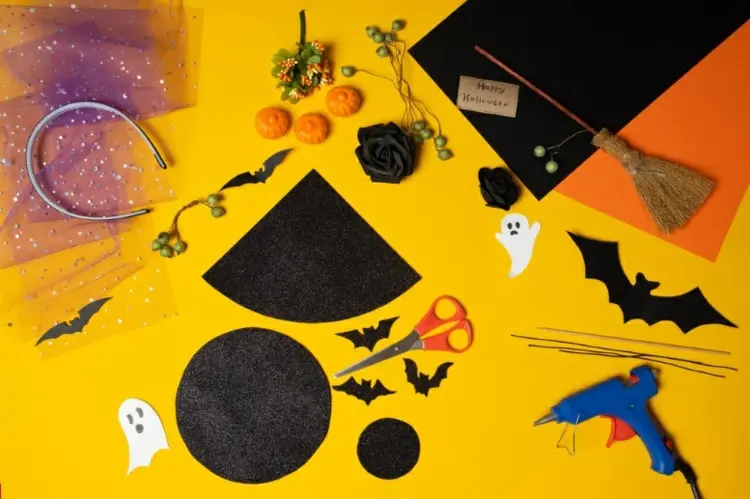
- Cut out all elements.
- Using the provided templates, transfer the shapes onto the black paper or felt and cut them out too.
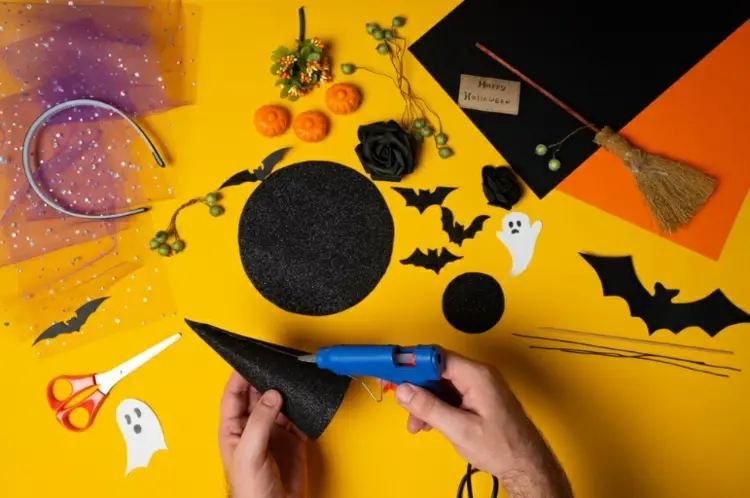
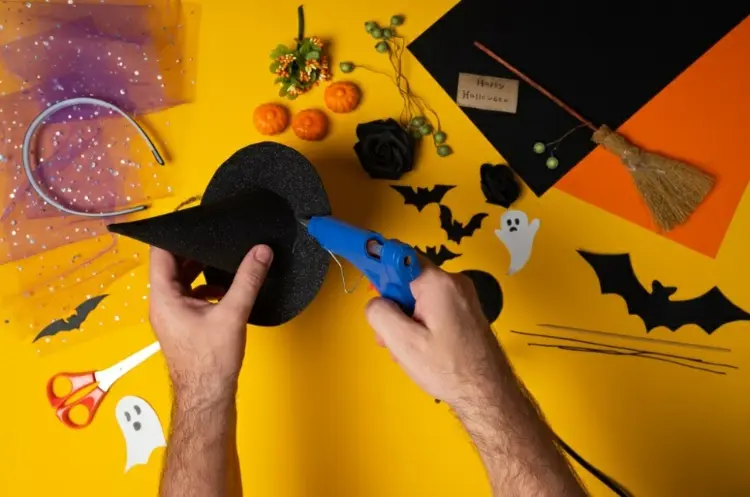
- Form a cone out of the quarter circle and glue the ends together with hot glue.
- Glue it to the larger circle.
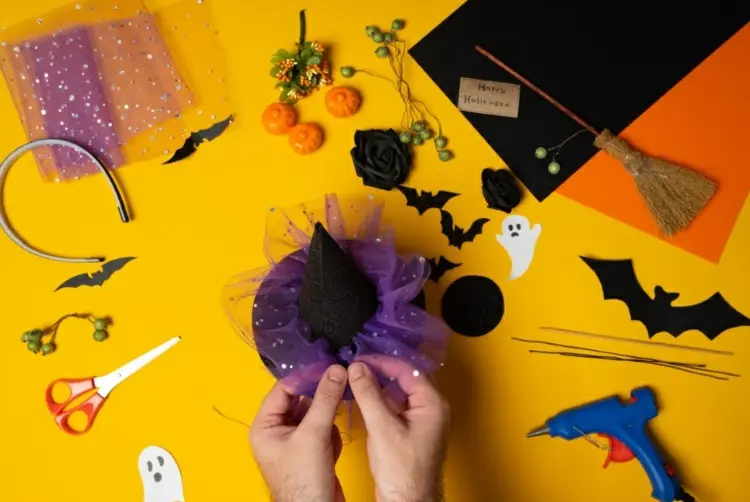
- Take a piece of tulle that is slightly longer than the circumference of the cone at its widest point.
- Glue the tulle to the brim around the cone, making folds with it. Before you glue, test whether the length of the fabric is enough.
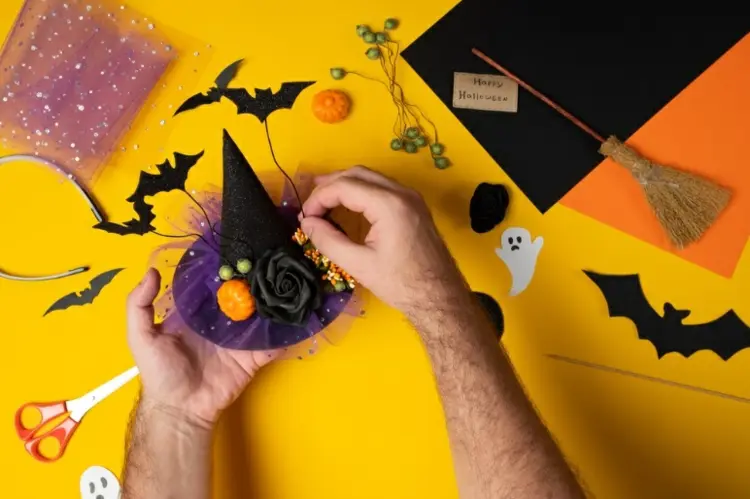
- Now decorate the hat with the selected decorations and let the glue dry well before continuing.
- To make the bats look like they are actually flying, glue them to the wire that you bend a little here and there and attach to the hat with hot glue.
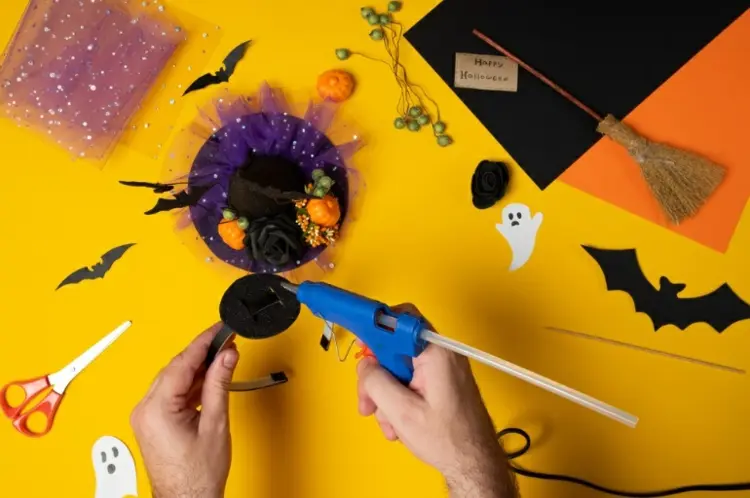
- Now take the smallest circle and cut it in two opposite places and parallel to each other. In this way, you can now push the headband through.
- Once you have found the desired position (the hat can sit slightly at an angle or in the middle of the head), glue the headband and circle together.
- Now glue the hat onto the small circle. Once the glue has dried thoroughly, the witch hat is ready and can be worn.
Also read: How to Make Halloween Bag for Treats? 3 Easy Last-Minute Ideas
You can also make a similar witch hat with this easy tutorial:
How to Make a Witch Hat with LED Lights – Easy DIY Tutorial
This cute witch hat is not just for children to make. Even adult women will look fantastic wearing it with their witch costume. If necessary, you can change the dimensions slightly and make a larger hat. Just always consider the weight. Especially if you use felt, the hat can quickly become very heavy, so a simple headband is no longer enough to keep it on your head.
Also read: DIY Witch Makeup – Simple Instructions for a Spectacular Look

