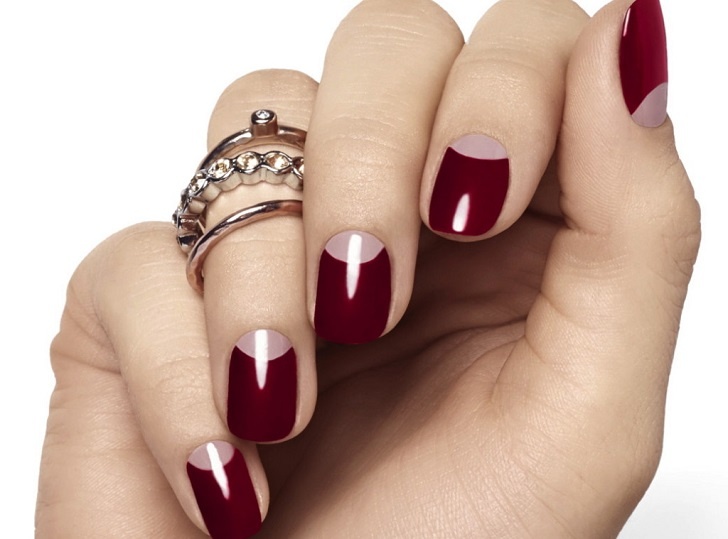
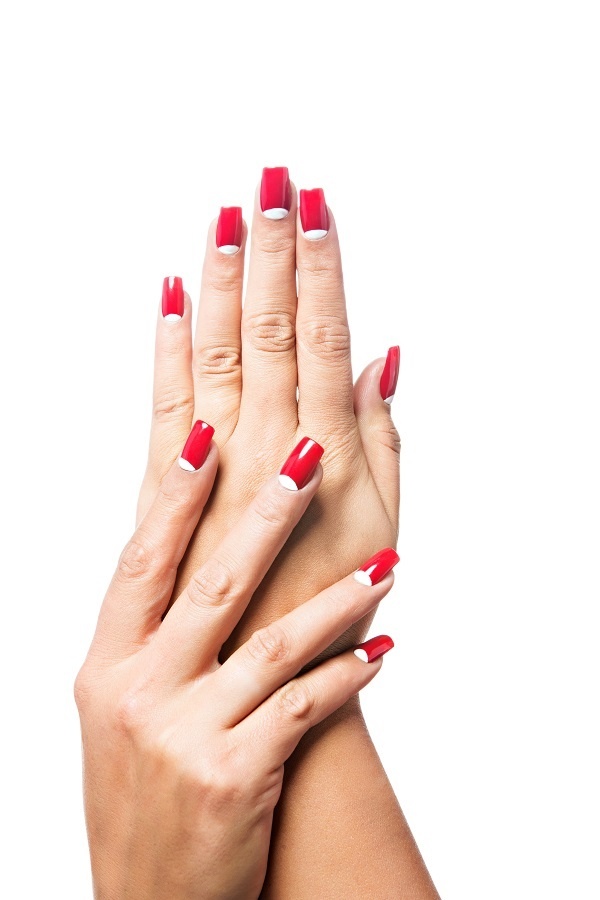
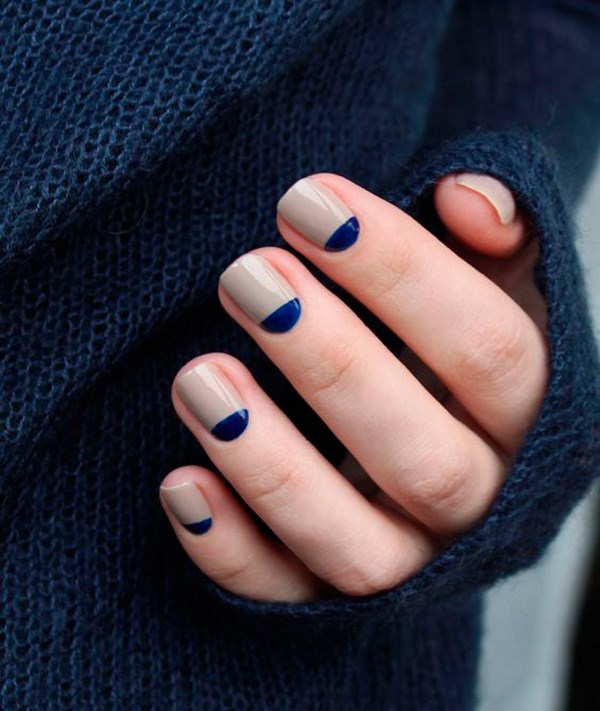
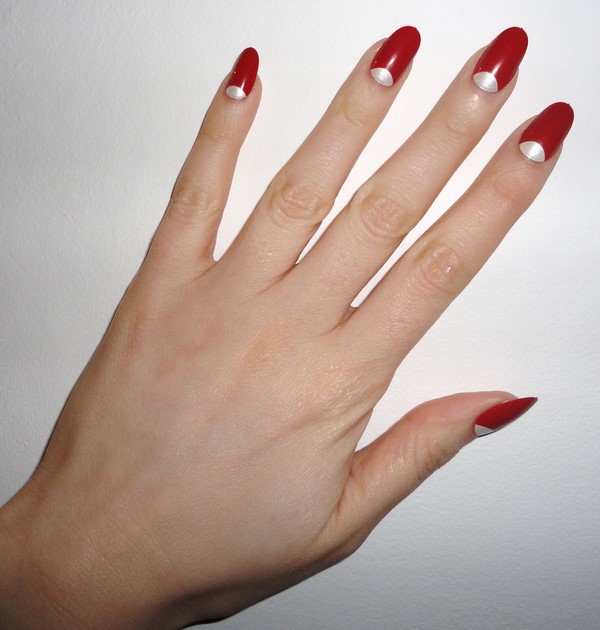
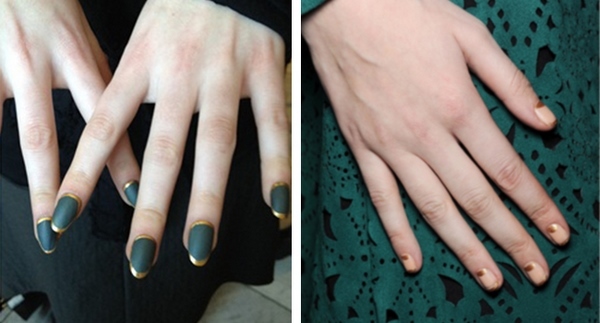
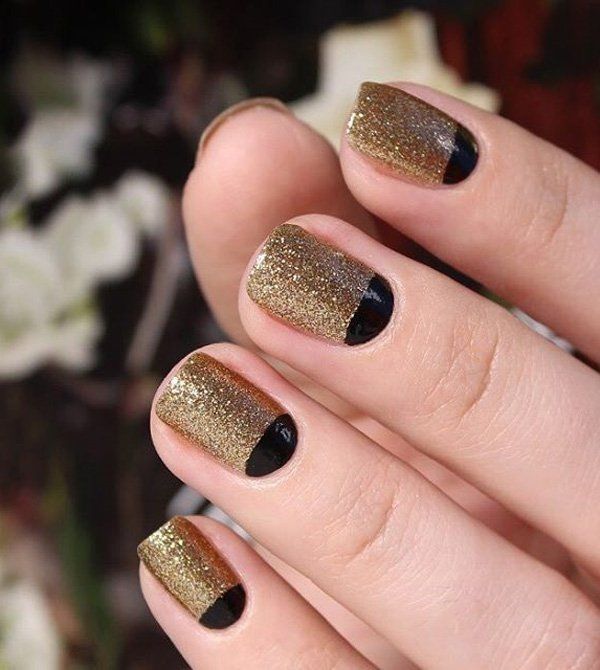
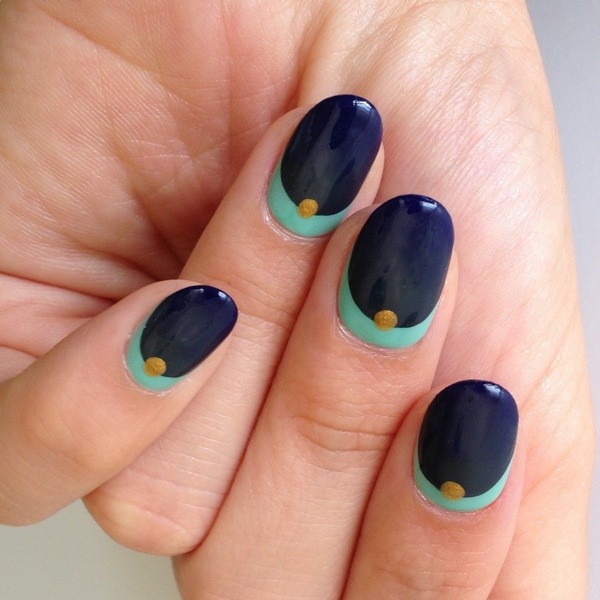
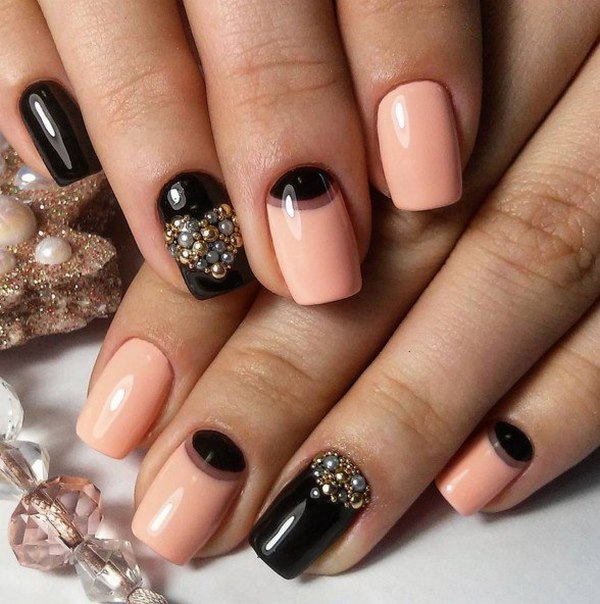
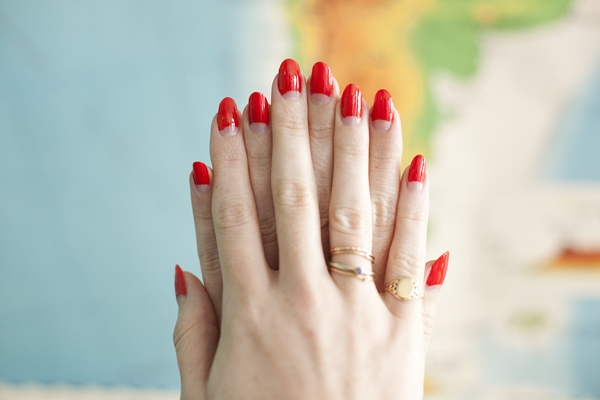
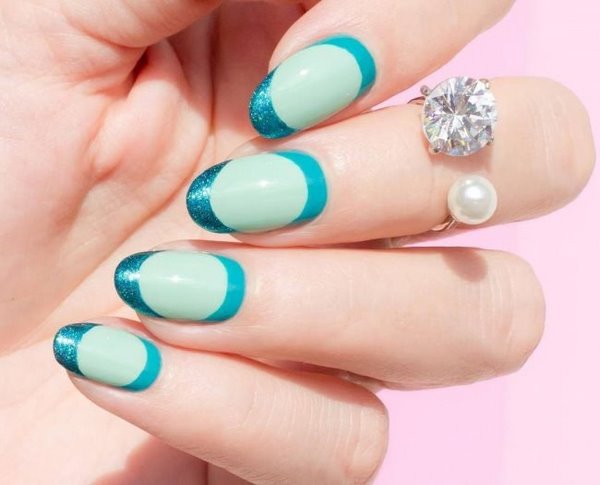
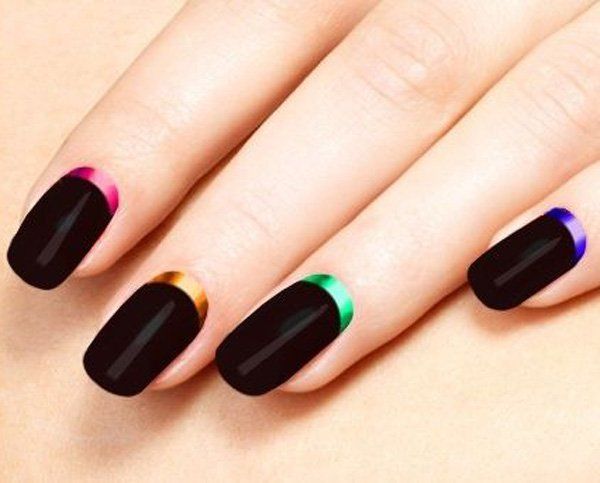
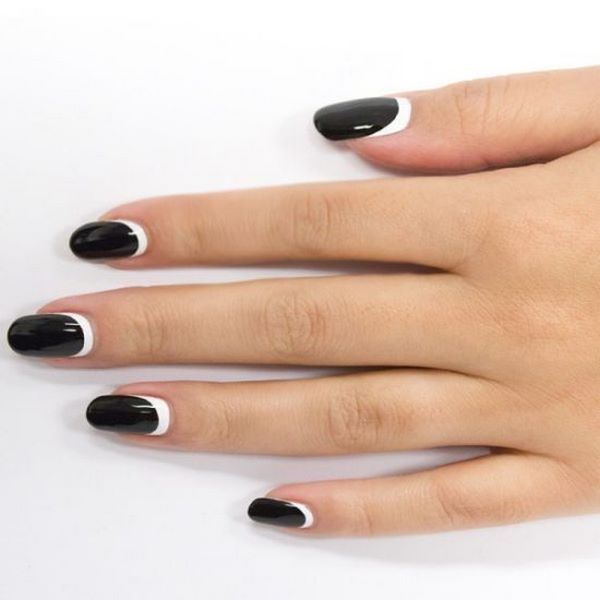
Moon nails combine two contrast color varnishes and the base of the nail plate is shapes as a moon. This type of manicure appeared in the 1920s and it is believed that it was first used by women from the upper class who left part of the nail plates without color to emphasize their natural beauty. Some fashion historians say that the appearance of this manicure was a result of the prevailing opinion at that time that staining only a part of the nail plates allows them to “breathe” better. The classic version of the manicure in the style of the 1920s uses red nail polish as a primary color. Nowadays this type of nail design is called the Dior manicure as it appeared on one of the shows in 2010 and once again gained popularity. The design is also known as “reverse French”.
How to choose the colors for your moon nails?
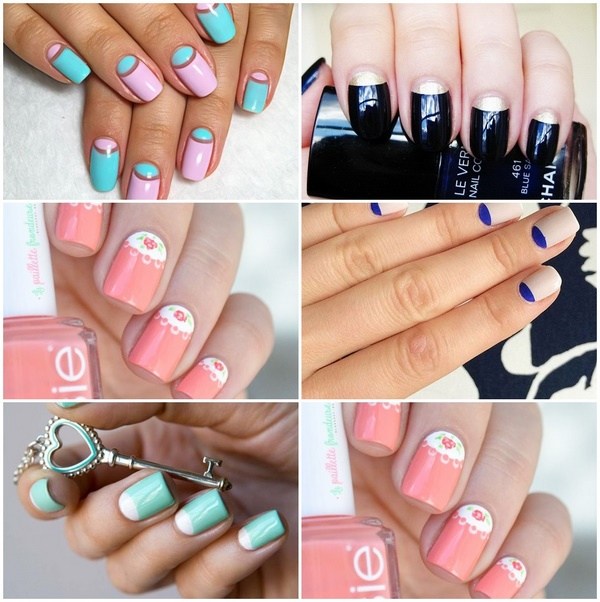
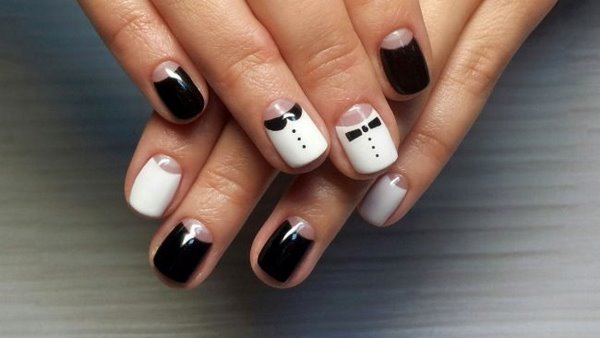
One of the secrets of the moon manicure is the correct selection of color combination. You should choose contrasting colors that harmonize with each other. For everyday use, you should choose calm, discreet tones, for example – chocolate and peach, white and pale lilac, pastel or light pink. Those who prefer to focus the attention to their beautiful moon nails can opt for bright and juicy colors of varnish and combine coral and malachite, bright orange and lilac or dark blue, mint and yellow, white and crimson, beige, peach, silver or gold and black will also look great. You can even choose a rainbow pattern for your nail design. However, it is best to make a test of the color combination on a sheet of paper before applying the nail polish.
What you should keep in mind is that this nail design makes nails visually shorter so it is not recommended for short nails and wide nail plates. It looks best at medium to long nails.
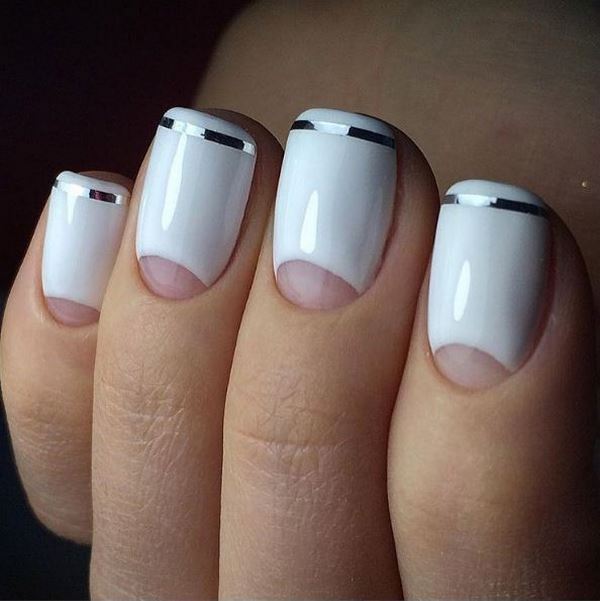
The shape of the moon depends on the style that you choose. A curved shape is suitable for girls or women who have chosen the classic style. The shape can be designed as half or crescent moon and again, it depends on your personal preferences.
How to do moon nails at home?
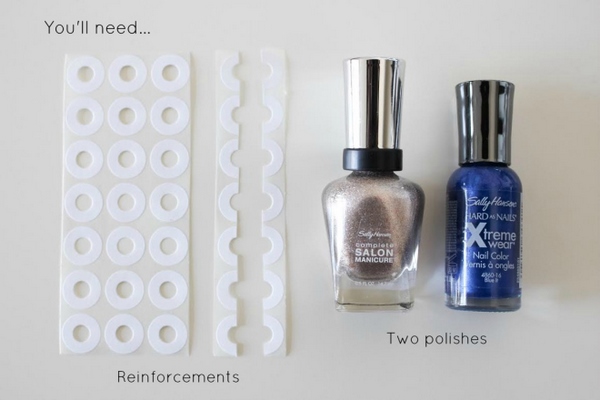
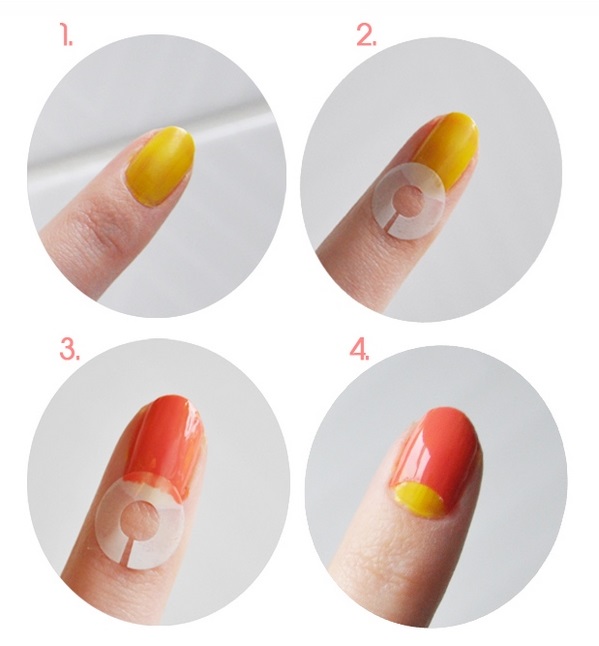
Trendy moon nails can be done at home quite easily. You will need 2 nail polish colors, a top coat and hole reinforcers.
Step 1 – Prepare your nails
Cut and file the nails in the desired shape.
Step 2 – Apply the first color
Paint the first color on clean dry nails and wait until the layer is completely dry.
Step 3 – Shape the moon on each nail
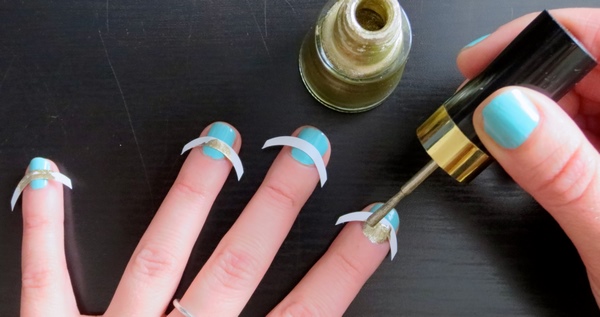
Place the reinforcer near the cuticle to create the half moon nail design. Apply the second color over the entire nail. Make sure that you get right up to the edges of the reinforcer. Carefully remove the sticker while the polish is still wet.
Step 4 – Apply a top coat
Carefully remove any excess polish around the nail with a small brush. Apply a thin layer of top coat and wait until completely dry.

