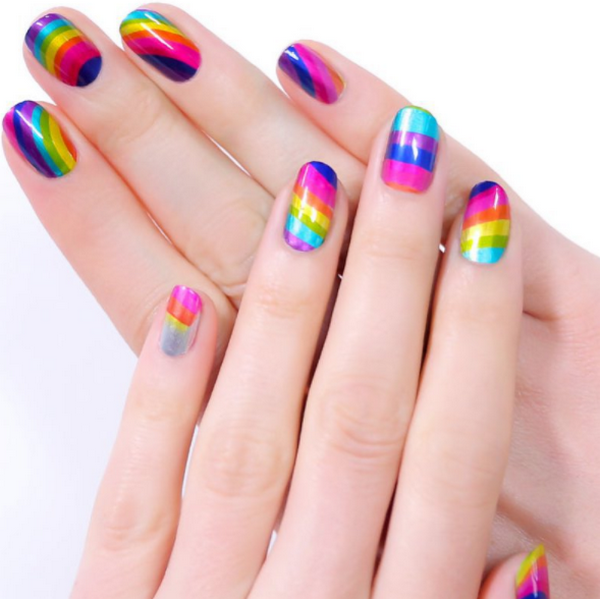
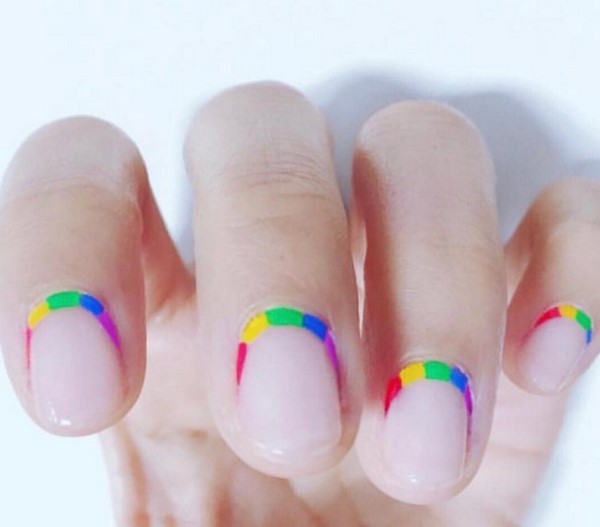
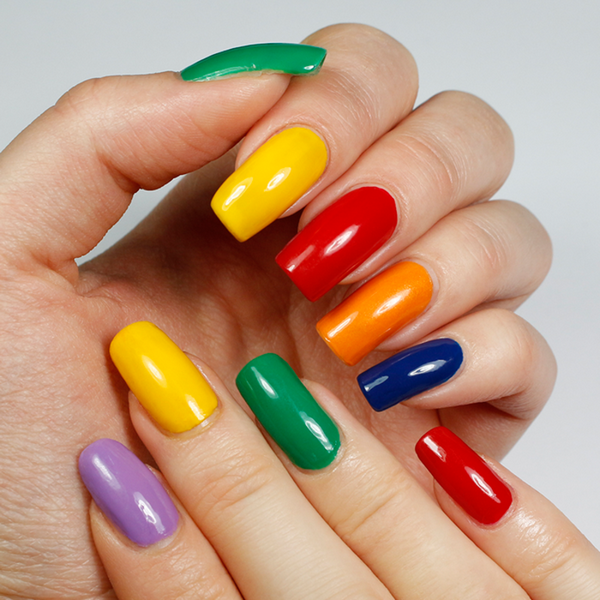
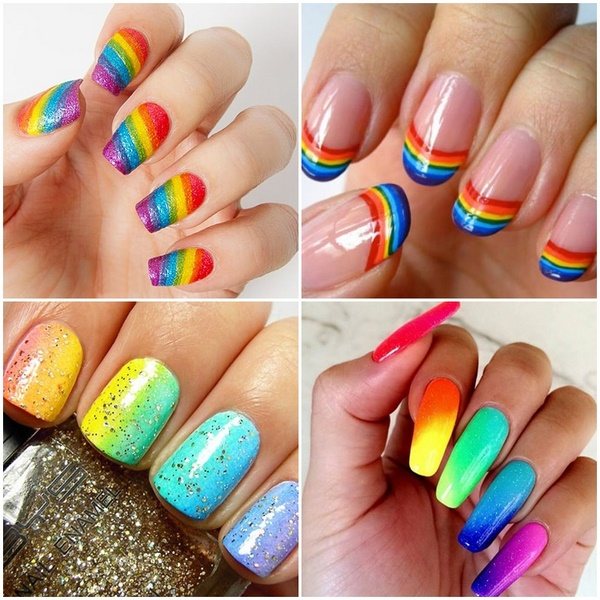
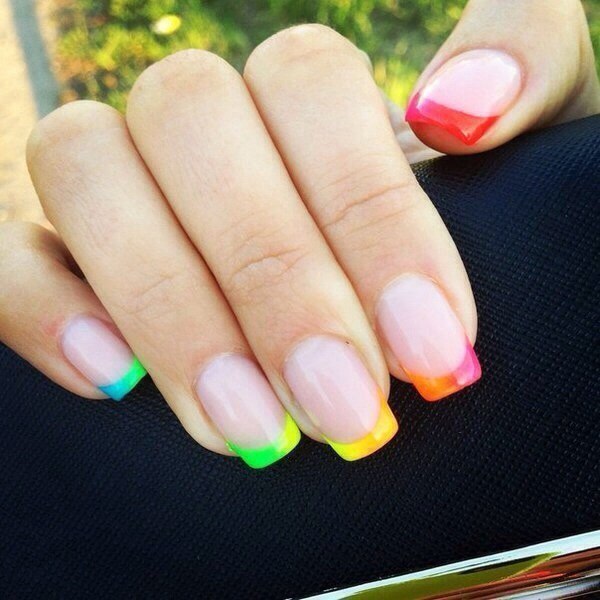
Rainbow nail art ideas are an excellent opportunity to brighten up your days. This nail design is perfect for the summer and you can choose from thousands of variations. Summer nails come in numerous designs and techniques – flowers, fruits, butterfly nails, gradient effect, etc. Rainbow nails are colorful and bright and the design is suitable for women of all ages.
If there is anyone who does not know the colors of the rainbow, here they are:
- Red;
- Orange;
- Yellow;
- Green;
- Blue;
- Indigo;
- Violet.
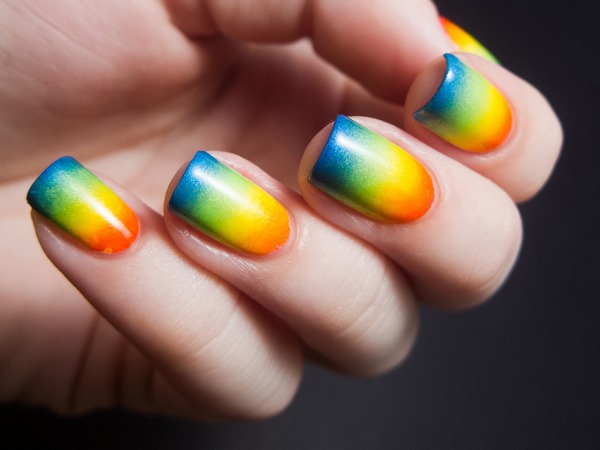
When we talk about rainbow nails, you can choose a design with a smooth transition of all colors with a gradient effect or opt for three, four, five colors, depending on your individual preferences.
Rainbow nail art ideas for the summer – bold colors for bold girls
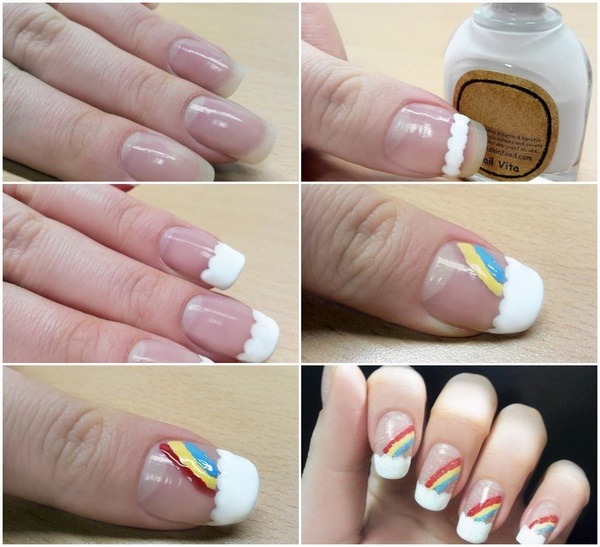
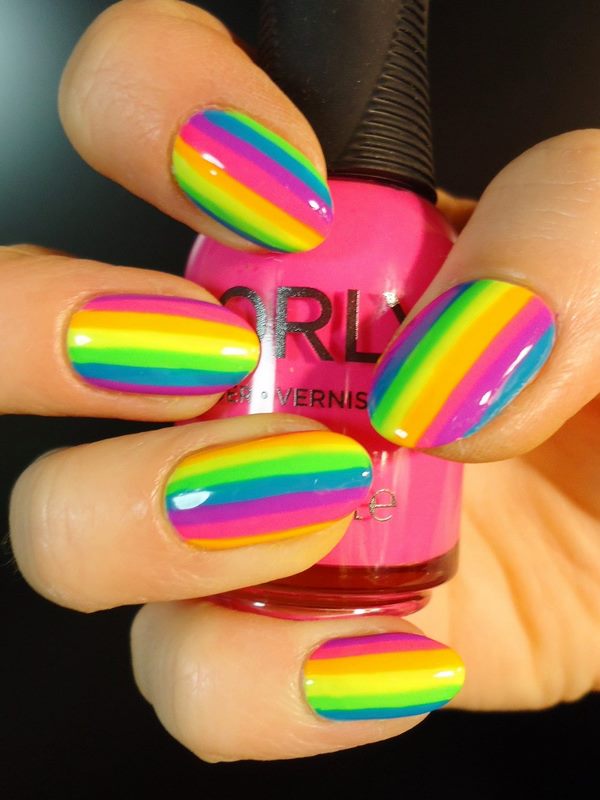
Rainbow nail art ideas are most often the choice of stylish young ladies who know how to attract the views of passers-by. We shall look at the different types of techniques and will give you useful tips how to do rainbow nails at home. Although the most popular technique for rainbow designs is to use a sponge, which is basically the gradient nail art technique, you could use a dotting tool, water or tape as well. Whether you choose vertical rainbow gradient effect, horizontal or you prefer to arrange the colors at an angle – you will have a unique nail design which will make you smile! We have to mention that some women are attracted to rainbow nail art but in a more restrained design. In such cases the rainbow effect can be done only on the tips of the nails and not on the entire plate which is an ideal option for short nails or French manicure.
Rainbow nail art ideas – methods and tutorials
Rainbow manicure is very colorful, bright and eye – catching and if you want to do rainbow nails at home we will show you different techniques which will allow you to decorate your nails and have an interesting manicure in an easy way. Rainbow nails can be done easily when you color each nail in one of the colors of the rainbow. This is the simplest and easiest technique suitable for beginners.
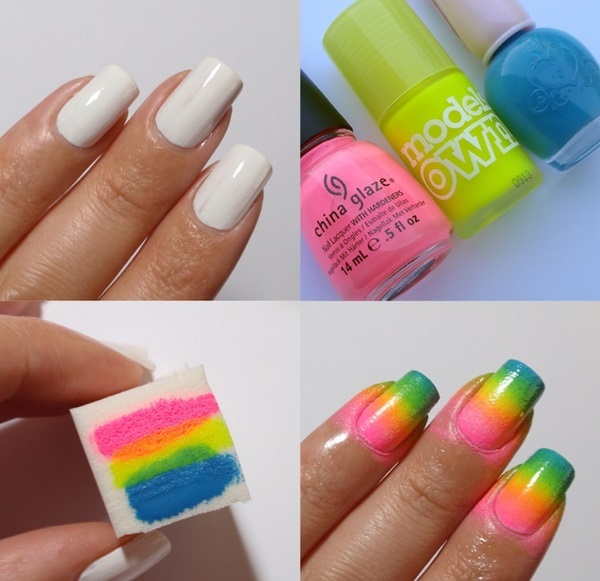
Method 1 – How to do rainbow nail art with a sponge
This is one of the most popular and simple techniques for applying nail polish. The coating turns out beautiful, with a smooth transition of one color to another and that is what is required for a beautiful rainbow design.
What do you need:
- rainbow-colored nail polish colors;
- a piece of sponge;
- a piece of cardboard;
- cotton buds;
- nail removal.
Step 1 – Prepare your nails
Before you begin you need to take care of the shape of the nails and the skin around them. Remove any nail polish which is currently on the nails, cut the nails to the desired length, file them to the shape you want and push back the cuticles with the help of a manicure stick
Step 2 – Apply a layer of base coat
It is recommended that you use a thin, clear base to the nails but you could use a white polish. On a white base the rainbow colors will look even brighter. Let the base dry completely before you proceed.
Step 3 – Paint the rainbow colors on the sponge
Open all the varnishes that you have. Do not use more than seven. A useful tip is to dip the sponge in water before painting the nail polish on it and wring it out until just damp. Sponges absorb a lot of polish and dipping it into water prevents that.
Step 4 – Apply the rainbow colors on the nails
Press the sponge against the nail and transfer the color to it. Try to do it as neatly as possible, in one movement, so as not to smudge the colors. Repeat on each nail. Keep in mind that some nail polish will be transferred to your skin as well. If you wish, you can apply a thin coat of petroleum jelly around each nail.
Step 5 – Remove the excess polish
Use nail polish remover to clean the skin around the nails. The easiest way to do this is to make a small cotton swab and use a small brush to clean around your cuticles.
Step 6 – Apply a top coat
Wait until your nails are completely dry and add a top coat of clear polish. This will make your rainbow nails look nice and shiny, fix the color and prolong the durability of the manicure.
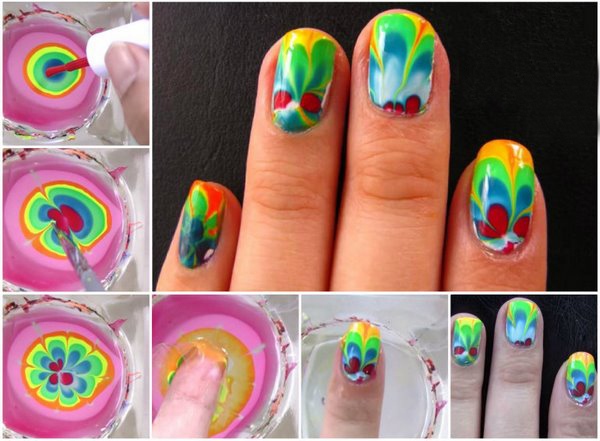
Method 2 – How to do marble rainbow nail art with water
What you need:
- Base coat;
- rainbow-colored nail polish colors;
- Top coat;
- A bowl filled with lukewarm water;
- Petroleum jelly or duct tape;
- Cotton buds;
- Nail polish remover;
Step 1 – Prepare your nails
Cut your nails to the preferred length, file them in the desired shape and push the cuticles.
Step 2 – Apply a base coat and petroleum jelly
Choose a transparent or white base coat and apply it on the nails. It will help the nail polish adhere better. Apply petroleum jelly around the nail plate, so that it is easier to wash off excess lacquer, optionally you can use duct tape. Make sure the nails are not covered with petroleum jelly otherwise the nail polish will not be able to adhere.
Step 3 – Mix the nail polish colors
In small bowl filled with lukewarm water, drip a few drops of nail polish in the center of the bowl, holding the brush close to the water surface. The polish should disperse and form a thin film. Repeat the process with the rest of the colors. Use a toothpick and gently drag it through the nail polish in the water creating a pattern.
Step 4 – Dip the nails in the bowl
Dip your hand right down into the bowl of water. The nail polish will adhere to your nails.
Step 5 – Clean your nails and finish them
Use nail polish remover to clean excess polish from your fingers. Let your nails dry and apply a protective top coat.
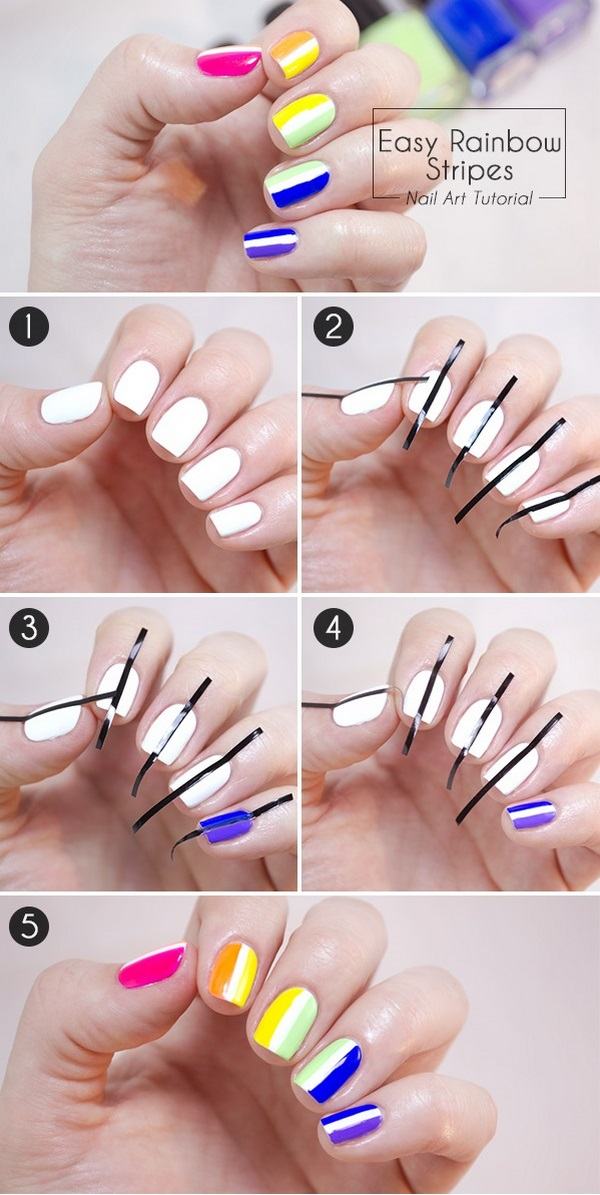
Method 3 – How to do rainbow nails with adhesive tape
What you need:
- Base coat;
- rainbow-colored nail polish colors;
- Top coat;
- Adhesive tape;
- Cotton buds;
- Nail polish remover;
Step 1 – Prepare your nails
Remove any nail polish which is currently on the nails, cut the nails to the desired length, file them to the shape you want and push back the cuticles with the help of a manicure stick.
Step 2 – Apply a layer of base color
Apply a base color and let it dry completely before you proceed.
Step 3 – Attach the tape to the nails
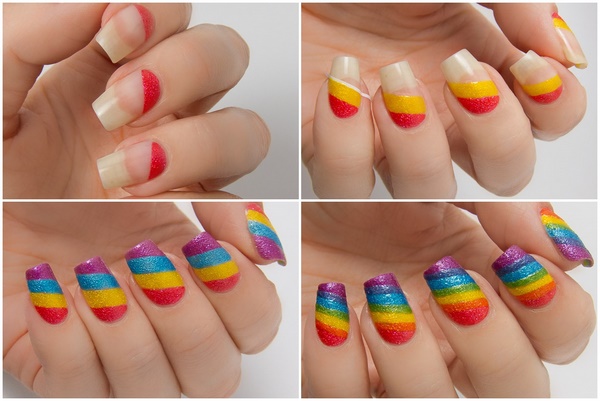
Attach the self-adhesive tape to the nails in accordance with the chosen pattern – horizontally or vertically. Make sure that the tape is well attached to the nail to ensure the cleanliness of the lines.
Step 4 – Paint the rainbow pattern
Paint one fingernail at a time following the sequence of rainbow colors. Let the nails dry completely and carefully remove the tape. Repeat on all the nails.
Step 5 – Remove the excess polish
Use nail polish remover to clean the skin around the nails. The easiest way to do this is to make a small cotton swab and use a small brush to clean around your cuticles.
Step 6 – Apply a top coat
Wait until your nails are completely dry and add a top coat of clear polish. This will make your nails look nice and shiny and prolong the durability of the manicure.
Method 4 – How to do rainbow nails with a dotting tool
What you need:
- Base coat;
- rainbow-colored nail polish colors;
- Top coat;
- Dotting tool (optionally a toothpick);
- Cotton buds;
- Nail polish remover;
Step 1 – Prepare your nails
Remove any nail polish which is currently on the nails, cut the nails to the desired length, file them to the shape you want and push back the cuticles with the help of a manicure stick.
Step 2 – Apply a layer of base color
Apply a base color and let it dry completely before you proceed.
Step 3 – Paint the rainbow pattern
With the help of the dotting tool and a thin brush paint the rainbow pattern. Paint one fingernail at a time following the sequence of rainbow colors. Let the nails dry completely.
Step 4 – Apply a top coat
Wait until your nails are completely dry and add a top coat of clear polish. This will make your nails look nice and shiny and prolong the durability of the manicure.
As you see –there are different techniques and they are not that difficult to do at home. Look at the beautiful rainbow nail art ideas in the gallery and get inspired for your colorful and bright summer nails!

