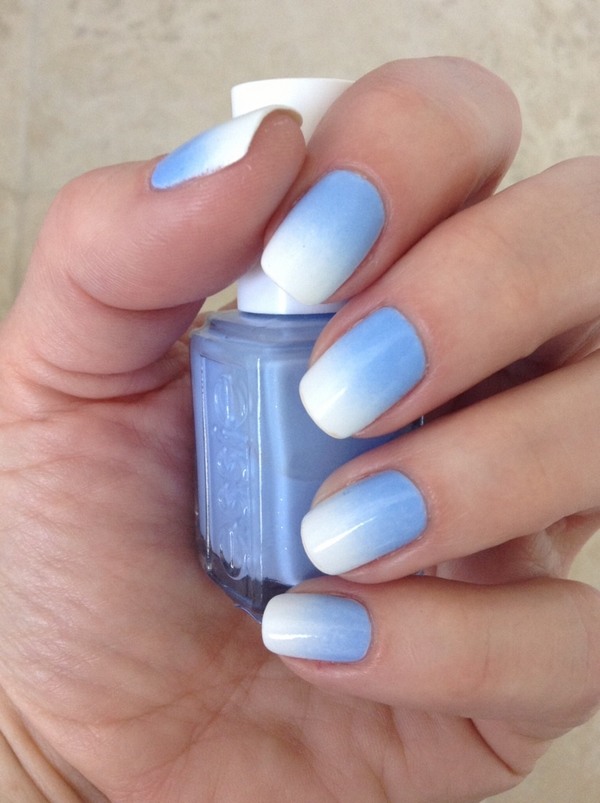
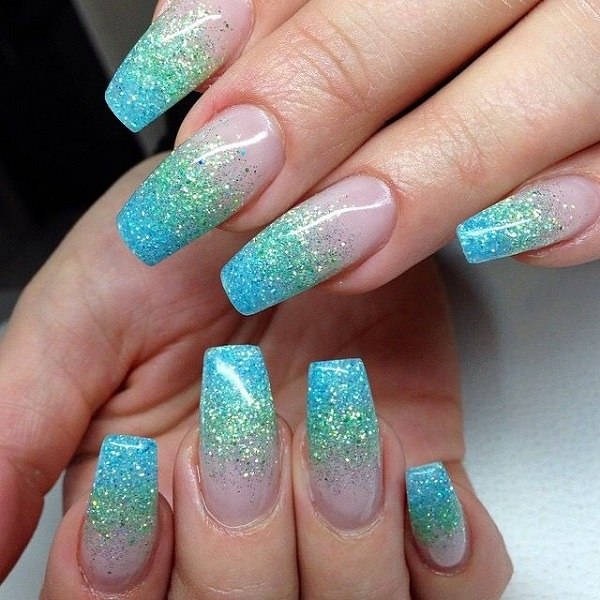
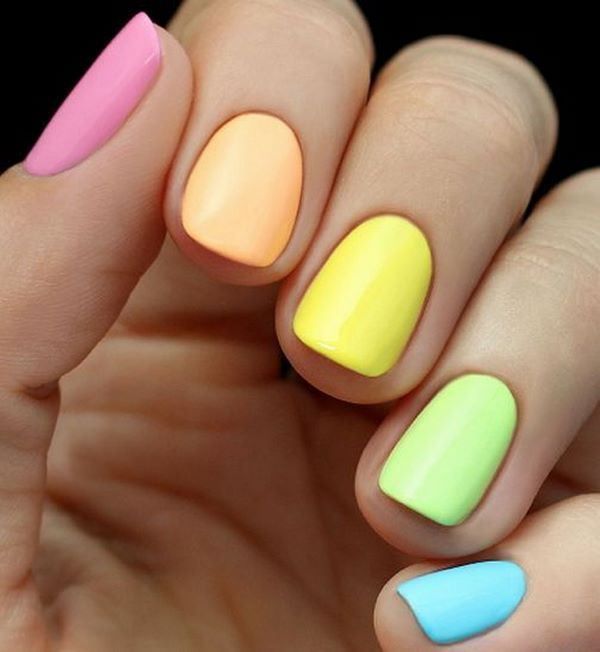
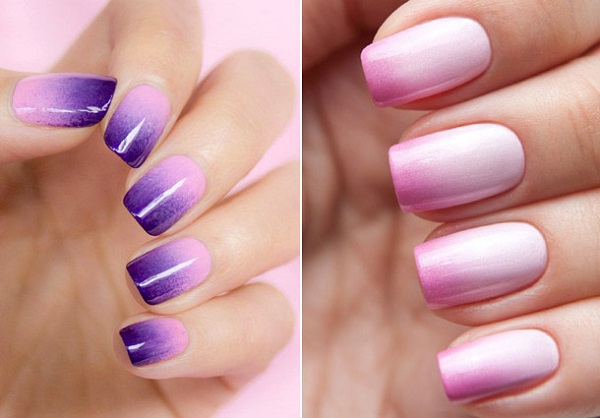
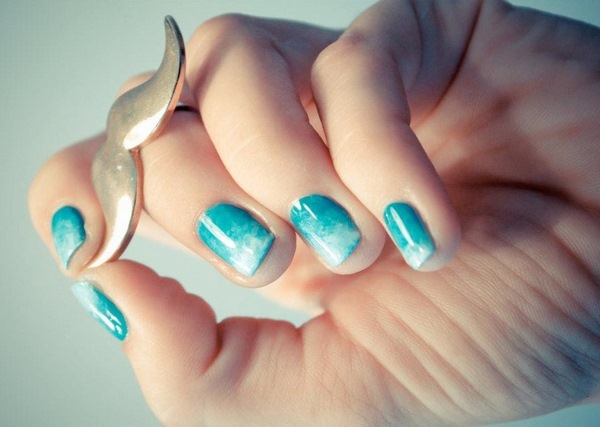
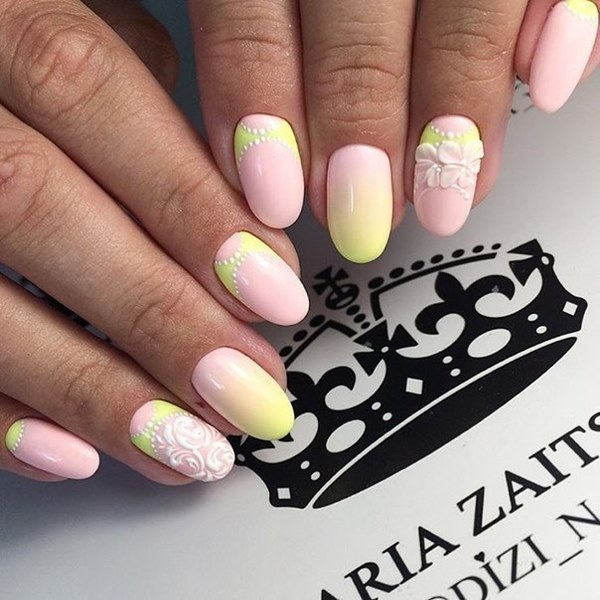
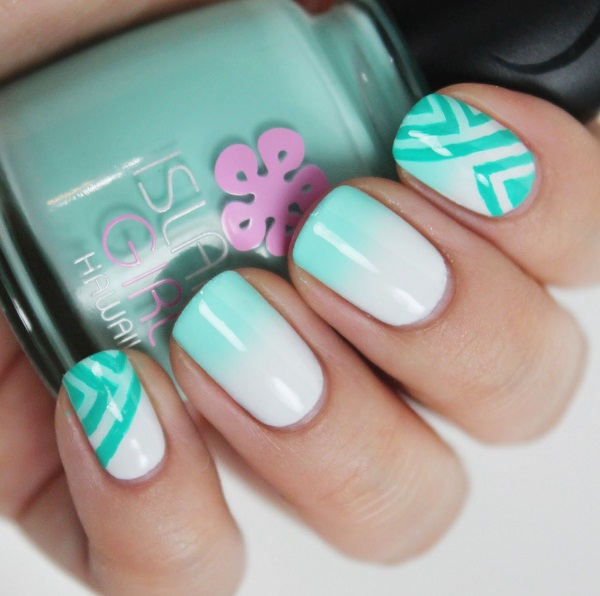
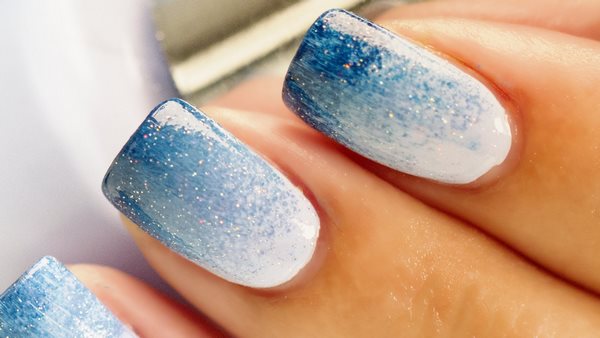
We have selected some beautiful and inspiring ombre summer nails ideas which are perfect for all ages and will complement your summer outfits. Ombre, also called gradient manicure, is a kind of decorative nail coating with an effect of a smooth transition of colors. Gradient manicure can be done in shades of the same color (the color changes its intensity from light to dark) or with a transition of two or more colors. You can combine neighboring shades or choose contrasting hues, but either way gradient on the nails looks impressive.
Summer nails ideas – gradient nail art varieties
Fashionable summer nails ideas change from season to season. However, there are general trends that are relevant in any season. Ombre manicure will always look fashionable. The French word “ombre”, meaning “shadow”, has long been interpreted by stylists in various fields, including nail technicians. There is an ongoing discussion what exactly “ombre” is. Some people think that this is any smooth transition from one color to another (by analogy with a gradient) while others are convinced that this is color gradation in which only similar colors are mixed – for example, transition from dark pink to white. Although this nail art technique seems quite complex at first glance, it is quite easy to do nails with a gradient effect at home and we will show you different ways to make it easier for you.
There are different types of ombre nails and you can choose the gradient effect that you like best.
Horizontal ombre – all the nails are painted in one or different colors with a gradual increase in color. This technique is considered to be easy and suitable for beginners. The main thing here is to choose the appropriate nail polish colors. The nail is painted in one color, and each subsequent is slightly lighter (or darker).
Vertical ombre effect is created by color transition from the base of the nail plate to the free edge or vice versa. This technique is more complicated, but still it can be done at home without having special skills.
There is another type of gradient where each nail is painted in different shades of the same color, from the lightest to the darkest, or the gradient effect is achieved by using different colors.
These basic types of ombre has its own variations. For example, a glittering gradient, a French ombre, where the bright edge of the nail is done without a clear border) or ombre summer nails in different colors.
How to do ombre summer nails with sponge and without sponge at home?
How to do ombre summer nails at home? There are different techniques and you can choose the one that you find most comfortable for yourself. As far as colors are concerned you can choose any combination that pleases you – it all depends on your imagination. The great thing about gradient technique is that it looks equally well on short and on long nails of any shape.
How to do ombre nails with sponge?
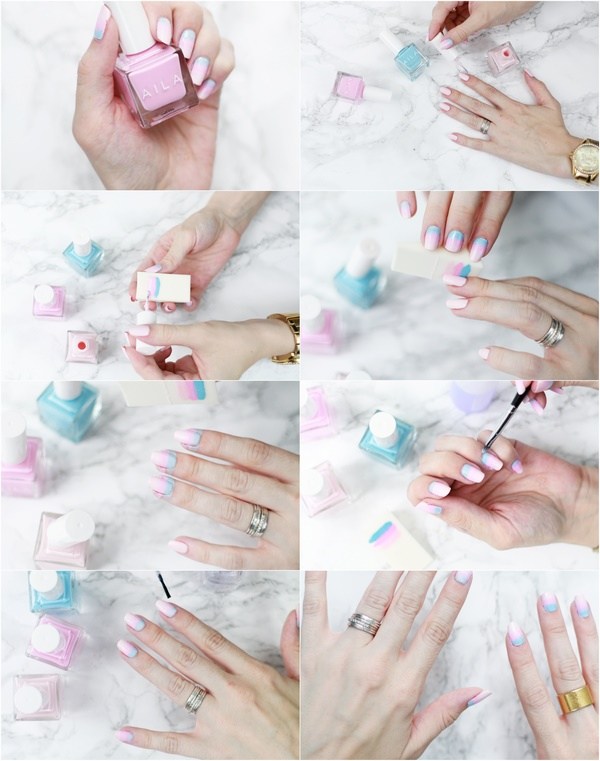
One of the easiest ways to do ombre nails at home is using a cosmetic sponge and this technique has two varieties. The first method requires several shades of nail polish (2 or more), and a small piece of sponge. Nail polish is applied to the sponge in the required sequence. Then the sponge is gently pressed against the surface of the nail and the colors are transferred to the nail plate.
The second method allows you to achieve smoother color transitions. This gradient is done step by step by mixing nail polish colors on a flat surface. Then the colors are transferred to the sponge, and only then – to the surface of the nail.
How to do ombre nails without a sponge?
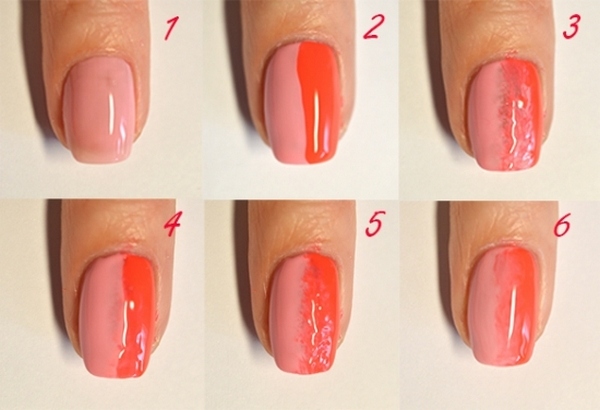
The third gradient nails technique allows you to do an ombre effect without a sponge. This is the easiest way to make the transition from one color to another, but in this case it is very difficult to achieve smoothness. The nail is painted with one or two layers of base shade, after drying, a different color is applied to the part of the nail plate in the usual way. Gradient manicure with a brush is simple and fast, but often it does not look neat enough.
Here are the supplies you will need for ombre nails at home:
- Several nail polishes of suitable shades. They can be two or more – it all depends on your desire.
- Cosmetic sponge. The finer the sponge, the more accurate and smooth the transitions of the shades will be.
- Working surface for mixing nail polish colors – this can be a piece of plastic.
- Toothpick or needle for mixing the color shades.
- Polish remover to clean the excess color from the skin around the nail.
- Top coat to fix the color.
DIY ombre nails – step by step instructions
Step 1 – Prepare your nails
Before you begin you need to take care of the shape of the nails and the skin around them. Remove any nail polish which is currently on the nails, cut the nails to the desired length, file them to the shape you want and push back the cuticles with the help of a manicure stick
Step 2 – Apply a layer of base coat
It is recommended that you use a thin, clear base to the nails but you could use a white polish or one of the shades, usually the lightest color, that you will use for the ombre effect. Let it dry completely before you proceed.
Step 3 – Paint the ombre colors on the sponge
Alternatively you can paint the colors on a flat surface and gently mix the colors with a needle or toothpick or overlap them a little bit. To create an ombre effect you can use two or three colors, but of course, if you prefer more shades, feel free to experiment until you find the combination that you like best. A useful tip is to dip the sponge in water before painting the nail polish on it and wring it out until just damp. Sponges absorb a lot of polish and dipping it into water prevents that.
Step 4 – Apply the ombre nail polish
Press the sponge against the nail and transfer the color to it. Try to do it as neatly as possible, in one movement, so as not to smudge the colors. Repeat on each nail. If you want a more intense ombre effect, let the nails dry completely and then you can apply a second coat to each nail. Keep in mind that some nail polish will be transferred to your skin as well. If you wish, you can apply a thin coat of petroleum jelly around each nail.
Step 5 – Remove the excess polish
Use nail polish remover to clean the skin around the nails. The easiest way to do this is to make a small cotton swab and use a small brush to clean around your cuticles.
Step 6 – Apply a top coat
Wait until your nails are completely dry and add a top coat of clear polish. This will make your ombre nails look nice and shiny, fix the color and prolong the durability of the manicure.
Summer ombre nails ideas and color combinations
Now you know how to do ombre nails at home. Any manicure requires training, so do not be upset if your first experience is not perfect. Experiment with colors, try different techniques and soon you will be able to get a result indistinguishable from a professional one. Here are some ideas for summer ombre nails color combinations:
In the warm season, you can create a unique nail art with the help of shades of turquoise, blue or purple.
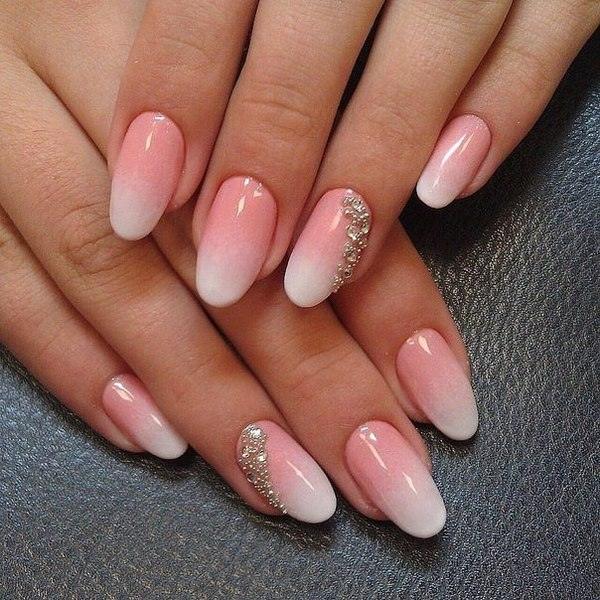
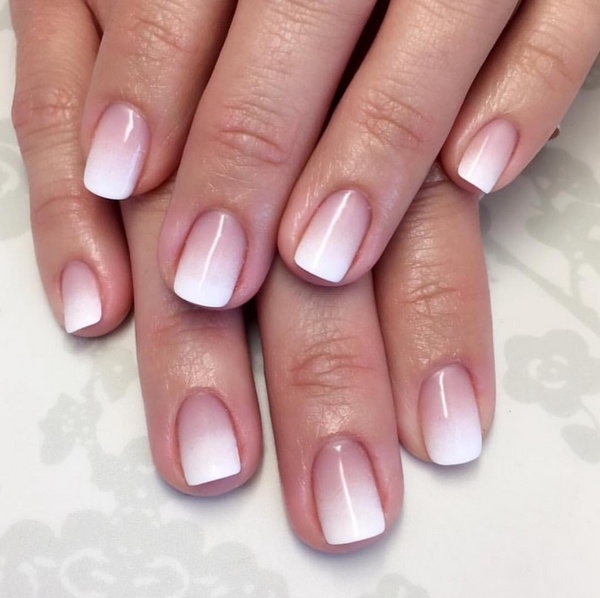
White ombre nails are the closest to the French manicure. Delicate transitions of white, cream or light pink colors give the hands an especially graceful look.
Black ombre nails – this is usually a dramatic combination of black and red colors and will certainly draw attention in your hands. Black gradient combined with white color will give the nails an elegant appearance.
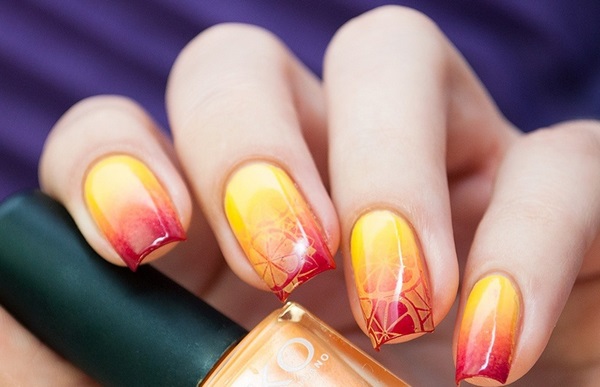
Red gradient can vary from bright scarlet to almost black burgundy and is ideal for an evening party. Red ombre on the nails can also be done by combining red with other colors.
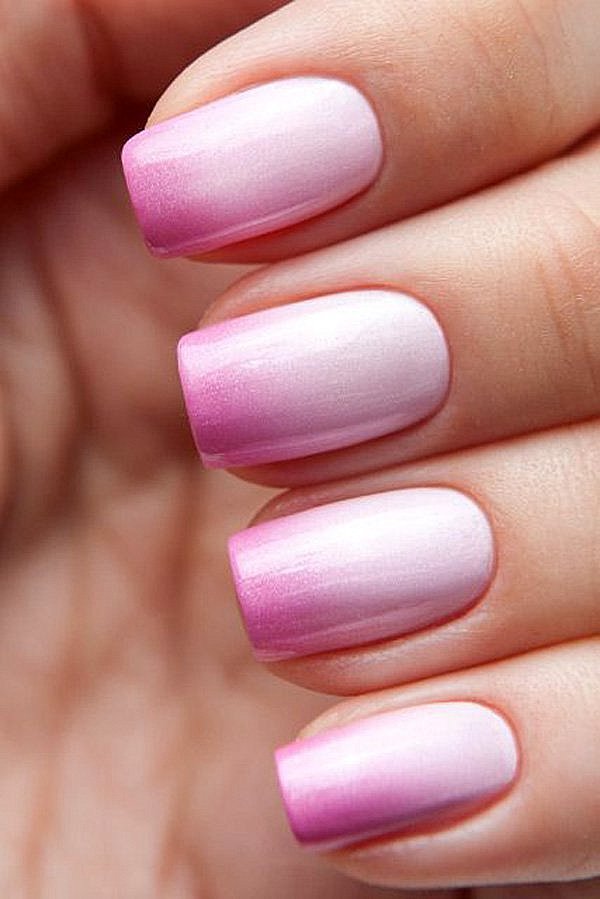
Pink ombre nails – the combination of delicate pink shades is exceptionally feminine and gentle and will suit everyone – from a young girl to a lady.
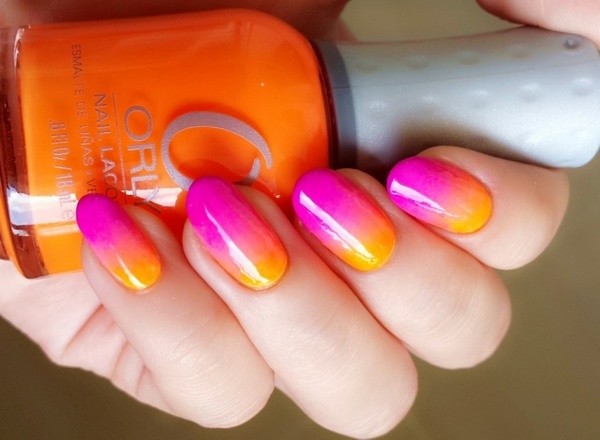
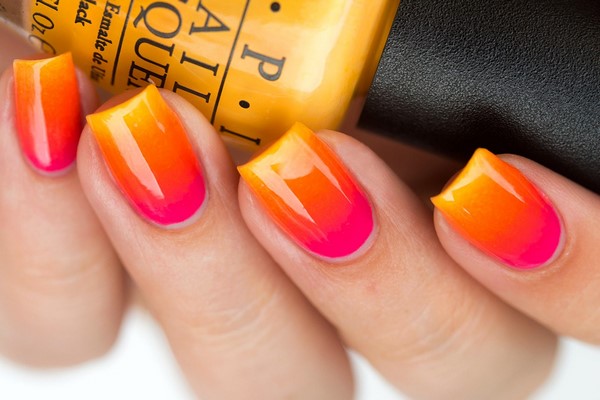
Summer ombre nails can be done in bright, juicy neon colors. Even the brightest rainbow on the nails will be appropriate when you spend time on the beach or by the pool.

