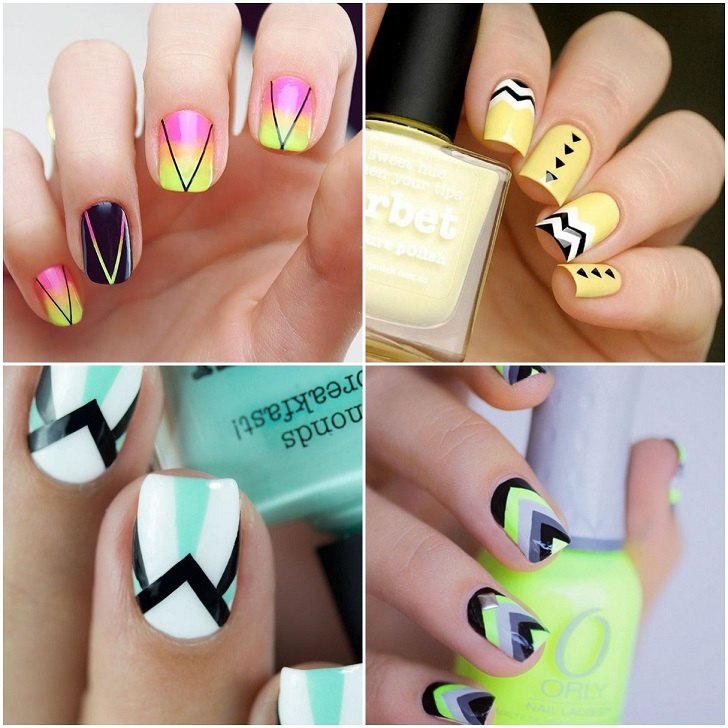
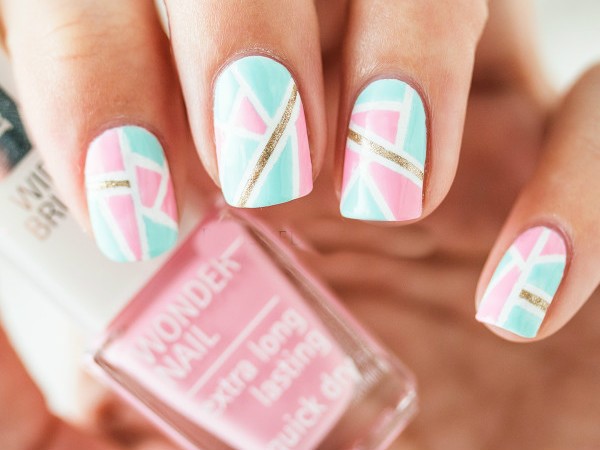
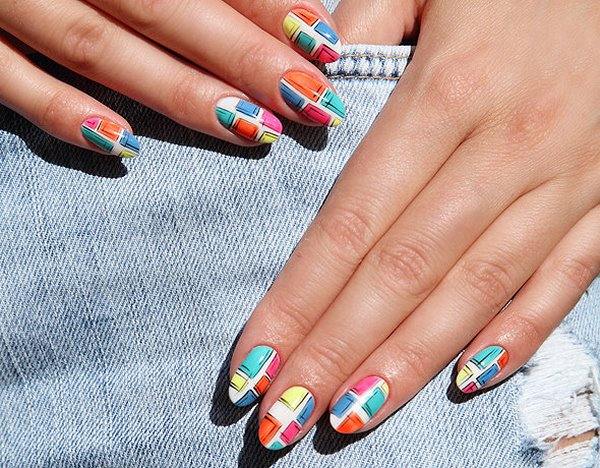
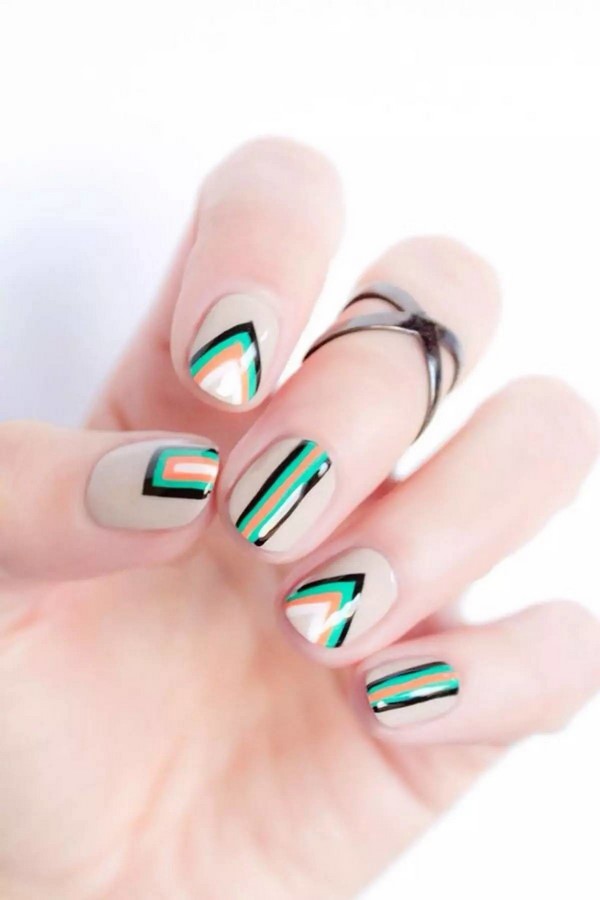
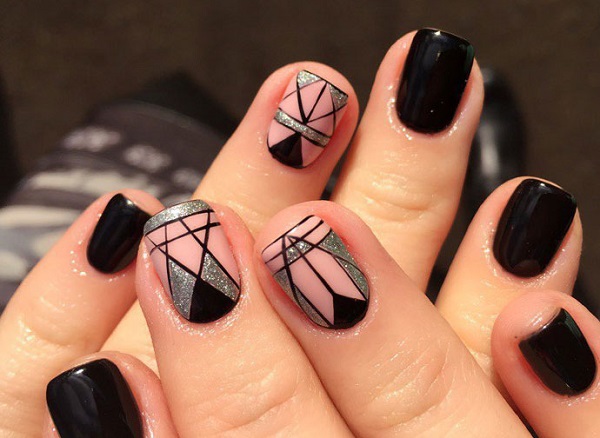
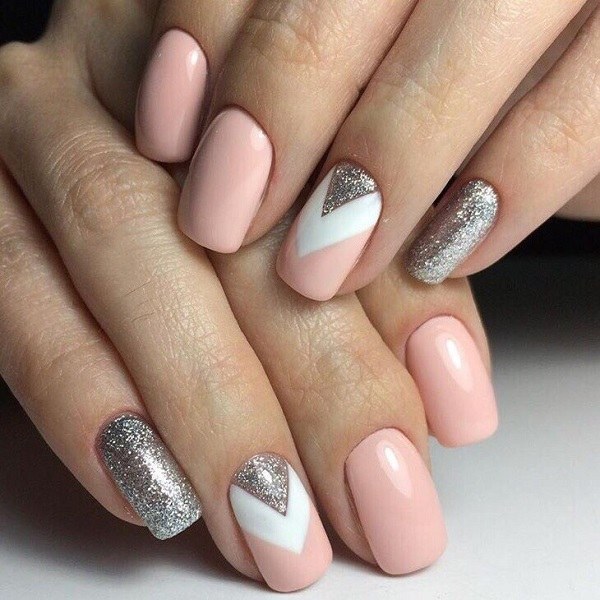
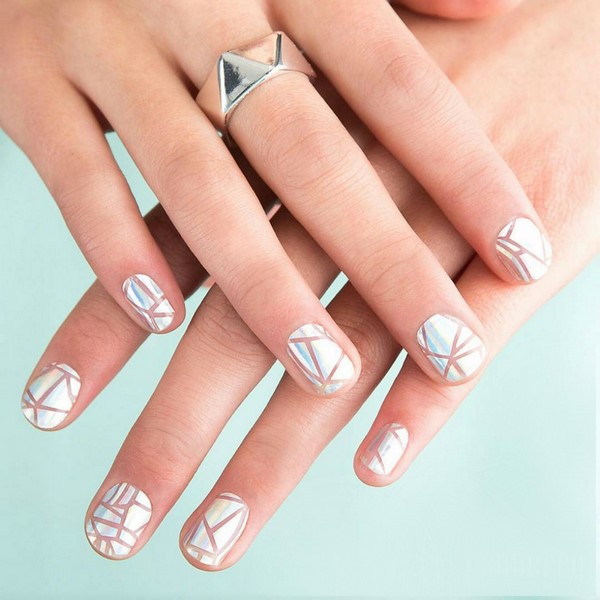
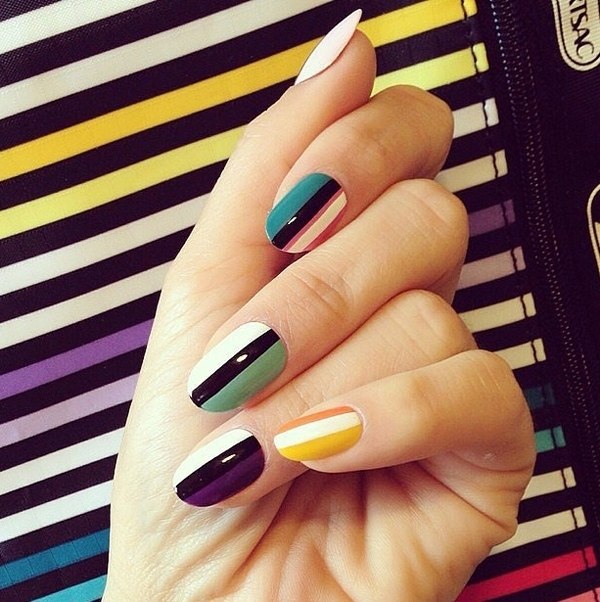
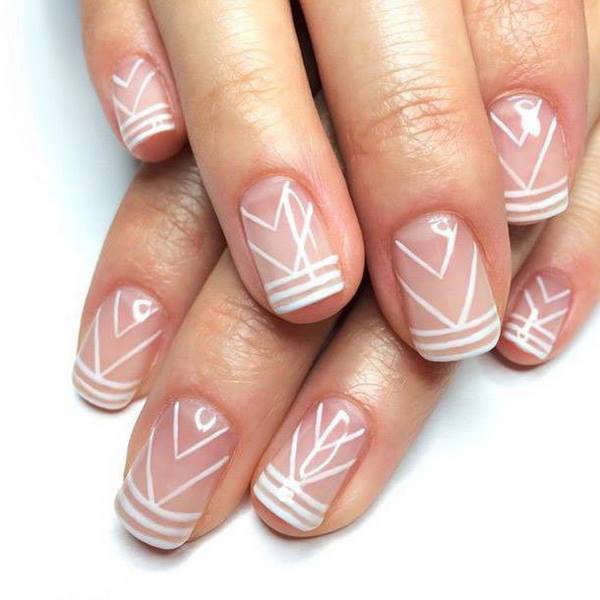
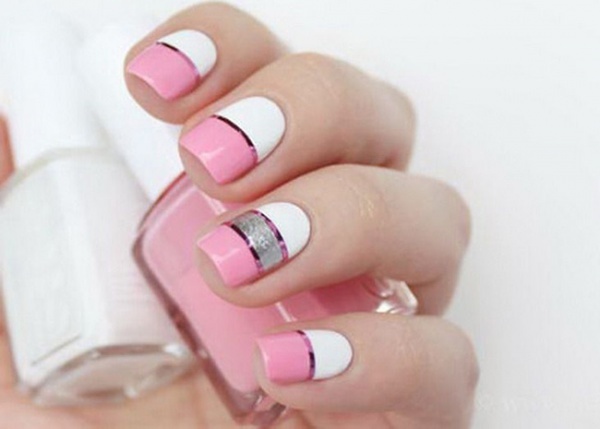
Geometric nail art, as the name implies, is a nail design that features geometric shapes. It can be quite creative, and in addition, it is easy to be done with stencils and even beginners can try some of the easy geometric nails tutorials that we selected for you. Geometric nails are versatile and this type of nail design is suitable for parties, as a daily manicure and is office appropriate as well. In addition, you can choose from numerous nail design ideas suitable for short or long nails.
Geometric nail art ideas for the summer
Summer nail designs feature a variety of options – delicate butterflies, cute and fun designs, bright gradient nails, beach inspired nail art ideas, fruits, polka dots, stripes, etc., and geometric nails also have their place in the group of fashionable and trendy ideas for stylish manicure.
Many women believe that geometric nail art requires exceptional skills. The truth is that this particular nail design requires mostly patience and not so much skill. There are different techniques and most of them are simple enough for everyone who would like to do her nails at home. Geometric nail patterns can feature symmetrical shapes and figures or unusual geometric patterns.
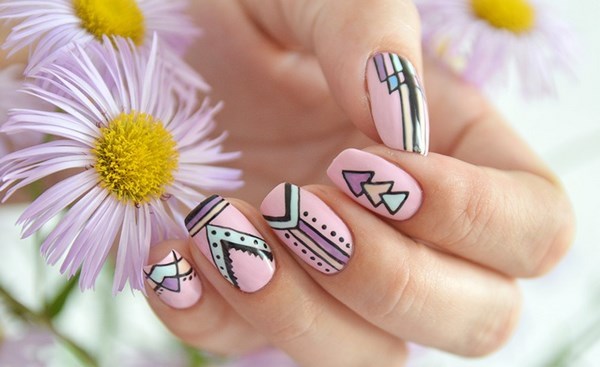
Asymmetry, unusual geometric pattern on the nails and combination of bright colors will make your manicure unique. Do not be afraid to experiment with the lines, angles and shapes of the drawing. Even if they have different directions, the drawing will still be excellent and intriguing.
When choosing colors for your nails you can use either contrasting or close colors and combine shades in a way that matches your outfit or choose neutral colors that will work with all your garments. If you want a greater visual effect, contrasting and vivid shades is recommended as the nails will look bright and original. The most popular and harmonious colors for geometric manicure are red, scarlet, black and white, accents with silver and gold, but of course, depending on the season the color palette changes. Summer nails feature yellow, blue, orange while the autumn winter colors are beige – browns.
Geometric nail art ideas, techniques and tutorials
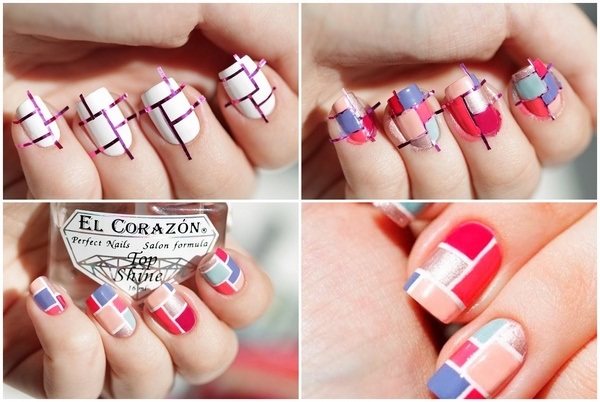
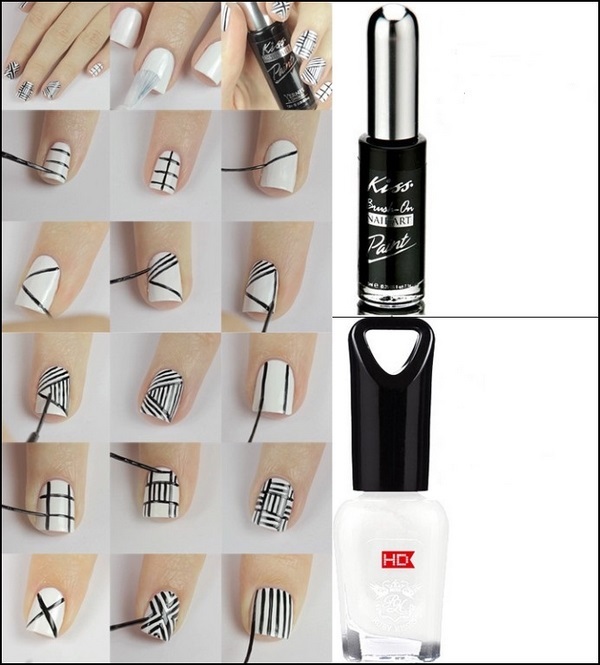
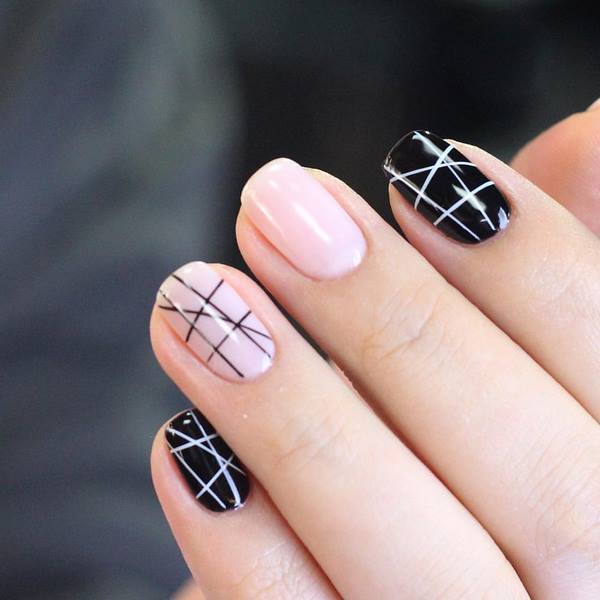
Geometric nail art ideas can differ significantly in complexity. The lines or shapes can be placed on one, two or all nails. Most often, the more complex the design, the less the number of nails it covers. The simplest type of geometric design is two intersecting lines of contrasting color, made on a one color base coating. A typical variation of this design is a chessboard, which is easy to do with stencils.
Geometric nails, regardless of their complexity, are done step by step so that the boundaries are clear. When there are different elements the large shapes are drawn before the small elements and then you can add some decorations. The order of applying colors is usually from light to dark as this helps to achieve the greatest purity of color. These designs look best with dense lacquers and not with translucent shades.
As we mentioned, geometric nails, depending on the complexity of design, can take from 30 minutes to one hour, because each layer must be completely dry before, so you need to be patient, especially if you have chosen a more complex pattern.
How to do geometric nail art with tape?
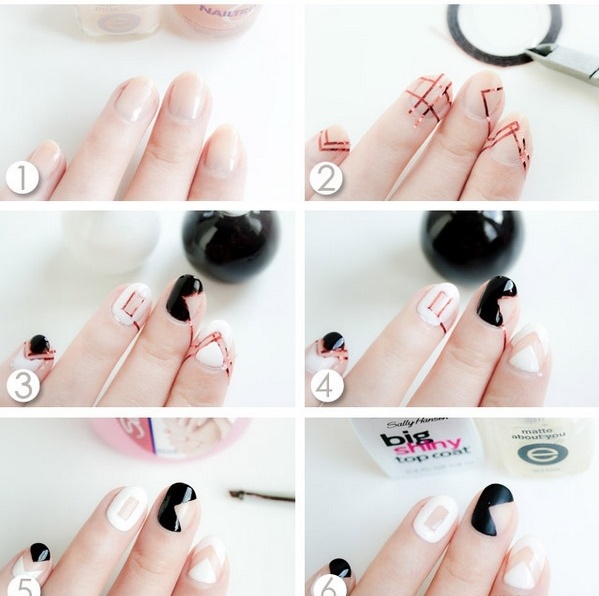
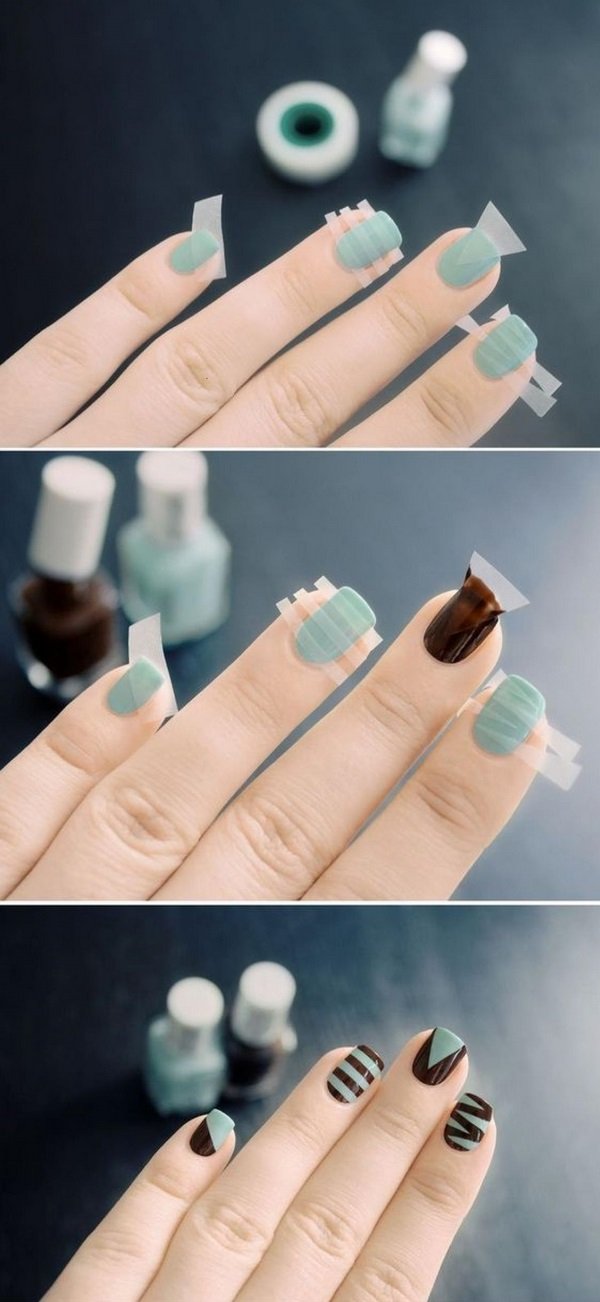
Geometric nail art with tape is one of the most popular techniques and you can create a variety of geometric patterns with different levels of complexity. When you are planning a DIY nail art project with geometric pattern you need to carefully consider the design, choose the shades of lacquer, cut the tape and get ready to work. You need a tape which has a sticky layer which is firmly attached to the surface of the nails. Manicure with tape should be done very carefully as this affects the smoothness of the boundaries. When creating different designs the order of actions may be slightly different, but the essence of the technique does not change. The easiest way to create an original pattern with tape is cover the nails with a one-color varnish and glue the pieces of tape, placing them in the desired position. It can be parallel lines, vertical stripes, rhombuses, triangles, etc. The number of options is unlimited.
Step 1 – Prepare your nails
Remove any nail polish which is currently on the nails, cut the nails to the desired length, file them to the shape you want and push back the cuticles with the help of a manicure stick.
Step 2 – Apply a layer of base color
Apply a base color and let it dry completely before you proceed.
Step 3 – Attach the tape to the nails
Attach the self-adhesive tape to the nails in accordance with the chosen geometric pattern. Make sure that the tape is well attached to the nail to ensure the cleanliness of the lines.
Step 4 – Paint the geometric pattern
Paint one fingernail at a time. You can use one color for the geometric figures or different colors. Be patient and take your time. Let the nails dry completely and carefully remove the tape. Repeat on all the nails. Use new tape to make smaller geometric shapes on the already drawn ones. Paint the small elements with a nail polish of a darker or lighter color as per the chosen design, let the polish dry completely and gently remove the tape.
Step 5 Remove the excess polish
Use nail polish remover to clean the skin around the nails. The easiest way to do this is to make a small cotton swab and use a small brush to clean around your cuticles.
Step 6 Apply a top coat
Wait until your nails are completely dry and add a top coat of clear polish. This will make your nails look nice and shiny and prolong the durability of the manicure.
How to do geometric nail art with nail stamps?
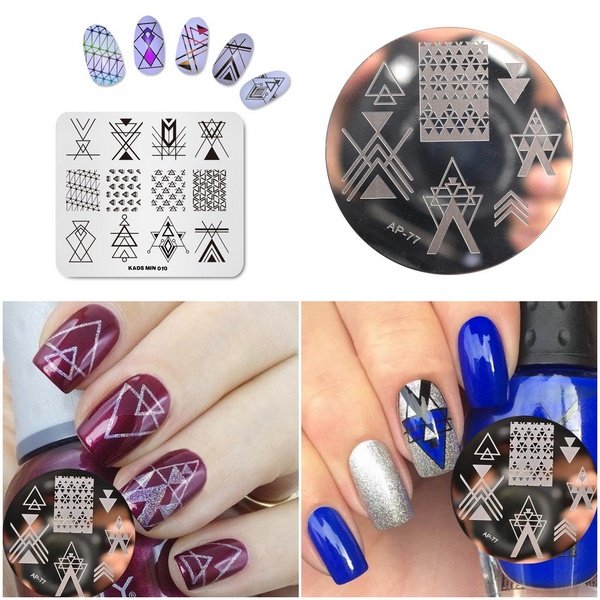
Another simple way to print geometric patterns on nails is to use a set for stamping and this is the quickest technique as it takes about ten minutes. All you need is to have a stencil with interesting geometric patterns. To make a clear stamp may take a few attempts, so if you do not have any experience in nail stamping, do not worry. The method is so simple that it deserves to spend a couple of hours until you get the hang of it.
Step 1 – Prepare your nails
Remove any nail polish which is currently on the nails, cut the nails to the desired length, file them to the shape you want and push back the cuticles with the help of a manicure stick.
Step 2 – Apply a layer of base color
Apply a base color and let it dry completely before you proceed.
Step 3 – Stamping
Apply nail polish on the image plate. Scrape off the excess polish quickly. Stamp the image with the stamp tool and quickly stamp it onto your nail. Repeat on all nails.
Step 4 Apply a top coat
Wait until your nails are completely dry and add a top coat of clear polish. This will make your nails look nice and shiny and prolong the durability of the manicure.
How to do negative space geometric nails?
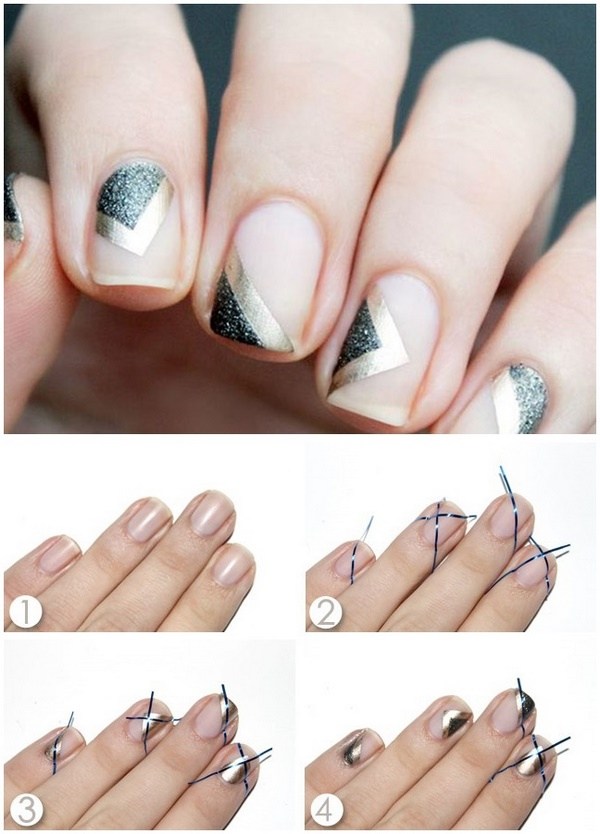
Negative space geometric nail art is another technique suitable for beginners and you can practice at home. For this method you will need self-adhesive tape and one (or more) nail polish, depending on the design. Follow the step by step tutorial and you will be able to create beautiful geometric nail designs.
Step 1 – Prepare your nails
Remove any nail polish which is currently on the nails, cut the nails to the desired length, file them to the shape you want and push back the cuticles with the help of a manicure stick.
Step 2 – Apply a layer of base color
Apply a base color and let it dry completely before you proceed. You can use a transparent varnish but if you want to make the gaps between the figures in a particular color then you can use a nail polish of any shade as a background.
Step 3 – Attach the tape to the nails
Attach the self-adhesive tape to the nails in accordance with the chosen geometric pattern. It can be a single line dividing the nail into two parts, or two strips dividing it into 3 or 4 parts, etc. Make sure that the tape is well attached to the nail to ensure the cleanliness of the lines.
Step 4 – Paint the geometric pattern
Paint one fingernail at a time. Let the nails dry completely and carefully remove the tape. Repeat on all the nails. Carefully remove the tape from the nails and let them dry completely.
Step 5 – Apply a top coat
Wait until your nails are completely dry and clear the edges of the cuticles. Apply a top coat of clear polish. This will make your nails look nice and shiny and prolong the durability of the manicure.
As you see, geometric nail art is not that difficult. Look at the tutorials and the different designs in the gallery to see which one you like most.

