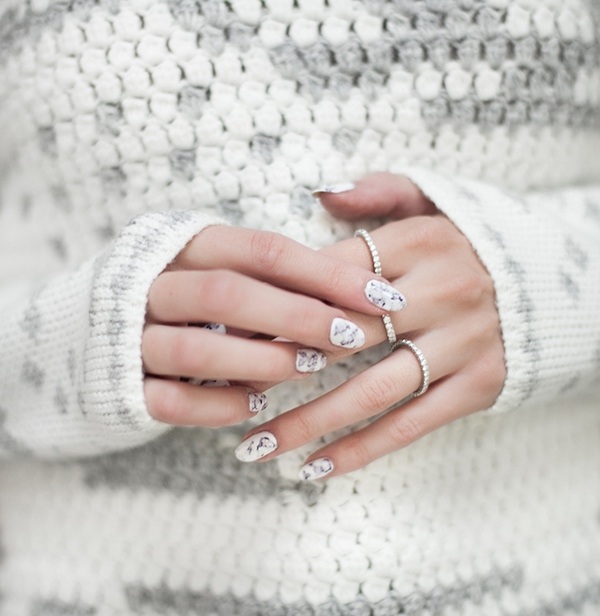
How to do marble nails at home? Marble nail design is a variety of swirls created from different shades and colors of polish, gel polish or acrylic paints. Marble nail art looks (and sounds) like a difficult task which can only be done by a professional nail technician in a salon. However, we have selected some techniques which every beginner can try at home and enjoy the result.
Marble nail designs look fresh, unusual and stylish. If you experiment with shades this spectacular nail design can turn your hands into a real jewel. It is not a surprise that this particular design is drawing the attention of an increasing number of women around the world. To create a striking marble effect you will need two or more colors. Below you will see different methods how to create interesting nail patterns, which resemble the texture of natural stone and the best news is that this design looks great both on short and long nails and on almost any nail shape.
How to do marble nails – Nature inspired nail art ideas
Nature is an inspiration for many works of art in almost every field of design and art and every year professional designers and lovers of spectacular nail art invent unique ways of creating colorful patterns and drawings. Marble manicure is one of the best examples how people get inspired by nature and use a variety of techniques to recreate the noble charm of natural stone.
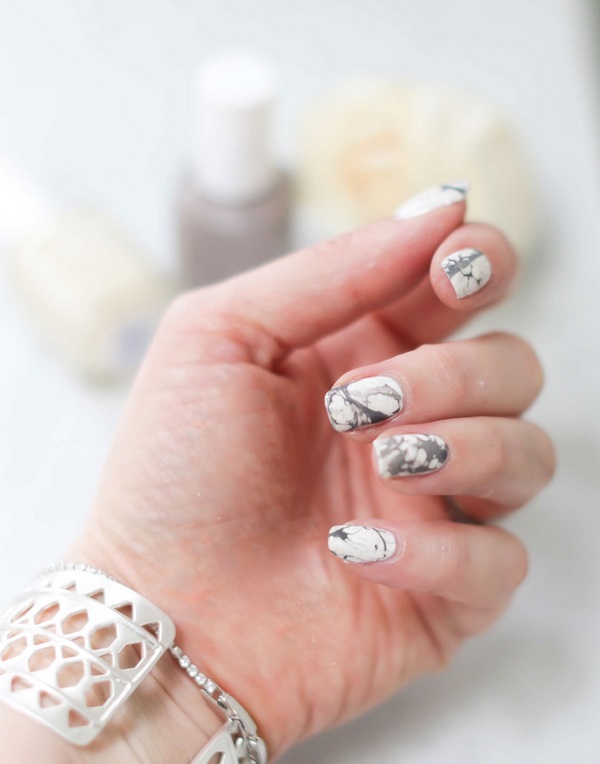
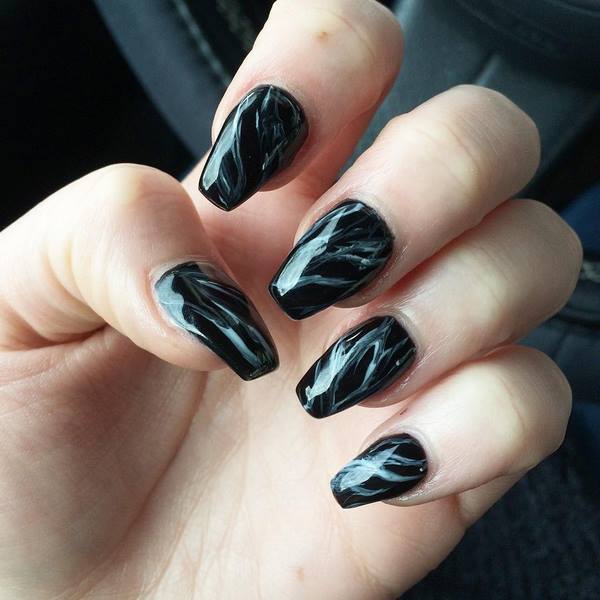
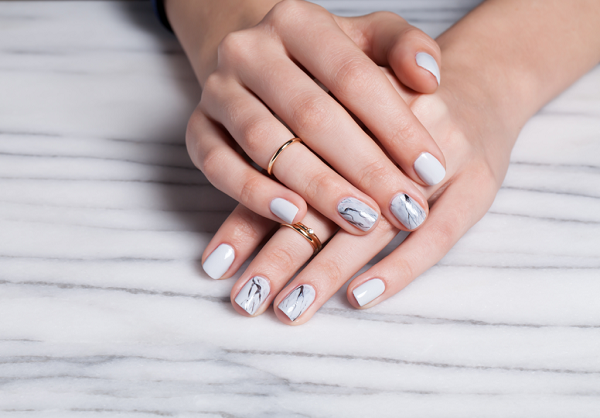
Basically, to create a marble nail effect you can use white, black and gray shades of nail polish. Another interesting option is the combination of pink with smoky gray.
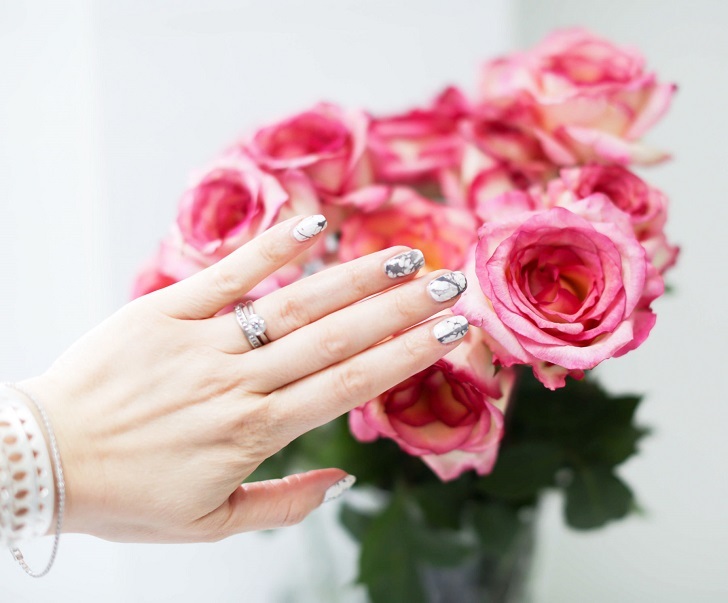
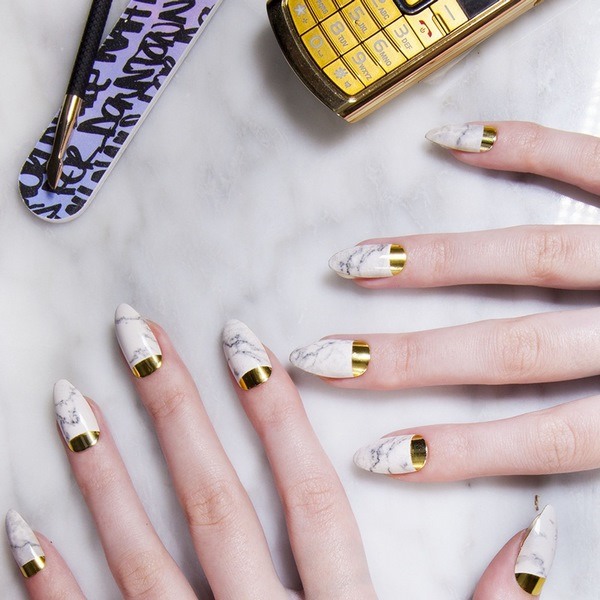
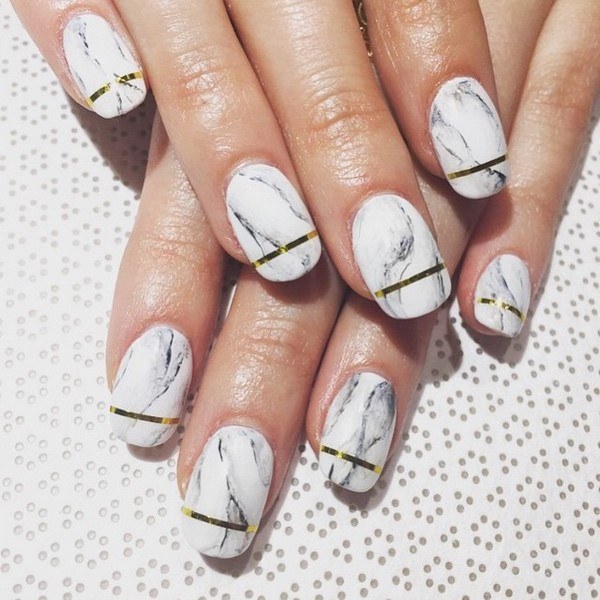
White marble nails look very elegant this design is suitable for a festive occasion like wedding, anniversary or graduation.
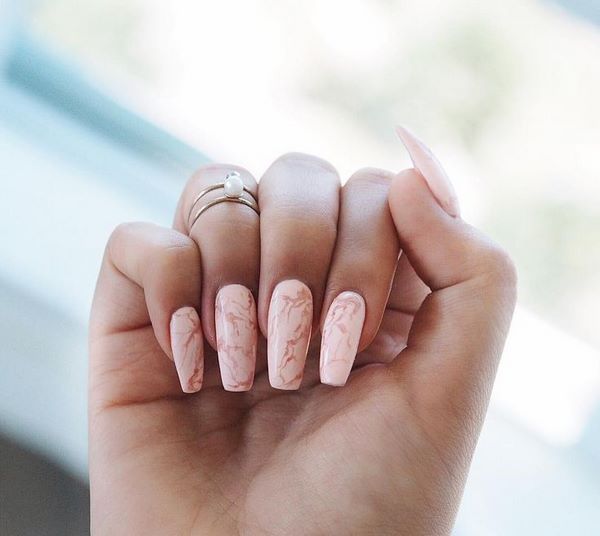
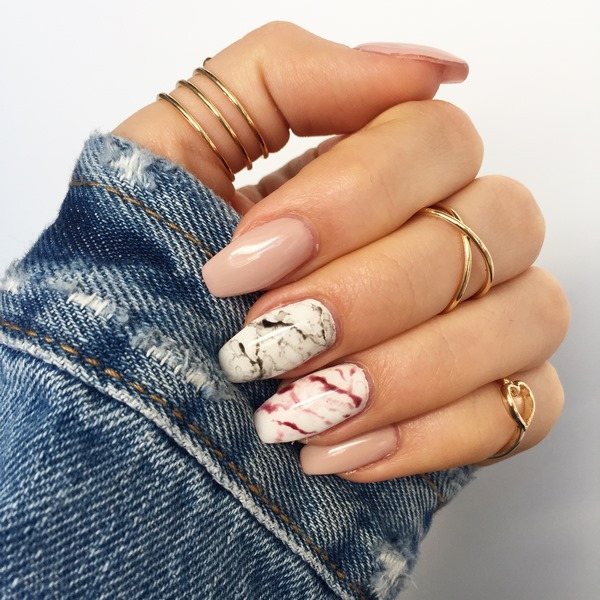
Nude nails with marble effect are a hit and the manicure in pastel colors with pink, beige and gray shades perfectly combines with the natural stone pattern.
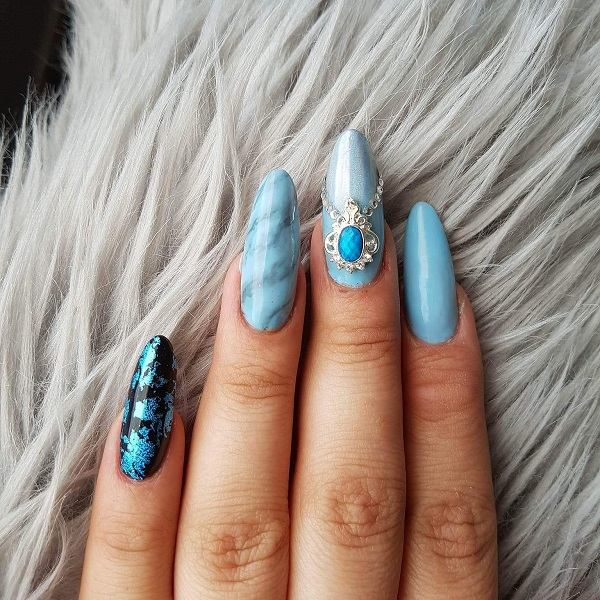
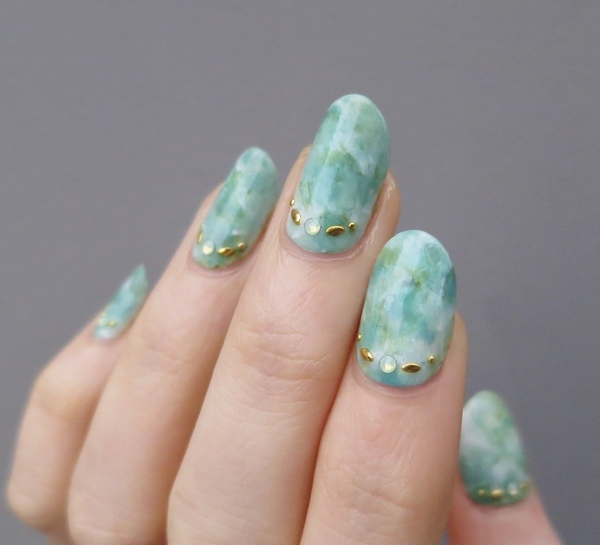
Green marble manicure imitating turquoise should be identified in a separate category. This is one of the most beautiful and noble colors. If the usual green nail polish often looks too provocative, the marble effect transforms it into a stylish manicure for real ladies.
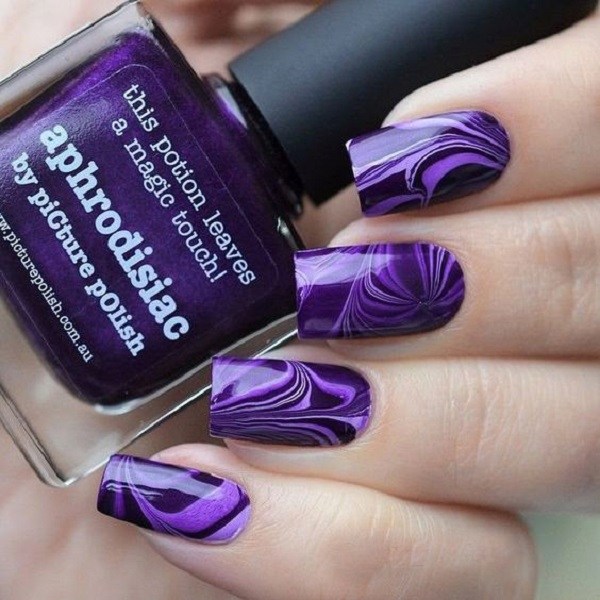
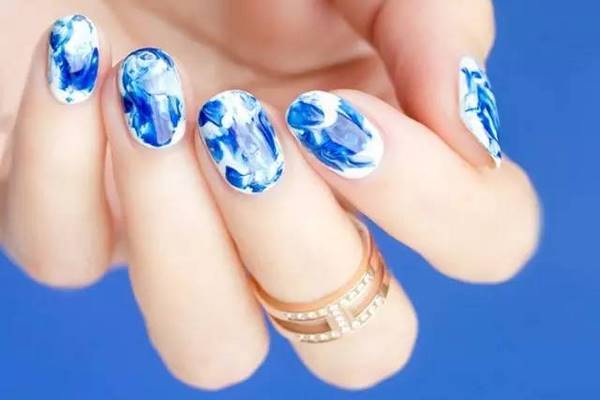
Marble effect in bright colors – blue, red, purple, orange – is suitable for those who would like to experiment and stand out from the crowd. Of course, natural stone comes in a huge range of colors, and although marble is in the white-black-gray palette, it depends on your personal preferences to create a spectacular manicure inspired by Nature.
When choosing nail polish for marble effect pay attention to the consistency, which should be thick and dense so that the layer of polish lies flat on the surface of the nail plate. Marble nails can be combined with other nail art techniques and you can decorate only the ring finger or all the nails, depending on your needs and taste. If you do not feel certain, it is best if you try and do just one of your nails and see if you like the result.
How to do marble nails – choose from 4 different techniques and tutorials
So, here we come to the main question – how to do marble nails at home? Marble nail art can be done by using different techniques.
Marble technique of manicure is performed in various ways. The most popular method of applying a marble pattern involves the use of water. Abstract patterns can be done by using a plastic wrap. The third method for creating a marble effect on your nails is by using a needle. We will give you detailed step by step instructions for each of these methods below.
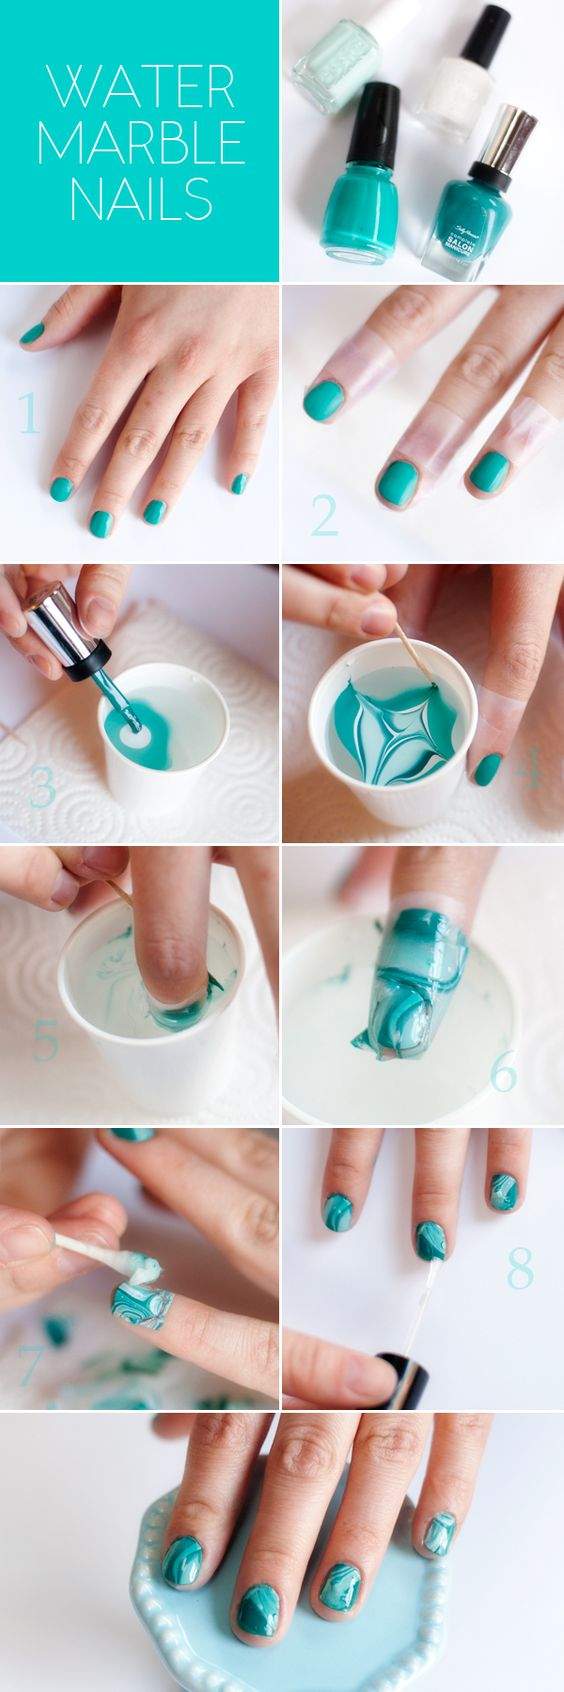
Method 1 – Water marble nail art
What you need:
- Base coat
- A selection of nail polishes
- Top coat
- A bowl filled with lukewarm water
- Petroleum jelly or duct tape
- Cotton buds
- Nail polish remover
Step 1 – Prepare your nails
Cut your nails to the preferred length, file them in the desired shape and push the cuticles.
Step 2 – Apply a base coat and petroleum jelly
Choose a transparent base coat and apply it on the nails. It will help the nail polish adhere better. Apply petroleum jelly around the nail plate, so that it is easier to wash off excess lacquer, optionally you can use duct tape. Make sure the nails are not covered with petroleum jelly otherwise the nail polish will not be able to adhere.
Step 3 – Mix the nail polish colors
In small bowl filled with lukewarm water, drip a few drops of nail polish in the center of the bowl, holding the brush close to the water surface. The polish should disperse and form a thin film. Repeat the process with the rest of the colors. Use a toothpick and gently drag it through the nail polish in the water creating a pattern.
Step 4 – Dip the nails in the bowl
Dip your hand right down into the bowl of water. The nail polish will adhere to your nails.
Step 5 – Clean your nails and finish them
Use nail polish remover to clean excess polish from your fingers. Let your nails dry and apply a protective top coat.
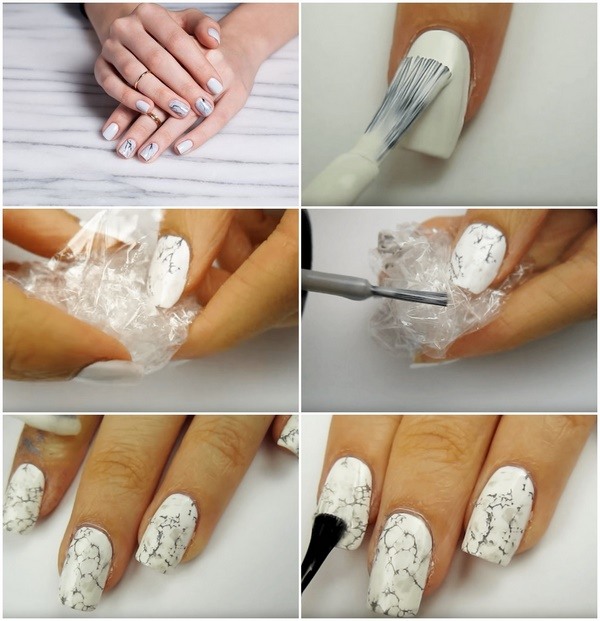
Method 2 – How to do marble nails with plastic wrap?
What you need:
- Base coat
- Two nail polishes in similar or contrasting shades as per your preference.
- Plastic wrap – 10 small pieces, one for each nail
- Nail polish remover
- Glossy top coat
Step 1 – Prepare your nails
Cut your nails to the preferred length, file them in the desired shape and push the cuticles.
Step 2 – Apply a base coat
Choose a transparent base coat and apply it on the nails. It will help the nail polish adhere better.
Step 3 – Apply the base color
Paint your nails with the base color and let it dry completely.
Step 4 – Create the marble nail effect
Apply a coat of the second color, take a piece of plastic wrap and immediately blot the nail with the piece of plastic wrap. Do that once or twice. The wrap becomes sticky and creates the marble effect. Repeat the process on each nail.
Step 5 – Clean the excess polish and finish your marble nail art
Use a small brush to clean up any excess nail polish around the edges. Apply a layer of protective top coat for a smooth and shiny nail surface.
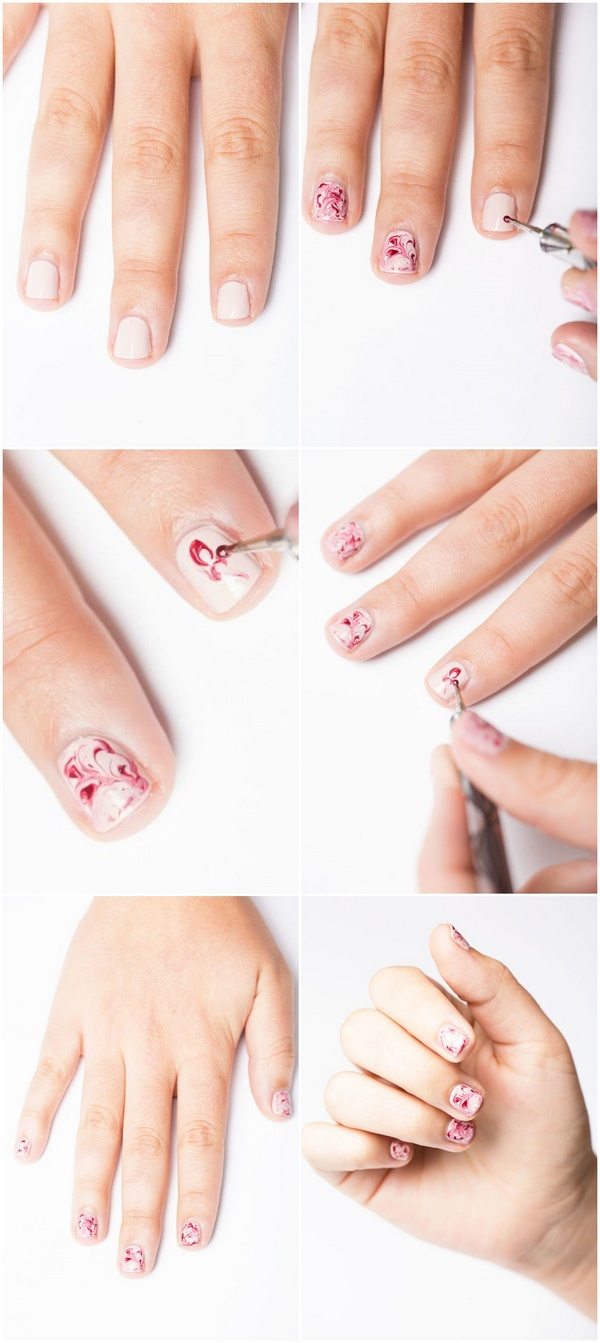
Method 3 – How to do marble nails with a needle or toothpick?
The advantage of this method is that it is fast and the least messy which makes it ideal for beginners.
What you need:
- Base coat
- Base color
- Top coat
- Nail polishes
- Fine brush
- Cosmetic pads
- Toothpicks, needle or a dotting tool
- Cotton buds
- Nail polish remover
Step 1 – Prepare your nails
Cut your nails to the preferred length, file them in the desired shape and push the cuticles.
Step 2 – Apply a base coat
Choose a transparent base coat and apply it on the nails.
Step 3 – Apply the base color
Paint your nails with the base color. Try to make the layer a little bit thicker.
Step 4 – Create the marble nail effect
Add one or two little drops of the second polish color. Take a toothpick (needle or a dotting tool) and gently swirl. Be careful because if you swirl in a more aggressive manner there is a risk you will end up with a mess and not with marble nails. Repeat the process on each nail.
Step 5 – Clean the excess polish and finish your marble nail art
Use a small brush to clean up any excess nail polish around the edges and apply a layer of protective top coat for a smooth and shiny nail surface.
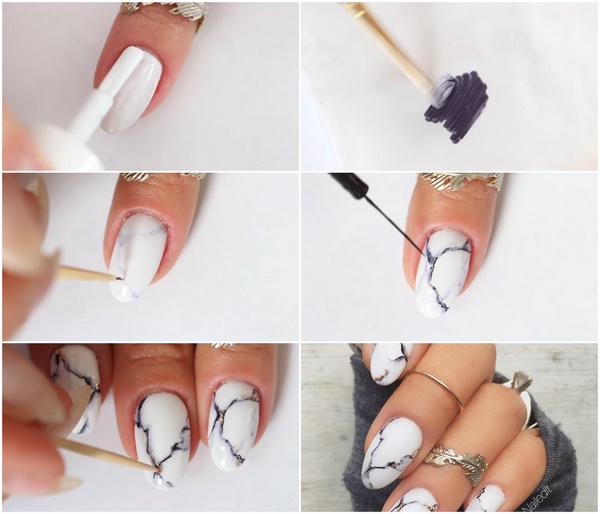
Method 4 – How to do marble nails with sharpie?
Sharpie pens are a great tool for creating numerous fine nail art ideas and especially handy when you want to have marble nails. A major advantage of this method is that you do not need a variety of nail polish colors. All you need is a base polish – white or any other color, a sharpie pen and a top coat.
Step 1 – Prepare your nails
Cut your nails to the preferred length, file them in the desired shape and push the cuticles.
Step 2 – Apply a base coat
Choose a transparent base coat and apply it on the nails.
Step 3 – Apply the base color
Paint your nails with the base color and wait until it is completely dry.
Step 4 – Create the marble nail effect
Take the sharpie pen and scribble on a piece of plastic. Dip a thin paintbrush in alcohol and dilute the Sharpie ink on the plastic. Use the brush to draw abstract marble-like lines on your nails. Repeat the process to create marble veins by adding darker or lighter shades.
Step 5 – Finish your marble nail art
Apply a layer of protective top coat for a smooth and shiny nail surface.
It does not matter which method you choose. The main thing is that you are pleased with the final result and your marble nails!

