Do you have a bunch of walnuts lying around that you’re wondering what to do with? Did you know that they are perfect for craft projects? Let me show you how you can easily make walnut shell Christmas ornaments that will not only add a personal touch to your festive decorations, but will also last for generations!
Walnut Shell Christmas Ornaments
Walnuts are incredibly favorable to work with. They can be cracked and cleaned quite easily, their shell is very porous which allows for paint to stick to it, and most importantly – they are sturdy! This means that you can be sure that any decorations you make of them will be pretty much unbreakable! Let’s browse through some ideas that will hopefully get you inspired!
Rudolph, the Red-Nosed Reindeer
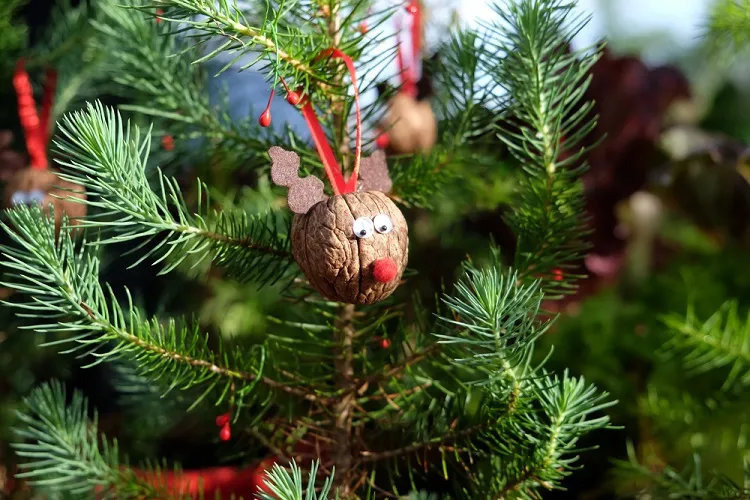
To make this adorable walnut reindeer, you’re going to need a small sheet of brown felt fabric, small googly eyes, a mini red pompom, a ribbon, and hot glue. The first thing you need to do is crack the walnut open and empty it. Then, insert the ribbon, which you’re going to use to hang the ornament on the tree. Secure it in place using the hot glue. After that, apply some on the edge of one of the shells, as well. Quickly place the other half on top and press them together.
Use a marker or a pen to outline the shape of the antlers, and carefully cut them out with scissors. Use the hot glue to attach them symmetrically on both sides of the ribbon. Put the googly eyes a little above the middle section of the walnut and the red pompom below it, and you’re done!
A Sleepy Mouse
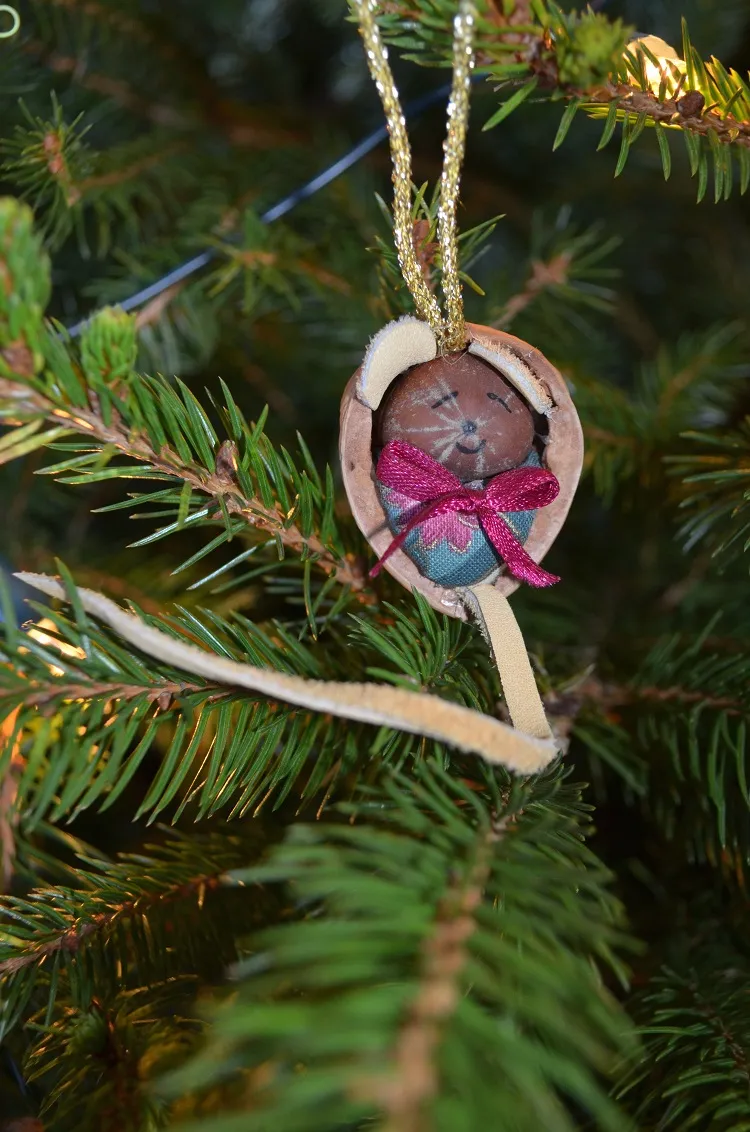
Is this sleepy mouse adorable? You can easily recreate it using a walnut shell, one hazelnut, two types of fabric (one colorful, and one beige), two ribbons, and hot glue. Start by gluing the hazelnut inside the shell. This is going to be the head of the mouse. Then, take the colorful fabric and cut out a small piece – enough to fit below the hazelnut. Apply hot glue on the inside of the shell and carefully stick the fabric to it. Tie a bow using a small piece of the ribbon and glue it onto the fabric. With a black marker, draw the eyes, nose, and mouth of the mouse. Use the beige fabric to cut out ears and a long tail. Finally, with the remaining ribbon create the hanger of the ornament.
Little Figurines
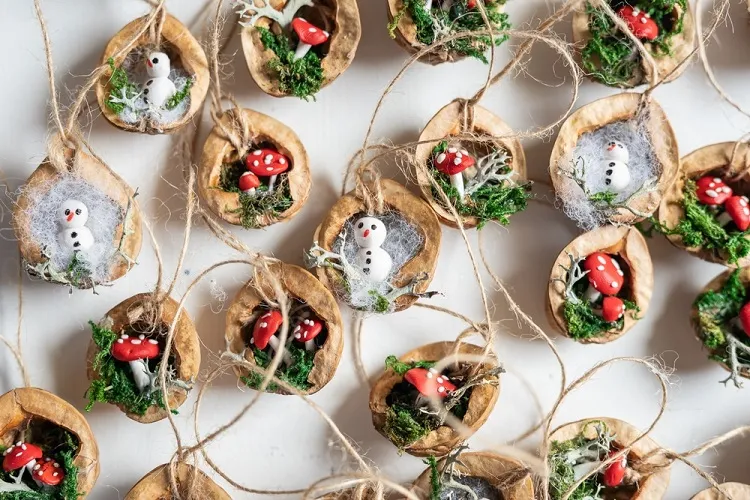
These picturesque tiny figures are much easier to make than they may seem at first glance! All you’re going to need for them is polymer clay, Once you’ve shaped your figurines, place them on a baking tray lined with parchment paper and put them in the oven, following the instructions from the polymer pack. When they’re all set and done, place them inside the walnut shells and secure them in place using hot glue. For a more natural appearance, use twine to hang the decorations.
Read also: DIY Christmas tree cookie ornaments – ideas and recipes
Dipped in Gold
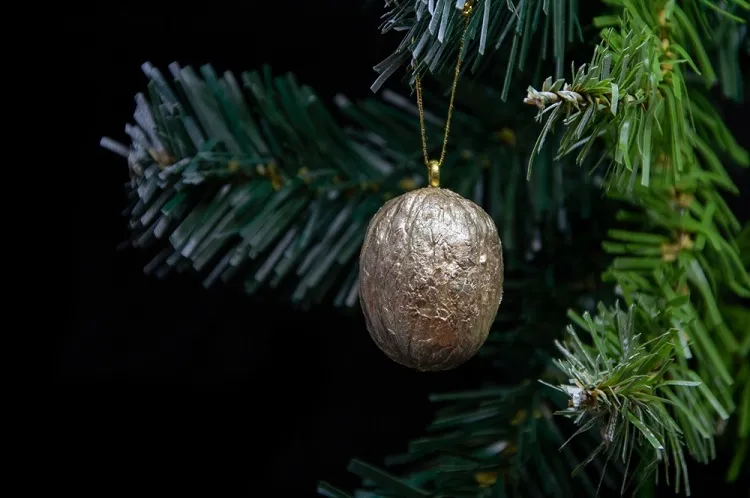
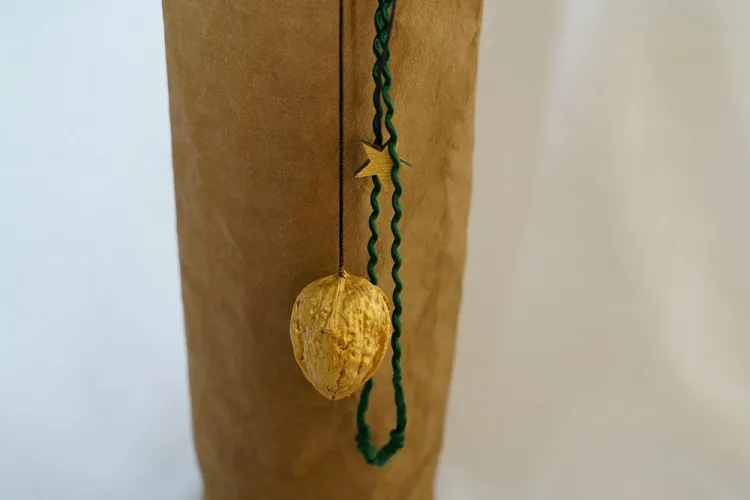
A super simple way to add some character to the good old walnuts is to simply paint over them! Once you’ve opened, emptied, and glued them back together (with a piece of ribbon in between, of course), it’s time to move to the fun part! You can even invite your kids to help you out – I’m sure they will be overjoyed. Hang the ornaments somewhere where you know they won’t touch any objects or surfaces and use gold metallic acrylic paint to create this rich and warm, beautiful color!
Less is More
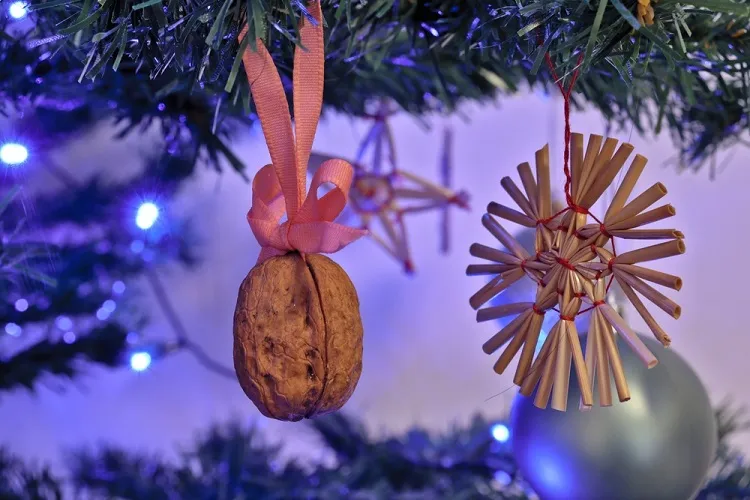
You don’t feel like cutting, painting, and molding intricate shapes? You don’t have to! Walnuts have enough character as they are! A beautiful ribbon is all you need to add an accent to your all-natural Christmas tree ornament!
Read also: DIY Paper Angels: Easy Homemade Ornaments for Your Christmas Tree

