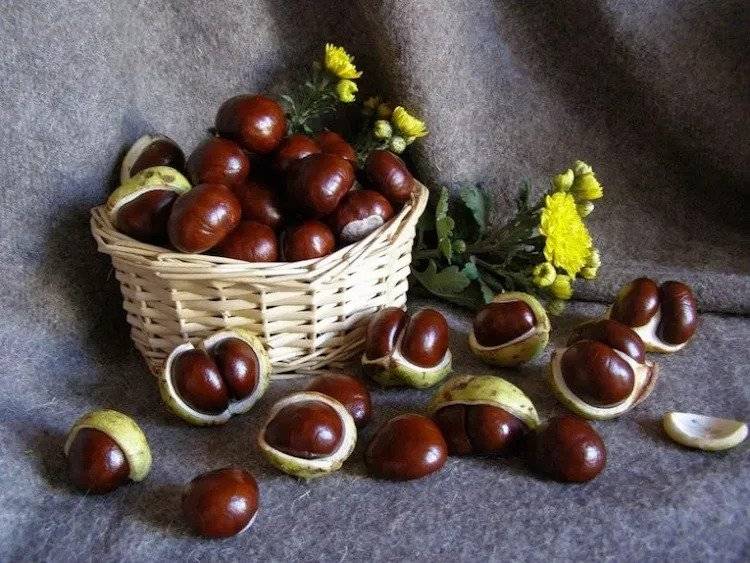
Chestnuts are not only suitable for roasting on an open fire, but also as a decoration in the fall and winter months. These warm, chocolate colored gems will add some woodland charm to your home. Not only do they bring an organic, natural feel, but they are also known to keep spiders and moths away! There are so many different chestnut craft ideas! You can buy chestnuts in most supermarkets, but if you want an authentic feel you can pick them yourself! And what can you make from chestnuts? Please read on!
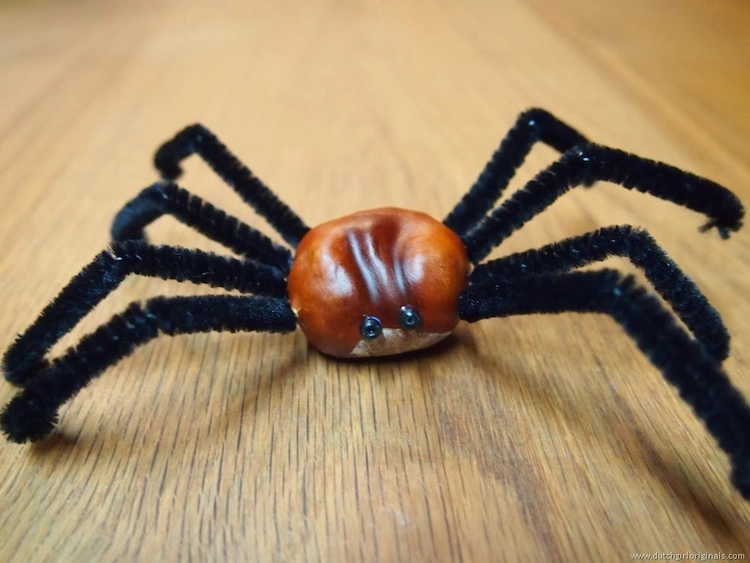
DIY Chestnut spiders – fun crafts for children
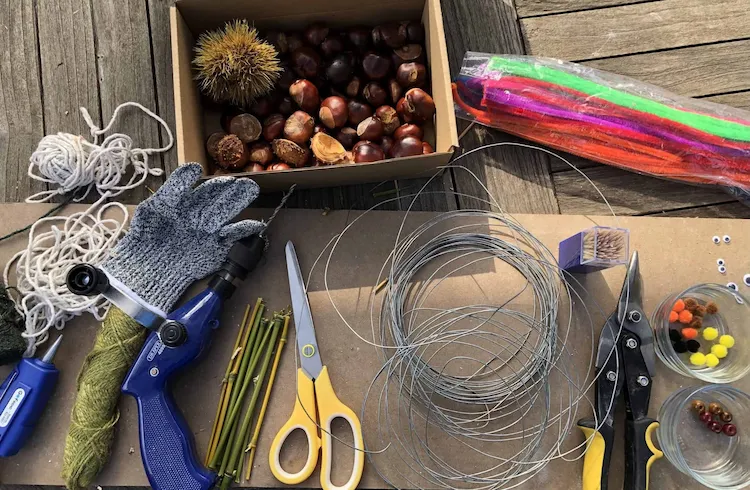
Materials needed:
- A large chestnut
- 2 goggly eyes
- 2 pipe cleaners
- Glue
- skewer
Of course you can also make these spiders with sticks or toothpicks, which you break in the middle to form the legs.
Instructions:
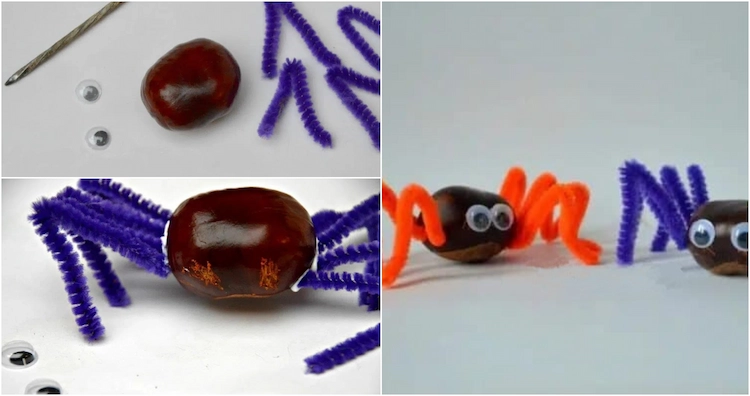
- Cut the pipe cleaners into 8 pieces. You can cut them in half and then cut them in half again.
- Make 8 holes for the legs and glue the pipe cleaners in. Make sure the holes are deep enough so they have something to “hold onto”.
- Scratch the shiny surface of the chestnut to help the eye glue stick and add the googly eyes.
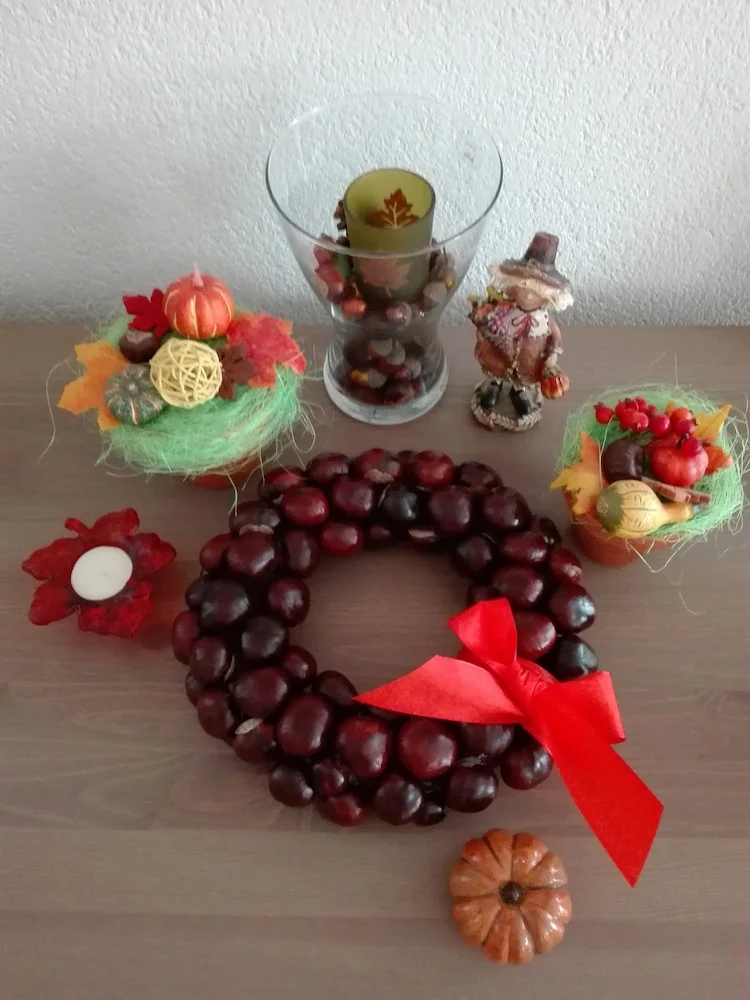
Chestnut craft ideas – DIY fall wreath
Materials and tools needed:
- 100+ chestnuts (picked or store bought)
- Wreath base (you can make your own wreath base or buy one at the supermarket)
- Hot glue gun (You will need 10 glue sticks for this project)
- Tape to attach the wreath to a door or wall
DIY Chestnut wreath step-by-step instructions:
- Gather all the materials and plug in the hot glue gun to make sure it’s heated up before beginning the project.
- Wash and dry all the chestnuts. This is important to ensure that any dirt is removed.
- Tie the top ribbon (if your wreath base doesn’t already have one).
- Put a dab of hot glue on one chestnut (the flat side is best) and press it into the wreath base. Hold the chestnut for a few seconds to make sure it stays in place.
- Glue the chestnuts to the top and sides of the wreath base, the back remains free. This way the wreath is easy to hold and there is no risk of the wreath falling apart. Repeat the process for each chestnut (only 1 at a time) until you have covered the entire wreath with chestnuts.
- Allow the glue to dry before attaching the bow. For the bow, take jute ribbon or a wide ribbon and make a large bow. To attach the bow to the wreath, take a long strip of ribbon and tie it around the center of the bow, then tie the ends of the ribbon around the bottom (or top) of the wreath.
- Hang your new chestnut wreath and take lots of photos!
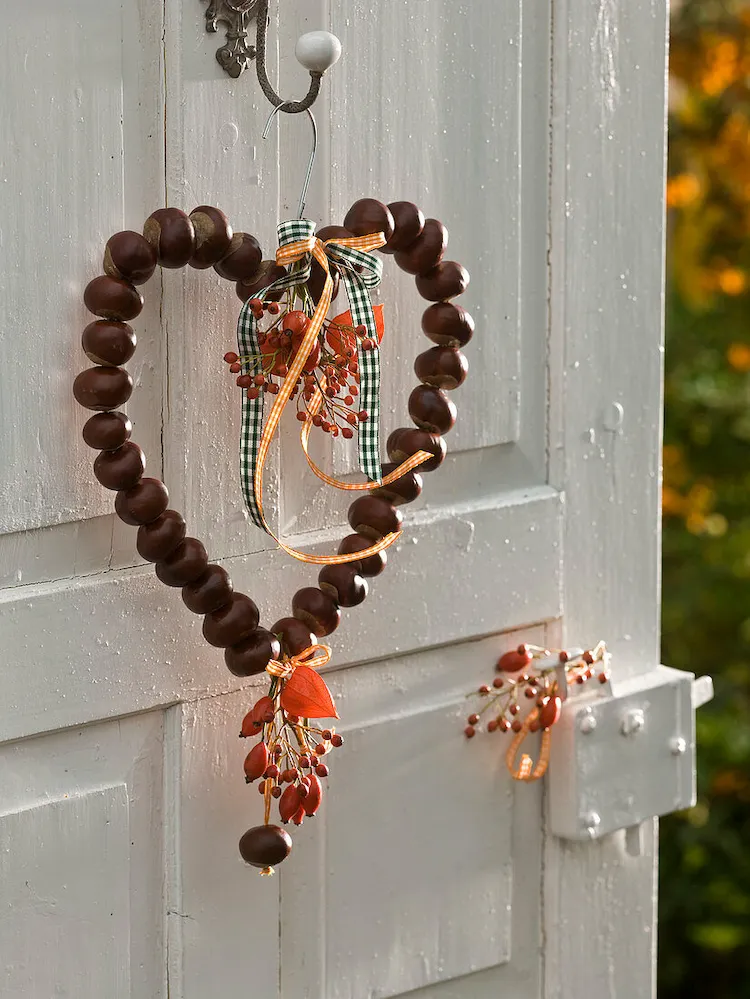
Chestnut craft ideas – How to make a heart
Materials and tools needed:
- Chestnuts
- String or wire
- Scissors
- Hammer
- Long nails
- Cutting board
Please have an adult prick the chestnuts.
Instructions:
- Insert the nail into the center of the chestnut and hammer through until the nail shows on the other side. Keep doing this until all the chestnuts are pierced.
- If using wire, it is best to bend the metal into a heart shape.
- Thread the chestnuts one by one onto the prepared wire form.
- Hang on the mantel or on the wall to add a loving touch to your home.
Also read: Crafts with Chestnuts, Acorns and Other Natural Materials: 5 Cute Animals and Figures!
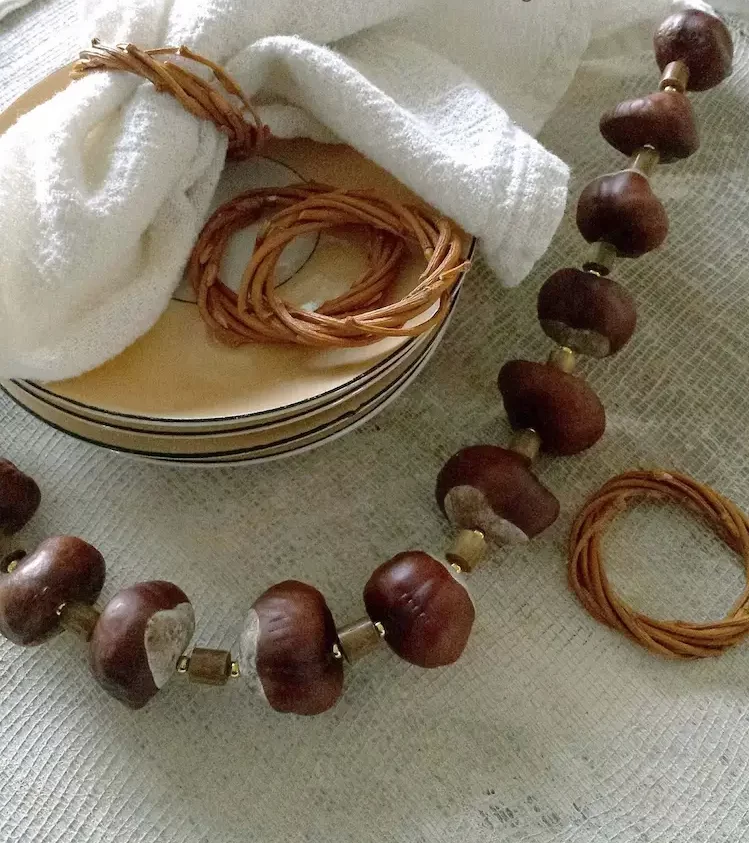
How to make a cute garland from chestnuts?
Materials and tools needed:
- Plastic fishing line
- Fresh chestnuts
- Leather line
- Thin nail
- Hammer
- Large plastic needle
- Scissors
- Oven or food dryer
Instructions:
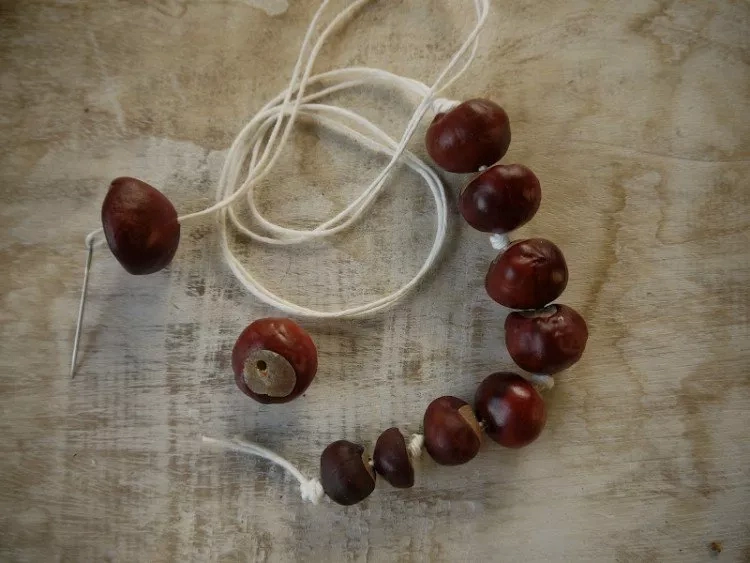
- Use a hammer and nail to punch a hole in the center of each chestnut. Some chestnuts are so soft that you can crush the shell with your fingers. Others require a hammer to drive the nail in.
- After making the first hole, insert the plastic needle into the hole and pull it out the other side. The hole should be large and free.
- Dry the chestnuts. If you have a dehydrator, set it to the lowest setting and let it run for at least 3 days. If you don’t have a dehydrator, set your oven to the lowest setting and dry the chestnuts on a baking sheet in the oven for 5-6 hours. The longer you can leave them in the oven, the shorter the final drying time. Remove the chestnuts from the oven and let them air dry for 3-7 days. The chestnuts are rock hard when fully dried.
- Once the chestnuts are dry and cool, thread them onto the fishing line with the plastic needle.
- Cut the leather cord into 12 cm long pieces. You need a piece for each chestnut, and an extra piece.
- Starting at one end of the garland, tie a piece of leather cord between each chestnut.
- Tie off the fishing line at both ends. It is easiest to tie the fishing line through with the leather strip at both ends to keep the knot secure.
- Wrap the garland around the railing, or hang it on the wall or door and enjoy the fresh fall mood at home!

