Easter gives us peace of mind, tranquility, and the feeling that warm spring days are on their way! The bright holiday is mostly associated with family time, painting eggs, and making all kinds of decorations that delight us during the festive days. It is best when we involve our children in craft-making to teach them a love for the beauty created with hands. That’s why in today’s article, we will give you lots of ideas for Easter crafts for kids! Keep reading and be ready to surprise your kids with lots of fun activities this holiday season!
5 Easy DIY Easter crafts for kids
Involving your children in fun craft activities is a great way to spend time together and enjoy the true meaning of the Easter holiday. Besides decorating eggs and making Easter gift baskets, there are numerous other interesting crafts that will really inspire your child’s creativity and make them develop different types of skills. However, the most important thing is to have fun and enjoy your time together. Now, let’s take a look at a few easy DIY Easter crafts for kids you can totally try and master this season!
Easter crafts for toddlers: Cute paper chicken craft
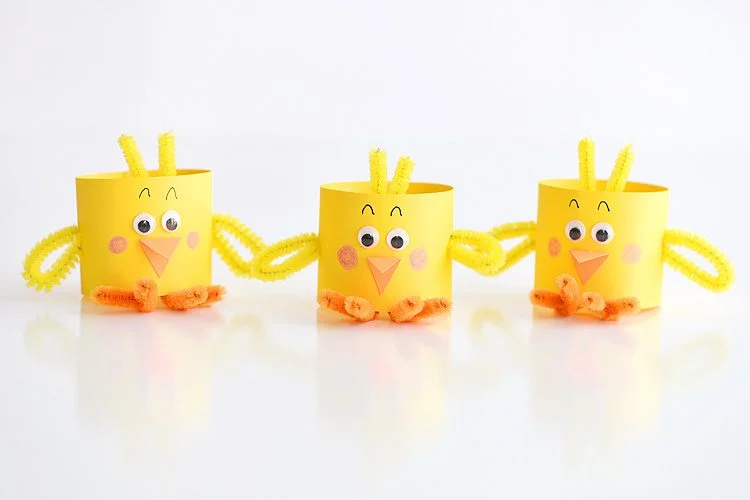
If you are looking for a fun project to make with kids, go for a cute paper chicken that only take about 5 minutes! We are sure your children will enjoy making them a lot and so will you!
You will only need:
- a strip of yellow cardboard and paper
- pipe cleaners
- wiggly eyes
- black pen
- pink marker
- double-sided tape
- scissors
- one-hole punch
Instructions:
- Cut a small beak for the chick out of yellow paper. To do this, fold a small piece of paper in half and cut out a triangle.
- Cut out a strip of yellow cardboard to form the chick’s body. Roll it to make an oval shape and glue the two ends of the strip together. You can also use toilet paper tubes and paint them yellow, if you like. Just cut them in half so that they are shorter.
- Use double-sided tape to attach the eyes and beak to the cardboard. Draw eyebrows over the eyes with black pen and paint the cheeks with pink marker.
- With a hole punch, make small holes opposite each other in the sides of the paper roll. Pass pipe cleaners through the holes and fold them into the shape of small wings and tuck each end back into the hole.
- Use double-sided tape to attach the feet to the paper roll and bend them up slightly.
Easter paper eggs for decoration
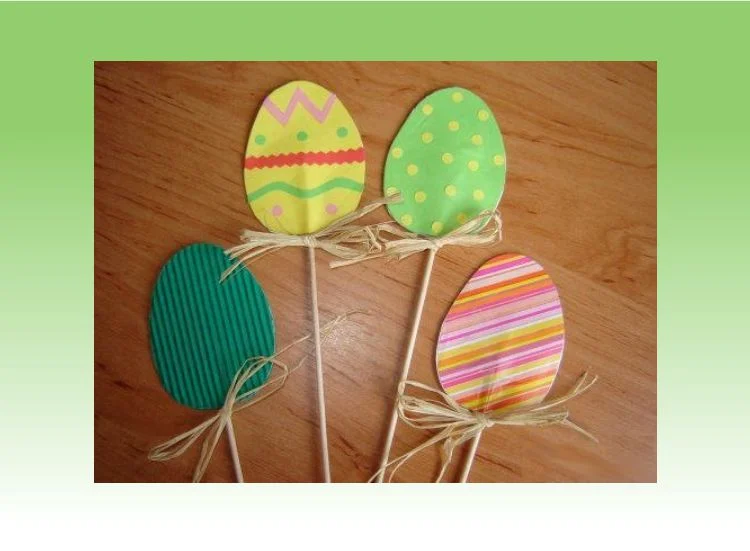
Another great idea to get the kids involved in a useful activity is to make Easter paper eggs together. You can decorate your beautiful flower pots with them or include them in a centerpiece on the festive table. They are sure to add lots of festive cheer.
To make them you will need:
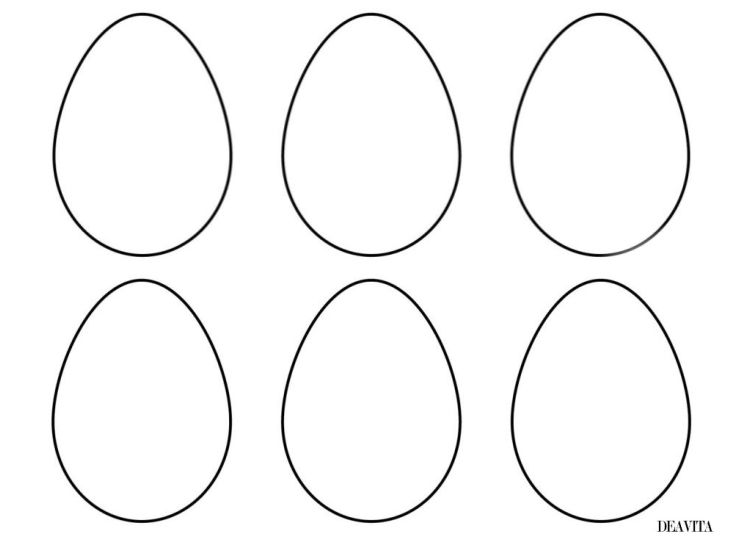
- egg template (download it for free below)
- colored cardboard
- bamboo skewers
- decorative straw or ribbons
- glue
Instructions:
- Using a template, cut the eggs out of colored cardboard.
- Place a bamboo skewer between two eggs and glue them together.
- Add decorative straw or ribbons to decorate.
Egg template for free download
An easy paper bunny
What is Easter without the presence of the rabbit? Children love this animal, and it would be great if they could recreate it in some form. We suggest you make an easy paper bunny – this craft will appeal a lot to young children, we are convinced of that. All you need is cardboard, glue, colored felt pens, scissors and lots of patience to cut and glue all the parts with your child. Check out the video we’ve shared to find out exactly how to make unique and bouncy bunnies that will delight the little ones!
3D Easter egg card
If you want to fascinate your child completely, offer to make some spectacular 3D Easter cards. You may think it’s complicated? Absolutely not! All you need is colored paper, scissors, glue, colored felt pens to write “Happy Easter” on the front and an egg template (you can use the one we shared above for making paper eggs). See exactly how to achieve the amazing 3D effect in the video we share with you, and you will see for yourself that it’s not hard at all! Just fold each egg in half and glue it to the next one! What are you waiting for? Get to work!
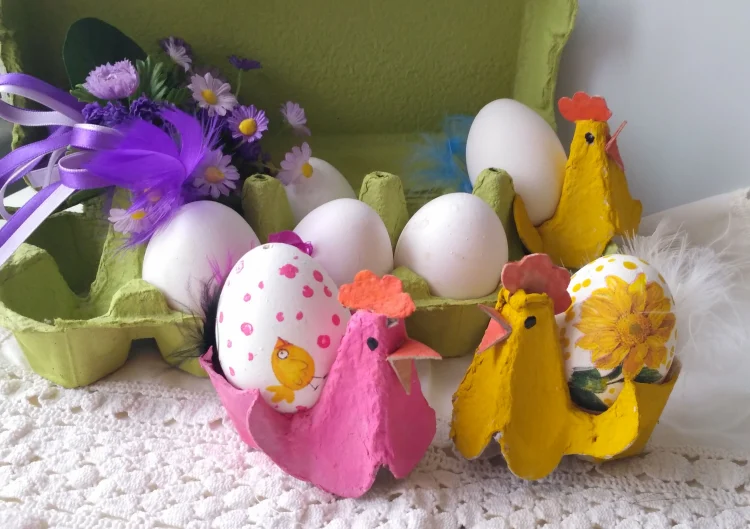
Easy DIY chicken egg holder
Use egg carton, scissors and glue as well as some acrylic paints and markers to make cute chicken egg holders. Start by cutting the cardboard exactly as needed (see the video we shared). Then, using the leftover cardboard, cut out the beak and crest of the chicken. Paint everything and glue it in place. Draw on the eyes with a marker. That’s it!

