Back at my parents’ place, I often experience some issue with my little furry roommate. The thing is, that my cat is always looking to go as high as possible, and he would do that by any means necessary. And since my mother loves to display as many souvenirs as possible on top of cabinets, tables and shelves, these items tend to suddenly appear on the ground. You know exactly what I am talking about, don’t you? So I have decided that as I gift to my parents (and to myself), I will install DIY cat shelves for my fluffy and often annoying little friend. But let’s first look at some creative cat shelves designs, and then we can install them ourselves. Who’s with me?
DIY creative cat shelves designs
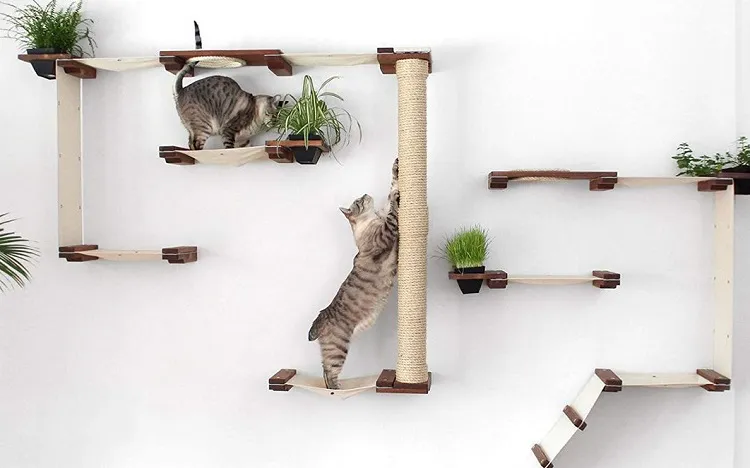
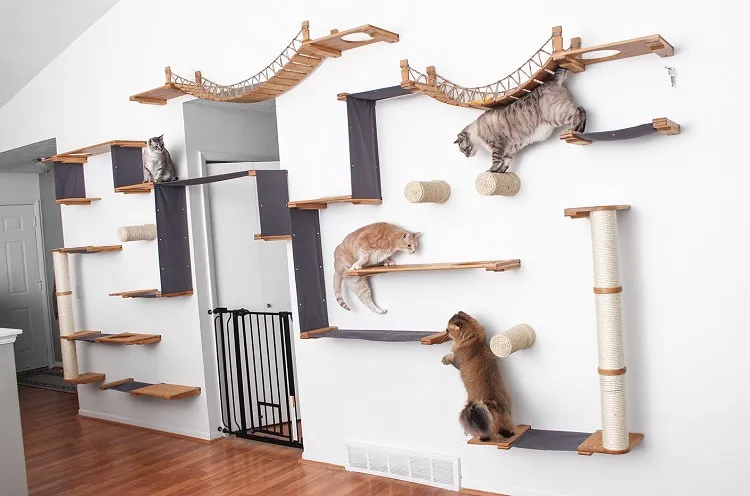
Would you look at them go! These kitties seem to be having fun. Install this creative cat shelves design and be sure that your cat/cats will be occupied with playing around, rather than pushing your new antique vase off the table!
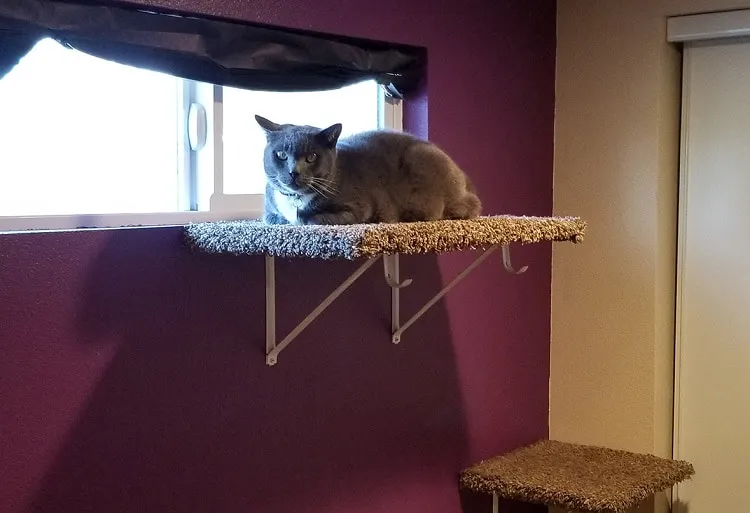
This design is perfect for those who let their cats go outside. My own cat is too afraid to be anywhere apart from home (believe me, I have tried), but I know a friend who would really enjoy this cat shelves idea, as he frequently lets his cat walk around the neighbourhood. The shelf is placed just by the window, so your kitty can go out whenever it likes.
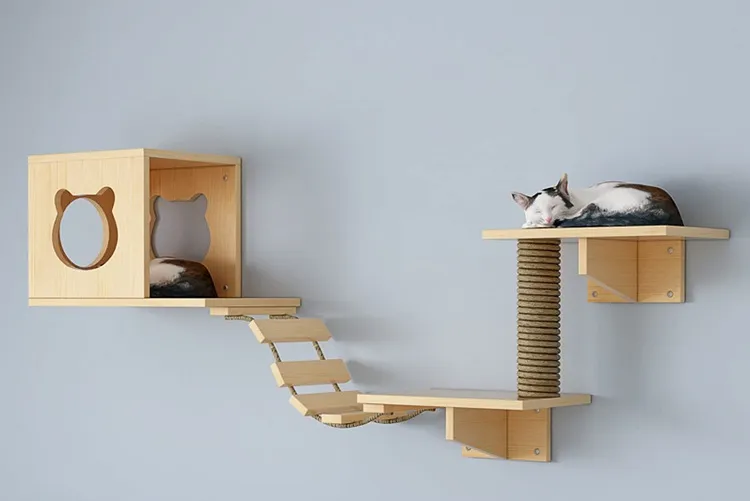
Isn’t this one of the most adorable things you have ever seen? If you want to put in a little more work for your fluffy roommate, why not give them the full package with this creative and practical design? Your cat will have everything it needs, and you will always know where to find it. Not like the time I thought mine had run away, when he had actually been under the kitchen sink the whole time! For 10 hours!
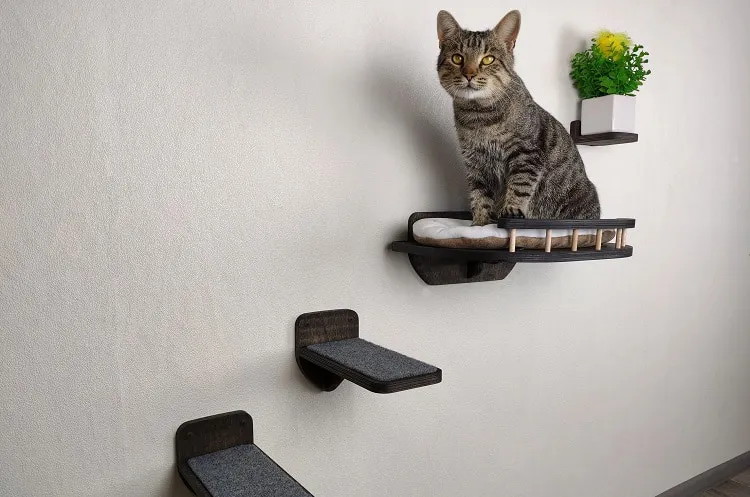
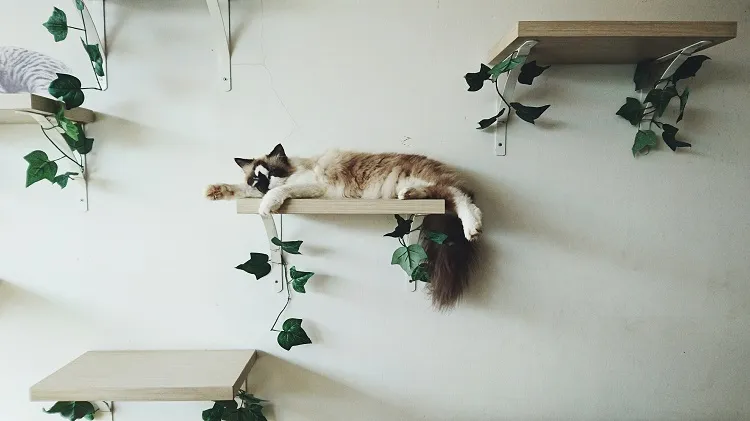
Create the perfect solitary safe space for your kitten by hanging floating shelves! He/she can have little steps that go all the way up to a comfy bed, and what more can a cat really want? It can also have a tiny night stand with flowers! I don’t know about you, but I am not sure if I can handle this much cuteness for long…
Do you have a lot of cats at home and want to keep them all pleased? Create their personal wall of chaos where your cats can play with each other and enjoy jumping around these awesome shelves! They can have stairs that go all the way to the top and bridges for crossing. I wish there was something like this for humans, that would be so fun!
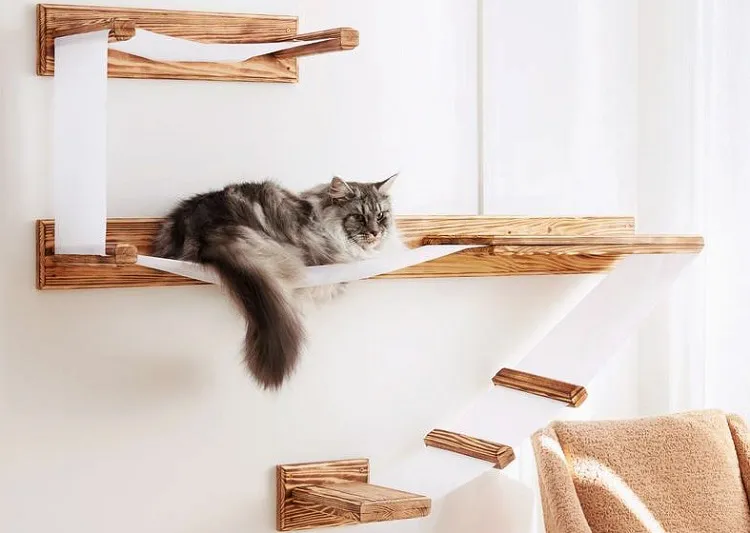
I think this furry little guy seems to be enjoying himself a lot, what do you think? Get this cat shelves design for your kitty, so it can enjoy nice and comfy hammock beds either on the upper or lower side of the shelves.
Also read: How to Make Your Own Cat Toys? 6 Creative Ideas to Recreate
How to install DIY cat shelves?
I hope you liked the cat shelves designs, because now it’s time to get to crafting and make them for ourselves! Are you ready? Great! Before beginning with the steps for installation, let’s first make a list of the basic materials we will require.
What you will need:
- thick and wide wooden board/shelf
- heavy-duty wall anchors
- sturdy “L” brackets
- measuring tape
- wood screws
- screwdriver
- pencil
- level
- drill
1. Decide on cat shelves/boards
When you are selecting the shelves or boards you are going to use, be sure to keep a couple of things in mind. They need to be big enough, so your kitty will comfortably fit. Make sure to check your cat’s size and length to use the measures when picking out a board. For the shelf, you can use any boards you may have at home, or even ask some of your neighbours if they have any leftover ones. A trip to the local craft store is also an easy option if you want to get something new for your little friend.
2. Mark where you will drill
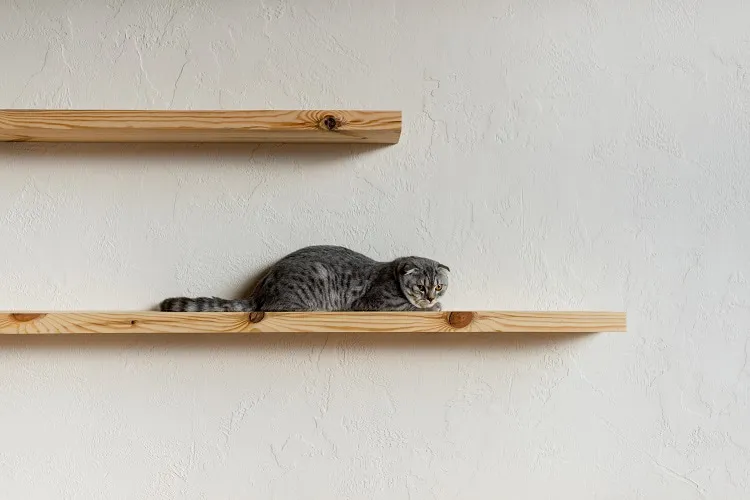
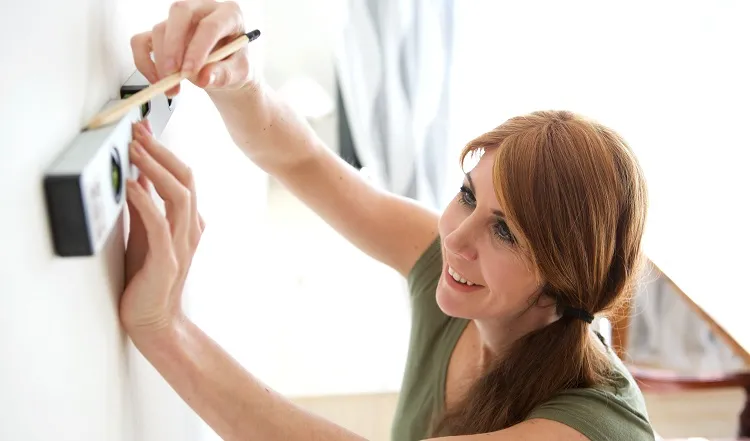
First, decide on a location where there will be enough space to install the DIY cat shelves. Your cat should be able to move safely and jump from the board. Make sure the boards are not too far from the floor. If you are installing more than one board, place them in intervals that are not too far from each other. Before going for the drill, mark where you will drill into the wall with a pencil. Make sure each hole is at the same height for each bracket. Use the level to compare.
3. Drill and attach the cat shelves
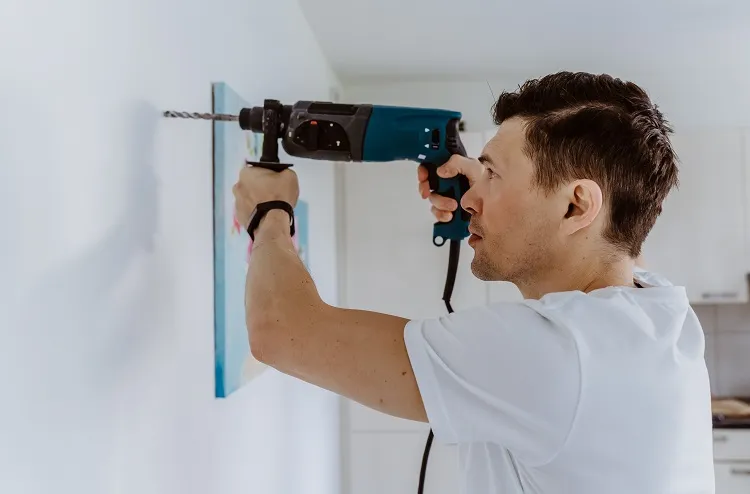
By following your marks on the wall, drill in the holes for the wall anchors. Insert them. Then attach the “L” brackets to the wall, by using the screws. Place the wooden boards/ shelves on the brackets and secure them with the wood screws. Make sure the boards/shelves are tightly placed, so your kitty doesn’t fall off. You can place a soft piece of fabric, or thin pillow, so your cat feels even more comfortable sitting on the top! Take one of their favourite toys and place it on the shelves, so they can come up there and see their new throne!
I hope this easy 3-step tutorial did wonders for you, and now your fluffy kitty is enjoying its new favourite place! And hey, if you enjoyed this creative shelves idea, you might be interested in checking out our DIY pallet bookshelf ideas. Enjoy!

