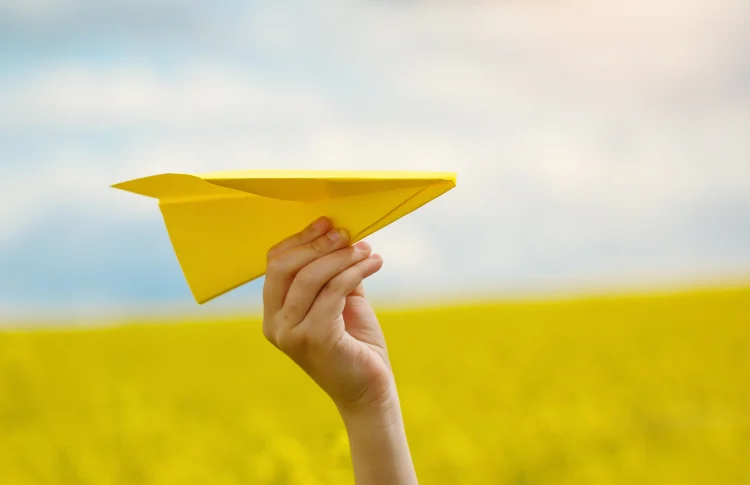
Many of you probably made paper airplanes when you were little and let them fly. It’s an exciting and fun experience that definitely still appeals to kids nowadays. However, it seems that constructing a paper airplane that will delight you and your child with long-haul flights takes practice and knowledge. In today’s article, we’ll give you some ideas on how to make a paper airplane and also show you how to make it fly longer and farther! Keep reading!
How to make a paper airplane?
It seems very easy to turn a sheet of paper into a flying toy! But in fact, there are many possibilities to do this, which at the same time affect the duration of the flight. Making paper airplanes (and origami folding in general) can take different amounts of time, as there are both simple designs familiar to everyone from childhood and complex, more advanced ones. You will quickly recall your school lessons when you made paper crafts, once you start making the airplane! We encourage you to make it together with your child and then test it (we know you want to try the airplane too). It’s great family fun and sure to leave lots of memories for your little one!
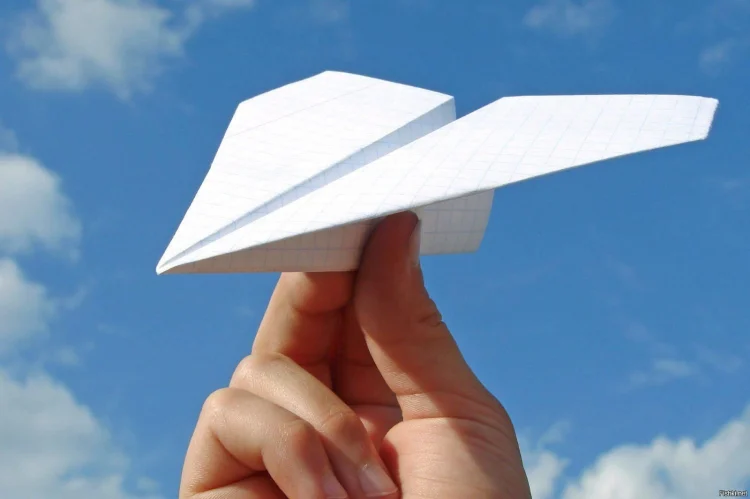
How to make a paper airplane fly farther?

There are several main factors that affect the flight of your plane. The length of the wings is one of them – short wings provide faster flying and long wings provide farther flying. Another important thing to keep in mind is that adding weight to the front will improve the stability of the plane in flight. You can put tape or attach something light (bobby pin) to the nose, for example. In our article, you will find 2 models of paper planes with step-by-step instructions and pictures. They are both worth the efforts and will definitely impress you with their flight duration!
Classic paper airplane
The classic paper plane we are about to show you is of medium difficulty. It has tapered wings and great stability thanks to the triangle on the base. Overall, this is the perfect in-between point between a simple and a complex paper airplane. Most importantly, it flies well and for a relatively long time. All you need to make such a paper airplane is, of course, a sheet of paper, lots of patience and desire!
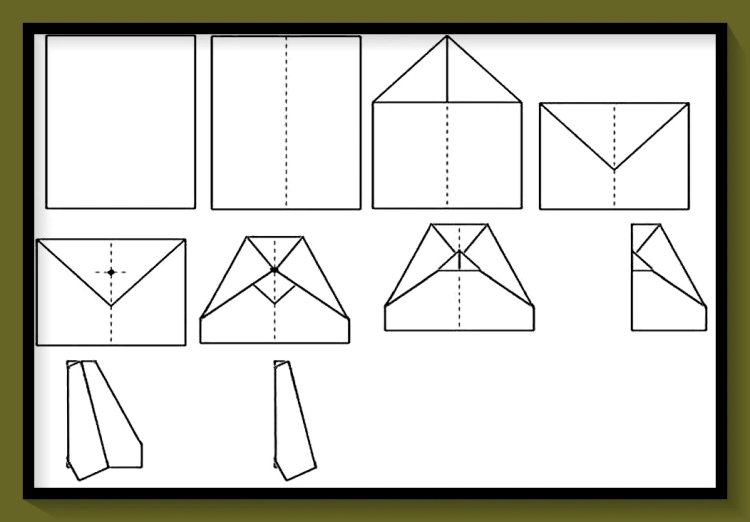
Diagram
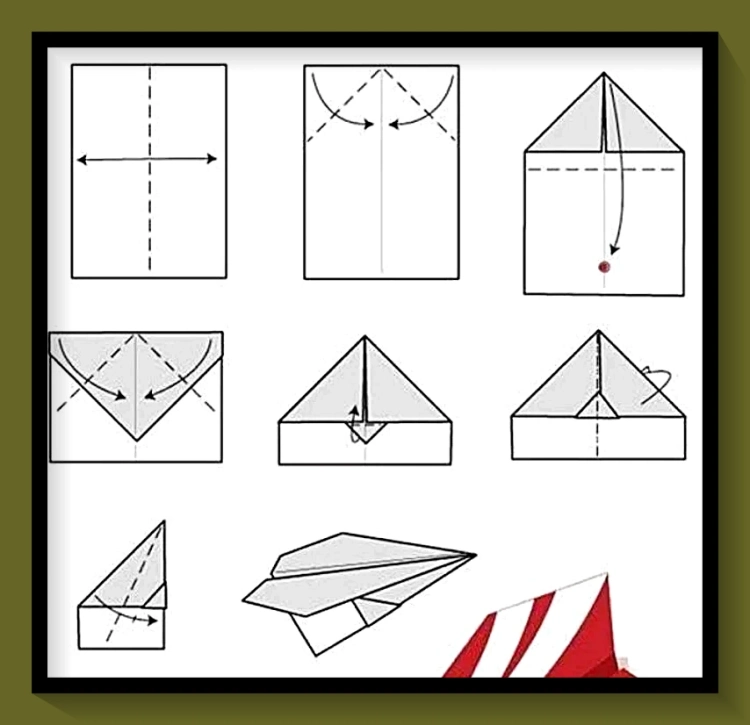
Instructions
- Take an A4 sheet of paper and fold it in half vertically.
- Unfold it again and fold the left and right corners towards the middle (which you found a moment ago, so that you get 90° right angles). Overall, you’ll get one larger isosceles triangle.
- Take the tip of the triangle and fold inwards towards the sheet as the tip of the triangle almost reaches the bottom edge of the sheet, but there is still some distance.
- Once again, take the left and right corners and fold them towards the middle (90° angles).
- Below the newly formed triangle, you should get a smaller one, which you fold up so that it stands on top of the large one now.
- You take the sheet in your hands and fold it through the middle again, but this time in the opposite direction.
- Fold each side back so that it matches the middle (form the wings of the plane).
- Grab the bottom of the finished airplane and let it fly far away!
Paper plane model for long flights
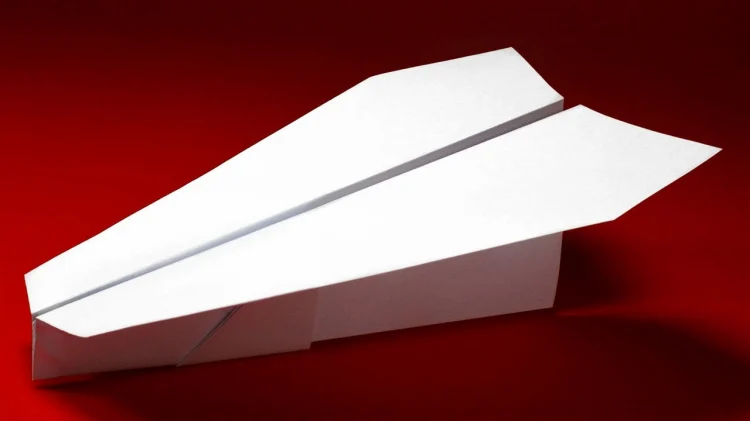
Our next model plane flies really long! It requires a little more attention to detail, but it’s not something you can’t handle, we’re sure! Load up with patience, a piece of paper, a pencil (optional) and follow our instructions! Feel free to use the diagram we’ve provided below, and check out our detailed instructions to get an even better understanding of how to make your paper airplane!
Diagram
Instructions
- As with the previous model, we will start by folding an A4 sheet vertically.
- Unfold the sheet again and take each of the corners, left and right, and fold it towards the middle so that it forms a large isosceles triangle.
- You use the base of this triangle to fold it inwards so that it is with the top down on the sheet. Overall, you end up with a new, smaller rectangle with a triangle in it.
- In the resulting triangle, you find the middle (see picture above) and you can mark it with a pencil to make it easier for you later.
- You take the top right corner and fold it towards the middle that you marked a moment ago. Repeat the same with the left corner.
- Fold the top of the triangle up to match the middle you marked.
- You fold the whole sheet through the middle vertically again, but this time in the opposite direction.
- Fold each of the resulting halves back once more so that its ends match those of the middle.
- Your airplane is ready to fly!