A rope basket can be a beautiful accent and decorative accessory. Every housewife wants to decorate the home with original objects and things. Baskets and boxes have always been exceptionally popular for storing small items or as organizers for clothes, shoes, toys, crafts, etc. A basket can be a beautiful bowl for fruits, or a laundry basket, a helper in the craft room, in the playroom, in the closet – anywhere in the home. Nowadays you can find many and different baskets, the market offers a wide variety of basket designs in different styles, colors, sizes, which you can use as per your specific needs.
There are many people who are attracted to rope crafts and homemade items. One of the most charming craft ideas is to make a beautiful rope basket. First, you can customize the size of the basket as per you needs, second, a DIY rope basket will cost significantly less than the ones in shops and last but not least, you will spend a couple of hours crafting a unique basket.
DIY Rope basket ideas – original and easy craft ideas
DIY Rope basket ideas feature different techniques and we have selected to show you three ways how to make a rope basket. Rope crafts are getting very popular because rope provides an opportunity to craft many decorative items. Rope is often used in coastal decors, nautical interiors and as an accessory in beach style designs. You can see rope in so many ideas but today we shall focus your attention on crafting a basket.
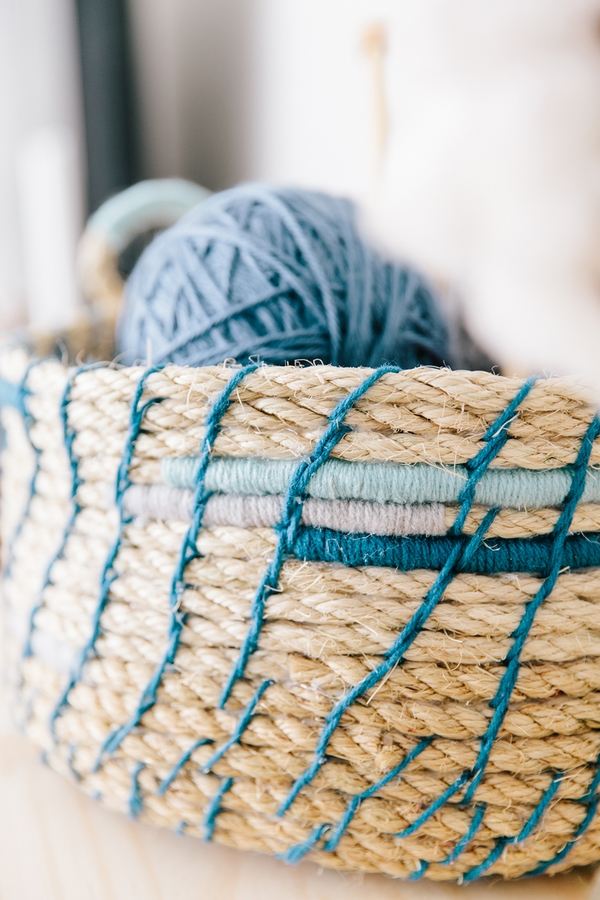
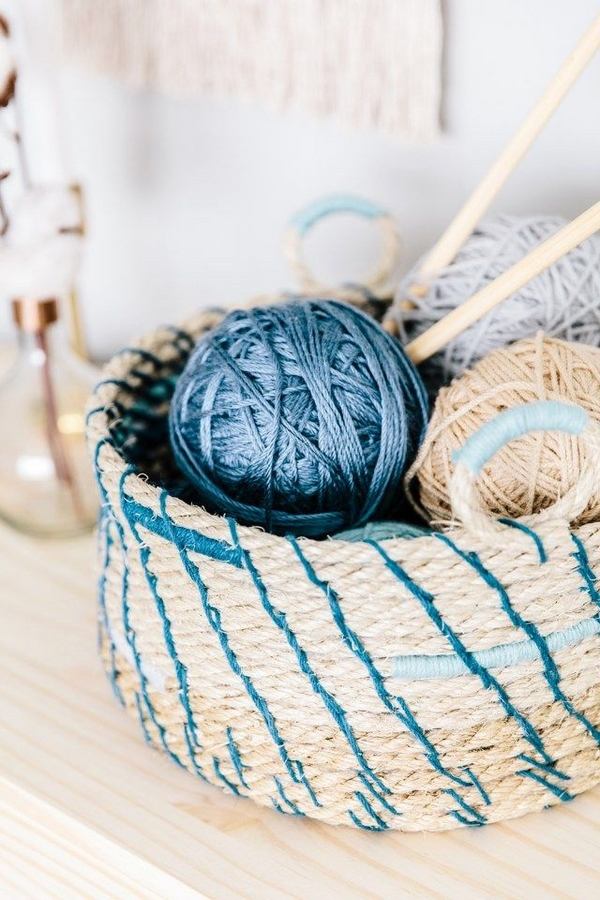
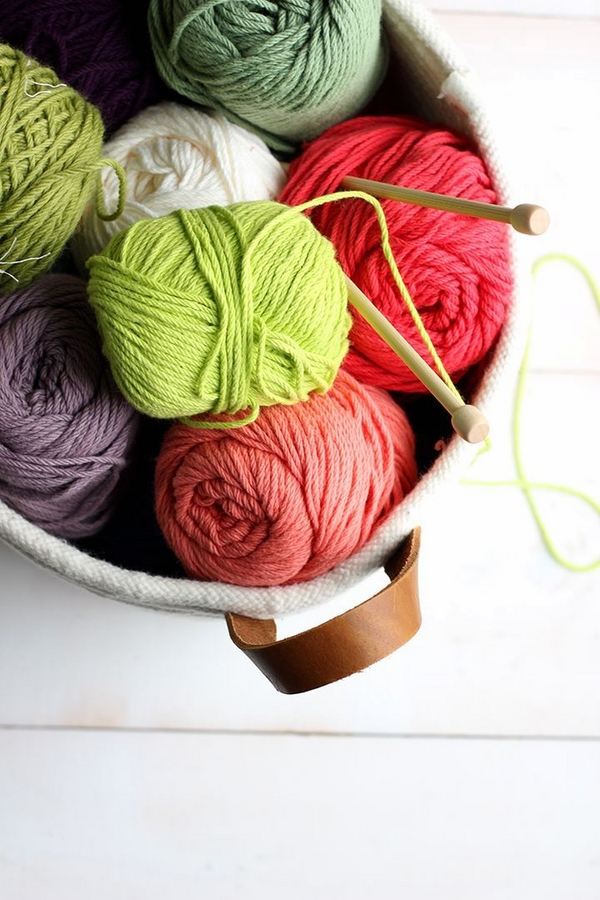
Rope basket DIY ideas with colorful thread tutorial
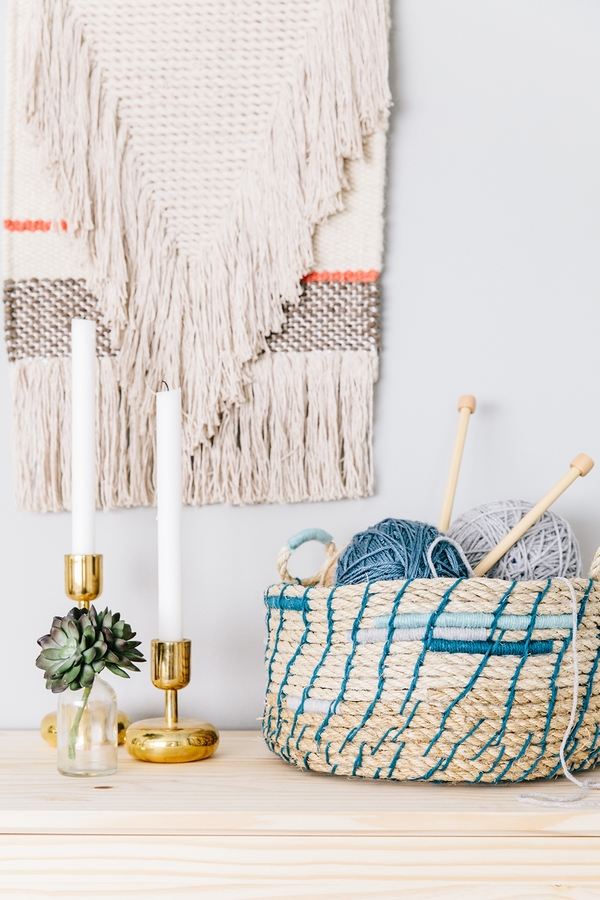
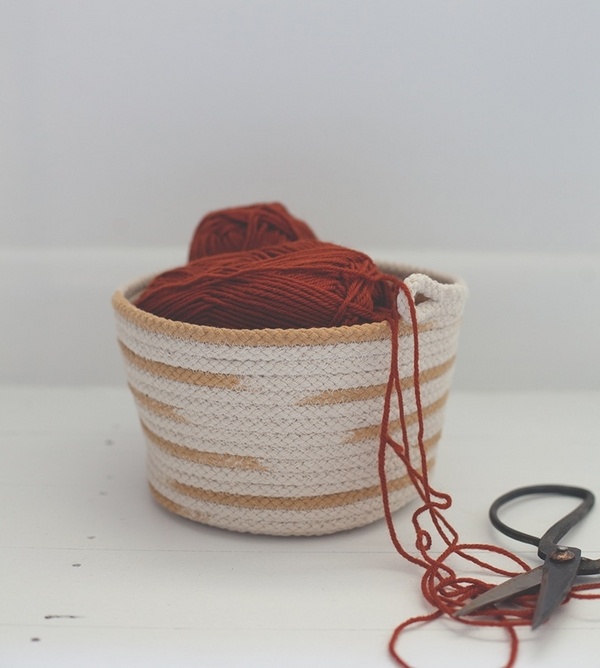
Here is one easy rope basket DIY idea which will take you as long as a rainy afternoon. You will need:
- Natural rope for decoration (hemp, jute, sisal);
- yarn for knitting (any color);
- scissors;
- hot glue gun;
- a needle.
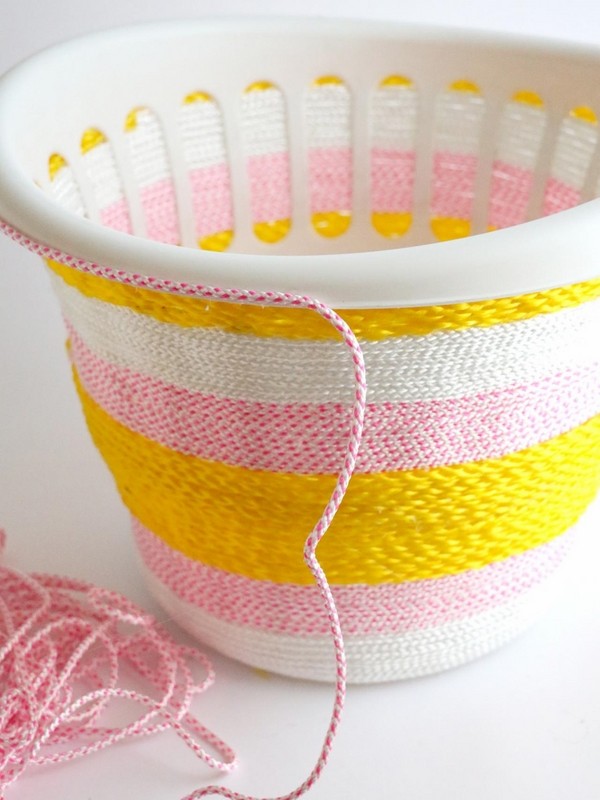
 Step 1. Take the colored yarn, tie a knot around the end of the rope and wrap it to 2-3 cm. It will be the bottom of the basket.
Step 2. Wrap the end of the rope with yarn, glue and wrap it again.
Step 3. Using hot glue, continue to wrap the rope around the center. Stitch yarn thread binding two rounds of rope to each other to create additional fixation.
Step 4. When you have made a flat, round bottom of the desired diameter, continue in the same way and build up the sides of the basket. Glue rope to the top of the previous rope layer, instead of the side. Add pops of yarn color – wrap yarn around rope and glue. Add layers of glued rope atop each other until you reach the desired height.
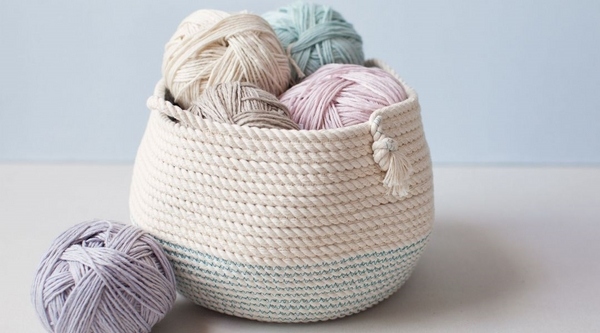
Step 5. When you are ready to finish your rope basket, knot yarn and wrap about 4-5 cm length. Use a hoop and wrap it in rope, glue it and the handles of the basket are ready to be attached. Glue them on the basket and add decorative stitches with the colorful yarn and your storage basket is ready! You can use to keep your wardrobe tidy, you can use it in a craft room, in the laundry room, etc.
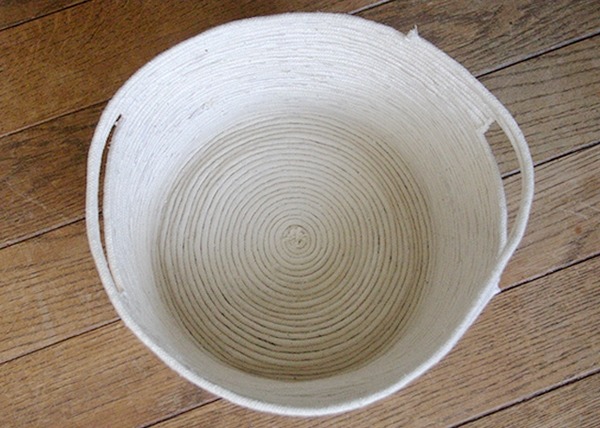
Rope basket DIY ideas – tutorial
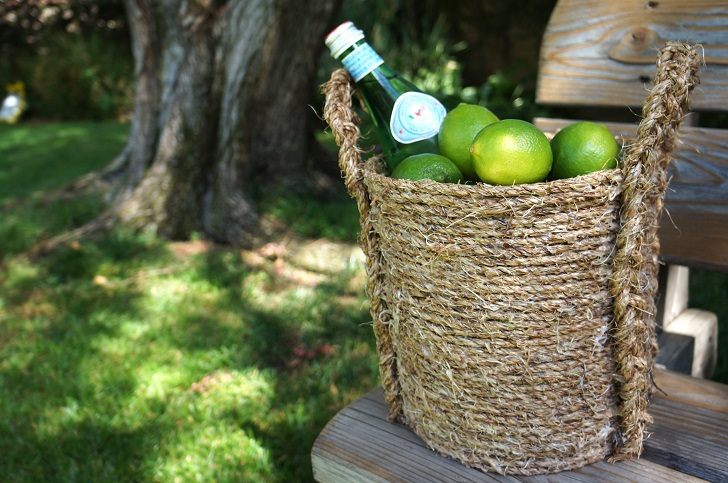
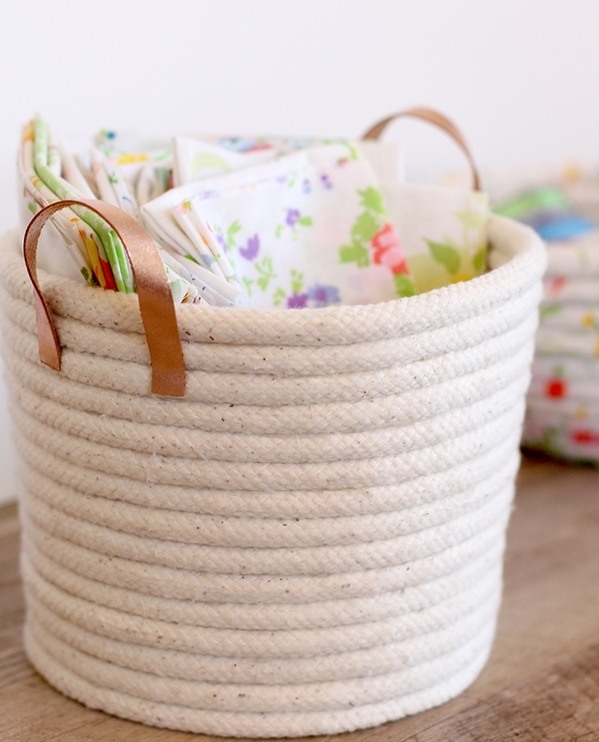
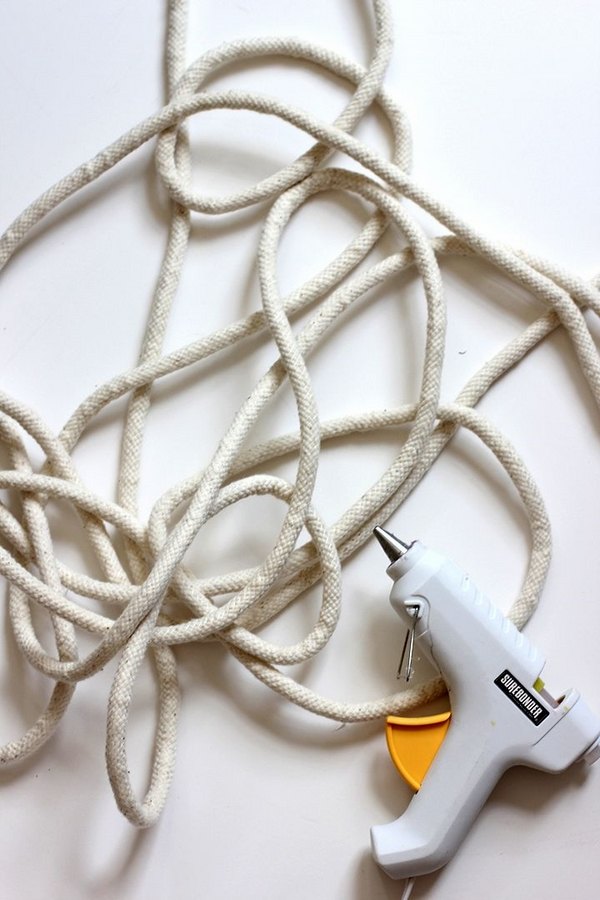
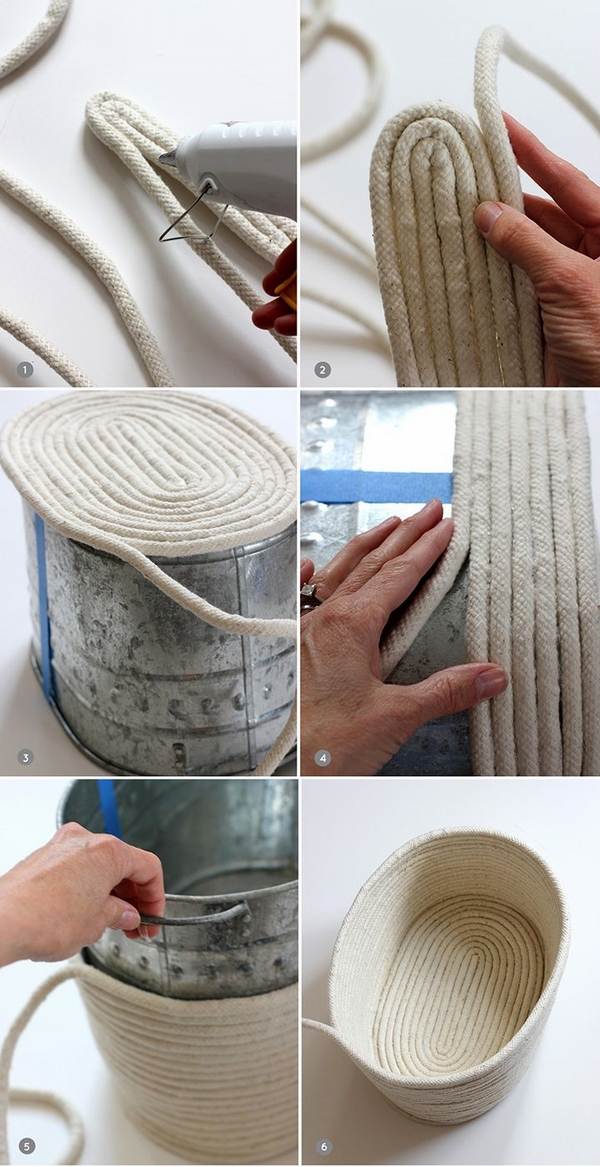
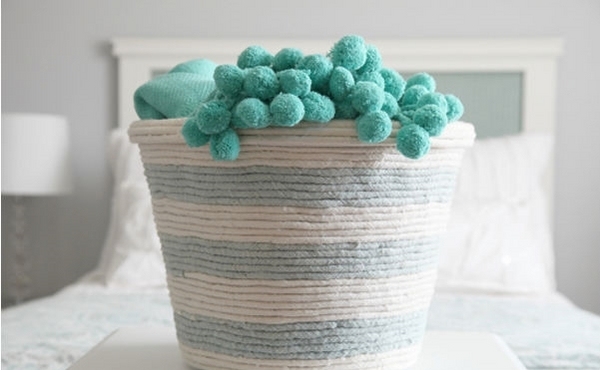
Another easy rope basket DIY idea is to use a bucket as a mold for your craft project. Actually this technique is exceptionally simple as you only need rope, a bucket and a hot glue gun. You can use a plastic bucket or a metal bucket of whatever size you need. Here is the list of materials:
- Rope, made of natural materials;
- Plastic wrapping sheet;
- hot glue gun;
- scissors;
- bucket.
Step 1. Wrap the bucket in plastic wrap. Start making the bottom of the rope basket. Using glue, coil the rope in a circular or oval shape (depending on the shape of the bucket).
Step 2. When the rope completely covers the bottom of the bucket, make one additional round and gradually start shifting the rope to build the walls of the basket.
Step 3. Continue to coil the rope and glue it with hot glue.
Step 4. Remove the bucket from the rope basket. Carefully glue the end of the rope. Remove the plastic wrap pieces if there are any glued to the basket.
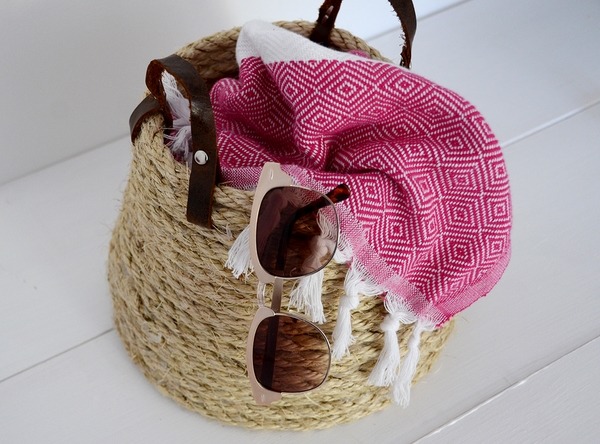
Step 5. Make handles. You can use leather strips, rope, ribbon, cord, etc.
Rope basket DIY ideas – how to make a no sew rope basket with a glass bowl
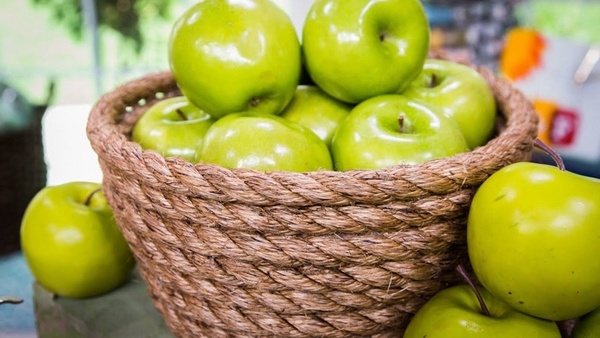
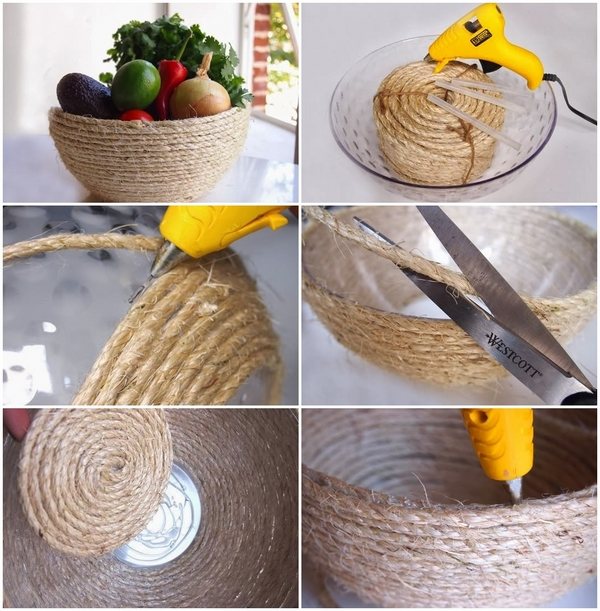
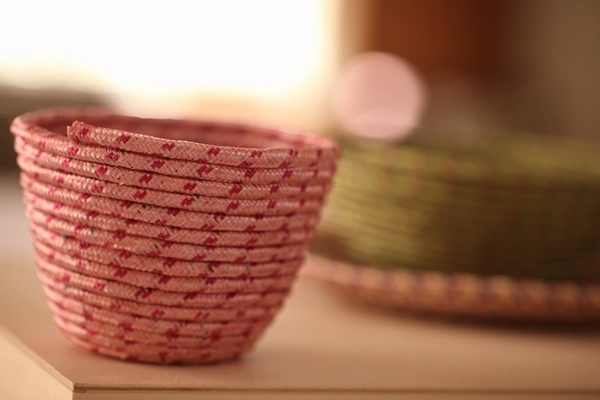
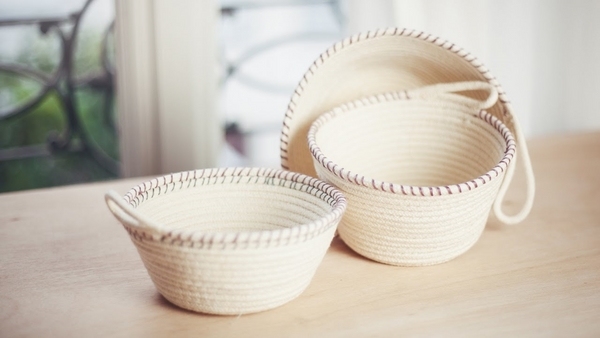
You can make smaller baskets or bowls using a glass or ceramic bowl. Smaller-sized rope baskets are very handy for kids’ rooms, playrooms and craft rooms as organizers. You choose a colorful rope and your baskets and bowls will be cute accents in the home décor. If you are good at crafts you may not need the bowl, but for beginners, the bowl will give extra security that the final result will have a perfect shape. You need to prepare the following materials:
- Rope, made of natural materials;
- Plastic wrapping sheet;
- hot glue gun;
- scissors;
- glass (plastic, ceramic) bowl
Step 1. Beginners may wrap a bowl with plastic wrap, turn it upside down and use it as a mold. Begin with coiling the bottom. Add hot glue at the end of the rope and begin to shape the bottom. Curl in a tight spiral and make sure you added enough glue. Press firmly the rope. Repeat until you reach the desired bottom size.
Step 2. To build the walls of your basket, start coiling and gluing the rope slightly higher. Gradually add height until you reach the desired size. Tuck the end of the rope into a loop and glue. In this way you will have cute handles without any effort.

