How do you get acrylic nails off at home? Can you remove them yourself without causing any damage to the nail plate? A step-by-step guide on how to easily remove acrylic nails at home.
How to Remove Acrylic Nails at Home Without Damage?
Trust me, the process of removing your acrylic nails by yourself is not as complicated as it might sound. All you need are a few easy-to-get tools, the right instructions, and you will be good to go! Anyone can do it, really.
What you will need:
- nail polish with acetone
- nail clippers
- wood stick pusher
- nail buffer
- nail file with two grits
- cotton balls
- foil
It should be easy to find all of the items above in your local drug store. Before starting out with removing your acrylic nails at home, follow these tips for setting up your very own at-home salon. Make sure you are removing your nails in a well-ventilated room, as you will be using a lot of acetone. Just as you’ve seen at a real nail salon, take a hand towel, fold it in two and place it under your hands, but not before placing a paper towel on top of it as well. Now we can start!
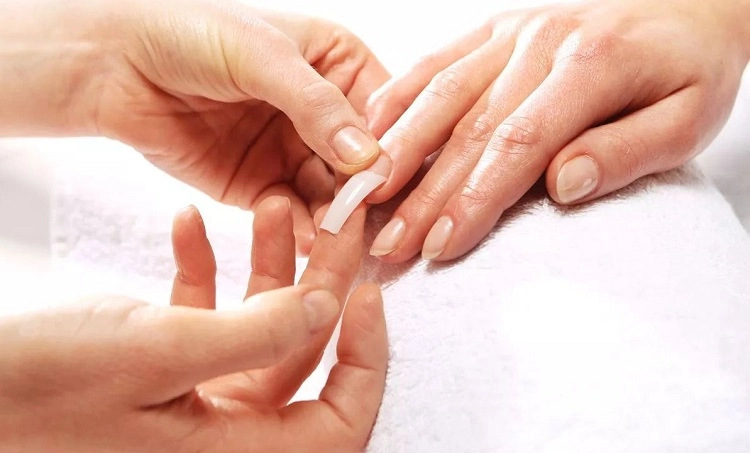
Step 1: Cut Down Your Acrylic Nails As Much As Possible
Wondering how do you get acrylic nails off at home fast? Well, sorry to tell you this, but the quickest way to remove your acrylics would be to cut them down. If you can fill them in at home by yourself, that’s a how other topic, but you would not likely be reading this article if you could. So yes, take your sharp nail clippers and cut your nails at about 2 cm/ 0.78 inches of the nail above your nail beds for safety.
Step 2: File Off Any Gel or Regular Nail Polish
If you have gel polish on top of your acrylics, now is the time to remove it by using the coarse side of your nail file. Gently file off the shiny topcoat into the bulk of the acrylic. The more of the acrylic you can file off, the less time you will have to spend soaking your nails with acetone later. Be sure to leave a thin layer of acrylic to preserve your natural nail. For normal nail polish, you can easily remove it with an acetone or regular nail polish remover.
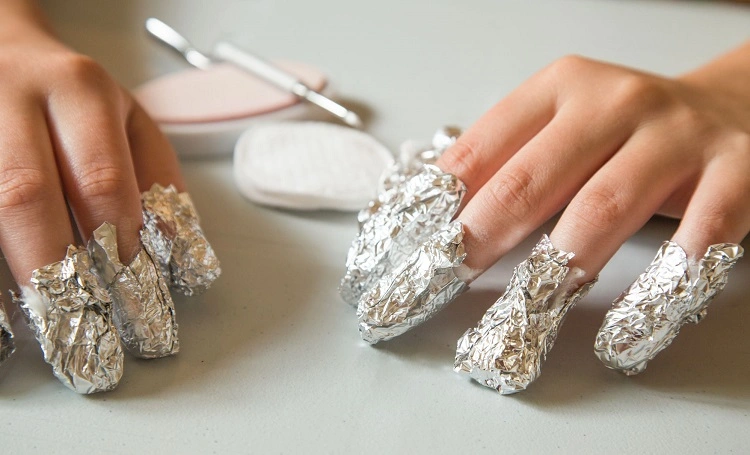
Step 3: Remove Acrylic Nails at Home with Acetone
Sure, acetone might leave your nails looking dry, but you can’t remove acrylics without it. So time to soak them in! Take a 70-proof or higher acetone nail polish remover and dip 10 cotton balls in it, one for every nail. Place an acetone-soaked cotton ball over each nail and wrap it with foil tightly. Once you wrap a nail, give it a squeeze to see if a bit of acetone drips – that’s when you know you’re using enough. Soak all nails for a minimum of 10 minutes. After the time has passed, if you feel like the acrylics haven’t softened, repeat the step again until they do.
Step 4: Gently Push Off the Acrylic from Your Nails
Are your acrylics beginning to melt and look gooey? That’s your cue to start removing them! Take your wood stick pusher, and starting from the cuticle area, gently push off the acrylic from your nails towards the free edge. If you did the soaking step right, the acrylics should be coming off easily without too much pressure. If they don’t, you will have to soak in your nails again.
Step 5: Shape, File and Buff Your Natural Nails
You’ve successfully removed your acrylics at home? Great! Now is the time to shape, file and buff your nails. Take a buffer and lightly buff the top of your nails to remove any residue and to smooth the nail. Shape and file them the way you like. Wash your hands before proceeding to the next step.
Step 6: Hydrate Your Dry Nails with Cuticle Oil
After the removal process, your nails will need some deep hydration. This is when cuticle oil comes to your aid! Using cuticle oil during summer and winter is crucial for maintaining healthy and shiny nails. Apply a small amount of the oil around the front side of your fingers and towards the free edges of the nail beds. This will capture moisture in the area.
Step 7: Let Your Nails Rest and Strengthen Them
Now that you’ve removed your acrylics, experts would advise you to take a few weeks or at least days off from using acrylics, gels, press-ons and even regular nail polishes. Give your nails time to breathe and rest. If your nails are experiencing issues like ridges, splits, discolouring or peeling, it might be time to think about a strengthening treatment. An easy home and budget-friendly method you should certainly try is the nail slugging technique. You will be surprised with the fast and amazing results you get.
Step 8: Moisturize Daily with Hand Cream and Cuticle Oil
Chances are, that after you remove your acrylics, your nails will require much needed care. For such situations, dermatologists would advise you to keep your hand lotion and cuticle oil nearby at all times. We can’t stress enough how important hydration is when it comes to your hands and nails. If you want to prevent dry and brittle nails in the future, moisturize your hands and nails daily.