Need a themed home decor that will perfectly reflect the beauty and bountiful nature of the current season? Well, it seems that an easy and inexpensive fall decoration is exactly your style! Running out of ideas?
How to Make Easy DIY Fall Decoration with Pumpkins?
I admit that I am a little sad about the end of summer, but, at the same time, I realize that each season has its own unique charm. Plus, I have a weakness for DIY fall decorations, especially if they don’t require expensive supplies and too much skill. So, I use natural materials, seasonal fruits and vegetables, and additional supplies that I already have at home…
Easy DIY Fall Decoration: Marbled Pumpkins
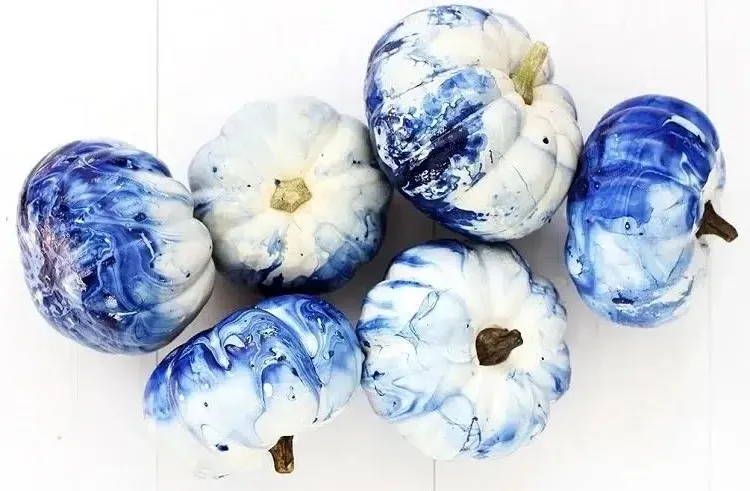
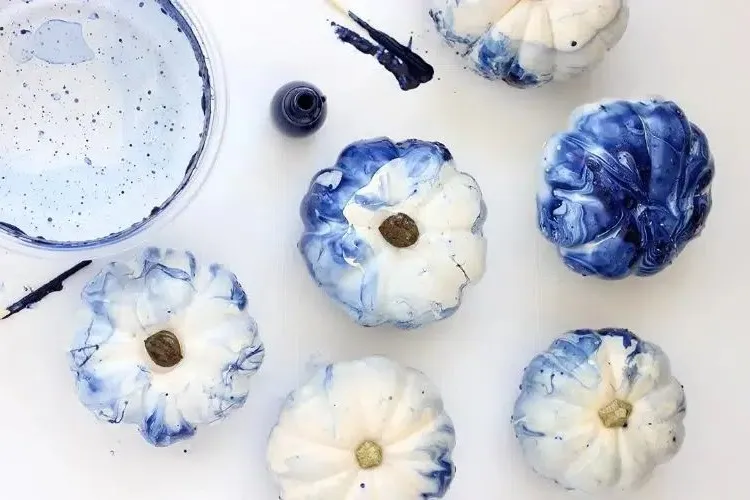
Once October comes knocking, pumpkins are “in style” again, and it’s no coincidence that we love them so much! Except on the plate, I love using them for my DIY fall decorating projects, and I’m sharing some of my favourites with you because of how easy they are to make. The first one is Indigo Marbled Pumpkins, and it is absolutely brilliant in its simplicity!
Also read: Easy Fall Crochet Ideas: How to Make a Small Pumpkin Garland + Free Pattern!
List of supplies and production steps
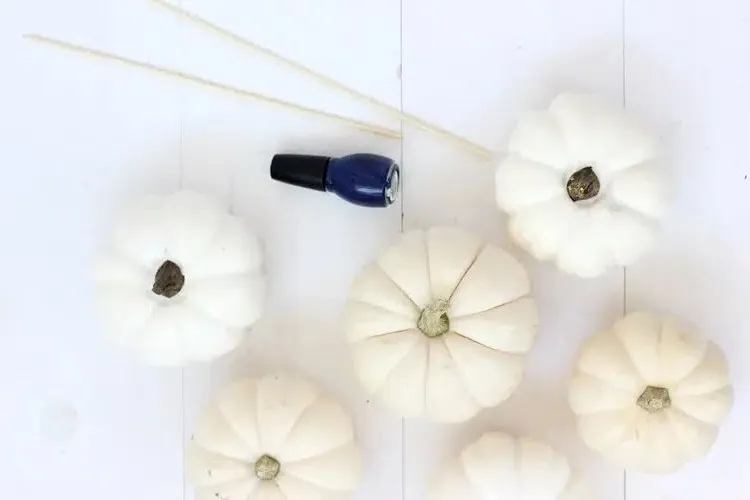
After Easter eggs and marbled nail art, easy-to-make fall decorations take advantage of this fabulous technique! In this particular example, we are using a deep indigo glaze, which requires working with white pumpkins or painting your pumpkins white in advance. Of course, using fake pumpkins made of paper mache, foam or plastic, among others, is also possible. Here is the complete list of materials and the steps to follow to marble your pumpkins:
- indigo blue nail polish (or other, depending on your preferences)
- a wooden stirring stick or skewer
- an old unusable plastic container
- a few small pumpkins (real or homemade)
- parchment paper
- plastic gloves
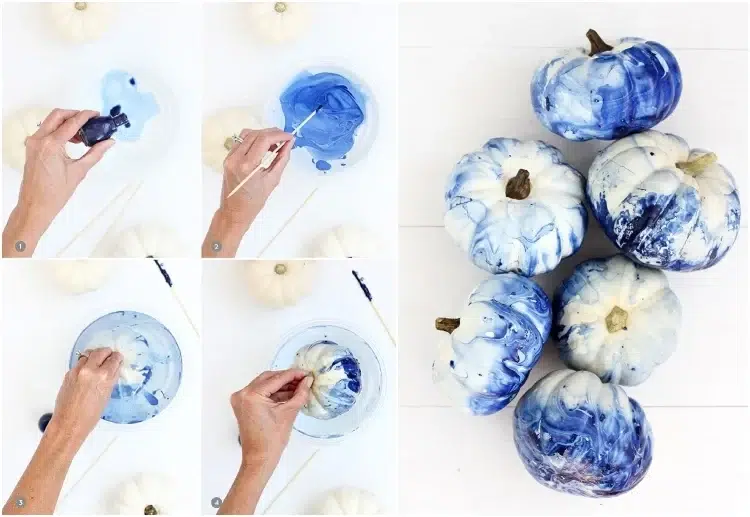
Fill a plastic container 3/4 full with lukewarm water (if the water is too cold, the nail polish will sink to the bottom) and open a window to ensure good ventilation in the room. Add about 5 drops of nail polish in the colour of your choice and use the small wooden stick to swirl the polish a little so that it will float on the surface of the water.
Put on the gloves and, in one motion, dip your pumpkin into the water. Then turn it over a little, remove it from the water and let it dry on the parchment paper. In about 20 minutes, turn the pumpkin over to dry on the other side. Repeat the process with the other pumpkins using more polish of the same colour or other tones, if desired.
Tip: You can use old nail polish for this easy fall decoration, but the truth is that they are usually too thick and sticky, which makes the technique very difficult to achieve.
Tip 2: You will need to add more polish for each subsequent pumpkin, because as you swirl the fruit over the surface of the water, the nail polish will start to move toward the sides of the container and it will stick there.
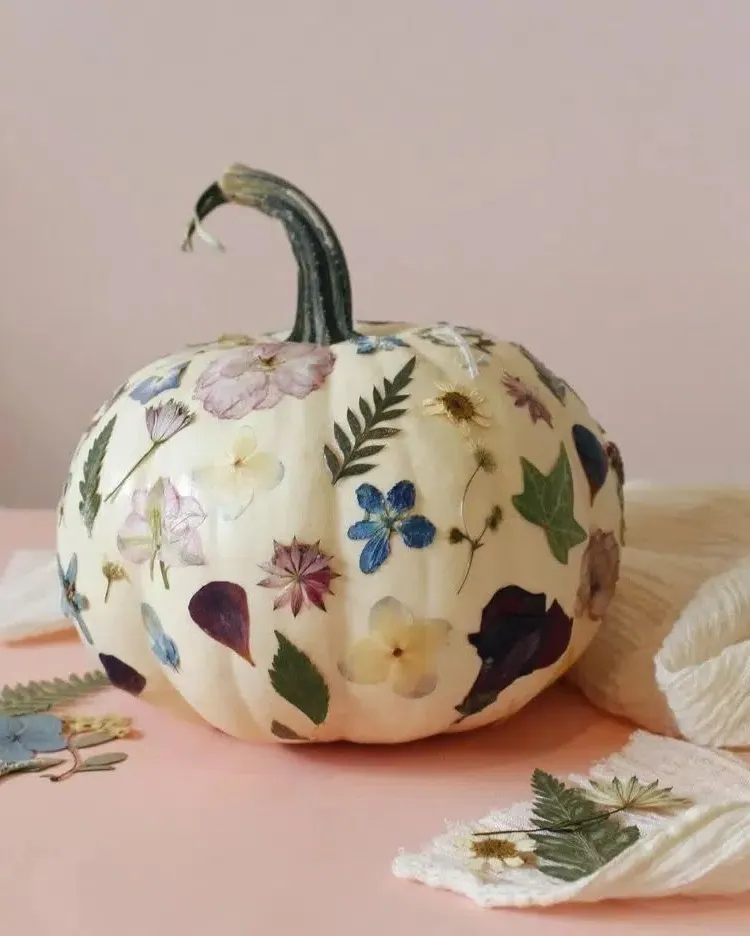
DIY Herbarium-Style Pumpkin Decoration
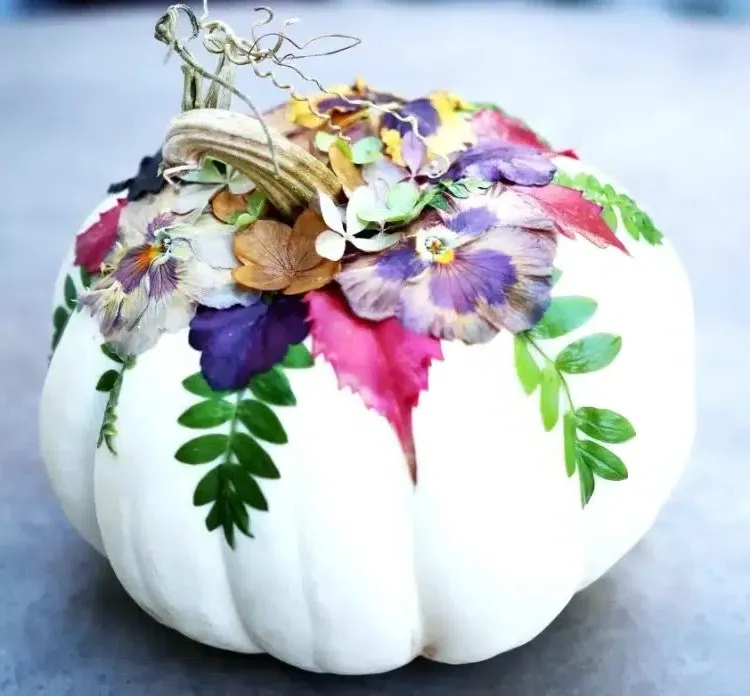
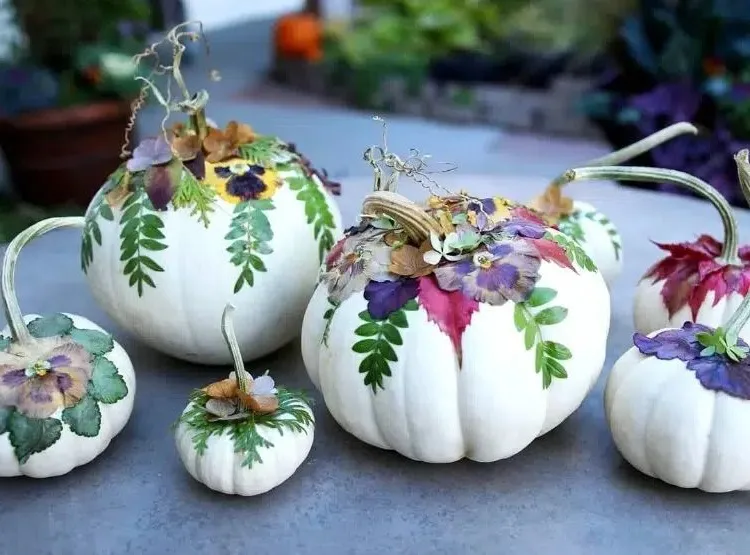
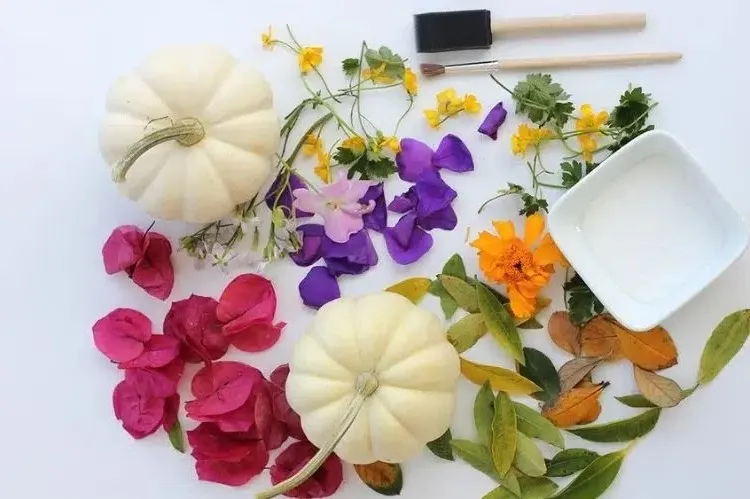
The following easy-to-do DIY fall decoration idea is just as cute and even more simple to make than the previous project. Better yet, when it comes to the supplies to purchase, you don’t shop in stores, but pick things up in the forest! The problem is that it will take you time to collect and especially to dry your supplies, but once ready, putting them to use is super simple and the result is impressive:
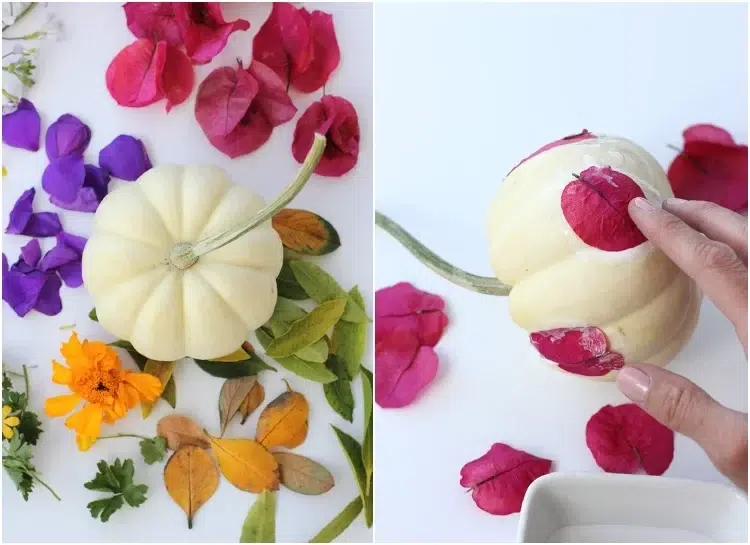
Also get water-based liquid glue which becomes transparent after drying and a sponge brush for its application. The rest is a question of imagination, because the beautiful ways of arranging dried leaves and flowers are countless. Work gently, as your herbarium will be somewhat delicate, and the aim is to preserve the shape of the petals and leaves.
Arrange the petals as you wish without aiming for a too neat composition
Easy DIY fall decoration: All kinds of flowers and leaves are welcome!
Decoration idea with pumpkins, glue and paper napkins

