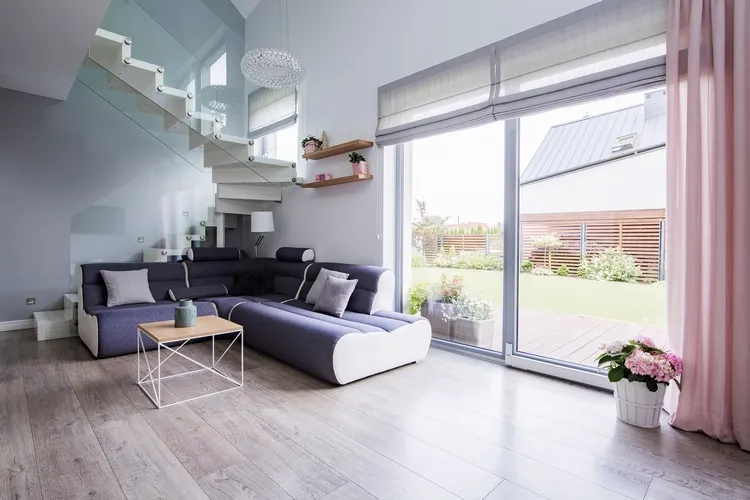
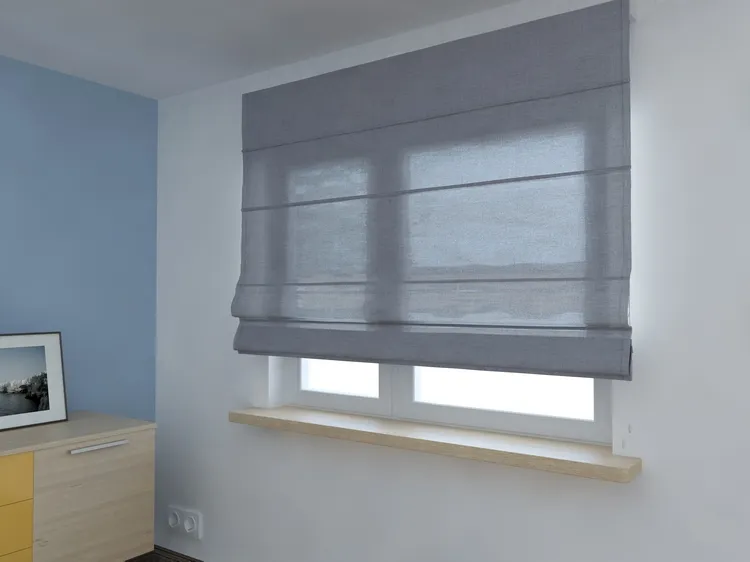
Roman shades are one of the simplest and most effective ways to decorate windows, block bright daylight and keep your privacy. They can differ in size and method of attachment, as well as fabrics. Comfortable and elegant, Roman shades enjoy a wide popularity. The stores offer numerous options but did you know that you can make them by yourself? DIY no sew burlap roman shades are relatively easy to do so let’s get crafty!
What Are the Advantages of DIY No Sew Burlap Roman Shades?
A characteristic feature of Roman shades is the simplicity of their construction. Classic models consist of fabric and a bar which is sewn in the lower part to hold their shape. One of the biggest advantages of this type of shades is that they do not take up much space and are easy to maintain. In addition, they are space saving as they are made to fit the size of the window frame. Many people value their functionality; you can easily adjust them to control the amount of light. Last, but not least, Roman shades can be made of almost all kinds of fabric. Since there are thousands of different fabrics, each Roman shade can become a unique element in your interior.
Burlap can unobtrusively complement any interior. It allows air to flow through the fabric and diffuses natural light. In addition, it can provide privacy and hide you from prying eyes. What’s even more, burlap meets the modern requirements for the ecological safety of home textiles. The material is versatile and can be combined with other materials. So, do you need a unique, one-of-a-kind window treatment? Then opt for DIY no sew burlap roman shades! The material is very durable and your shades will last for many years without losing their original, attractive appearance.
Also read: Zebra Blinds – Innovative Window Treatment for Every Room
DIY No Sew Burlap Roman Shades with Plastic Blinds Tutorial
Supplies:
- cheap blinds
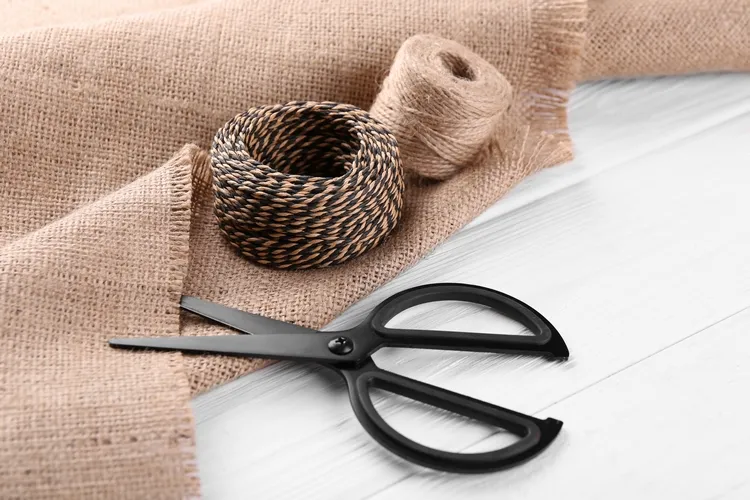
- burlap fabric
- fabric glue
- measuring tape
- scissors
Instructions:
- Measure your window and determine how wide and long you want your shades to be. Measure the fabric and cut it to size making sure that it is 1-2 inches larger than the size of the window.
- Apply glue to the edge of the fabric and fold. Do that on each side.
- Lay the blinds on a table and carefully pull the pull cord out on both sides of the blind. Then remove the ladder cord on both sides. Now the blinds slats can be removed.
- Take as many plastic slats as you will need for the folds and get the pull cord through each one on both sides. Measure the distance to make sure that they are on the right spots.
- Run some glue over the top bar of the plastic blinds and fold it over. Apply glue to the slats, convex side down, and glue them to the fabric.
- Once you glued the top bar and the slats, it’s time for the bottom bar. Return the pull strings to the top bar and glue it to the bottom part of the fabric.
Also read: How to Clean Day and Night Blinds – Tips for Removing Dust and Stains


