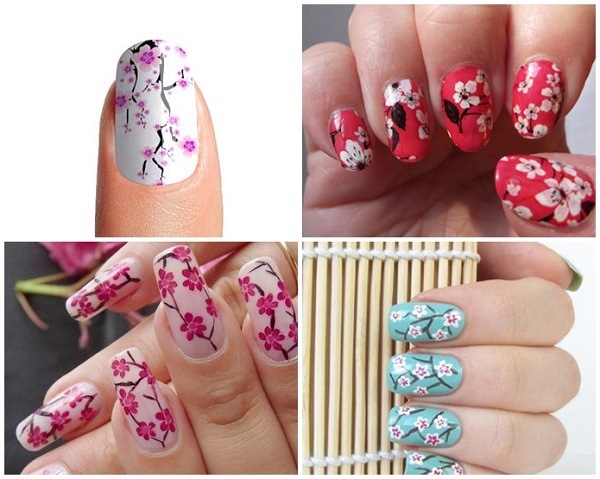
Cherry blossom nail art ideas are especially popular in the spring and summer. The very nature gives a lot of ideas and inspiration. Sakura is the national symbol of Japan and the beauty and sophistication of the pale, bright pink or white blossoming cherry trees attract many people. Cherry trees are popular not only in Japan but all over the world. Sakura is one of the main symbols of spring. The branches of the cherry blossom are very delicate and beautiful in spring. They are so gentle and graceful and evoke a sense of peace, tranquility and romance. If you want to find harmony with nature and your soul – create a manicure with cherry blossoms. In this article we have collected the most beautiful photos of sakura manicure and we will show you how to do sakura nail designs at home.
Cherry blossom nail art ideas and techniques
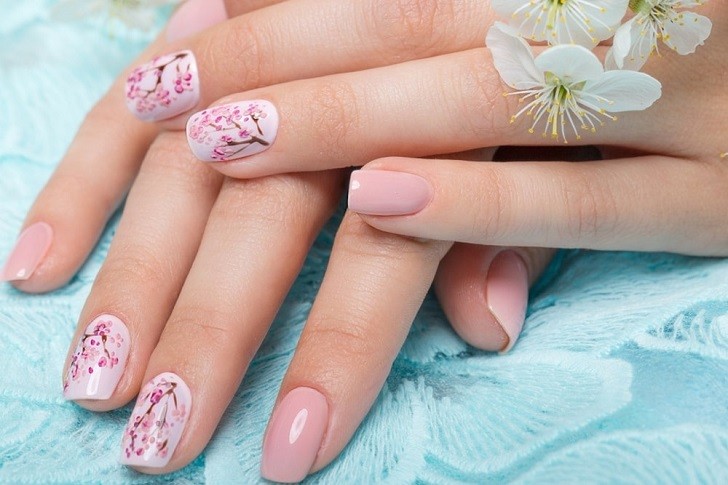
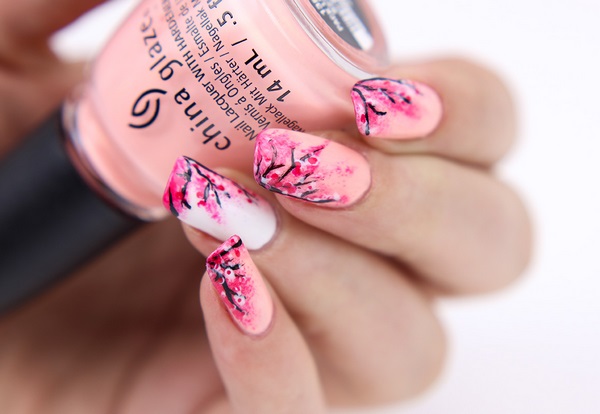
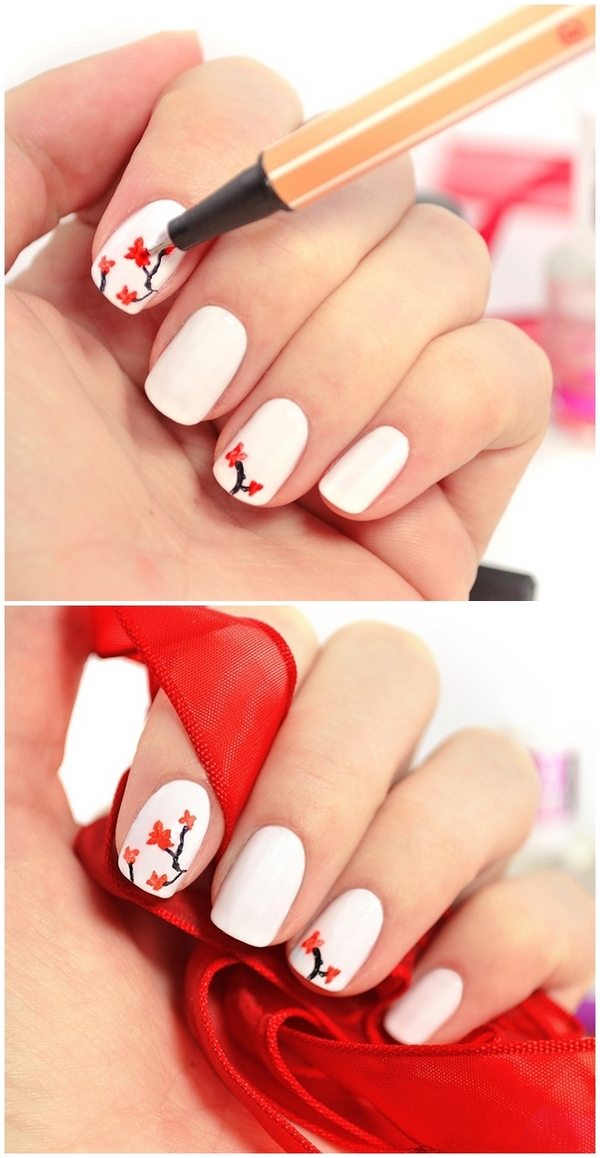
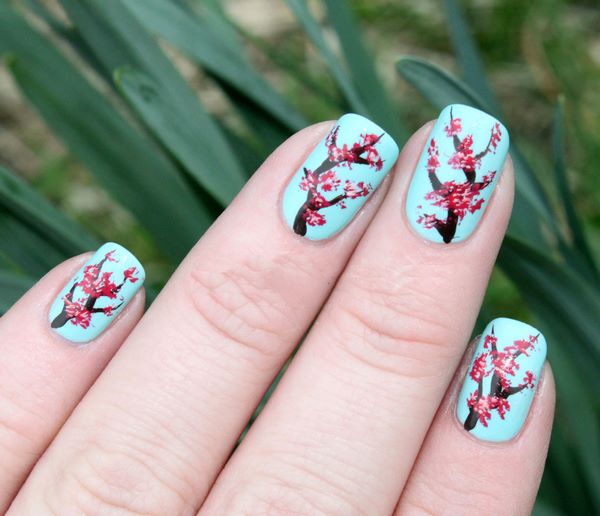
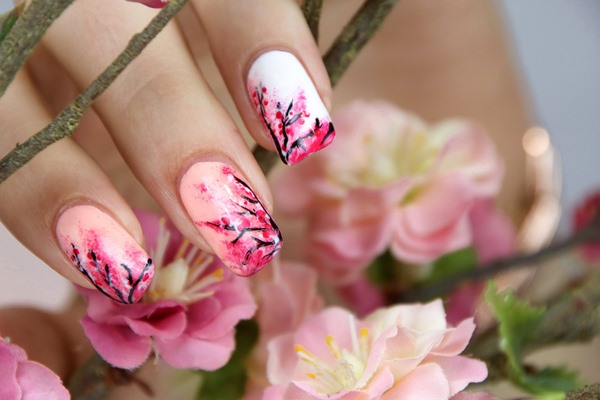
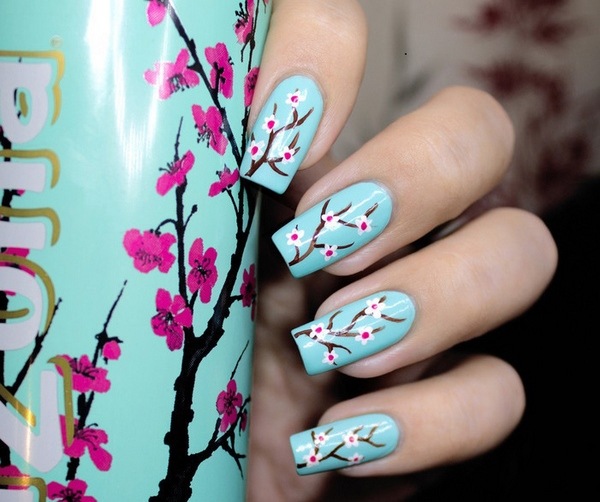
Experts say that cherry blossoms manicure is the perfect choice for short nails. Both twigs and single flowers visually lengthen the nail plates. The right color choice can add a lot of personality, character and mood to your manicure. Cherry blossom nail art ideas can be seen with a variety of base colors. Sakura looks incredibly tender on a pastel base color while a darker shade of the background creates a visual contrast with the petals. Sakura branches look beautiful on a red or dark blue background as well as on mint, turquoise and lilac shades. A transparent or white base creates a sense of innocence and purity. It is advisable that you experiment with the colors on a piece of paper before applying them on the nails. Usually, the branches are drawn with black or brown varnish and petals are drawn in pink, sometimes red and more complex and artistic cherry blossom nail art features several shades of pink.
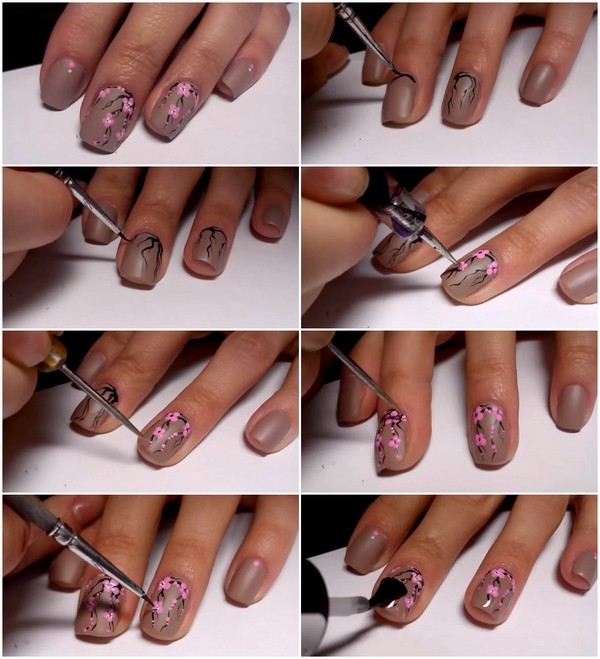
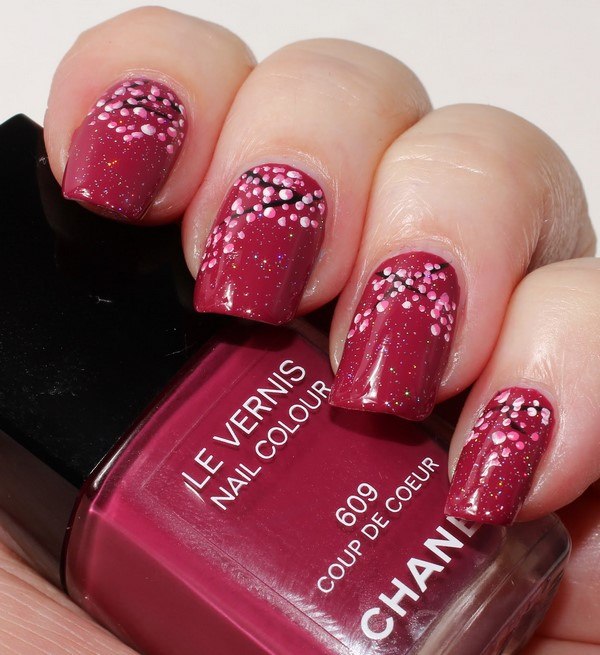
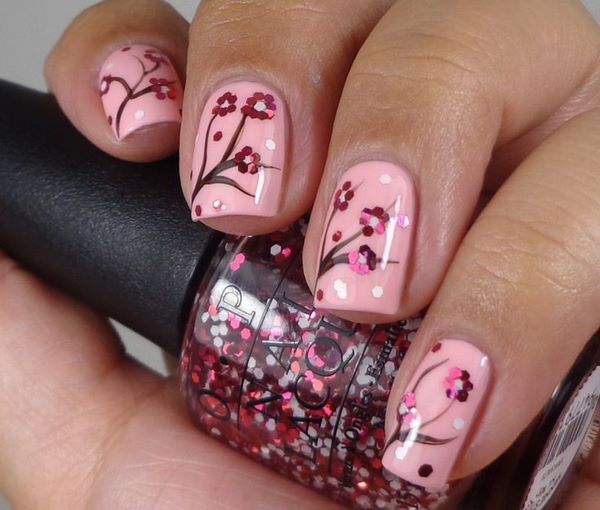
Sakura branches with small flowers are a beautiful nail design, suitable for beginners. You need to apply the base color and after it is completely dry draw cherry twigs with the help of a thin brush. The lines should not be quite straight, but rather twisty and for the blossoms you can use a dotting tool.
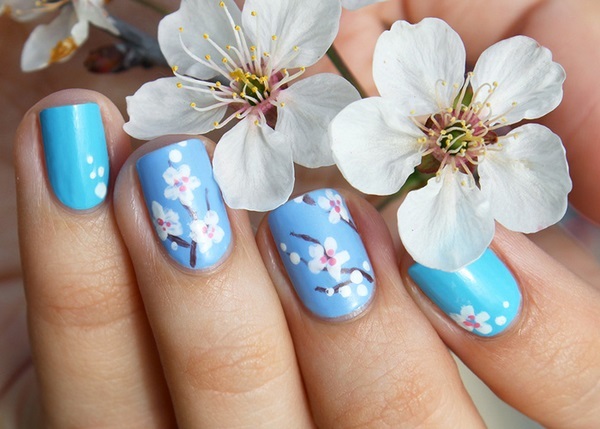
Sakura branches with large flowers are not very difficult to draw but the look of the manicure can be a bit monotonous, so you can outline each petal in white to add more expressiveness. Highlight the core of the flower as well.
Cherry blossom and kanji nail designs give you a chance to add a sign of love, health, or luck to the design of your manicure. It is better if beginners draw the elements on different nails as the combination on a single nail plate does require some experience. You could also use a stamping tool.
Cherry blossom nail design with glitter will look very festive and romantic. Add a very small amount of glitter as an accent and additional decoration to the nail design.
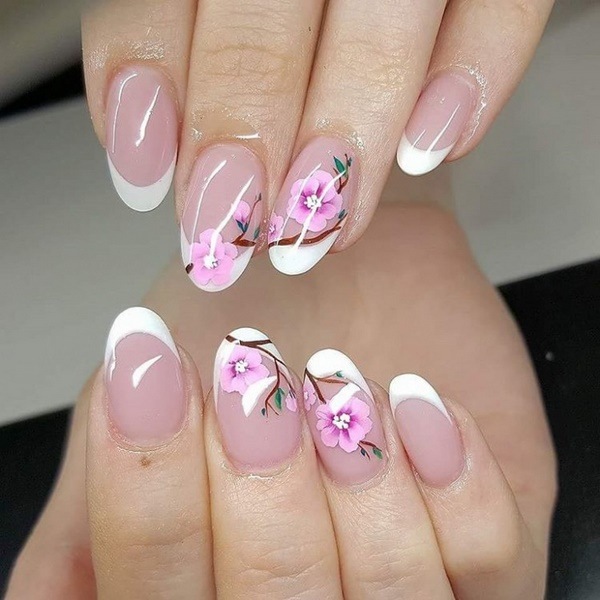
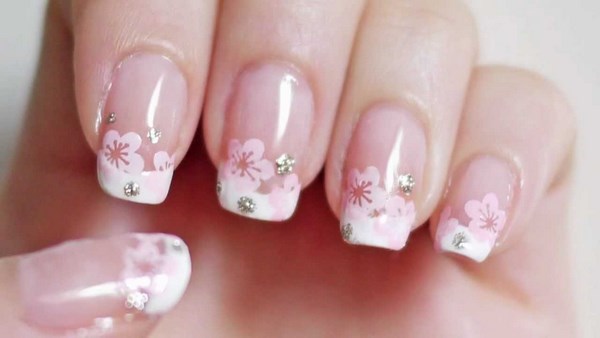
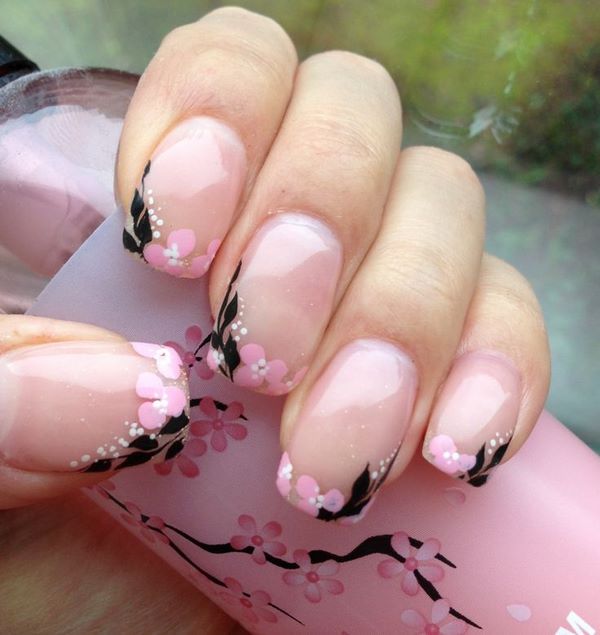
French manicure with cherry blossom is one of the most tender, delicate and refined floral patterns. If done properly, the manicure can be really exclusive and exquisite.
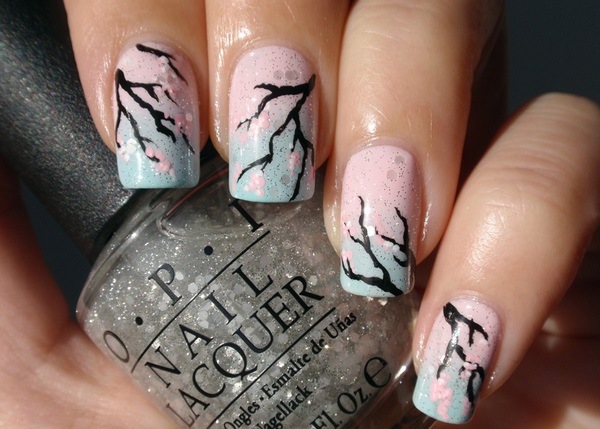
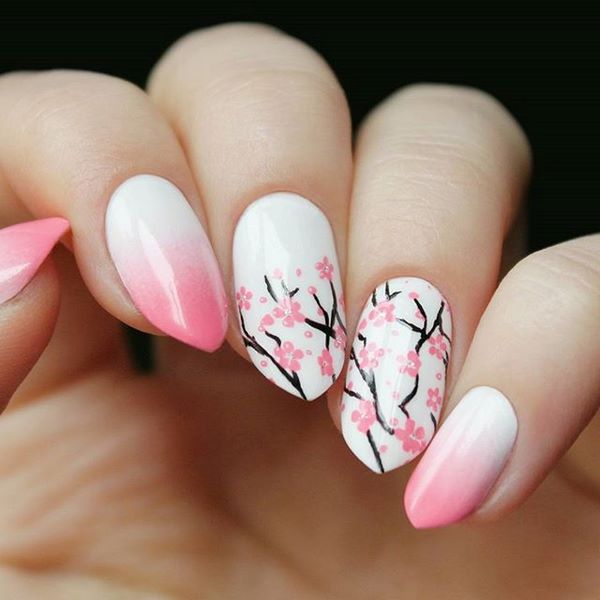
Sakura on gradient background is another option. You can use a two tone base, for example blue and white which would imitate a sky. This will be the perfect background for the branches of the blossoming cherry tree.
DIY Cherry blossom nail art ideas – step by step instructions
When looking to some of the most beautiful cherry blossom nail art ideas you would think that it is very difficult to do such a design on your own. However, you need to realize that there is nothing to be afraid of and even if the patterns on the nails do not turn out identical, that is all right. Even nature itself does not create blossoms that are absolutely identical. Here are the materials that you will need:
- A base nail polish
- Black lacquer for drawing twigs
- Pink (or white) lacquer for the flowers
- A thin brush for drawing on nails
- A dotting tool
- Top coat
Instructions:
Step 1 – Prepare you nails
Before you begin you need to take care of the shape of the nails and the skin around them. Remove any nail polish which is currently on the nails, cut the nails to the desired length, file them to the shape you want and push back the cuticles with the help of a manicure stick.
Step 2 – Apply a layer of base coat
Apply a thin layer of base lacquer. Different base color will create a different mood but it is recommended not to choose very bright colors as the tender cherry blossom pattern will lose its effect. Let the base dry completely before you proceed.
Step 3 – Drawing the cherry blossom branches
Sakura flowers appear on dark bare branches without leaves and it is not even necessary to draw the tree branches perfectly. Dip a thin brush in black or dark brown lacquer and draw the desired pattern. Wait until completely dry.
Use the dotting tool and dip in into the pink lacquer. If the pink is too bright, you can mix it with white. Place small dots close to each other to form flowers. Make sure the branches do not look empty – draw two or three blossoms but leave some of the branches visible. Add tiny white dots on each petal and in the center of the blossom.
Step 4 – Apply a top coat
Wait until your nails are completely dry and add a top coat of clear polish. This will make your cherry blossom nail design look nice and shiny, fix the colors and prolong the durability of the manicure.

